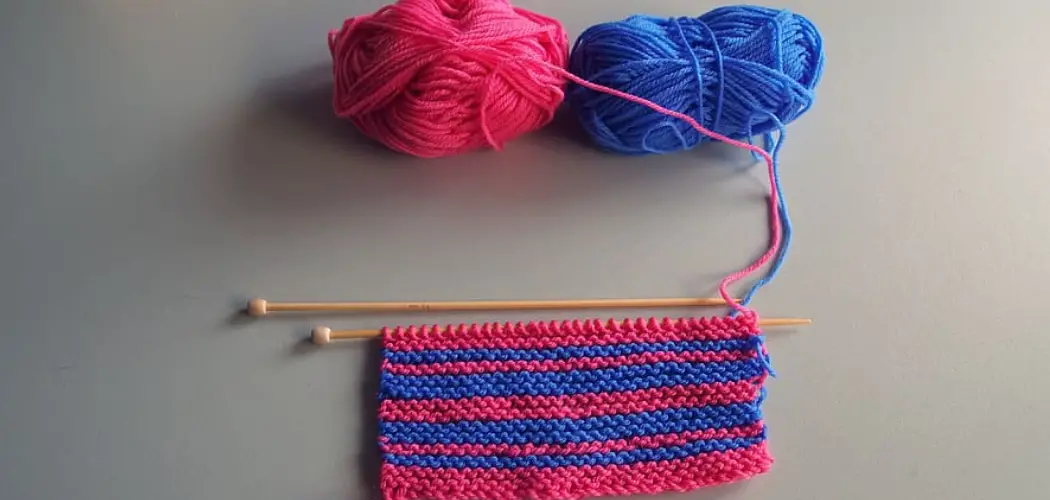
Are you interested in learning how to give your crochet work a unique and fun look? Knowing how to customize the visual appearance of projects can take them from ordinary to extraordinary! If you’re looking for a way to make your crochet pieces stand out, then here’s some great news: You don’t have to be an expert knitter or crocheter to achieve the perfect effect — all you need is an eye for detail and creativity.
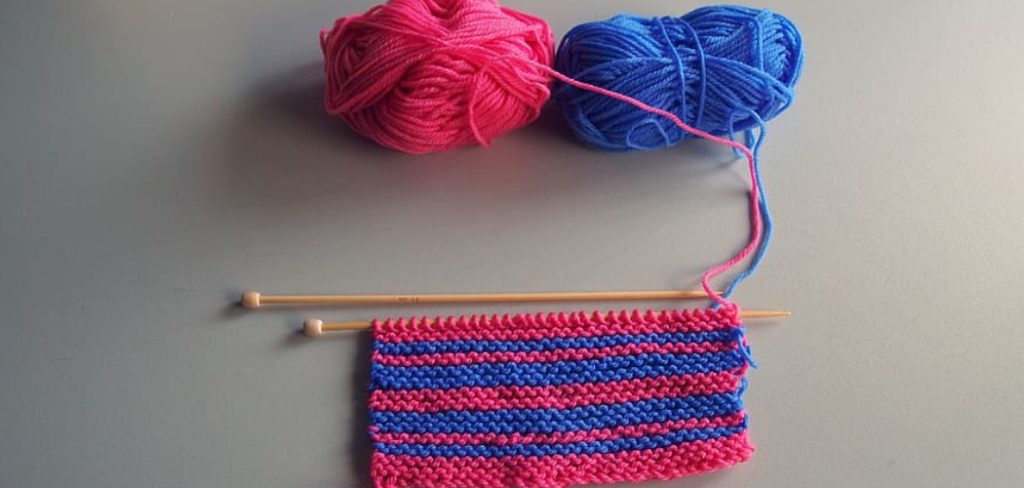
In this blog post, we’ll show you just how easy it can be to transform the look of your creations by teaching you how to make crochet look like knitting. With these tips, anyone can rethink their crafting approach with success!
Needed Materials
Given below is a list of the items you’ll need to create this effect:
- Crochet Hook
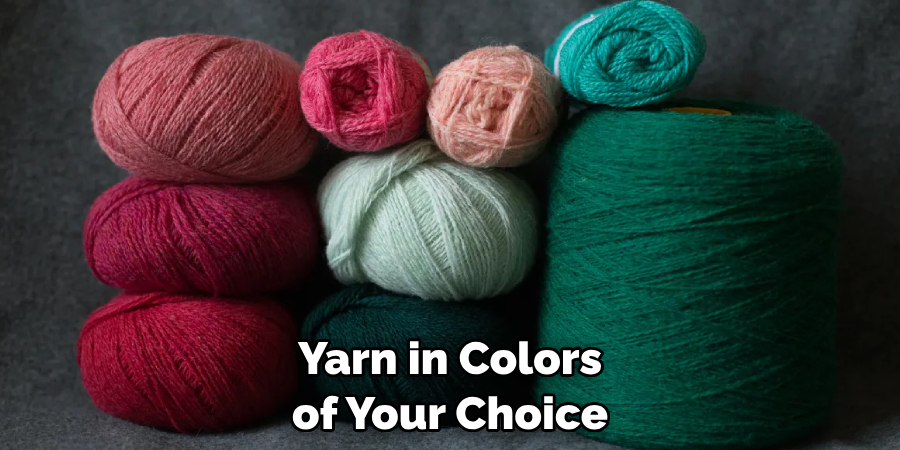
- Yarn in Colors of Your Choice
- Tapestry Needle
- Scissors
- Regular Needles
12 Step-by-step Guidelines on How to Make Crochet Look Like Knitting
Step 1: Select the Type of Stitch Pattern
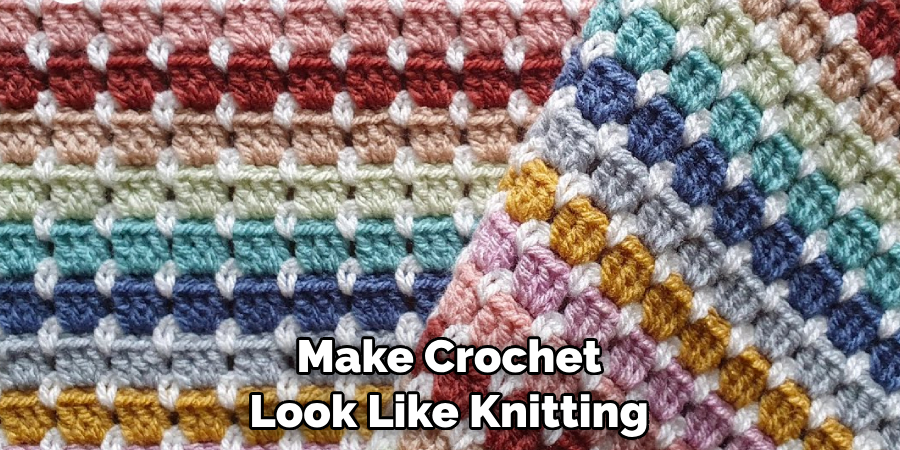
The best way to make crochet look like knitting is by selecting a stitch pattern that creates the appearance of knitted fabric. Popular choices include basket weave, moss stitch or half double crochet. It’s best to research each pattern and decide which one best suits your project before starting. It is also important to note that different types of projects may require different stitch patterns.
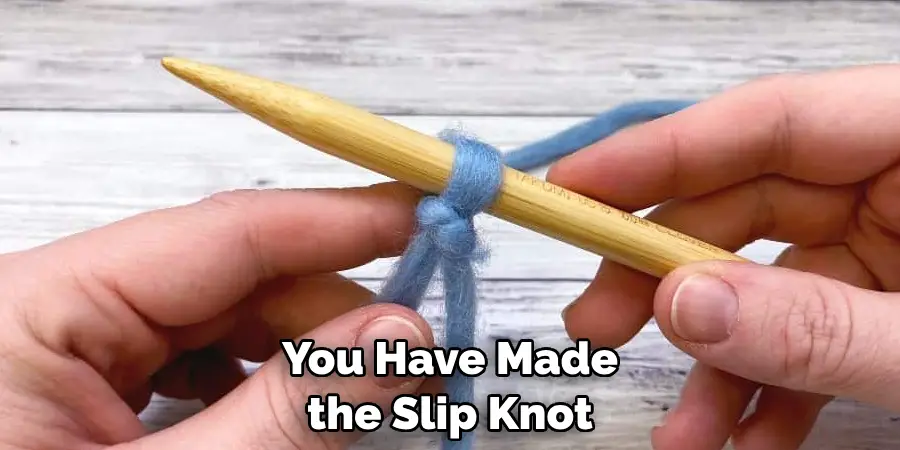
Step 2: Make a Slip Knot
Start by making a slip knot on the crochet hook using your chosen yarn. This will act as the foundation for your project and help you keep track of the number of stitches you’re working with. But take caution not to pull it too tight as this will make it harder to work into. This step should be easy, even for those who are new to crochet. It’s essentially the same process as tying a knot in your shoelace!
Step 3: Create a Chain
Once you have made the slip knot, begin to create a chain by looping each new stitch onto the hook and pulling through the previous one. Continue until you reach the desired length or width of your project. This is a basic crochet skill and should be relatively easy to master.
You can refer to crochet tutorials online if you need additional help. But remember to keep the stitches easy and consistent in size as this will help to create a more knitted look.
Step 4: Make the Foundation Row
Once you have created the chain, it’s time to make the foundation row. This can be done by working in single crochet, double crochet or any other stitch pattern you prefer. Use your chosen hook and yarn to begin creating a row of stitches that will form the base of your project.
But make sure to keep the tension loose and even throughout this step. It’s important to remember that if you are trying to replicate a knitted fabric, the foundation row should also look like knitting.
Step 5: Add the Stitch Pattern of Your Choice
At this stage, it’s time to add the stitch pattern that will help give your crochet a knitted look. Depending on which one you’ve chosen, use either single or double crochet stitches for each row. Make sure to count your stitches as you go and keep all edges even.
This will help to create a more uniform and knitted-looking project. If you find yourself struggling with this, it may be best to practice on a swatch before starting your actual project.
Step 6: Work Rows in the Pattern
Continue to work the chosen stitch pattern across each row, adding more stitches as needed and counting them along the way. This will help ensure that your project stays on track and creates a cohesive look. It’s also important to make sure that your tension remains consistent at all times — this will help prevent the fabric from becoming too tight or too loose.
Step 7: Switch to Single Crochet
When you reach the desired length or width of your project, switch to the single crochet stitch for the final row. This will add a neat edge and give your work an even finish. Always count your stitches as you go and make sure that they remain consistent in size. Remember to keep the tension even throughout this step as well.
Step 8: Bind Off
Once you have completed the final row in single crochet, bind off by cutting the yarn and pulling it through the last loop on the hook. It’s best to leave a long tail so that you can use it for weaving in the ends later. You should also make sure to weave in the ends of any color changes you may have had throughout the project. This will help ensure that your work is secure and create a professional-looking finish.
Step 9: Weave in the Ends
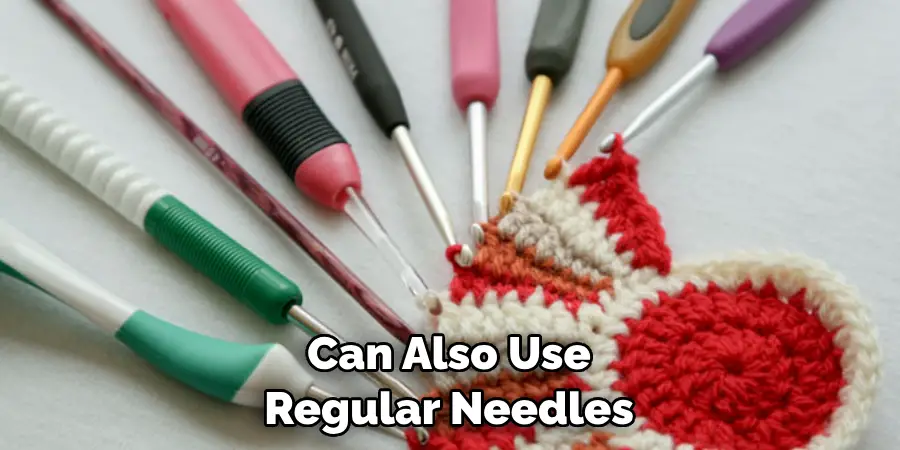
Now that you have finished crocheting, it’s time to weave in all of the loose ends. Use a tapestry needle and match the yarn color to help keep the edge neat and tidy. You can also use regular needles to help secure the ends if you prefer. When you’re done, your project will be complete and have a knitted-like look that’s unique and eye-catching!
Step 10: Block the Piece
Blocking is an important step that should not be overlooked when creating crochet projects. This will help even out any irregularities in stitch size or shape, resulting in a professional-looking finished product. To do this, simply dampen a cloth with water and lightly press it onto the piece.
Allow it to dry overnight before removing the cloth. It’s also important to be gentle when handling the piece during this step, as too much pressure can cause the stitches to warp.
Step 11: Add Finishing Touches
To complete your project, why not add some extra embellishments? Embroidery floss or beads can be used to create unique patterns and designs on the fabric. This is a great way to make crochet look like knitting and customize the appearance of your project. However, be careful not to overdo it — too much detail can make the piece look cluttered and messy.
Step 12: Have Fun and Enjoy the Process!
Crochet is an enjoyable craft that allows you to express yourself in creative ways. By following these steps, you can learn and create unique pieces with ease. So go ahead – experiment, have fun and enjoy the process! Always remember to take your time, and don’t be afraid to try new stitch patterns or techniques. With a bit of practice and patience, you’ll be creating beautiful projects in no time!
We hope that this guide has been helpful in showing you how to make crochet look like knitting. If you have any questions or need further advice, don’t hesitate to reach out and contact us! We’d be more than happy to help. Happy crocheting
Tips
- Use a Smooth, Solid-colored Yarn to Achieve the Best Results.
- When Crocheting, Keep Your Tension Consistent Throughout the Project.
- Before Attempting Any New Stitch Pattern, It’s Important to Practice a Few Times First and Get Comfortable With It Before Starting Your Creation.
- To Add Texture and Interest to Projects, Try Using Multiple Colors or Thick Yarns.
- Blocking Helps to Give Crochet Projects a Neat and Professional Finish – Always Remember to Do This Step!
- Have Fun With Your Creations and Don’t Be Afraid to Experiment! Crochet is a Great Way to Express Yourself and Explore Your Creative Side.
With these tips on how to make crochet look like knitting, you’ll be able to create stunning pieces that look just like knitted fabric. Whether it’s a cozy scarf or a bag for all your essentials, try out this technique and show off your skills! Good luck!
Do You Need to Use Professionals?
For some projects, you may need to enlist the help of professionals to achieve the desired effect. For example, if you are looking for a more intricate design or an advanced stitch pattern, then it would be best to enlist the services of a professional knitter or crocheter who can create this look for you. In other cases, you may need special tools or materials that can only be found in specialty craft stores.
No matter what kind of project you’re working on, it’s important to keep the look and feel of your crochet pieces consistent with your knitting work. By following the steps outlined in this blog post, you’ll be able to make crochet look just like knitting — and enjoy a unique crafting experience!
How Much Will It Cost?
The cost of making crochet look like knitting will vary depending on the complexity of the project. If you are working with a larger and more intricate pattern, then it might be best to enlist the help of a professional knitter or crocheter who can create this effect for you.
In most cases, however, it is possible to achieve this look at home without any extra help. All you need is the supplies listed above, some patience, and a bit of practice — and you’re ready to start creating beautiful projects that look like knitting!
No matter what kind of project you take on, it’s important to remember to have fun with your crafting. Crochet can be a great way to express yourself creatively and make something truly unique. So go ahead and start experimenting with different stitch patterns and colors to make crochet look just like knitting! You never know — you might just surprise yourself. Good luck and happy creating!
Frequently Asked Questions
Q: What is the Best Way to Make Crochet Look Like Knitting?
A: The best way to make crochet look like knitting is by selecting a stitch pattern that creates the appearance of knitted fabric. Popular choices include basket weave, moss stitch or half double crochet. After you’ve selected the desired stitch pattern, make sure to count your stitches and keep all edges even as you go.
Q: What is Blocking and How Does it Help?
A: Blocking is an important step that should not be overlooked when creating crochet projects. This will help even out any irregularities in stitch size or shape, resulting in a professional-looking finished product. To do this, simply dampen a cloth with water and lightly press it onto the piece. Allow it to dry overnight before removing the cloth.
Q: Do I Need to Use Professionals for Advanced Projects?
A: For some projects, you may need to enlist the help of professionals to achieve the desired effect. If you are looking for a more intricate design or an advanced stitch pattern, then it would be best to enlist the services of a professional knitter or crocheter who can create this look for you. In other cases, you may need special tools or materials that can only be found in specialty craft stores.
Q: What Other Tips and Tricks Can I Use to Make Crochet Look Like Knitting?
A: In addition to selecting the right stitch pattern, there are a few other tips and tricks you can use to make crochet look like knitting. For example, try adding some extra embellishments such as embroidery floss or beads for a unique twist.
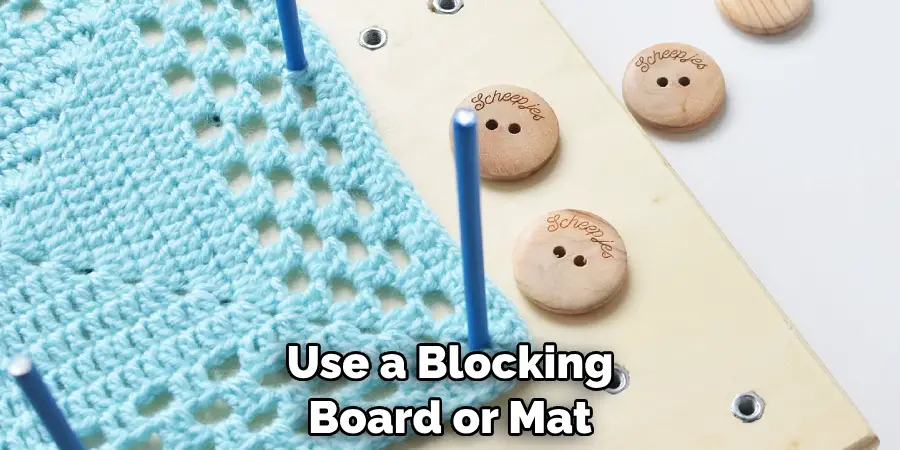
You can also use a blocking board or mat to help even out your stitch size and shape. Finally, always make sure you take the time to weave in the ends properly for a neat finish.
Conclusion
With some practice and a few tutorials, you can develop the skills to make crochet look like knitting. Not only will this give you a challenge and help you grow as a crocheter, it will also help improve your understanding of crochet stitches.
Combining these two techniques creates an end product that is visually stunning and challenges you to think outside the box when creating garments or accessories.
Learning how to make crochet look like knitting can be incredibly rewarding, and will open up all kinds of possibilities for your future projects. So, pick up those hooks or needles and get crocheting! Who knows where your creativity might take you?

