Are you seeking an exciting new craft project to get your creative juices flowing? Look no further than to learn how to create beautiful ceramic beads! With patience, a steady hand, and some specially sourced materials, you can learn the art of making colorful and unique handmade ceramic beads.
Whether you’re making a single statement piece or an entire set of jewelry pieces, the process is rewarding, and the outcome is one-of-a-kind.
Ceramic beads have been used for centuries, and while the methods of crafting them have evolved, their beauty and versatility remain unparalleled. From delicate porcelain beads to bold stoneware beads, there is a style to suit every taste and project.
In this guide, we will take you through the basics of how to make ceramic beads – from gathering materials to firing your finished product.
What Will You Need?
Before you get started, you will need to gather some essential materials and tools. Here is a list of what you will need:
- Clay: You can choose from various types of clay, each with its unique properties and colors. Experiment with different options to find the best one for your desired bead style.
- Rolling Pin: To flatten the clay into a sheet that can be cut into beads.
- Pasta Machine: Optional, but it makes rolling out clay much easier and more consistent in thickness.
- Cookie Cutters or Shape Templates: These are useful for creating uniform bead shapes and sizes.
- Texture Tools: These can be anything from stamps, kitchen utensils, or even natural objects like leaves or shells. They will add texture and detail to your beads.
- Piercing Tool: To create holes in the beads for stringing.
- Wire or Toothpicks: To hold and dry the beads without flattening them.
- Kiln or Oven: A kiln is the traditional method of firing ceramic beads, which can also be fired in a standard oven.
- Paint or Glaze: For coloring and finishing your beads.
Now that you have all the necessary materials let’s get started on making your ceramic beads!
9 Easy Steps on How to Make Ceramic Beads
Step 1: Prepare Your Work Area
First and foremost, ensure your workspace is clean and free from clutter. Any dust or small particles can contaminate the clay, affecting the final result of your beads. Wipe down your work surface with a damp cloth and allow it to dry completely before starting.
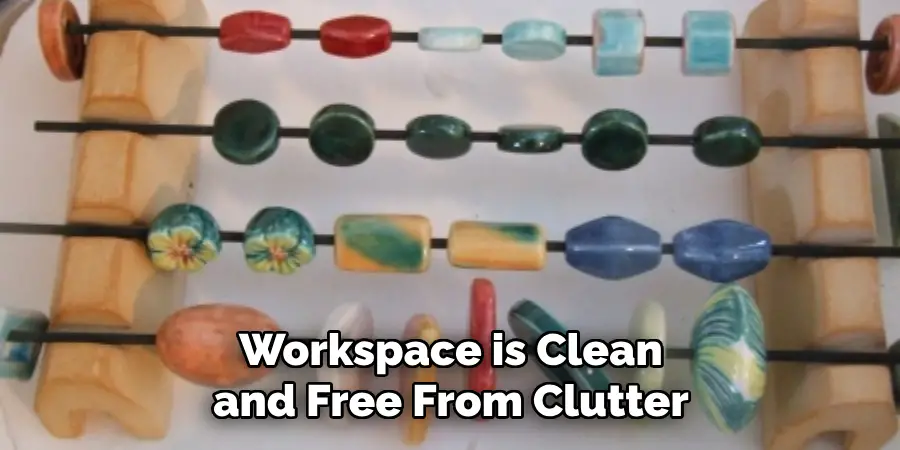
Organize your tools and materials in a way that they are easily accessible. This preparation step is crucial and can significantly impact the ease and success of your ceramic bead-making process.
Step 2: Condition the Clay
Begin conditioning your clay to make it pliable and easier to work with. To do this, take a small piece of clay and knead it in your hands until it becomes soft and smooth. If you have a pasta machine, you can pass the clay through it several times for an even, consistent texture.
Remember, adequately conditioned clay will hold its shape better, and the end product will be more durable. Once the clay is prepared, roll it into a sheet about 1/4 inch thick using a rolling pin or the pasta machine.
Step 3: Cut Out Your Beads
Now that you have a sheet of clay, it’s time to cut out your beads. You can use cookie cutters or shape templates to create beads in different shapes and sizes. Press your cutter firmly into the clay, twist slightly, and then remove it, leaving a clean-cut bead. Repeat this process until you’ve used up all your clay. Remember, it’s okay if they’re imperfect – handmade beads often have a charming, rustic look.
Step 4: Create Texture and Make a Hole
Now that you have your bead shapes, it’s time to add texture. This is where you can truly personalize your beads. Use your texture tools to press patterns into the surface of the beads. Once you’ve added texture, you need to create a hole for stringing.
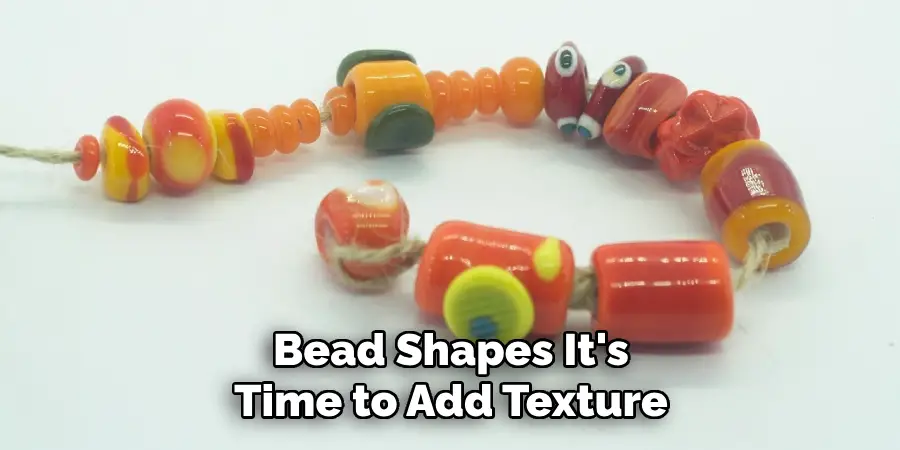
Using your piercing tool, carefully make a hole through the center of each bead. Ensure the hole is large enough for a string or wire to pass through, but be careful not to distort the shape of the bead. After this step, arrange the beads on a wire or toothpick to dry without touching each other or any surface.
Step 5: Dry the Beads
Allow your beads to dry completely. Depending on the thickness of the beads and the humidity of the environment, this can take anywhere from a few hours to a couple of days. It’s essential to let your beads dry thoroughly to prevent cracking during the firing process.
Place your beads in an excellent, dry space, ensuring they are not touching each other or any surfaces. You can also use a fan to circulate the air and speed up the drying process. Remember to turn the beads occasionally so they dry evenly.
Step 6: Fire the Beads
Once your beads are dehydrated, it’s time to fire them. This process will harden and strengthen the beads. If you have a kiln, follow the manufacturer’s instructions to fire your beads at the appropriate temperature and time frame for the type of clay you use.
Using a conventional oven, you can bake the beads at around 275°F (135°C) for about 15-30 minutes. Continuously monitor the process to prevent over-firing. After firing, let the beads cool down completely before handling.
Step 7: Paint or Glaze the Beads
After your beads have cooled down, you can add color or shine to them using paint or glaze. Select colors that suit your design and apply them using a fine-tipped brush for detailed work. If you prefer a natural look, you can leave the beads as is.

If you choose to glaze your beads, apply a thin, even coat and allow it to dry before firing in the kiln again. Remember to leave the hole you made in the beads free from any glaze, as this could melt and seal the hole during the second firing.
Step 8: Inspect and Sand the Beads
Once your beads have cooled down completely, inspect them to ensure no cracks or sharp edges. If you find any rough spots, lightly sand them with fine grit sandpaper until the bead is smooth. Remember to wipe away any dust before moving on to the next step.
Step 9: String Your Beads
Now, the fun part begins – stringing your beads! You can use any stringing material you like—leather cord, silk thread, or even fishing line. The choice depends on the look you’re going for. Thread your string or wire through the holes in your beads, arranging them in whatever pattern you prefer.
And there you have it! With patience and creativity, you have created your bespoke ceramic beads.
5 Additional Tips and Tricks
- Experiment With Different Clay Types: The beauty of making ceramic beads is that you can experiment with various types of clay. Each kind imparts a unique texture and feel to your beads, so don’t be afraid to mix and match.
- Use Molds for Consistency: If you want uniformity in size and shape, consider using bead molds. They’re available in a wide range of shapes and sizes and can save you a lot of time.
- Dry Thoroughly Before Firing: It’s crucial to let your beads dry completely before you fire them. If there’s any moisture left in the bead, it could cause the bead to crack or explode in the kiln.
- Use Underglazes for Color: Underglazes are a fantastic way to add color to your beads. They’re available in a wide range of hues and can be applied before the first firing.
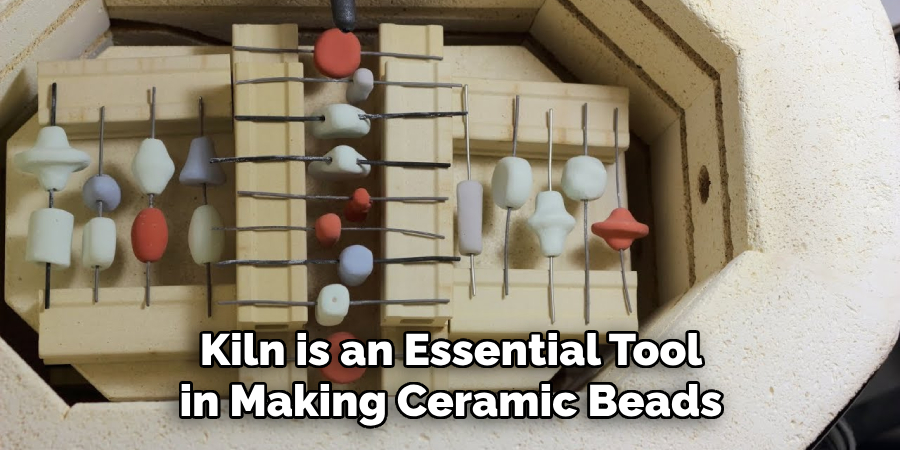
- Invest in a Good Kiln: The kiln is an essential tool in making ceramic beads. Investing in a quality kiln will ensure consistent heating and cooling, which is crucial for the durability and aesthetics of your beads.
With these additional tips and tricks, you’ll be able to take your ceramic bead-making skills to the next level.
5 Things You Should Avoid
- Avoid Rushing the Drying Process: Patience is vital when drying your ceramic beads. Speeding up the process can lead to cracks and breaks, ruining your hard work.
- Remember Safety Measures: Working with clay and kilns can be messy and potentially hazardous. Always wear protective gear and keep your workspace clean to avoid accidents.
- Steer Clear of Poor Quality Materials: While it may be tempting to save money on cheaper clay and glazes, the quality of your materials directly affects the outcome of your beads. Always opt for high-quality products.
- Don’t Underestimate the Importance of a Good Kiln: As mentioned earlier, a good kiln is crucial for the bead-making process. Avoid using outdated or malfunctioning kilns as they can result in uneven heating and potentially damage your beads.
- Avoid Being Too Rigid With Your Designs: While consistency is important, don’t let it stifle your creativity. Ceramic bead-making is a form of art; it’s okay to make unique beads that don’t perfectly match.
By avoiding these common pitfalls, you can increase the quality and durability of your ceramic beads.
Conclusion
Learning how to make ceramic beads is a rewarding and satisfying process that can give you endless hours of fun. There are many techniques you can use to create your unique beads so that you can express yourself through your creations.
The versatility of ceramic materials allows for an array of shapes, colors, and designs that could be only limited by your imagination. Crafting ceramics gives us an excellent outlet to communicate our artistic vision and bring the ideas from our minds into reality. Showcase your creativity and expand your skill set by making beautiful ceramic beads today!
Grab some clay, get behind the wheel, and start crafting something unique. Who knows, experimenting with ceramics will take you on an exciting creative journey in which every new piece brings joy and satisfaction!

