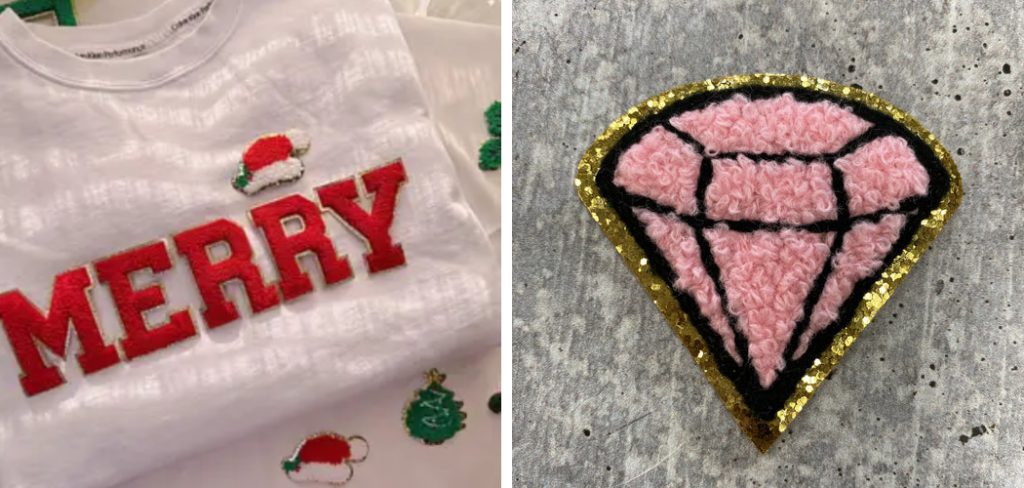
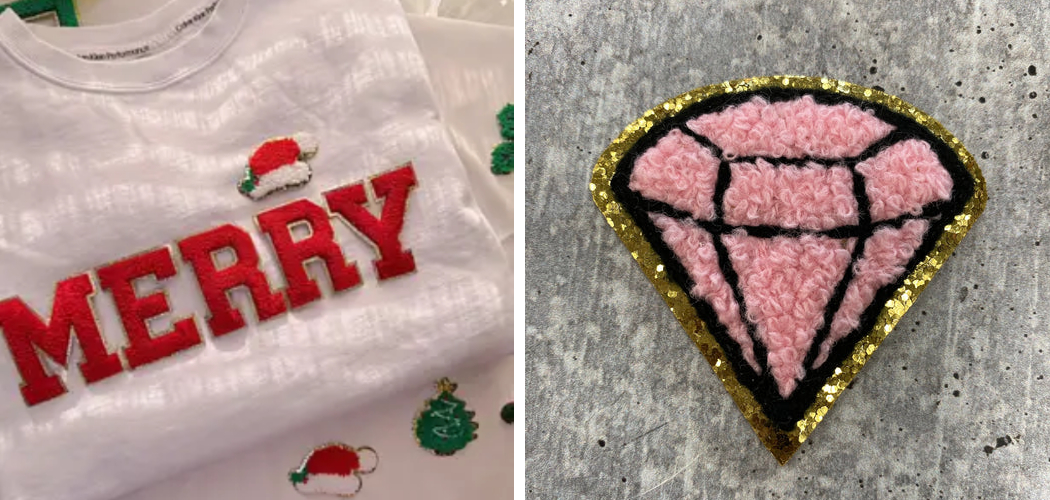
There are many reasons why you might want to iron on chenille patches. These embroidered patches are great for adding a personal touch to your clothes, bags, hats and any other fabric items. They can also be used as a way of showing support or promoting a cause or group. Additionally, they are affordable and easy to apply, making them a popular choice among DIY enthusiasts.

The main advantage of ironing on chenille patches is that it allows you to personalize and customize your clothing or accessories. Chenille patches are a great way to add a pop of color, texture, or design to an otherwise plain garment. They can be used on anything from t-shirts and hoodies to bags and hats. You can find step-by-step instructions on how to iron on chenille patches in this blog article.
Materials You Will Need
- Chenille patches
- Garment to be patched
- Iron
- Ironing board or flat surface
- Press cloth or thin towel
- Water spray bottle
- Sewing pins or clips (optional)
- Thread and needle (optional)
- Scissors (optional)
- Parchment paper (optional)
Step-by-step Instructions for How to Iron on Chenille Patches
Step 1: Inspect the Patch and Garment
Before you begin ironing, make sure to inspect both the chenille patch and the garment it will be attached to. Look for any stains, tears, or loose threads on either item. If there are any issues, address them before proceeding with ironing.
Step 2: Prepare Your Materials
You will need an ironing board, an iron, a pressing cloth, and your chenille patch. Make sure to plug in the iron and set it to the appropriate heat setting for the garment fabric.

Lay out your garment on the ironing board with the area where you want to attach the patch facing up. Carefully place the chenille patch on top of the garment, making sure it is centered and in the desired position.
Step 3: Protect the Patch with a Pressing Cloth
To avoid damaging the chenille material, place a thin pressing cloth over the patch. This will act as a barrier between the iron and the patch. Gently press down on the iron and move it in a back and forth motion over the patch. Be sure to cover the entire surface of the patch, applying consistent pressure.
Step 4: Check for Adhesion
After a few minutes of ironing, lift up the pressing cloth and check if the patch is securely adhered to the garment. If not, continue ironing until it is firmly attached. Once the patch is fully adhered, turn off the iron and allow the garment to cool down. This will ensure that the glue on the back of the patch has fully set.
Step 5: Test for Durability
After the garment has cooled, gently tug on the edges of the patch to test its adhesion. If it feels loose, repeat the ironing process. If you are attaching multiple patches to one garment, repeat the above steps for each patch. Make sure to allow the garment to cool down between each ironing session.
Step 6: Secure with a Few Stitches
For added security, you can use a few hand stitches around the edges of the patch. This will ensure that it stays in place even after multiple washings. It is important to let the garment sit for at least 24 hours before wearing or washing it. This will allow the adhesive to fully set and ensure long-lasting attachment.

Now that you know to iron on chenille patches, you can add them to any garment for a unique and personalized touch. Have fun and get creative with different patch designs and placements.
Tips for How to Iron on Chenille Patches
- Always read the instructions carefully before attempting to iron on chenille patches.
- Use a stable and heat-resistant surface, like an ironing board, when ironing on patches.
- Avoid using steam on your iron as it can damage the patch or cause it to lift off from the fabric.
- Use a pressing cloth or piece of thin fabric between the iron and the patch to prevent direct contact and protect both your iron and the patch.
- Start with a low heat setting on your iron and gradually increase if needed. Too much heat can also cause damage to the patch or fabric.
- Make sure to evenly distribute pressure when pressing down on the iron. This will ensure that the patch adheres evenly without any bubbles or wrinkles.
- Allow the patch to cool down completely before handling or wearing the garment. This will ensure that the patch has properly adhered to the fabric.
How Long Does It Take to Iron on a Chenille Patch?
One of the most common questions when it comes to attaching chenille patches is how long it takes to iron them on. The answer can vary depending on a few factors, but generally, it shouldn’t take more than a few minutes.
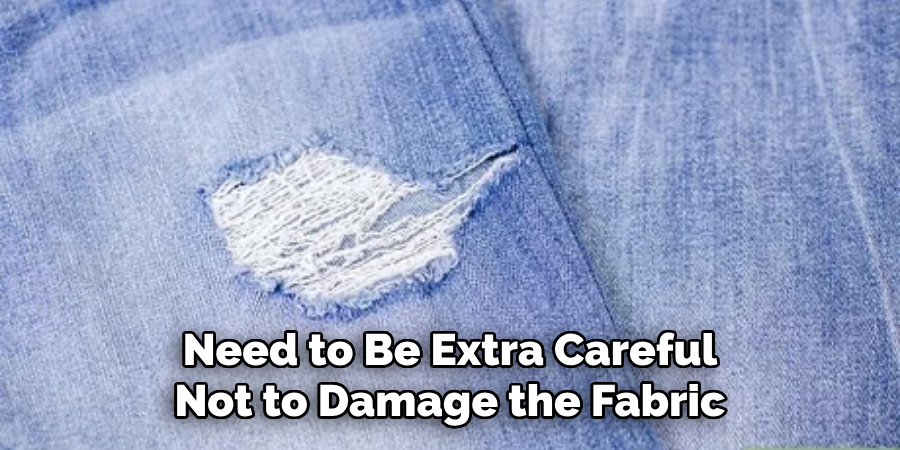
First and foremost, the type of fabric you will be attaching the patch to plays a significant role in determining how long the process will take. For example, if you are attaching the patch to a delicate fabric like silk or chiffon, it will take longer as you need to be extra careful not to damage the fabric.

The second factor that can affect the time needed is the size of the chenille patch itself. Larger patches will naturally take longer to iron on compared to smaller ones. Additionally, the heat setting on your iron can also impact the time required. Using a higher heat setting may speed up the process, but it also increases the risk of damaging the fabric or melting the patch.
Are There Any Special Instructions for Different Types of Fabric?
When it comes to ironing on chenille patches, there are a few things to keep in mind when working with different types of fabric. While the process is generally the same for all fabrics, certain materials may require some special attention.
1. Cotton and Polyester
For cotton and polyester fabrics, you can use a higher heat setting on your iron as these materials can withstand the heat. However, be sure to still use a pressing cloth between the patch and the iron to prevent any damage to the fabric.
2. Silk and Synthetic Fabrics
For delicate fabrics such as silk or synthetic materials like nylon or rayon, it is recommended to use a lower heat setting on your iron. Also, be extra careful when applying pressure onto these fabrics as they are more prone to damage.
3. Denim and Canvas
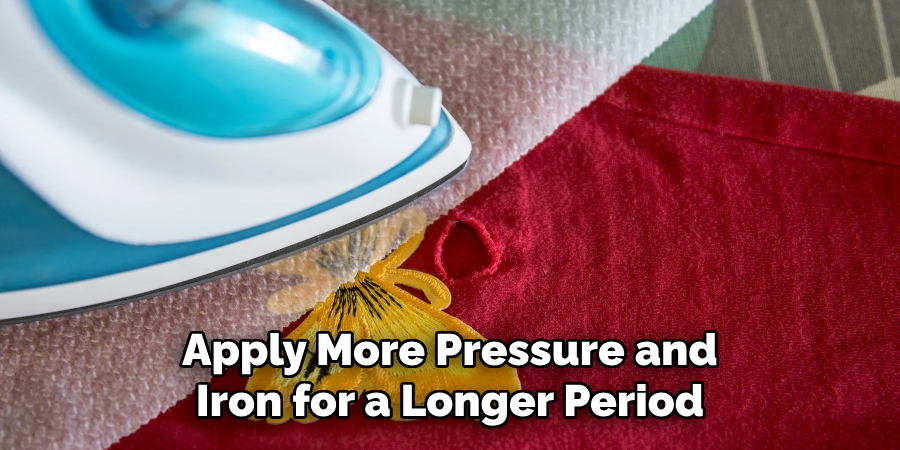
When working with thicker fabrics such as denim or canvas, you may need to apply more pressure and iron for a longer period of time. These materials require a bit more heat and effort in order for the patch to adhere properly.

4. Wool and Cashmere
For wool or cashmere fabrics, it is important to use a pressing cloth and a lower heat setting on your iron. These materials are more delicate and can easily get burnt or damaged if exposed to high heat.
Overall, it is important to always test the heat and pressure on a small, inconspicuous area of the fabric before fully ironing on the patch. This will help prevent any unwanted damage or discoloration to your clothing. With these tips in mind, you can confidently iron on chenille patches onto a variety of fabrics and achieve a professional-looking result every time.
Are There Any Specific Care Instructions for Chenille Patches Once They Are Applied?
Chenille patches are durable and long-lasting, but they do require some special care once they have been applied to fabric. Proper care will ensure that your chenille patches stay in excellent condition for a long time. Here are some important things to keep in mind when caring for your chenille patches:
1. Avoid Ironing Over the Patches
Once you have ironed on your chenille patches, it is important to avoid ironing over them again. This can cause the patches to become loose or damaged, ruining their appearance.
2. Wash Inside Out
When washing garments with chenille patches, always turn the item inside out before placing it in the washing machine. This will help protect the patches from getting caught on other items in the wash.
3. Use Gentle Cycle
When washing chenille patches, it is best to use a gentle cycle to avoid any unnecessary friction or stretching of the fabric. This will help preserve the appearance and shape of your patches.
4. Air Dry
After washing, it is recommended to air dry the garment with chenille patches. Avoid using high heat in the dryer as it can cause the patches to shrink or become damaged.
5. Spot Clean When Possible
If your chenille patch is only slightly dirty, consider spot cleaning it instead of washing the entire garment. This will help avoid any unnecessary wear and tear on the patch itself.
Following these care instructions will help keep your chenille patches looking their best for years to come. Remember, prevention is key when it comes to maintaining the quality of your patches. Avoid excessive heat and friction, and your chenille patches will continue to make a statement on your garments.
Conclusion
In conclusion, ironing on chenille patches is a simple and effective way to personalize or repair clothing items. This method is cost-effective, time-efficient, and easy enough for anyone to do at home. With just a few materials and steps, you can transform your plain garments into unique and eye-catching pieces.
However, it is important to note that while iron-on chenille patches are durable, they may not withstand frequent washings or high heat settings on the iron. It is recommended to hand-wash or use a gentle cycle when washing clothes with ironed-on patches. I hope this article has been beneficial for learning how to iron on chenille patches. Make Sure the precautionary measures are followed chronologically.


