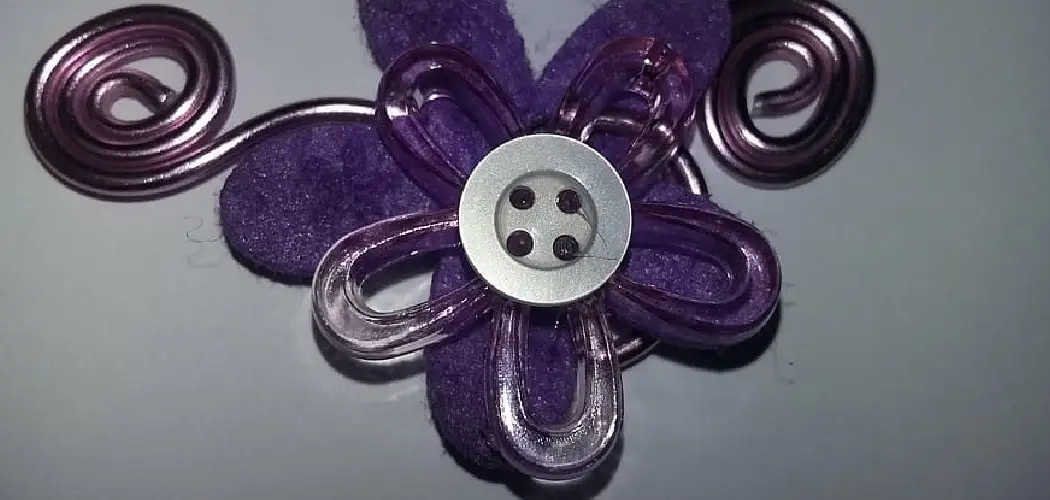
Button flowers are a fun and creative way to add some personality to your home décor. Whether you’re looking for unique table decorations or want to brighten your walls, this tutorial will help you craft the perfect button flower design.
With just some basic supplies and tools on how to make button flowers, you can create beautiful pieces that are sure to add charm and color to any room in your home. Keep reading for tips on how to get started creating these adorable button flowers!
What are Button Flowers?
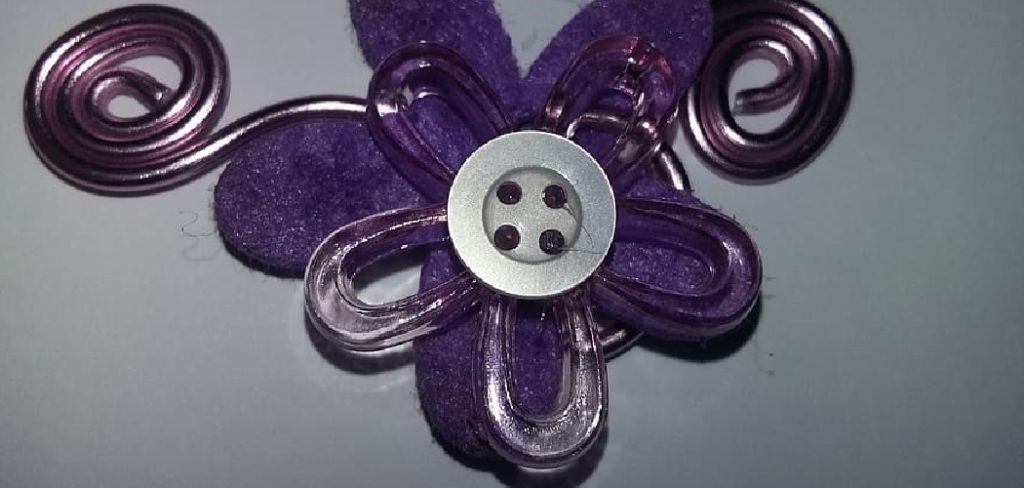
Button flowers are a type of decorative art that uses buttons to create colorful and unique blooms. These vibrant, handmade decorations are perfect for brightening up any space in your home. They’re easy to make and can be customized to fit any décor style. Plus, they’re so much fun—you won’t be able to stop at one!
What You’ll Need
To make your own button flowers, you’ll need the following materials:
- Buttons in Various Sizes and Colors (Approximately 60-90 Buttons)
- Cardstock Paper or Felt in Green for the Leaves
- Embroidery Thread (In Different Colors)
- Craft Glue or Hot Glue Gun
- Scissors
- Pencil
- Ruler
11 Step-by-step Guides on How to Make Button Flowers
Step 1: Gather and Arrange Your Buttons
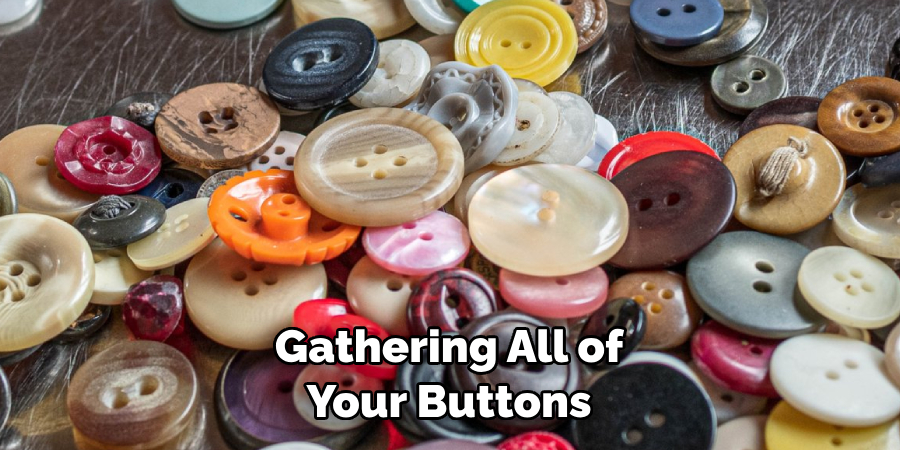
Start by gathering all of your buttons in a variety of sizes and colors. You can also use up some old buttons from clothing that you don’t wear anymore. Once you have your buttons ready, arrange them into a flower shape. This will help you plan out how many buttons you need for each petal and the overall design.
Step 2: Start Assembling Your Flower
Once you’ve planned out your design, it’s time to start assembling the flower. Start by stitching the buttons together with embroidery thread, using a backstitch to secure them in place. You can use one color for all of the petals or mix and match colors for a more vibrant look. For larger flowers, you may need to stitch two layers of buttons together. It’ll take some time, but it’ll be worth it in the end.
Step 3: Create Your Leaves
Now that you’ve finished the flower, it’s time to add some leaves. Cut out small leaf shapes from cardstock paper or felt in green color and use craft glue or a hot glue gun to attach them to the back of the flower. For extra detail, you can also add some veins with a pencil onto the leaves.
Step 4: Secure the Flower to a Base
Once your flower is complete, it’s time to secure it to a base. Cut a small piece of cardstock paper or felt in any color that you like and use glue to attach the flower in the center. This will give your button flower stability so that it can be displayed without sagging. You can also use a piece of wire to attach the flower if you’d like.
Step 5: Add Embellishments
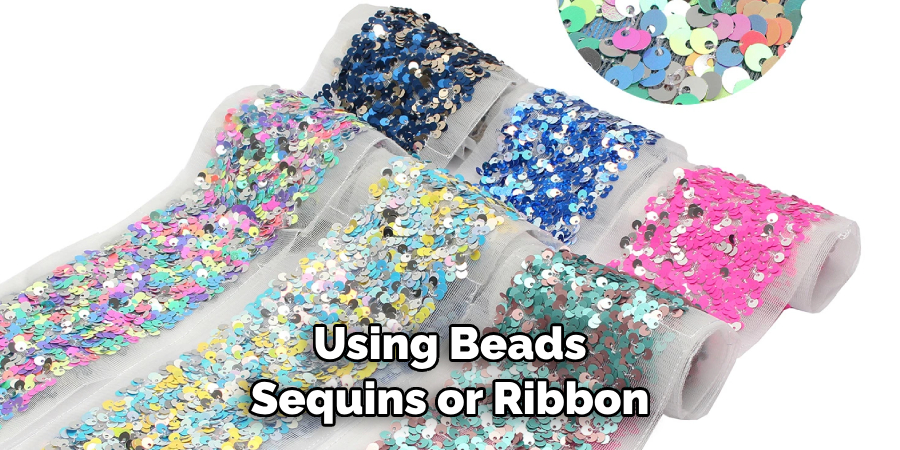
For a finishing touch, you can add some extra embellishments to your button flower. Try using beads, sequins, or ribbon to give the flower an extra sparkle and shine. You can also use glitter for some more shimmer! It’s up to you how you want to embellish your button flower—have fun and be creative!
Step 6: Display Your Button Flower
You’re finished! Now it’s time to display your beautiful button flower. You can use a ribbon or twine to hang the flower on a wall, or you can use craft glue to attach it to a cupboard door or gable. However you choose to display your flower, it will surely make any room in your home more vibrant and inviting.
Step 7: Make Multiple Flowers
Now that you know how to make button flowers, why not make a few more? With the same basic supplies and tools, you can easily craft several different types of flower designs. Whether you’re making a bouquet or just adding some small accents around your home, button flowers are sure to bring joy to any space.
Step 8: Put Everything Away
To ensure that your materials stay in great condition, be sure to put all of your supplies away when you’re finished crafting. This will help keep the glue from drying out and make it easier for you to start creating more button flowers in the future. It’s also important to keep your buttons safe from any small children or pets in the house!
Step 9: Enjoy Your Button Flower Creation
Once you’ve completed your button flower, it’s time to enjoy all of your hard work. Admire the vibrant and unique design and display it proudly for everyone to see. Your button flower is sure to receive many compliments and will be a conversation starter for years to come. It’s an easy and fun way to add some personality to your home décor.
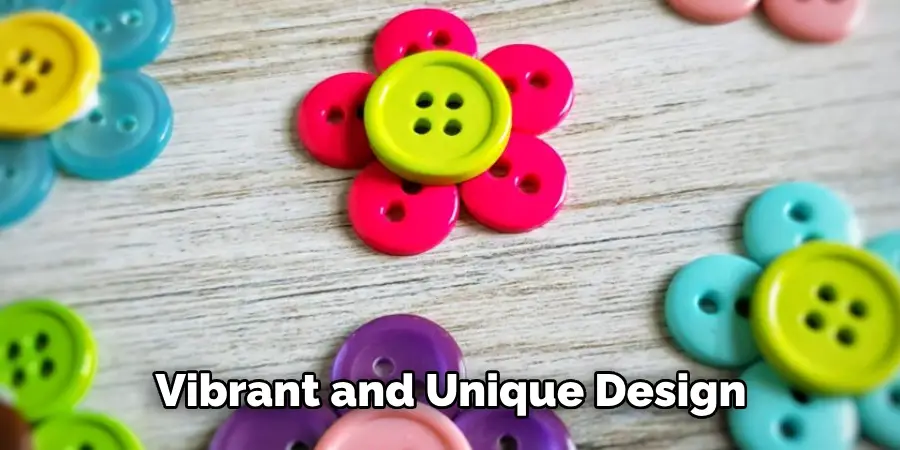
Step 9: Enjoy Your Handmade Crafts!
You’ve now successfully created your own unique button flowers! Take a step back and admire all of your hard work. Now, you can enjoy your handmade crafts and display them proudly in your home. However you choose to use your button flowers, they’re sure to bring a smile to anyone who sees them.
Step 10: Get Creative
Don’t be afraid to get creative with how you make your button flowers. Try experimenting with various materials and embellishments, or even different stitching techniques. You can also try making flowers in a variety of sizes and colors—the possibilities are endless! Although button flowers are a classic craft, you can easily customize them to fit your own style and décor.
Step 11: Share Your Creations
Last but not least, don’t forget to share your creations with friends and family. Whether you’re sending out photos on social media or giving away your handmade gifts, there’s no better feeling than seeing someone enjoy something you made with your own two hands.
Now that you know how to make button flowers, why not try crafting some yourself? This fun and easy project is sure to bring a smile to anyone who sees it! Have fun and happy crafting!
Tips for Making the Perfect Button Flower
- Select Buttons in a Variety of Sizes and Colors to Create a Unique Flower Design.
- Use Embroidery Thread to Stitch the Buttons Together Securely.
- Cut Leaves Out of Cardstock Paper or Felt and Use Craft Glue or Hot Glue to Attach Them to the Back of the Flower.
- Secure Your Flower to a Base With Glue for Extra Stability.
- Add Some Extra Embellishments, Like Glitter or Sequins, for Extra Sparkle and Shine.
- Store Your Supplies Away When You’re Finished Crafting to Keep Them in Great Condition.
- Get Creative With Your Designs and Experiment With Different Materials and Techniques.
- Show Off Your Creations and Share Them With Friends and Family!
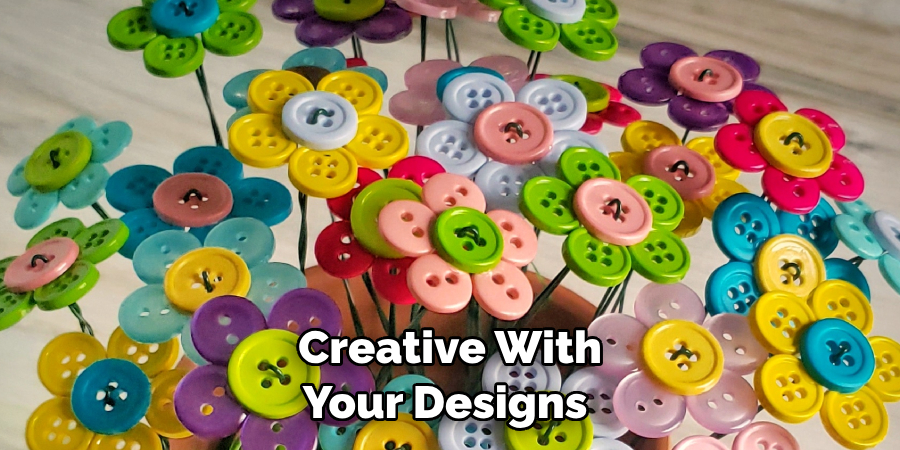
Making button flowers is a fun and easy project that’s perfect for any skill level. With just a few materials, you can create beautiful handcrafted decorations that are sure to brighten up any space in your home. So why not give it a try? You won’t regret it!
Frequently Asked Questions
Q: What Kind of Glue Should I Use for My Button Flower?
A: You can use either craft glue or a hot glue gun to attach the buttons and leaves of your flower. Hot glue is generally a better option for larger flowers because it gives a stronger hold than craft glue. However, you should be careful when using a hot glue gun as the glue can be extremely hot.
Q: How Should I Display My Flower?
A: There are lots of different ways to display your button flower. You can hang it on a wall or door with ribbon or twine, attach it to a cupboard door or gable with craft glue, or use it as a centerpiece for your dinner table. However, you choose to display your flower, make sure it has plenty of stability so that it won’t sag over time.
Q: What Else Can I Do With My Button Flower?
A: There are lots of different ways you can use your button flower. You can give it as a gift, attach it to a hair clip or headband, put it on a lapel or jacket pocket, or even turn it into a brooch! The possibilities are endless! Have fun with it and get creative!
Q: What Other Types of Embellishments Can I Use on My Flower?
A: You can use a variety of different materials to embellish your flower. Beads, sequins, buttons, ribbon, glitter—these are just some of the many options you have for adding extra sparkle and shine to your flower. Have fun experimenting with different materials and colors and see what kind of designs you can come up with!
Conclusion
With a few easy steps, you can make beautiful button flowers that are perfect for decorating your home, adding a special touch to clothing and accessories, or giving them as gifts. You don’t have to be an experienced crafter or artist to create these one-of-a-kind pieces of art either.
All it takes is a bit of patience and practice on how to make button flowers to become familiar with the technique and in no time at all, you will be able to make them look great every time. Why not try your hand at this activity today?
Play around with different colors and sizes of buttons until you get the exact look you are going for – you may even find yourself inspired by the creative transformations happening right before your eyes. Happy crafting!

