Unlock the world of intricate jewelry-making as you embark on a journey to create stunning beaded bracelets using seed beads. Crafting these delicate and mesmerizing pieces offers an opportunity to blend creativity with skill, resulting in wearable art that’s both stylish and unique.
Seed beads, known for their tiny size and versatility, open up a realm of possibilities for intricate designs and exquisite patterns. In this article, we’ll delve into how to make beaded bracelets with seed beads, exploring various techniques, patterns, and finishing touches that will help you craft bracelets that reflect your personal style and flair.
Whether you’re a novice looking to learn a new craft or an experienced jewelry maker seeking fresh inspiration, these insights will guide you on the path to creating beautiful and captivating beaded bracelets that are a testament to your creativity and passion.
The Art of Creating Beautiful Beaded Bracelets Using Seed Beads
Seed beads are a great way to add some extra color and texture to your jewelry projects. Whether you’re creating an intricate bracelet or necklace, seed beads can be used in a multitude of ways to create beautiful pieces. Additionally, these tiny beads are fairly inexpensive and widely available, making them an ideal choice for jewelry makers.
In this tutorial, we’ll show you how to make beaded bracelets using seed beads. We will cover the basics of choosing and stringing your seeds beads, as well as a few popular patterns that use bead weaving techniques. By the end of this tutorial, you will have the confidence and knowledge to create your own unique beaded bracelet!
The Versatility and Customization Potential of Seed Bead Bracelets
Making beaded bracelets with seed beads can be a great way to express your creativity and style. Seed beads come in a variety of sizes and colors, allowing for endless possibilities when it comes to creating unique pieces.
With just some basic tools and supplies, you can make beautiful bracelets that will last a lifetime. However, before you start crafting, it is important to understand the basics of making seed bead bracelets.
Materials Needed
To start making your beaded bracelet with seed beads, you will need the following materials:
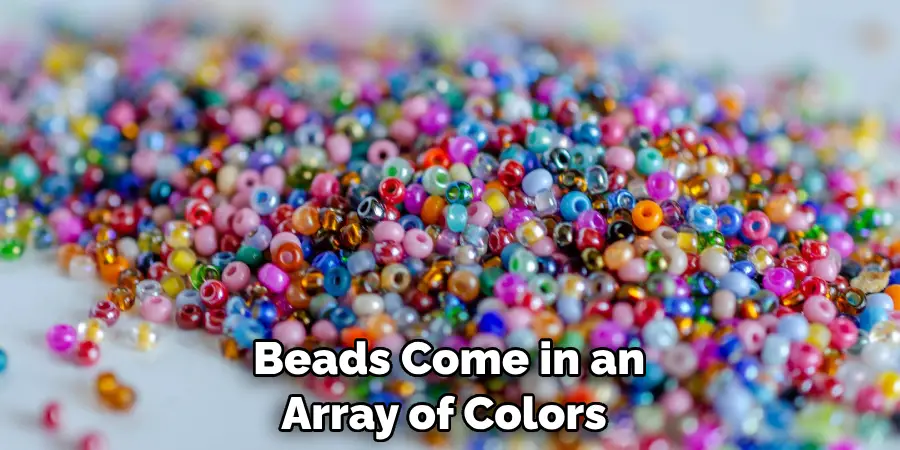
- Seed Beads: These tiny beads come in an array of colors. Choose ones that match your style and preference.
- Beading Thread: A strong and durable thread is essential for threading the seed beads.
- Beading Needle: This will make threading the seed beads onto the thread easier.
- Scissors: To cut the thread at the end of the process.
- Clasp: To secure the ends of your bracelet together.
- Bead Mat: A bead mat is optional but can help keep your beads from rolling away while you work.
10 Steps How to Make Beaded Bracelets with Seed Beads
Step 1: Gather Your Materials and Tools
The first step involves preparing your workspace and gathering all the necessary supplies. You’ll need an array of seed beads in varying colors, sizes, and finishes, beading thread, a beading needle, a clasp or closure of your choice, jump rings, pliers, scissors, and adhesive. Lay out your materials, ensuring easy access as you progress through each step.
Step 2: Design and Visualization
A well-conceived design is the foundation of a successful bracelet. Take time to sketch your design on paper or utilize bead design software to visualize the final product. Experiment with color combinations, patterns, and proportions to create a bracelet that resonates with your aesthetic vision.
Consider the type of clasp you prefer, as well as any charms or other elements that will be incorporated into the design. When satisfied with the bracelet blueprint, it’s time to begin making!
Step 3: Prepare Your Needle and Thread
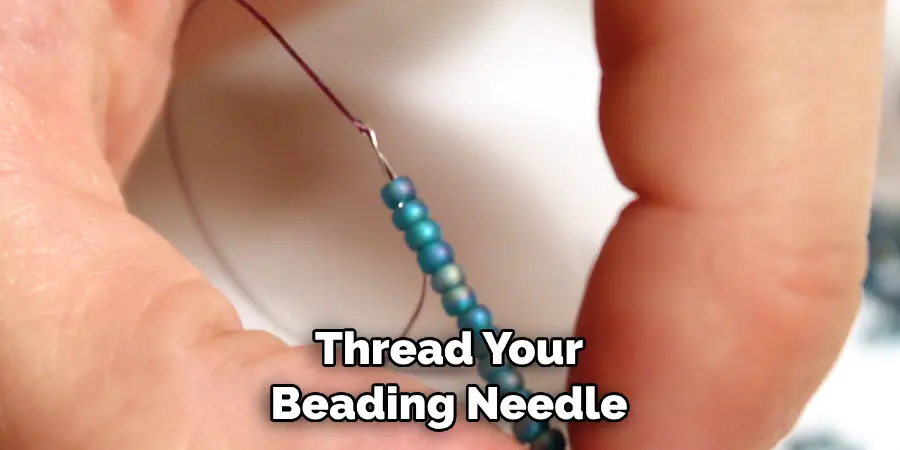
Thread your beading needle with an ample length of beading thread. Tie a secure knot at one end of the thread to prevent the beads from slipping off. Ensure the needle’s eye is large enough to accommodate the thread and beads.
Step 4: Begin the Beading Process
Commence by stringing a few seed beads onto the thread to create the bracelet’s foundational row. Depending on your design, you may follow a specific pattern or sequence. Maintain the desired tension to ensure a uniform appearance. When you reach the desired length, finish off with another few seed beads to complete your bracelet.
You may also make the beaded bracelet a two-strand design by doubling up on the thread and stringing the beads in unison. This method will result in an even fuller and thicker look.
Once you’ve finished stringing all
Step 5: Master the Weaving Techniques
As you proceed, you’ll engage in various bead weaving techniques such as peyote stitch, brick stitch, or herringbone stitch. These techniques form the structure of your bracelet. Pay meticulous attention to detail, ensuring each bead aligns correctly to create a seamless design.
As you practice, the weaving will become easier and faster. You can even use woven beaded bracelets to create other projects like necklaces or earrings.
To give your bracelet a professional finish, wrap the ends with wire and crimp beads in place for extra security. A simple loop toggle clasp makes it easy for
Step 6: Add Dimension with Embellishments
Elevate your bracelet’s visual appeal by incorporating larger beads, crystals, or charms. These embellishments create focal points and add dimension to your design. Strategically place them to enhance the bracelet’s overall aesthetics.
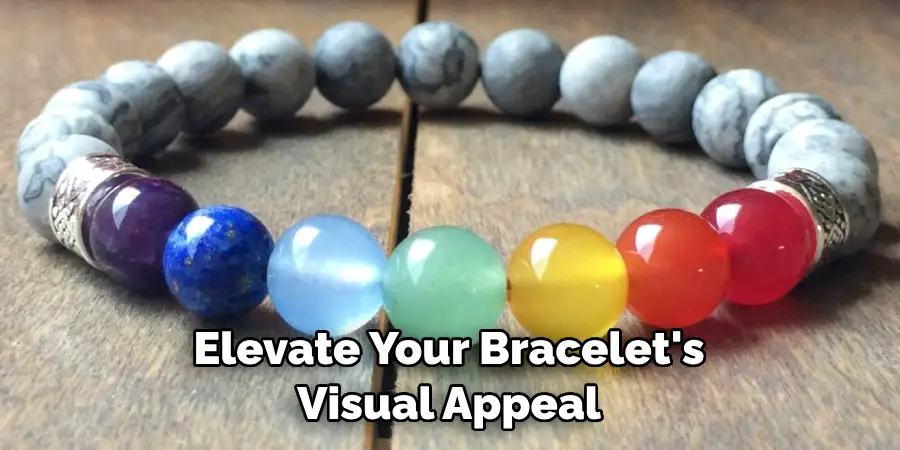
You can also add texture by including various types of beads, such as round glass pearls, coin-shaped metal sequins, or large wood beads. Experiment with different sizes and shapes to create a piece that stands out.
Step 7: Form the Clasp Mechanism
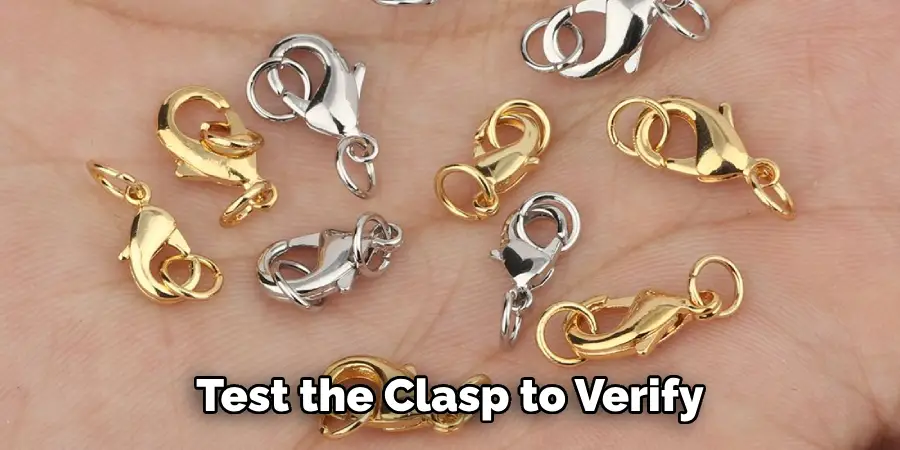
Once you’ve reached the desired bracelet length, it’s time to create the closure mechanism. Choose a suitable clasp such as a lobster clasp, toggle clasp, or magnetic clasp. Consider the clasp’s functionality and how it complements the bracelet’s design.
To create the clasp, thread a headpin through the loop at one end of the bracelet. Cut off any excess wire and make sure to leave enough space so that it doesn’t come undone. Then, attach an open jump ring to the headpin and close it with a pair of round-nose pliers. Finally, attach your chosen clasp and close the jump ring with a pair of flat-nose pliers.
Step 8: Expertly Finish the Ends
Secure the thread and beads by weaving the thread back through the bracelet. Trim any excess thread, leaving a small tail that can be concealed within the beadwork. Apply a touch of adhesive to the knots for added security. To finish the bracelet, you could choose to add a clasp or tie it off with ribbon or another type of cord.
The secret to making great beaded bracelets is practice and experimentation. With time and patience, you will be able to create beautiful pieces that reflect your own unique style. Don’t forget that seed beads come in so many sizes, colors and finishes that there is no shortage of options when it comes to your own designs. Have fun and let your imagination be your guide!
Step 9: Attach the Chosen Clasp
Attach the clasp components to the bracelet’s ends using jump rings, split rings, or beading wire. Ensure a secure connection that aligns with the bracelet’s overall aesthetics. Test the clasp to verify its functionality and durability.
Step 10: Quality Check and Final Touches
Conduct a meticulous quality check to identify any loose threads, uneven beads, or gaps in the design. Make any necessary adjustments to ensure the bracelet is both structurally sound and visually pleasing. Gently clean the beads to remove fingerprints or residue, unveiling the bracelet’s true radiance.
Things to Consider When Making Beaded Bracelets with Seed Beads
There are a few things to keep in mind when creating beaded bracelets with seed beads. As an experienced jewelry maker, you will know that the type of bead and cord used can make a huge difference in the quality of your pieces.
When selecting beads for your project, consider size, shape, color, pattern and texture. Different sizes and shapes will give your bracelet a unique look, while colors and patterns can completely transform the piece.
The type of cord used is also important to consider when creating beaded bracelets with seed beads. If you are looking for a more sturdy design, using a thicker cord such as leather or hemp may be best. For lightweight pieces, cotton or linen cords work well.
Conclusion
Creating a beaded bracelet with seed beads is a fun and creative way to use your time. It does not have to be complicated or expensive – you can make something beautiful and unique all on your own using simple materials. With a little patience and practice, anyone can create stunning designs with seed beads that add pizzazz to any accessory collection.
By following these steps, it’s easier than ever to craft beautiful bracelets with intricate details. So don’t procrastinate – get started today! And don’t forget – feel free to get creative with different colors and sizes of beads for even more exciting results. Now that you know the basics of how to make beaded bracelets with seed beads, what will you design?

