
Creating back tab curtains offers a stylish and tailored alternative to traditional curtain-hanging methods, providing a clean and modern aesthetic to any space. If you’re eager to elevate your window treatments and showcase your sewing skills, learning how to make back tab curtains is a rewarding endeavor.

In this article, we’ll guide you through the step-by-step process of crafting these elegant curtains, from selecting the right fabric to mastering the back tab attachment technique.
Whether you’re a seasoned seamstress or a novice with a passion for DIY home decor, this comprehensive tutorial will empower you to transform your fabric into custom back tab curtains that not only enhance your interior design but also reflect your unique style and attention to detail. Say goodbye to standard curtain rods and embrace the versatility and sophistication of back tab curtains with this detailed guide.
Benefits of Back Tab Curtains
Back tab curtains have become increasingly popular among homeowners and designers alike in recent years. These unique window treatments offer a number of benefits that make them stand out from traditional curtain styles. In this section, we will explore some of the main advantages of back tab curtains.
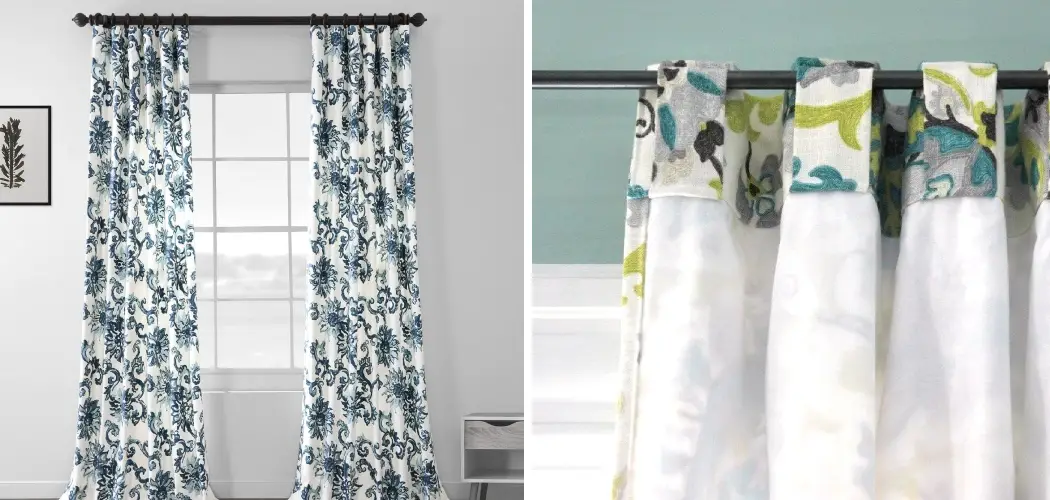
Sleek and Modern Look
One of the biggest draws of back tab curtains is their sleek and modern appearance. The clean lines of the tabs create a streamlined look that can add a touch of elegance to any room. This makes back tab curtains a popular choice for contemporary or minimalist design styles.

Versatility in Hanging Options
Back tab curtains offer versatility in terms of how they can be hung. Unlike traditional curtains that require curtain rings or hooks, back tab curtains simply slide onto a curtain rod through the tabs on the back of the panel. This allows for easy adjustment and customization of the length and fullness of the curtains.
Improved Light Control
Because back tab curtains hang flat against the window, they offer improved light control compared to other curtain styles. The tabs create a tight seal against the top of the window, reducing gaps that can let in unwanted light. This makes them a great choice for bedrooms or other rooms where privacy and light control are important.
Affordable and Easy to Find
Back tab curtains are also very affordable and easy to find, making them a practical choice for many homeowners. They can be found at most home decor stores, as well as online retailers, at a variety of price points to fit any budget. This accessibility and affordability make back tab curtains a popular choice for many.
10 Methods How to Make Back Tab Curtains
1. Measure your Window
Before you begin making back tab curtains, it is important to measure the window that you are covering. This will ensure that your curtains will fit properly and look great when they are finished. You should measure the width of the window from side to side and the length from top to bottom. It is also a good idea to measure any decorative hardware such as rods or finials that may be used to hang the curtains.

2. Cut the Fabric
Once you have taken measurements, you can cut your fabric according to those measurements. It is best to use a sharp pair of scissors so that you can get a clean cut on all sides of the fabric. If you are using an existing curtain panel, make sure that it is long enough for the desired length of your finished curtains.
3. Hem the Edges
After cutting your fabric, it is important to hem all four sides in order to prevent fraying and give your curtains a professional look. To do this, simply fold over each edge about 1/2 inch and iron flat. Then fold over again about 1/4 inch and iron flat once more before stitching along the folded edge with a sewing machine or by hand with needle and thread.
4. Create Back Tabs
Back tab curtains are created by folding sections of fabric over onto themselves in order to create tabs at the top of the curtain panel which can be used for hanging purposes. To create back tabs, start at one end of the curtain panel and fold over approximately 4 inches of fabric onto itself before pinning in place with straight pins or clips. Continue this process until all desired tabs have been created along both sides of the curtain panel.
5. Sew on Grommets
Grommets can be added to back tab curtains in order to provide additional support when hanging them on a rod or finial hardware piece. To sew on grommets, start by marking where each grommet should go along both sides of the curtain panel using chalk or a marker pen before pushing through each grommet from behind with an awl or other pointed tool such as scissors or pliers until it is firmly in place against the front side of the panel fabric.
Once all grommets have been secured, stitch around each one with thread for extra security if desired before moving onto step 6 below!
6. Attach Lining
If desired, the lining can be added behind back tab curtains in order to provide additional insulation and block out light more effectively than unlined panels would do alone. To attach lining, start by laying out both pieces (the main curtain panel and lining) wrong sides facing together before pinning them together along their edges with straight pins or clips.

Next, stitch around all four edges using either a sewing machine or by hand with needle and thread before trimming off any excess material if necessary. Finally, press lightly with an iron if needed!
7. Sew Header Tape
Header tape is often used when making back tab curtains as it provides additional support for hanging purposes when hung from rods or finials hardware pieces rather than directly onto walls etc. To sew header tape onto back tab curtains, start by laying out both pieces (the main curtain panel and header tape) wrong sides facing together before pinning them together along their edges with straight pins or clips.
Next, stitch around all four edges using either a sewing machine or by hand with needle and thread before trimming off any excess material if necessary. Finally, press lightly with an iron if needed!
8 . Attach Hooks
Hooks can be added at various points along back tab curtains in order to provide additional support when hanging them from decorative hardware such as rods or finials pieces rather than directly onto walls etc. To attach hooks securely into place on these types of panels, start by marking where each hook should go using chalk or a marker pen before pushing through each hook from behind with an awl or other pointed tool such as scissors or pliers until it is firmly in place against the front side of the panel fabric.

Once all hooks have been secured, stitch around each one with thread for extra security if desired before moving on to step 9 below!
9 . Hang up Your New Curtains
Finally, once all steps above have been completed successfully, you’re now ready to hang up your brand new gorgeous looking back tab curtains! Start by measuring distances between wall brackets (or other decorative hardware) so that they match up evenly, then use screws (or other appropriate fixings) depending on what type of wall surface you’re working on, followed finally by attaching rods (or other decorative hardware) securely into place then hanging up each individual section accordingly – now stand back and admire your handiwork!
10. Care for Your Back Tab Curtains
To ensure your back tab curtains last as long as possible, it is important to care for them properly. This includes regular cleaning and maintenance. Follow the instructions on the fabric label for specific cleaning guidelines. You may also want to periodically check the strength of the stitches and replace any damaged or worn-out grommets or hooks as needed. With proper care, your back tab curtains will continue to add style and function to your windows for years to come.
Overall, making back tab curtains is a creative and fulfilling DIY project that allows you to customize the look of your home while also adding practical benefits such as light control and insulation.
Things to Consider When Making Back Tab Curtains
In the previous section, we discussed the steps involved in making back tab curtains. However, there are other factors to consider before you get started on your DIY project. Here are some things that you should keep in mind when making back tab curtains:
- Fabric Choice: The type of fabric you choose for your back tab curtains can greatly affect the overall look and functionality of your curtains. For example, if you want to block out light, choose a heavy fabric like velvet or linen. If you’re looking for a more lightweight option, consider using cotton or sheer fabrics.
- Lining: While lining may not seem necessary, it can provide many benefits when added to back tab curtains. A lining can help to protect your curtains from sun damage, increase privacy, and improve insulation.
- Curtain Rods: Back tab curtains require a curtain rod that is suitable for their style. Make sure to measure the width of your window and choose a rod that is slightly wider than the measurement to prevent light from entering through the sides.
- Length: The length of your back tab curtains will depend on your personal preference and the style of your home. However, as a general rule, curtains should reach either to the floor or just above it.

Conclusion
Crafting your own back tab curtains is a simple process and a great way to add a unique, customized touch to any room in your home. You can use fabric from the store or break out the sewing machine and create something entirely new. No matter how you do it, adding custom back tab curtains will leave you with a stunning finish that will bring life to any room.
Whether you’re upcycling old materials, crafting something new from scratch, or buying something from the shop, back tab curtains are an inexpensive way to spruce up your space – no installation or tools needed! Now that you know how to make back tab curtains, get creative and have fun experimenting with fabrics and colors. Go ahead – start crafting your own one-of-a-kind back tab curtain look today!