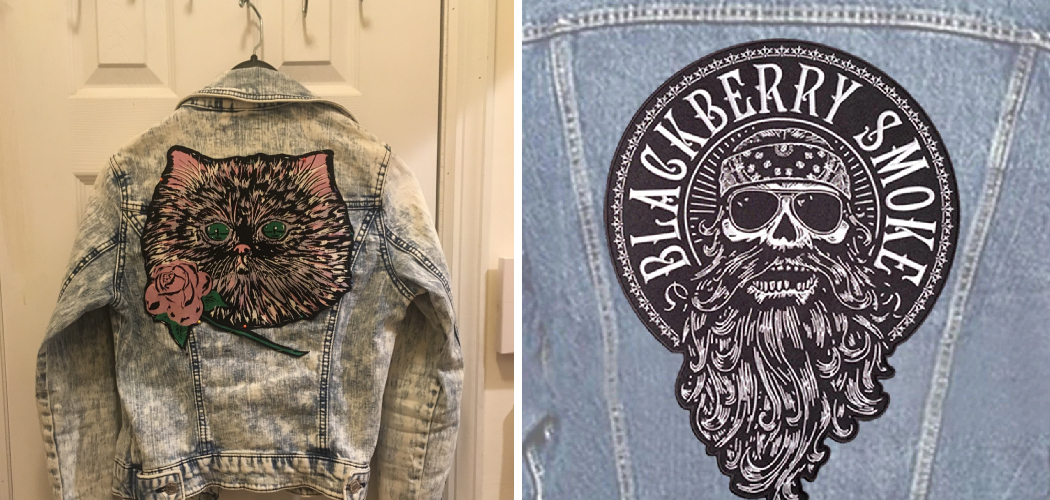
Do you want to make custom back patches for yourself, or as a gift for a loved one? Whether it’s an image of your favorite pop culture icon or the logo of your favorite band, creating your own back patch gives you the freedom to express yourself with style. Crafting back patches is easier than you think: all it takes is some fabric, thread, an embroidery hoop, and a needle.
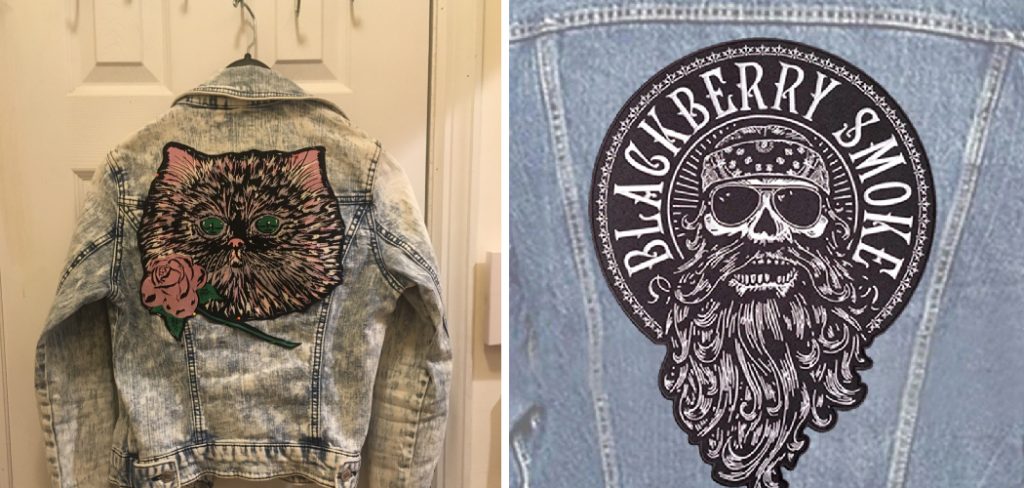
In this article, we’ll walk you through every step of how to make back patches so that crafting your own unique and eye-catching patch will be easy!
Tools and Materials You Will Need to Make Back Patches
- Embroidery hoop
- Fabric for the patch
- Thread
- Needle
- Iron
- Printed image or pattern for your back patch
- Scissors
- Pen or marker
Step-by-Step Guidelines on How to Make Back Patches
Step 1: Prepare Your Pattern
Start by printing or copying an image you want to use for your back patch onto a piece of paper. If you’re going to be using a fabric design, cut it out and trace it onto the fabric with a pen or marker. Make sure that the pattern is large enough to fit into the embroidery hoop. Preparing your pattern in advance is essential for getting precise results.
Step 2: Prepare the Fabric
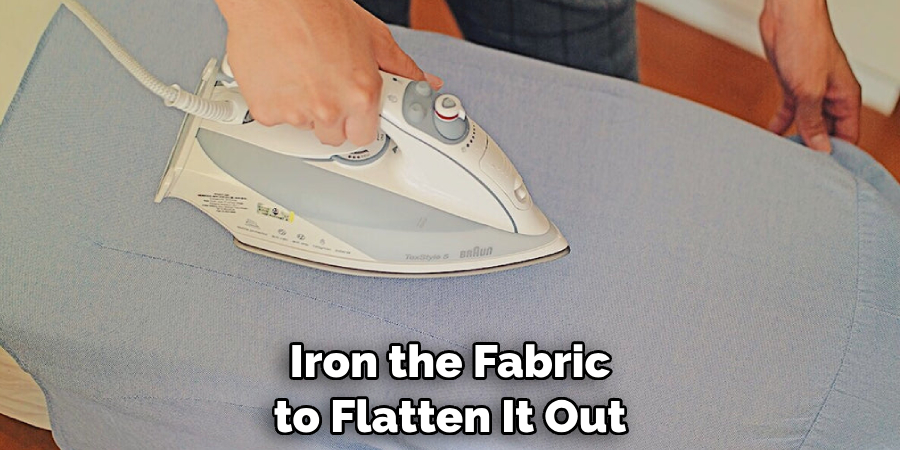
Iron the fabric to flatten it out and then cut out a piece large enough to fit your embroidery hoop. Place the fabric, right side up, on top of an ironing board covered with a sheet of paper or parchment paper so that you can trace the pattern onto it. Once you’ve traced your pattern, remove the paper and place the fabric in the embroidery hoop.
Step 3: Assemble the Embroidery Hoop
Tighten the embroidery hoop by turning its screw until it holds the fabric tightly. As you do this, be careful not to stretch or distort the fabric. Once you have secured it in place, use a needle and thread to attach the hoop to your back patch project. Then start embroidering the design onto the fabric.
Step 4: Embroider Your Design
Using a needle and thread, start to embroider your design on top of the fabric. This is the most time-consuming part of making back patches, but it’s also where you can get creative and show off your skills! When you’re finished, cut away any excess fabric from the edges. Carefully snip away any loose threads to give your back patch a neat, finished look.
Step 5: Finishing Touches
Once you’ve finished embroidering your back patch design, it’s time to add some finishing touches. To do this, you can use a glue gun or hemming tape to attach a backing to your patch so that it will stay in place when it’s worn. You can also add a border around the edge of your patch for a more finished look.
And that’s it! You have now completed your very own back patch. With these simple steps, you are now ready to show off your awesome creation and show everyone how talented you are. Have fun with your new back patch!
Additional Tips and Tricks to Make Back Patches
1. If you’re using iron-on or heat transfer fabric, make sure to always mirror your image before transferring it to the patch. This will ensure that the design ends up facing the correct direction when you’re finished.
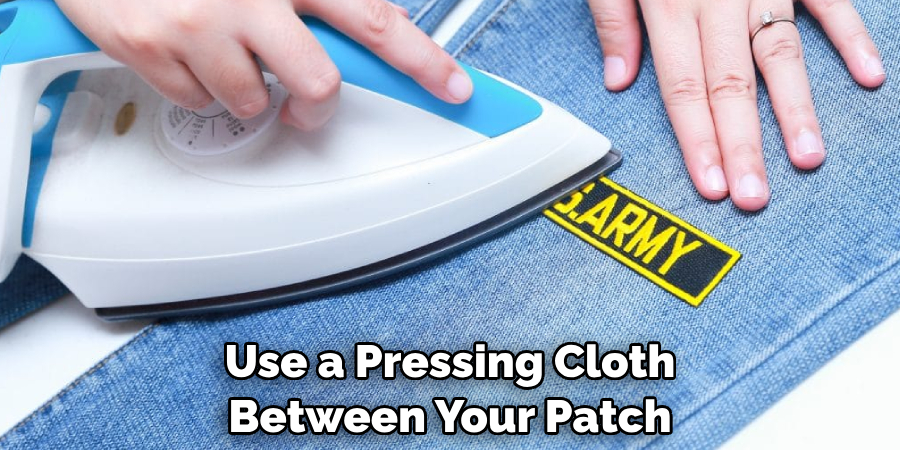
2. Make sure to use a pressing cloth between your patch and the iron, as this will help prevent any damage from occurring to the patch or your garment.
3. To make sure your design is secure, sew around the edges of your patch with a sewing machine or by hand stitching it. This will also give added protection against wear and tear.
4. Use different textures, materials, and colors to create interesting back patches that stand out from the crowd. You can even mix and match fabric to give it a more unique look.
5. If you’re feeling creative, try using beading embroidery to create intricate patterns or motifs on your patch. This will add an extra level of detail and visual interest to the patch.
6. If you want your back patch to last for years to come, consider using a waterproof adhesive. This will help to keep the patch in place and look great for a long time.
7. Finally, when attaching your back patch to clothing or other fabrics, make sure to use an appropriate backing material such as felt or denim. This will ensure that the patch is securely attached and will provide additional protection against wear and tear.
By following these tips and tricks, you’ll be able to create beautiful and unique back patches that you can showcase with pride. With a little creativity and effort, you can create fun designs that are sure to turn heads. Whether it’s for fashion or to show off your favorite hobby, making back patches is an enjoyable way to make a statement. So go ahead, get creative, and start making your own one-of-a-kind back patches today!
Things You Should Consider to Make Back Patches
1. Choose Your Fabric Carefully:
When selecting the fabric for your back patch, consider its weight, texture, and dye transfer. Choose a heavier-weight fabric like canvas or denim if you plan to sew it onto your clothing item. On the other hand, lighter-weight fabrics like cotton may be better suited for ironing on the patch.
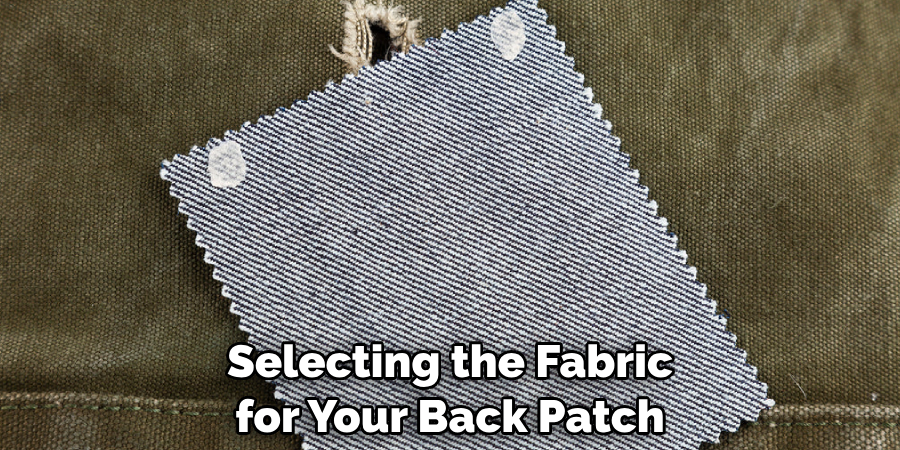
Make sure you check the fabric’s dye transfer rating to ensure it won’t fade or bleed when you apply paint or embroidery.
2. Select Your Patches and Appliques:
There are a variety of patches and appliques available for your patch-making project, ranging from simple designs to intricate ones. You can find them in craft stores, fabric stores, and online.
When selecting patches and appliques, consider their shape and size in relation to the clothing item you’ll be attaching them. You might also want to think of how they will look with other decorations or logos that you plan to add later.
3. Gather Your Supplies:
Once you’ve selected your fabric and patches, it’s time to gather the supplies you’ll need for your project. Depending on the type of patch or applique you’ve chosen, you may need items such as scissors, embroidery floss, fabric glue, and an iron. Consider investing in a back patch-making kit to make sure you have all the materials you need.
4. Get Creative With Your Design:
Your back patch can be a great opportunity to get creative and have some fun with your design! Consider using fabric paint or embroidery to add different colors and textures to your patch, or try out a new stitch pattern. If you’re feeling extra adventurous, you can even try making the patch out of recycled materials like old t-shirts or scraps of fabric.
5. Attach Your Patch to the Clothing Item:
Once you’ve finished designing your patch, it’s time to attach it to the clothing item. Depending on the type of material you used for your patch, this may involve sewing, ironing, or gluing it on. Make sure you use a strong stitch or glue to ensure the patch stays in place and be careful not to damage the clothing item with any excess adhesive.
By following these considerations, you’ll be able to create a unique and stylish back patch for your clothing item. With a bit of creativity and some essential supplies, you can make a one-of-a-kind accessory that will stand out from the crowd. Good luck!
Frequently Asked Questions
What Type of Fabric Should I Use for My Patch?
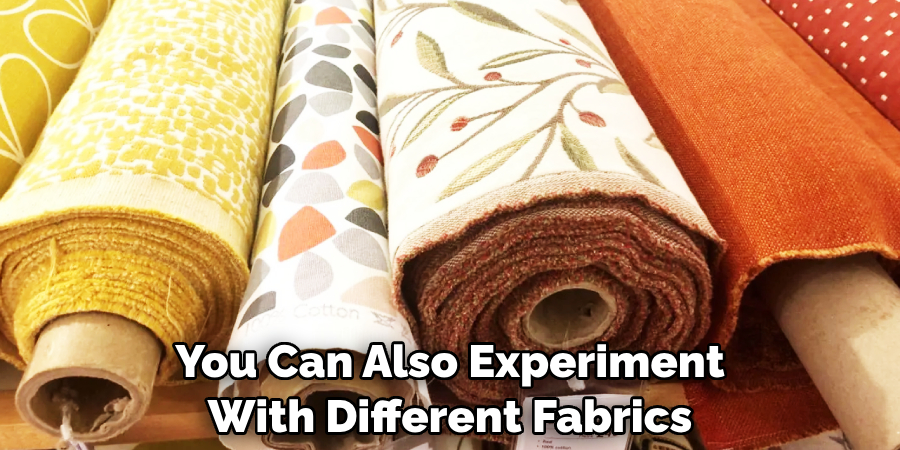
There are a variety of fabrics you can use to make your back patch. Cotton and denim are the most popular choices, as they are durable and easy to work with. You can also experiment with different fabrics like canvas, felt, or even leather to give your patch a unique look.
What Type of Thread Should I Use?
Cotton thread is the best choice for making patches as it is strong and will not fray when stitching. You can also use nylon or polyester thread, although they may be more prone to fraying after wear and tear.
Is It Difficult to Make a Back Patch?
No, it isn’t! With the right materials, some basic hand-stitching skills, and a bit of patience, anyone can make a back patch. It may take you an hour or two to complete your design, but the result is sure to be worth it!
What Kinds of Embellishments Can I Add to My Patch?
You can add any type of embellishments you like to your back patch. Embroidery, sequins, studs, patches, and other decorative elements can all be added to make your patch unique.
Conclusion
Learning how to make back patches is a great way to add a unique touch to your wardrobe. With the right materials and some basic skills, anyone can create their own patch design in no time.
Whether you choose cotton or denim fabric, embroidery thread or polyester, embellishments or none – the possibilities are endless! It’s up to you how creative you want to get with your back patch. So, what are you waiting for? Get stitching and show off your custom-made back patch!

