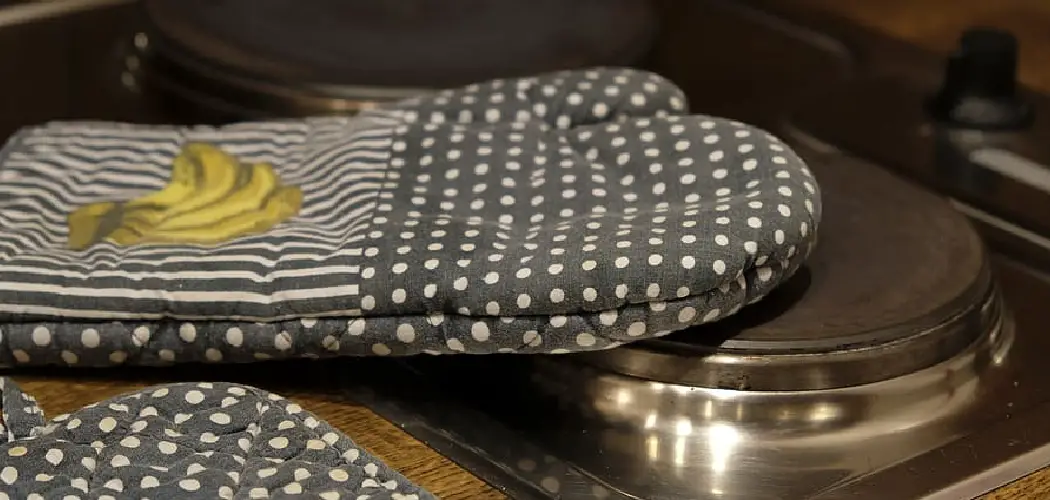
Crafting your own oven glove not only adds a personalized touch to your kitchen but also provides a practical and stylish solution for handling hot cookware. Whether you’re an experienced seamstress or a novice eager to try your hand at sewing, making an oven glove is a rewarding project that combines functionality with creativity.
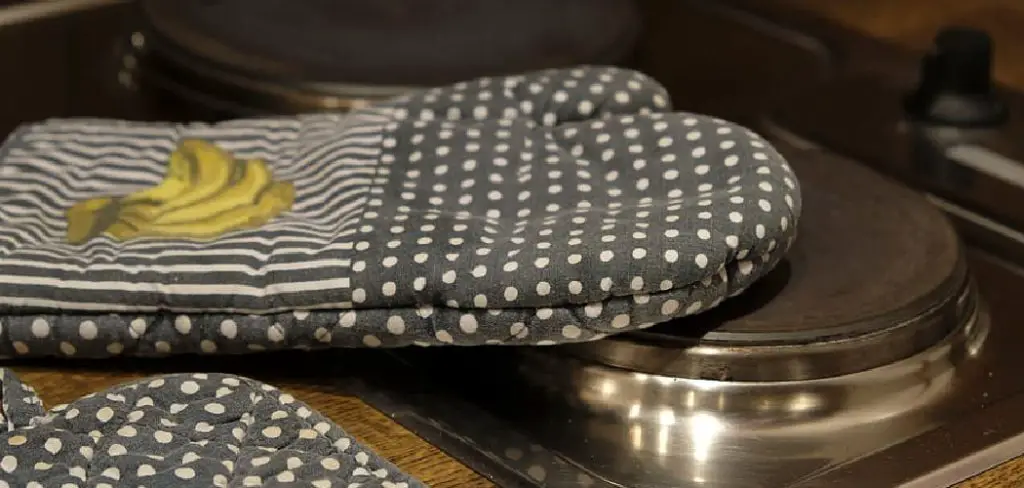
In this comprehensive guide, we will explore the step-by-step process of how to make an oven glove, from selecting the right fabric and insulation materials to mastering essential sewing techniques.
Join us on this crafting journey as we unravel the secrets of making an oven glove that not only protects your hands from the heat but also reflects your unique style. Get ready to infuse warmth and charm into your kitchen with a handmade oven glove that is as functional as it is aesthetically pleasing.
Importance of Oven Gloves in the Kitchen
Oven gloves hold a pivotal place in the kitchen, protecting your hands from the intense heat associated with baking or cooking. Their thick, heat-resistant material ensures you can safely handle oven trays and hot containers without the risk of burns. Furthermore, these gloves provide a secure grip, reducing the chances of dropping dishes due to a slip or insufficient hold.
Beyond safety, a thoughtfully chosen or handmade oven glove can accentuate the aesthetics of your kitchen. Personalized oven gloves can also serve as a symbol of your culinary passion, adding personality and flair to your cooking space. Therefore, the importance of oven gloves extends beyond practicality, contributing notably to kitchen safety, personal expression, and overall decor.
Materials and Tools Needed
To embark on your journey of making an oven glove, you will need the following materials and tools:
- Fabric: Choose a heat-resistant fabric, like cotton or denim, that can withstand high temperatures. You will need two types of fabric – one for the exterior of the glove and one for the lining. Please ensure that the fabric chosen is also comfortable and easy to clean.
- Insulation Material: An insulation material, such as Insul-Bright or cotton batting, is crucial for creating a barrier against heat.
- Thread: Opt for a durable thread that matches or complements your chosen fabric. Cotton or polyester thread are both good choices.
- Sewing Machine: A standard home sewing machine should suffice for this project. If you don’t have access to one, hand-sewing is also an option, although this will require more time and patience.
- Basic Sewing Supplies: This includes sewing needles, pins, fabric scissors, a seam ripper, and a fabric marker or tailor’s chalk for marking your patterns.
- Oven Glove Pattern: You can find various patterns online or design one yourself based on an existing oven glove. Be sure to include allowances for seams in your pattern.
Collect all these materials and tools before you start, to ensure a smooth crafting process. Remember, preparation is half the battle won. Let’s get ready to create your custom oven glove!
Choosing a Pattern or Template
The first step in making your oven glove is choosing the right pattern or template. This will serve as your blueprint for the size and shape of your glove. You can download and print an existing pattern from various online resources or create your own custom design.
If you choose to design your own pattern, consider using an existing oven glove as a template. Simply trace around the glove onto a piece of paper, remembering to include a seam allowance of about half an inch.
Make sure to mark areas for the thumb and hand for optimal flexibility and comfort. Whether you choose a traditional mitt style or a modern glove design is up to your personal preference and comfort.
Once you have your pattern or template ready, carefully cut it out. This will serve as your guide while cutting your fabric and insulation material. Remember, a well-designed pattern is the foundation of a great oven glove!
10 Methods How to Make an Oven Glove
1. Choose Your Fabric
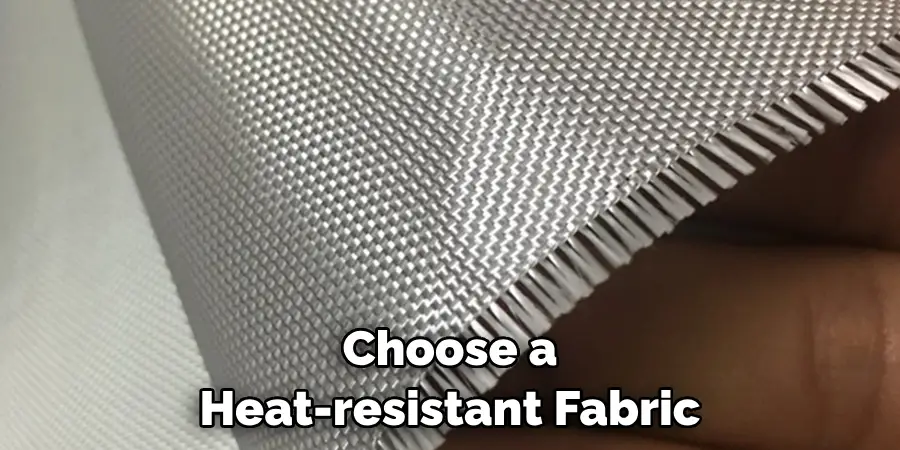
The first step in making an oven glove is to choose the fabric you want to use. It’s important to choose a heat-resistant fabric, such as cotton or canvas, that can withstand high temperatures.
2. Measure and Cut the Fabric
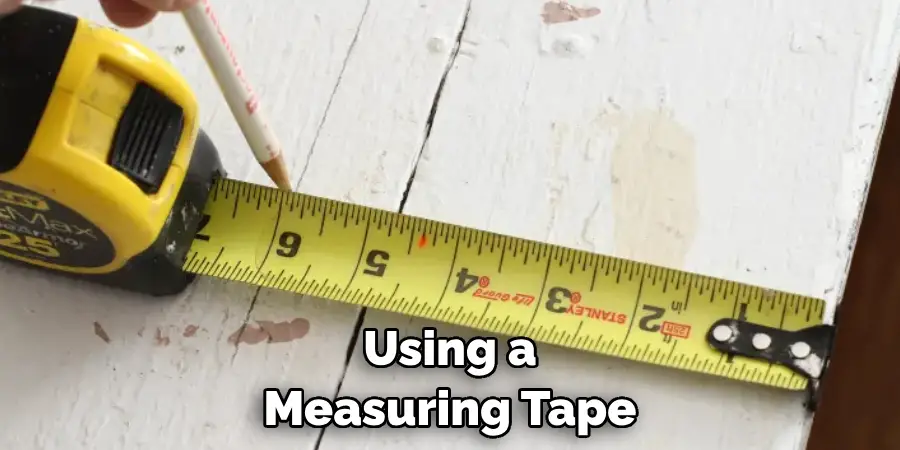
Using a measuring tape or ruler, measure and mark the dimensions for your oven glove on the chosen fabric. Then, using sharp scissors, carefully cut out the two pieces of fabric.
3. Create a Pattern
To ensure that both pieces of fabric are identical in size and shape, create a pattern by tracing one piece onto paper and then cutting it out. Use this pattern to trace and cut out the second piece of fabric.
4. Sew the Pieces Together
Place the two pieces of fabric together with right sides facing each other and pin them in place. Using a sewing machine or needle and thread, sew along the edges leaving a small opening for turning.
5. Turn Inside out
Carefully turn the oven glove inside out through the opening you left while sewing. Use a pencil or chopstick to push out any corners or edges. However, be gentle to avoid tearing the fabric.
6. Add Insulation
To make your oven glove more heat-resistant, add an extra layer of insulation between the two layers of fabric before sewing them together. This can be done using heat-resistant batting or multiple layers of cotton batting.
7. Sew up The Opening
Once you have turned your oven glove inside out, sew up the opening using a needle and thread or a sewing machine. Be sure to neatly close the opening using a slip stitch or topstitch.
8. Add Decorative Elements
If desired, you can add decorative elements to your oven glove such as embroidery, appliques, or trimmings. These will not only enhance the aesthetics of your glove but also add a personal touch to it.
9. Make a Loop for Hanging
To easily hang your oven glove when not in use, create a loop using leftover scraps of fabric and attach it to one corner of your glove with some stitching.
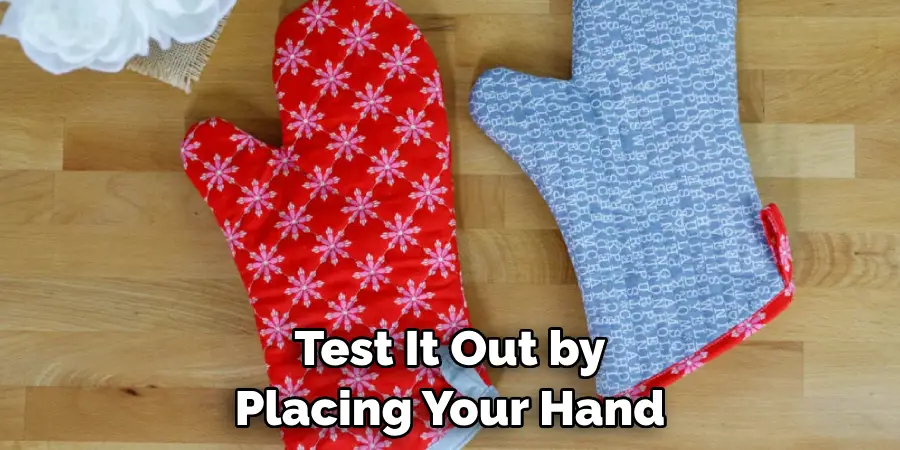
10. Test It Out!
Before using your homemade oven glove for cooking or baking, test it out by placing your hand inside and holding onto a hot pot or pan. If it feels too hot, consider adding another layer of insulation for added protection.
Adding Insulation
Now that you have your fabric pieces ready, the next step is crucial for the safety and practicality of your oven glove: adding insulation. Start by laying down the outer fabric, right side down.
Next, place your insulation material (such as Insul-Bright or cotton batting) on top of the fabric. If you’re using Insul-Bright, ensure the shiny side (which reflects heat) faces towards the fabric. Follow this with the lining fabric, right side up, creating a sandwich of the three layers.
Trace your oven glove pattern onto the insulation material using a fabric marker or tailor’s chalk. Then, carefully cut through all three layers following the pattern. Repeat this process for the second glove.
Pin the layers together to keep them in place. With your sewing machine or needle and thread, quilt the layers together using simple straight lines or a pattern of your choice. This step not only secures the insulation but also adds a decorative element to your oven glove.
Be sure to leave an opening for turning, just like you did while sewing the fabric pieces together. Remember, the better the insulation, the more protection your oven glove will provide.
Sewing the Glove
Once your layers are quilted and pinned together, it’s time to sew your glove. Start by sewing around the edges of the glove, leaving an opening for turning the glove right side out. Be sure to sew carefully and slowly, particularly around the thumb area. This is where the glove needs to be the most flexible.
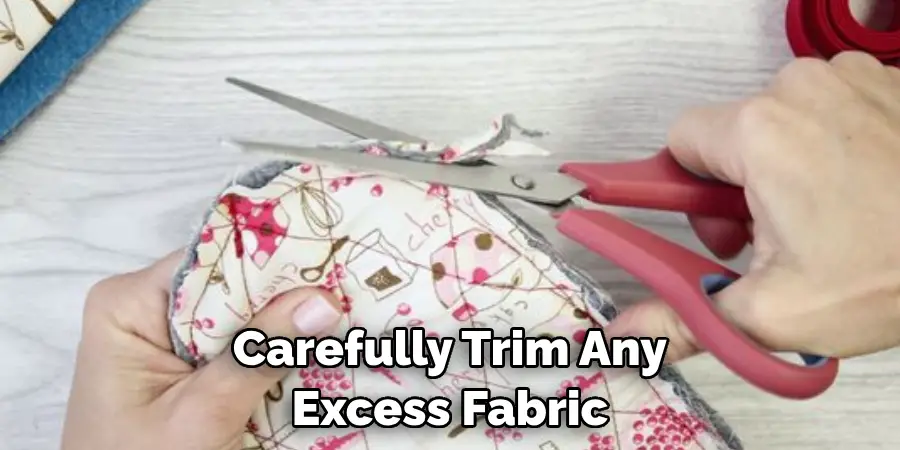
After sewing, carefully trim any excess fabric or batting from the edges, taking care not to cut too close to the stitching. Pay special attention to the area around the thumb, where it’s essential to reduce bulk for comfort and flexibility.
Next, turn your glove right side out through the opening you left. Use a point turner or similar tool (a chopstick or pencil can work, too) to gently push out the thumb and finger areas.
Finally, press the glove to smooth out any wrinkles and give it a professional finish. You can then hand stitch or machine sew the opening shut. This is also a good time to add any finishing touches, such as a hanging loop or decorative topstitching.
Conclusion
In conclusion, creating your own oven glove is an easy and budget-friendly DIY project that has multiple benefits. With just a few simple materials and following the steps of how to make an oven glove, you can have a customized and functional oven glove that will not only protect your hands from burns, but also add a personal touch to your kitchen.
By making your own oven glove, you are taking a step towards sustainable living by repurposing old fabrics instead of buying new ones. You can also make this project a fun family activity by involving kids or friends in the process. So why not give it a try? Follow the tips and techniques mentioned above and create your very own unique oven glove today.

