
Are you looking for a fun and creative activity to engage yourself during this time of social distancing? Why not try your hand at origami, the art of paper folding? Origami has been around since the 17th century and is an entertaining form of art to practice all while learning about various cultures.

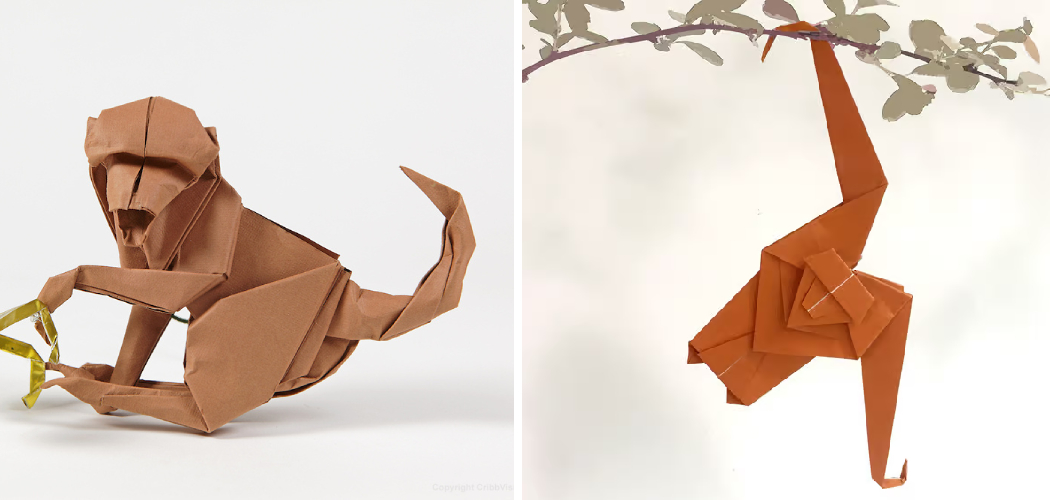
With just a few simple folds, you can transform a single rectangular sheet into an adorable monkey that’s sure to bring smiles and joy to anyone who sees it. Come learn how to make an origami monkey in no time with our easy-to-follow step-by-step guide!
What is Origami Monkey?
Origami Monkey is a paper craft that requires folding and cutting. The end result is a fun and creative 3D model of a monkey, which can be used for decoration or as a gift. All you need to get started is one rectangular sheet of paper!
Materials Needed
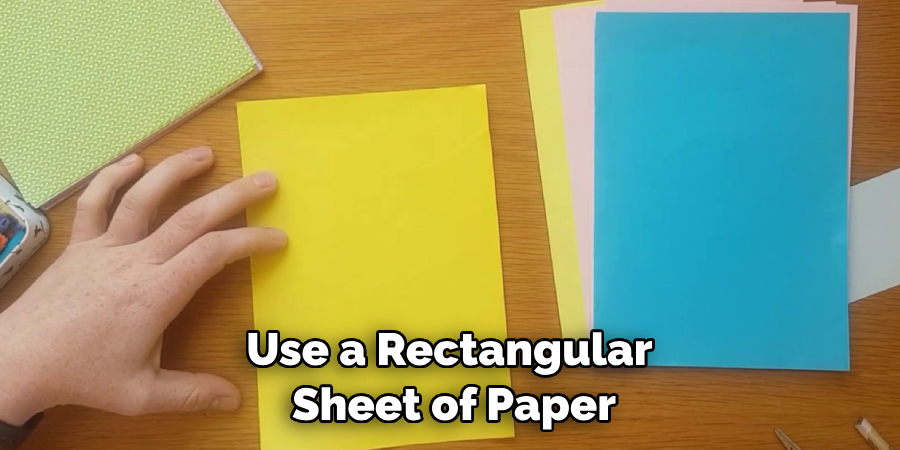
- Rectangular Sheet of Paper
- Scissors (Optional)
- Glue (Optional)
- Colored Pencils or Markers (Optional)
11 Step-by-step Instructions on How to Make an Origami Monkey
Step 1: Prepare Your Paper
Begin by taking a rectangular sheet of paper and folding it in half lengthwise. Unfold the paper and flip it over so that the crease is facing up. If you are using a square sheet of paper, simply fold it in half. But it’s best to use a rectangular sheet of paper for this project. This will give you a better result. Always ensure you are using square sheets of paper for the best results.
Step 2: Fold the Top Corners
Fold down the top corners of your sheet of paper and crease them firmly. Make sure the sides are symmetrical. You’ll want to ensure that each side is folded down by the same amount. However, don’t fold the corners down too much. It should be just enough to create a triangle shape. But the sides should still be equal.

Step 3: Fold the Bottom Corners
Next, fold the bottom corners of your paper inwards and crease them firmly. As with the previous step, make sure each side is folded in by the same amount. This should create a diamond shape on your paper.
This time, be sure to fold the corners in enough so that you can’t see them when looking at your diamond shape. It should be completely enclosed. This will form the monkey’s head. You can also use scissors to cut this shape out if you prefer.
Step 4: Create the Head
Fold the left corner of your paper up and to the right until it meets the middle crease line. Flip over your paper and repeat this step on the other side. It should create a triangle shape. Then fold the top corners of your paper downwards and crease them firmly. This will form the monkey’s ears. Although folding the corners inwards rather than outwards will create a more realistic shape.
Step 5: Create the Ears
Fold the top corners of your paper down and to the left until they meet the middle crease line. Flip over your paper and repeat this step on the other side as well. It should create two triangles.
This will form the monkey’s ears. This time you should fold the corners inwards rather than outwards to create a more realistic shape. It’s also important to make sure the sides are equal. But don’t fold the corners down too much.
Step 6: Create Arms & Legs
Take one corner of your paper and fold it up and to the right until it meets the side crease line. Repeat this step on the opposite end of your paper. It should create two triangles. These will form the monkey’s arms and legs. Just make sure to fold each side by the same amount and not too much. This will give you a more realistic shape.

Step 7: Refine Your Model
Open up all of the folds you created so far. Your origami monkey should now look like a diamond shape with an “X” in the center. It’s now time to refine your model. Use scissors or a craft knife to round off any sharp edges and give your monkey a more realistic shape. You can also use glue and colored pencils or markers to add details such as eyes, nose, and mouth if desired.
Step 8: Create the Tail
Fold the blank corner of your paper in towards the center. This should create a tail for your origami monkey. But it’s important to make sure the tail isn’t too long. You don’t want it sticking out too far from the body of your monkey. If it does, use scissors or a craft knife to trim off any excess paper. This will give you a more realistic shape. It’s also a good idea to make sure the tail isn’t too thin.
Step 9: Refine Your Model
Open up all of your folds again and you’ll notice that your origami monkey is beginning to take shape. This is the time to refine your model. Use scissors or a craft knife to trim off any excess paper or round off any sharp edges. You can also use glue and colored pencils or markers to add details such as eyes, nose, and mouth if desired. This will give your monkey a more realistic look.
Step 10: Finishing Touches
At this point, you can use scissors to trim off any excess paper and give your origami monkey a finished look. You can also glue on wiggle eyes or use colored pencils/markers to draw in the face details if desired. If you’re using patterned paper, you can also use scissors to cut out shapes such as eyes or stripes. But be sure to keep the scissors away from any areas that could be easily damaged.
Step 11: Enjoy!
Your origami monkey is now complete and ready to be enjoyed! Feel free to display it in your living space or gift it to someone special. Always remember to keep practicing and honing your origami skills for even better results. However you choose to enjoy it, your origami monkey will always be a unique and special work of art. Have fun! It’s easy to make origami models once you get the hang of it!

Following these easy steps on how to make an origami monkey will have you creating your own origami monkey in no time. Now, why not experiment with other paper-folding creations? You can use different colored papers and decorations to create custom models. The possibilities are endless! So get started today and let your creativity shine!
Tips and Tricks
- Don’t Rush Through the Paper-folding Process. Take Your Time With Each Step for the Best Results.
- If You’re Having Trouble, Remember That Practice Makes Perfect!
- Use a Rectangular Sheet of Paper for Better Results.
- Feel Free to Use Colored Pencils or Markers to Add Details Like Eyes and Nose for Extra Cuteness!
- Have Fun and Be Creative!
Frequently Asked Questions
Q1: Is Origami Harder Than Other Crafts?
A1: Origami is actually quite simple, and with a few easy steps you can make your own amazing creations! It may take some practice, but once you’ve mastered the basics, you’ll be able to make more intricate and detailed models.
Q2: What Kind of Paper Should I Use?
A2: It is best to use a rectangular sheet of paper for origami projects. This will give you the best results. If you’re just starting out, you can also use regular printer paper or card stock. It is also recommended to use thicker paper such as card stock for projects that require more intricate folds.
Q3: Can I Make More Than Just an Origami Monkey?
A3: Absolutely! There are tons of origami projects that you can tackle, from small and simple models to more complex sculptures. With a little time and practice, you’ll be able to make all sorts of origami projects with ease!
Q4: Is There Anything Else I Should Know?
A4: Remember that folding paper requires patience and precision. It’s important to take your time and not rush through the process. This will give you better results in the end. It’s also important to use sharp scissors or a craft knife for more detailed projects. Have fun and get creative! You’ll be amazed at what you can make with just a few folds of paper!
Conclusion
Making an origami monkey is a fun craft that can be enjoyed by everyone in the family. If you’re looking for a way to keep the kids occupied during spring break, this origami project can provide hours of peaceful, creative playtime.
With just a few learning tips, even absolute beginners can learn how to make an origami monkey – your family will be delighted with the result! Next time you’re looking for a fun crafts activity, why not try making an origami monkey together?
Who knows – it may spark a long-term passion for paper folding or open up creative opportunities for all of you!