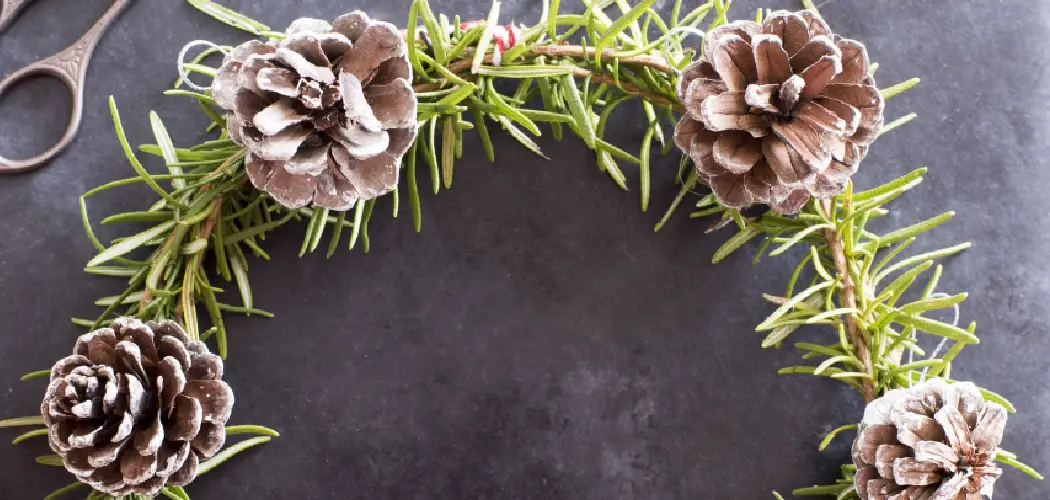
Welcome, creative souls and lovers of all things nature-inspired! Today, we embark on a delightful journey into the world of crafting, where we will unveil the secrets to creating a stunning wreath from the humble yet enchanting pine cones that grace our forests.
With winter delicately painting its frosty hues across the landscape, there’s no better way to embrace the season’s charm than by adorning our homes with a handmade masterpiece. So, grab your hot cocoa, cozy up by the fire, and let’s dive into this delightful tutorial that will ignite your imagination and fill your space with the warmth of nature’s beauty.
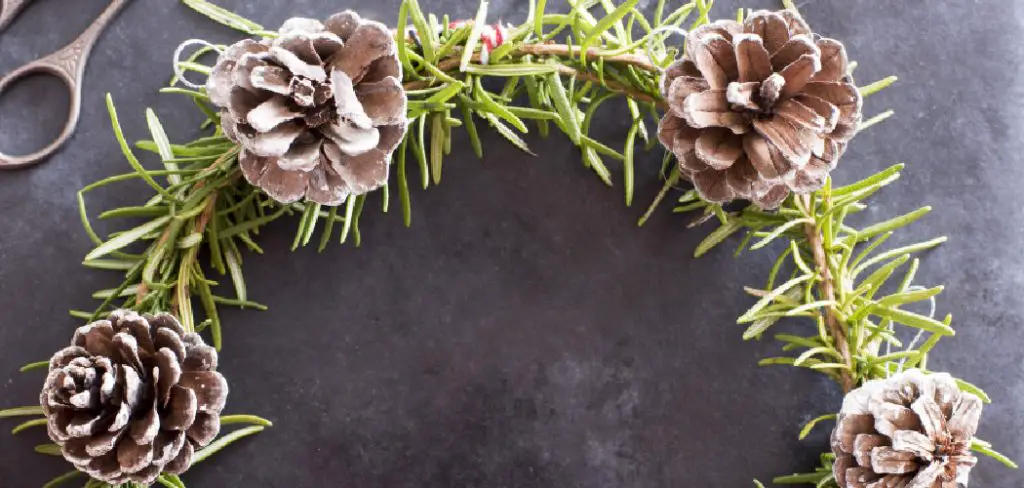
Whether you’re a seasoned crafter or a curious novice, this is the perfect opportunity to unleash your creativity and give a personal touch to your holiday decorations. By the end of this blog post on how to make a wreath from pine cones, you’ll be equipped with the skills and inspiration to transform ordinary pine cones into extraordinary pieces of art. Get ready to amaze yourself and all those who enter your abode with a wreath that beautifully captures the essence of this magical season.
Why Pine Cones?
Pine cones are a quintessential symbol of winter and the holiday season, making them the perfect material for a wreath. Not only do they add a rustic charm to any decor, but they also come in various shapes and sizes, allowing for endless possibilities in design. Plus, pine cones are readily available in most places, making this an affordable yet impactful craft project.
Materials Needed
- Pine Cones (Gather as Many as You Need, Depending on The Size of Your Wreath)
- A Wreath Frame (Wire or Grapevine)
- Hot Glue Gun
- Glue Sticks
- Scissors
- Ribbon, Twine, or Floral Wire for Hanging
- Optional: Paint, Glitter, and Other Embellishments of Your Choice
10 Simple Step-by-step Guidelines on How to Make a Wreath From Pine Cones
Step 1: Prepare Your Pine Cones
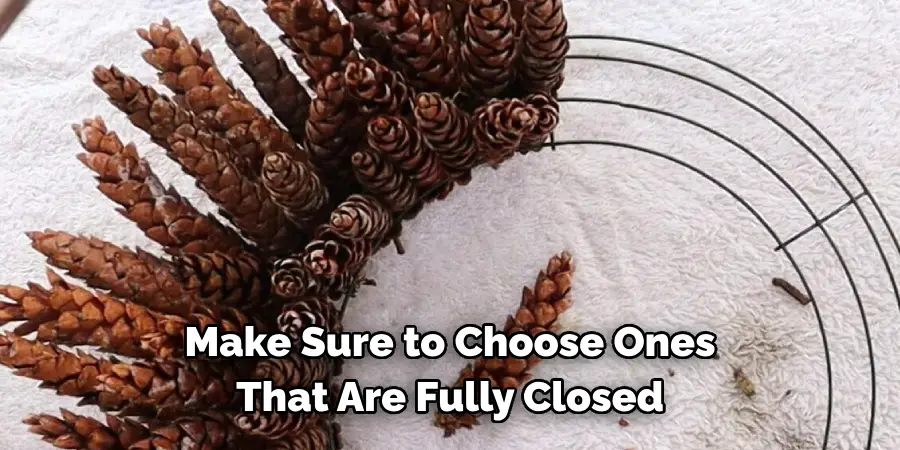
First and foremost, gather your pine cones from nature or purchase them from a craft store. If you’re gathering them yourself, make sure to choose ones that are fully closed and free of any visible damage. Then clean them thoroughly by removing any dirt or debris and letting them dry completely. If desired, you can also lightly spray them with a clear sealer to preserve their natural color and prevent any critters from making a home in your wreath.
Step 2: Heat Up Your Glue Gun
While your pine cones are drying, heat up your glue gun. Make sure to use a high-temperature setting for a stronger hold. Otherwise, the pine cones may easily detach from the frame. It’s also a good idea to have extra glue sticks on hand for larger wreaths. But be careful not to burn yourself – crafting should be fun, not painful!
Step 3: Prepare Your Wreath Frame
If you’re using a wire wreath frame, simply attach the ribbon, twine, or floral wire at the top for hanging. If you’re using a grapevine frame, make sure it’s sturdy and secure any loose pieces with hot glue. It’s also helpful to choose a wreath frame that is slightly larger than your desired finished size, as the pine cones will add bulk and make it smaller. You can always trim it down later if needed.
Step 4: Start Gluing Your Pine Cones
Now the fun begins! Start by applying hot glue to the base of a pine cone and pressing it onto the wreath frame. Hold it in place for a few seconds until the glue sets. Continue gluing pine cones around the inner and outer edges of the frame, making sure to overlap them slightly for full coverage.
Step 5: Fill in Any Gaps
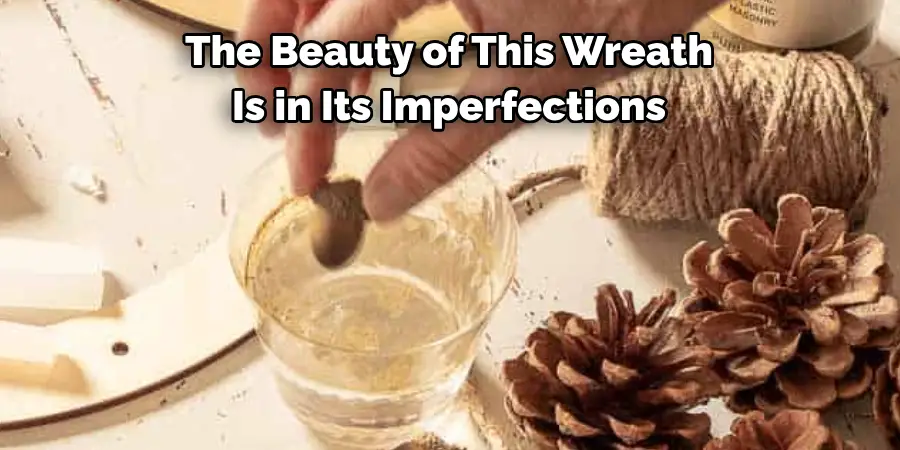
Once the edges are covered, fill in any gaps by gluing pine cones in between. You can also use smaller pine cones or broken pieces to fit into tighter spaces. Just make sure to vary the sizes and directions of the pine cones for a more natural look. But don’t worry about perfection – the beauty of this wreath is in its imperfections. This is also the perfect opportunity to involve kids in the crafting process!
Step 6: Add Some Flair
Now is your chance to get creative and make your wreath truly unique. You can paint the tips of the pine cones with white or gold for a snowy effect, add some glitter for extra sparkle, or attach small ornaments or berries for a pop of color. Just remember not to go overboard – less is more when it comes to decorating with natural elements.
Step 7: Secure Any Loose Pine Cones
As you continue to add embellishments, make sure to check for any loose pine cones and secure them with hot glue. You don’t want your beautiful wreath falling apart before the holiday season is over! However, if that does happen, don’t worry – just gather the fallen pine cones and turn them into a fun winter craft project with the kids.
Step 8: Leave Some Space for Hanging
Once you’re satisfied with the look of your wreath, leave a small space without any pine cone to attach the ribbon, twine, or floral wire for hanging. Make sure it’s securely glued and hold it in place until the glue sets. But if you prefer to have the entire wreath covered, you can always glue a ribbon or bow on top. If using a grapevine frame, you can also use the natural twigs to wrap around your hanging material for a more organic look.
Step 9: Let It Cool and Set
After all your hard work, take a break and let your wreath cool and set for at least an hour before hanging it up. This will ensure that everything is properly secured and prevent any mishaps. In the meantime, you can make yourself a warm cup of tea or hot cocoa and admire your handiwork. You deserve it!

Step 10: Hang Your Wreath with Pride
Finally, the moment has arrived – it’s time to hang your beautiful pine cone wreath for all to see. Find the perfect spot on your door, wall, or mantel and proudly display your handcrafted creation. Not only will it add a cozy and festive touch to your home decor, but it will also serve as a reminder of the joy and satisfaction that comes from creating something with your own two hands. So gather your supplies, put on some holiday music, and let the crafting begin! Happy wreath-making!
Additional Tips and Ideas
- Experiment with Different Types of Pine Cones: There are various types of pine cones that come in different shapes and sizes, such as fir, spruce, and cedar. Mixing them will add texture and depth to your wreath.
- Use Natural Elements for a Rustic Look: Instead of paint or glitter, you can also use dried berries, cinnamon sticks, acorns, or branches to decorate your wreath for a more natural and rustic feel. Just make sure they are securely glued and won’t easily fall off.
- Make a Miniature Wreath: If you don’t have a large wreath frame or want to make multiple wreaths, you can also use smaller frames for miniature versions. These can be used as decorations around your home or given as gifts to friends and family.
- Get Creative with Shapes: Who says wreaths have to be round? You can use a heart-shaped or square frame as the base for your pine cone wreath, or even create a letter or initial with wire and attach pine cones onto it.
- Use Different Colors: While the natural color of pine cones is beautiful on its own, you can also paint them in various colors like gold, silver, or red for a more festive look. Just make sure to let them dry completely before gluing them onto your wreath.
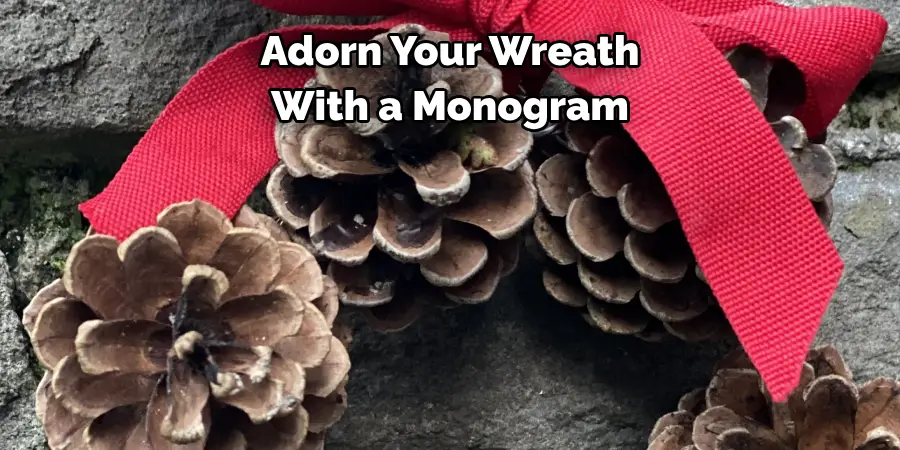
- Personalize Your Wreath: Adorn your wreath with a monogram or family name to make it more personal and unique. You can use wooden or metal letters, or even create your own using cardboard or paper maché.
Conclusion
Crafting a festive wreath out of pine cones is an incredibly rewarding experience. It takes planning and precision to turn ordinary items into something beautiful that can grace your door for years to come. The good news is that with these easy-to-follow steps on how to make a wreath from pine cones, anyone can craft their very own wreath to complement their home’s holiday decorations. So this year, why not give it a try?
After all, there’s nothing quite like the satisfaction of creating this timeless decoration with your own two hands! Perhaps you’ll even become a neighborhood sensation while utilizing resources from nature itself in the process. Whether you prefer an elegant loop or something more abstract, get creative and design a one-of-a-kind pine cone masterpiece that is uniquely you. Happy crafting!

