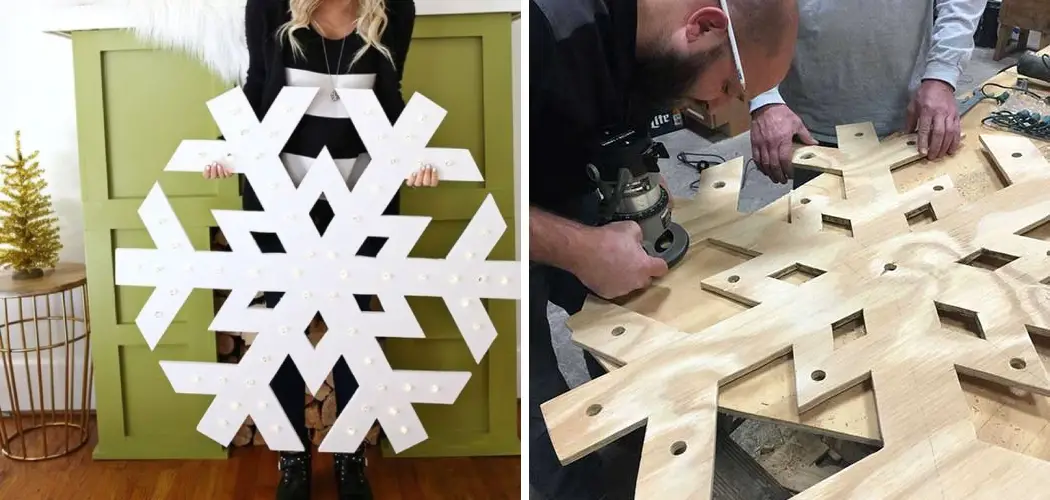
Breaking out of your usual winter crafting routine can be difficult, but the results are always worth it! If you’re looking for a unique way to decorate your mantle this holiday season, consider making a wood snowflake. Whether you have experience in woodworking or not, this project is simple enough for anyone to make — and best of all, with minimum tools and materials needed, it’s an affordable winter craft that won’t break the bank.
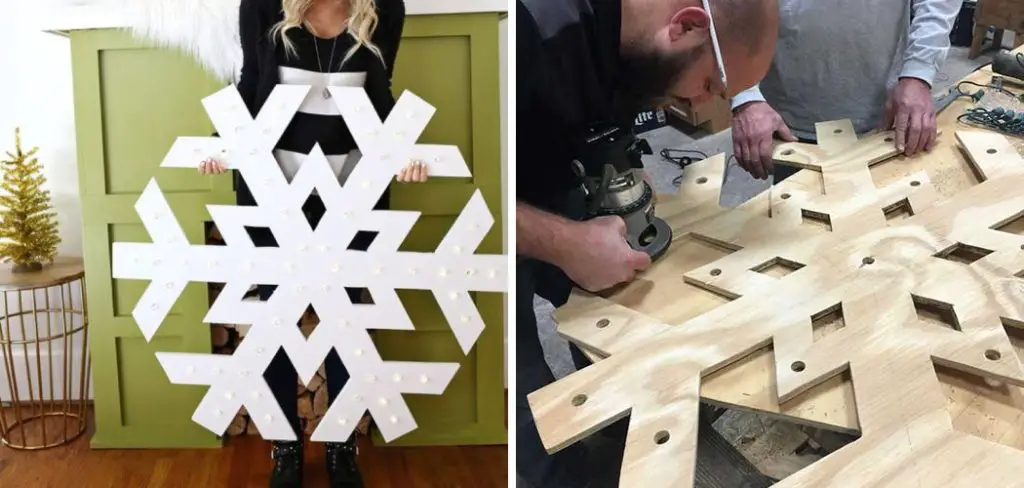
Follow along as we take you through the steps on how to make a wood snowflake that will add style and character to any space in your home.
Tools and Materials You Will Need to Make a Wood Snowflake:
- A piece of wood (we recommend a 1/4-inch thick sheet)
- A saw (handheld or circular saw will work)
- Sandpaper
- Wood glue
- Paint, stain, or other decorative materials
- Clear varnish or sealant
- Drill and drill bits (if you want to add hanging hardware)
Step-by-step Guidelines on How to Make a Wood Snowflake
Step 1: Choose a Template
Start by choosing a snowflake pattern that you like. You can find plenty of options online or draw your own with a pencil and paper. Keep in mind that the more intricate the design, the more challenging it will be to cut out. Choosing a simpler template may be easier for beginners. You can also resize the template if desired to make either a smaller or larger snowflake.
Step 2: Trace the Template Onto Your Wood
Next, trace the snowflake pattern onto your piece of wood. You can use carbon paper or simply draw over the lines hard enough to transfer them onto the wood. Make sure to trace lightly so that you don’t leave any permanent marks on the wood. This step will serve as your guide when cutting the wood.
Step 3: Cut Out the Snowflake
Using a saw, carefully cut along the traced lines to remove any excess wood. If you have chosen a more intricate design, take your time and make sure to follow the lines accurately. Sand down any rough edges or spots on the snowflake once it is cut out. While cutting, make sure to wear proper safety gear such as goggles and gloves.
Step 4: Add Decorative Touches
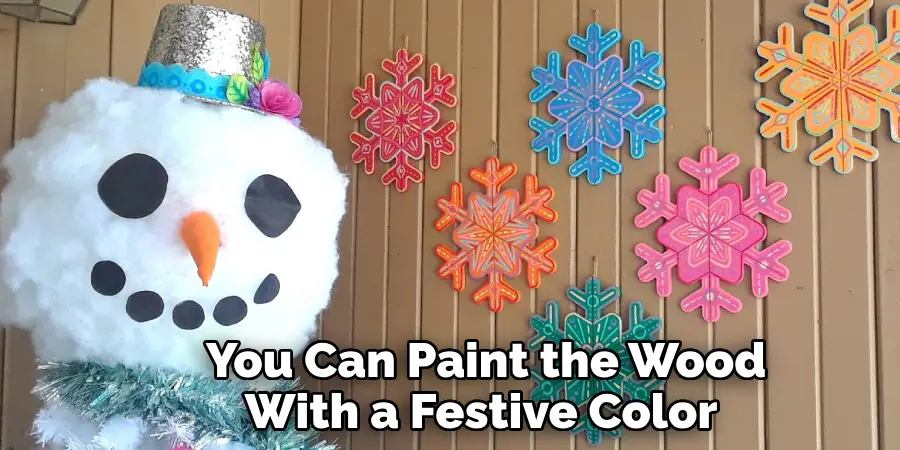
Once your snowflake is cut out and sanded, you can add your desired decorative touches. You can paint the wood with a festive color or stain it for a more natural look. Other options include adding glitter, sequins, or even wrapping twine around the snowflake for a rustic touch. Get creative and make it your own!
Step 5: Add a Protective Varnish or Sealant
To ensure that your wood snowflake lasts for many winters to come, consider adding a clear varnish or sealant. This step will protect the wood from any moisture and give it a shiny finish. Apply the varnish with a brush or cloth and let it dry completely before hanging up your snowflake. Adding this extra step will also give your snowflake a professional look.
Step 6: Add Hanging Hardware (Optional)
If you want to hang your wood snowflake, you can add some hanging hardware to the back. Use a drill and small drill bits to create holes for screws or hooks. Make sure to measure the placement of the hardware evenly so that your snowflake hangs straight on the wall. This step is optional, but it can add a nice finishing touch to your project.
Now that you know the steps on how to make a wood snowflake, you can get started on this fun and creative winter craft. Whether you are an experienced woodworker or just starting out, this project is perfect for anyone looking to add a unique and personal touch to their holiday decor. Have fun and don’t be afraid to experiment with different designs and decorations! Happy crafting!
Additional Tips and Tricks to Make a Wood Snowflake
- When selecting the wood for your snowflake, go for a lighter and softer type of wood. This will make it easier to cut and less likely to splinter.
- Make sure to use sharp scissors or a craft knife when cutting out the snowflake pattern. Dull tools can lead to jagged edges or slip-ups that can ruin your design.
- Experiment with different types of wood stains or paints to give your snowflake a unique and personalized touch.
- If you want to hang your wood snowflake, consider drilling a small hole in one of the points before painting or staining it. This will make it easier to add a string or hook for hanging.
- Don’t limit yourself to just traditional snowflake designs. Get creative and try out different patterns and shapes to create a one-of-a-kind snowflake that reflects your style.
- If you’re working with children, let them get involved by having them paint or decorate their own wood snowflake. This is a fun activity for all ages and can make for a great holiday decoration.
- Consider making multiple sizes of wood snowflakes to create a cohesive and eye-catching display. You can vary the size by changing the dimensions of your template or cutting out more or fewer sections.
- Sand down any rough edges on your wood snowflake to make it safe for handling and prevent any potential splinters.
- Use a clear varnish or sealant to protect your wood snowflake from wear and tear, especially if it will be displayed outdoors.
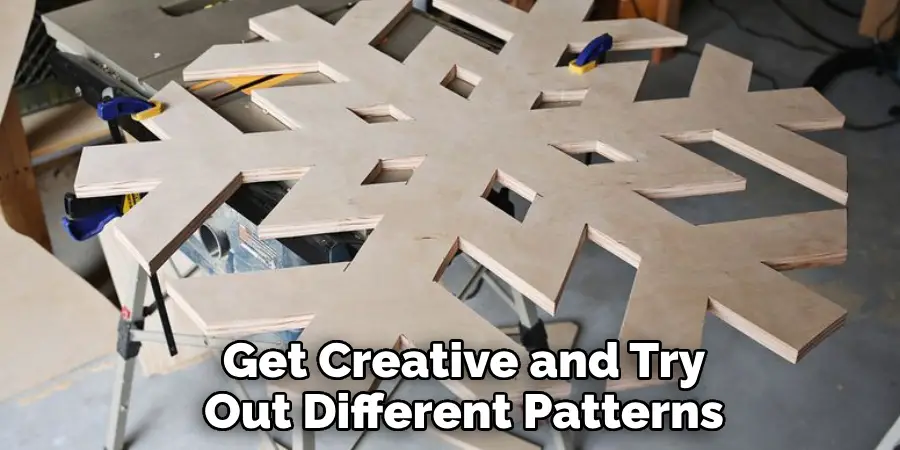
Following these additional tips and tricks, you can create a beautiful and unique wood snowflake that will be sure to impress. So gather your materials, get creative, and have fun making your very own winter wonderland decor!
Common Mistakes to Avoid for Making a Wood Snowflake
1. One of the most common mistakes when making a wood snowflake is using the wrong type of wood. Not all types of wood are suitable for this project, as some may be too brittle or prone to splitting. It is important to choose a strong and durable wood such as birch, pine, or balsa.
2. Another mistake is not sanding the wood properly before starting the project. Sanding helps create a smooth surface for painting and prevents any rough edges that can cause splinters.
3. Using the wrong tools can also lead to mistakes. It is important to use sharp and precise cutting tools such as a jigsaw or scroll saw, as they will give you more control over the design and prevent any jagged edges.
4. Not having a clear design plan can also result in mistakes. Before starting your wood snowflake project, it is essential to have a detailed plan and design in mind. This will not only make the process easier but also help you avoid mistakes and save time.
5. Another common mistake is not using enough glue when assembling the pieces of wood together. It is important to use strong wood glue and apply it generously to ensure that all the pieces are securely held together.
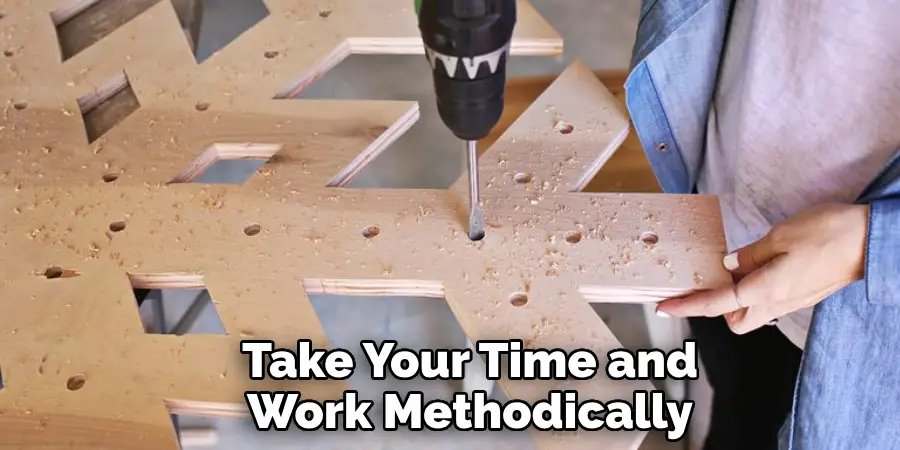
6. Rushing through the project can also lead to mistakes. Take your time and work methodically, especially when cutting the wood pieces or painting them. This will help ensure you have a clean and precise final product.
7. Lastly, not protecting the finished wood snowflake can result in damage over time. It is important to seal the wood with a clear varnish or sealer to protect it from moisture and prevent any warping or cracking.
By avoiding these common mistakes, you can ensure a successful and beautiful wood snowflake project. Remember to take your time, use the right materials and tools, and have a clear plan in place before starting your project for the best results. And don’t forget to enjoy the process of creating something unique and beautiful with your own hands! Happy crafting!
Precautions Need to Be Followed for Making a Wood Snowflake
1. First and foremost, when using a saw or any other sharp tools to cut wood, it’s important to wear protective gear such as safety glasses and gloves. This will help prevent any accidents or injuries.
2. Make sure the wood you are using is properly dried and doesn’t contain any moisture. Wet wood can be difficult to work with and may also cause the snowflake to crack or break.
3. Always use a pencil to draw out your design on the wood before cutting. This will help ensure accuracy and prevent any mistakes.
4. When cutting, make sure to follow the grain of the wood for a smoother finish. Going against the grain can cause splintering and rough edges.
5. Take breaks periodically to rest your hands and avoid fatigue. Working with sharp tools for an extended period of time can be tiring and may lead to accidents.
6. Use a clamping device or a vice to hold the wood securely in place while cutting. This will provide stability and reduce the risk of slipping.
7. When sanding the wood, make sure to wear a mask to protect yourself from inhaling any sawdust or fine particles.
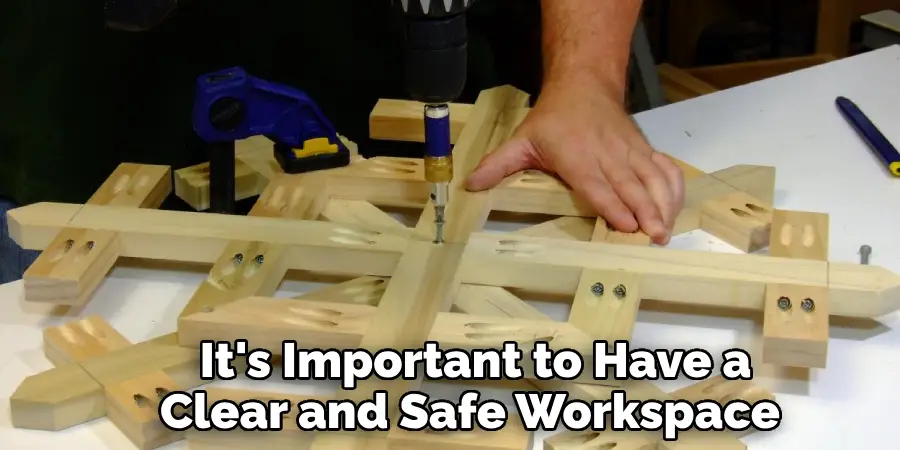
8. Keep children and pets away from your work area to avoid any accidents. It’s important to have a clear and safe workspace when working with tools and sharp objects.
Following these precautions will help ensure a safe and enjoyable wood snowflake-making experience. Remember to always prioritize safety when working with tools and have fun creating your unique snowflake design!
Frequently Asked Questions
What is the Purpose of Making a Wood Snowflake?
The main purpose of making a wood snowflake is to use it as a unique and beautiful decoration for your home during the winter season. It can also be used as a fun craft activity for children or as a gift for loved ones. Additionally, making a wood snowflake can be a relaxing and creative outlet for adults.
Are There Different Methods for Making a Wood Snowflake?
Yes, there are various methods and techniques for making a wood snowflake. Some people prefer to use stencils or templates, while others like to freehand their designs. You can also add different textures and details using carving tools or wood-burning techniques. It ultimately depends on your personal preference and the level of difficulty you want for your snowflake.
Is Making a Wood Snowflake Difficult?
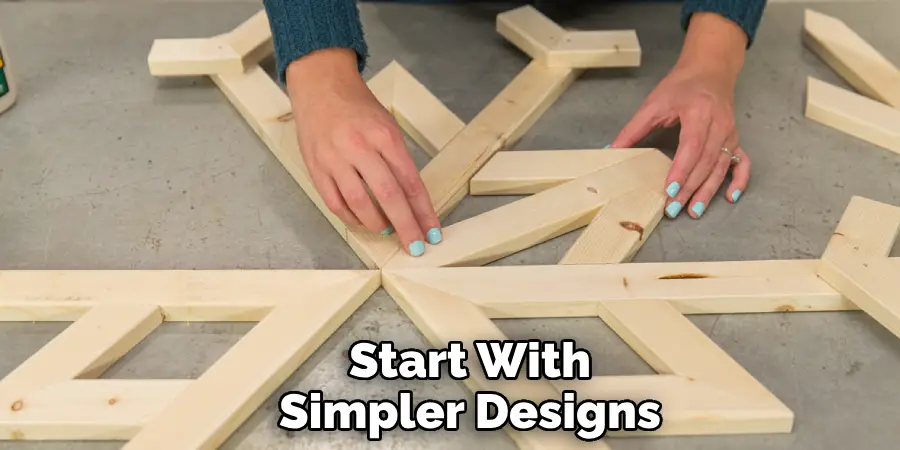
Making a wood snowflake can be as easy or difficult as you make it. If you are using simple templates and basic tools, it may be an easy and enjoyable craft for anyone to try. However, if you want to create intricate designs or use more advanced techniques, it may require some skill and experience with woodworking. It is always a good idea to start with simpler designs and gradually challenge yourself as you become more comfortable with the process.
Can I Personalize My Wood Snowflake?
Absolutely! One of the best things about making a wood snowflake is that you can personalize it in any way you like. You can choose the type of wood, the size and shape of your snowflake, and add unique details to make it one-of-a-kind. You can also paint or stain your snowflake in various colors to match your home decor or add a personal touch. The possibilities for customization are endless!
Conclusion
Now you know how to make a wood snowflake and have all the information to get started on this fun and creative project. Remember, there is no right or wrong way to make a wood snowflake, so let your imagination run wild and create something beautiful. Have fun and enjoy the process of making your very own handmade wood snowflake! Happy crafting!
You Can Check It Out to Hang Paper Bag Snowflakes

