
Creating custom tumblers with Cricut is a fantastic way to add a personal touch to your daily life or create thoughtful and unique gifts for friends and loved ones.
The Cricut cutting machine, with its precision and versatility, allows you to unleash your creativity and design eye-catching tumbler designs that reflect your style and personality. Whether you’re a seasoned crafter or just starting out, learning how to make a tumbler with Cricut is a rewarding and enjoyable process.

In this article, we will delve into the exciting world of personalized tumbler creation using Cricut, from selecting the right materials and design elements to mastering the application of vinyl decals and heat transfer designs.
With a Cricut machine at your disposal, you can transform plain, ordinary tumblers into stunning, one-of-a-kind pieces of functional art. So, let’s embark on this creative journey and discover the steps to crafting your very own customized tumblers with Cricut.
The Appeal of Personalized Tumblers
Tumblers have become a popular trend in recent years, and it’s easy to see why. Not only are they practical for keeping drinks hot or cold for extended periods of time, but they also make a great accessory. With the rise of social media and the desire for unique and customized items, personalized tumblers have taken the market by storm.
One of the easiest ways to create a personalized tumbler is by using a Cricut machine. These machines are designed for crafting and cutting various materials, making them perfect for creating custom designs on tumblers.
List of Materials Needed for Making a Tumbler with Cricut
Here is a list of materials that you will need to make a tumbler using your Cricut machine:

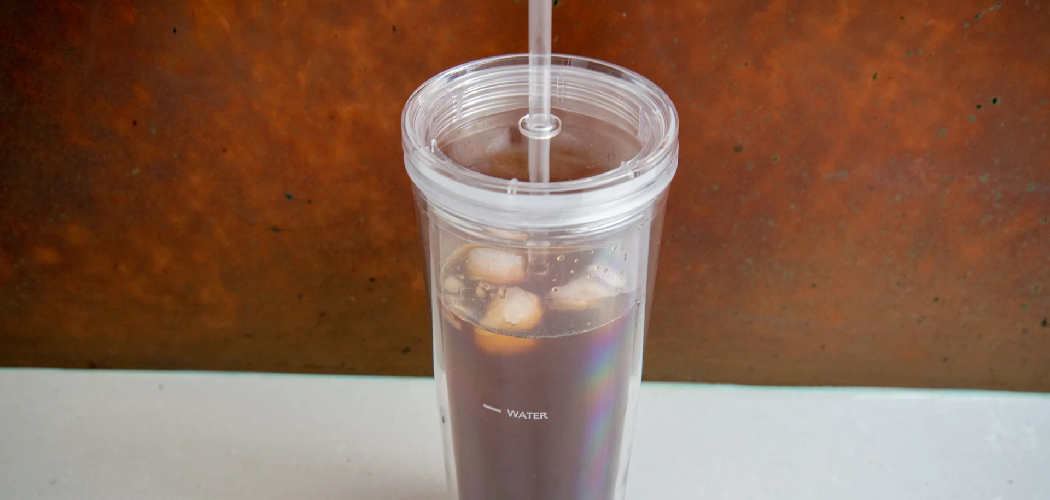
- Tumbler: The first thing you will need is the actual tumbler. You can choose any type and size of tumbler, depending on your preference.
- Vinyl: Vinyl is used for the design and personalization of your tumbler. You can choose from a variety of colors and finishes, such as glitter, holographic, or matte.
- Cricut Machine: This is the key tool in making a tumbler with Cricut. It will be used to cut out your design on the vinyl.
- Transfer Tape: When using multiple pieces of vinyl, transfer tape helps to easily transfer the design onto the tumbler without any mistakes.
- Scissors: You will need a pair of scissors to cut out excess vinyl and trim off any edges.
- Weeding Tool: This tool is used to remove the unwanted parts of your design from the vinyl sheet.
- Tumbler Turner (optional): A tumbler turner is a motorized device that rotates the tumbler, making it easier to apply the vinyl and ensuring an even application.
- Protective Gear: It is recommended to use gloves and a face mask when working with vinyl to protect yourself from any fumes or chemicals.
10 Methods How to Make a Tumbler with Cricut
1. Gather Your Materials
The first step to making a tumbler with your Cricut is to gather all the materials you need. This includes your Cricut machine, vinyl, transfer tape, and tumbler cup. You may also want to have a few other items on hand such as scissors, tweezers, and a weeding tool. Once you have all of your supplies ready, you can begin creating your tumbler!

2. Design Your Tumbler
Now it’s time to start designing your tumbler! Start by deciding what kind of design you want for your tumbler. You can use the Cricut Design Space software to create a custom design or use one of the pre-made designs available in the library. Once you have decided on a design, upload it into the software and adjust any settings as needed before cutting out your vinyl.
3. Cut Out Your Vinyl
Once you are happy with your design, it’s time to cut it out with your Cricut machine. Make sure that you select the correct material setting for vinyl before cutting out your design. When your design is finished cutting out, carefully remove it from the mat and set aside for later use.
4. Weed Away Excess Vinyl
Now that you have cut out your vinyl design, it’s time to weed away any excess material that isn’t part of the final design. Use a weeding tool or tweezers to carefully remove any extra pieces of vinyl that aren’t part of the final product. Be sure to take care when removing these pieces so that they don’t damage the overall look of the final product.
5. Apply Transfer Tape
Once all of the excess material has been removed from around your design, it’s time to apply transfer tape over the top of it so that it can be transferred onto the tumbler cup without losing its shape or color in transit. To do this, simply peel off some transfer tape and place it over top of your vinyl design before firmly pressing down on each side until it adheres securely to both surfaces.
6. Apply Your Design To The Tumbler Cup
Now that you have applied transfer tape over the top of your vinyl design, carefully peel off both layers together and place them onto the surface of the tumbler cup where desired before pressing down firmly until they adhere securely in place. Be sure not to move or stretch out any parts of the design while applying them, as this could cause them to lose their shape or color during transit!

7. Use Heat To Set The Design
Once you have applied all parts of your vinyl design onto the surface of the tumbler cup, use a heat source such as an iron or heat press machine set at medium-high heat for 30 seconds in order to set everything in place permanently and ensure that nothing moves or shifts during normal wear and tear over time!
8. Remove Transfer Tape & Enjoy!
Once everything has been heated up appropriately and set into place permanently on the surface of the tumbler cup, carefully peel away any remaining bits of transfer tape before admiring your new creation! Now, all that’s left is for you to enjoy using (and showing off) this beautiful new personalized item!
9. Clean Up & Store Supplies Properly
When finished admiring (and using) this beautiful new personalized item made with love using just a few simple tools and supplies like a Cricut machine plus some basic materials like vinyl and transfer tape – don’t forget about cleaning up properly afterward, too! Make sure all materials are stored away safely in their designated places so they’re easy (and safe!) to locate next time around when starting up another project soon!
10. Don’t Forget To Share With Others Too!
Finally – don’t forget about sharing with others after finishing up this amazing project either – especially if there w are others in your life who might also enjoy using (and showing off) this beautiful new personalized item!
Things to Consider When Making a Tumbler with Cricut
When embarking on any crafting project, it’s important to consider several factors before diving in. This is especially true when making a tumbler with Cricut, as there are specific techniques and materials that work best for achieving the desired results. Here are some things to keep in mind when creating your own personalized tumbler with Cricut:
Material selection:
The type of material you use for your tumbler can greatly impact the outcome of your project. Some popular options include stainless steel, acrylic, and glass. Stainless steel is durable and long-lasting, while acrylic allows for a clear and glossy finish. Glass may be more delicate but offers a unique look. Consider the desired look and durability of your tumbler when choosing the material.

Design:
With Cricut, the possibilities for design are endless. However, it’s important to keep in mind that intricate designs may not translate well onto a curved surface like a tumbler. Keep your design simple yet impactful, and make sure to test it on a scrap piece of material before applying it to your tumbler.
Adhesive vinyl:
When using adhesive vinyl on your tumbler, it’s essential to choose a high-quality material that will adhere well and withstand daily use. Oracle 651 is a popular option for tumblers as it is water-resistant and long-lasting. It’s also important to properly prepare the surface of your tumbler before applying the vinyl to ensure a smooth and lasting application.
Conclusion
From personalizing a gift for someone special to creating unique and fun designs for yourself, making a tumbler with Cricut has endless possibilities. This project can be enjoyable to do and rewarding in the end. With the right tools and supplies, anyone can make a tumbler that stands out from the crowd.
Whether you’re designing for a special occasion or creating something unique just for you, it is definitely possible with Cricut. So why wait any longer? Now that you know how to make a tumbler with Cricut, go ahead and get your craft on! Start dreaming up designs and coloring schemes and let your creativity run wild. The results are guaranteed to surprise you!