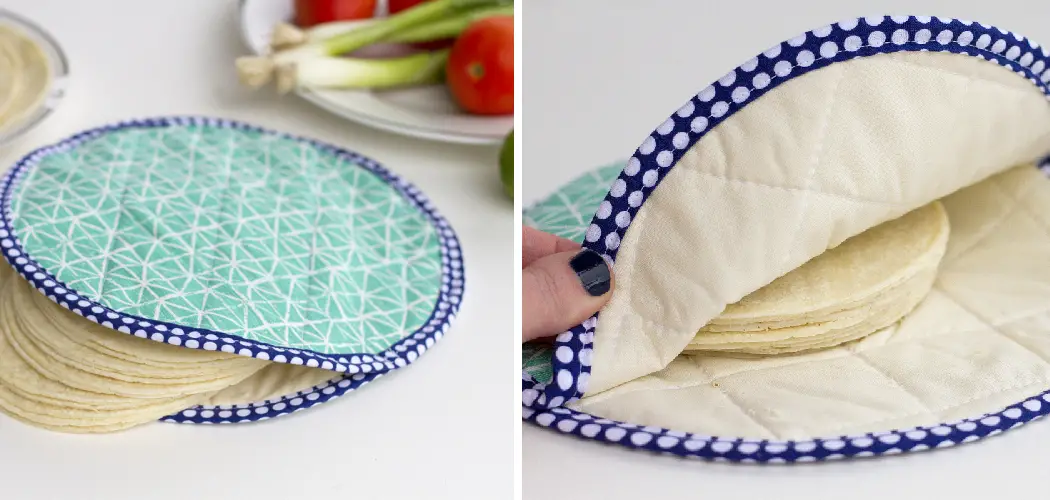
Tortillas are a staple food across many countries, whether for salads, tacos, quesadillas or burritos. Have you ever made a taco for dinner only to find that the tortillas were cold or soggy by the time you got around to eating them? If so, you know how unappetizing this can be! Thankfully, there’s an easy and affordable solution: a homemade tortilla warmer.
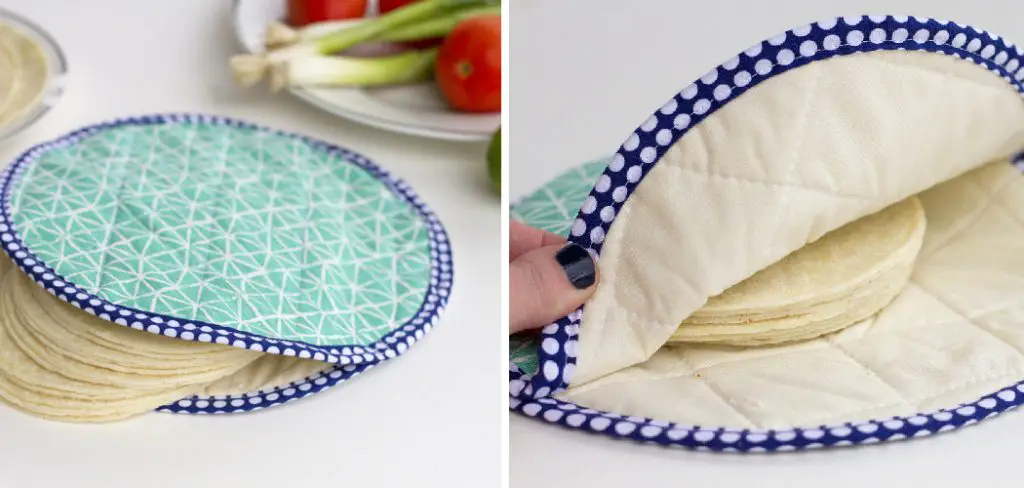
With just a few simple steps and tools, you can have your own DIY tortilla warmer on hand (or in the warming drawer!) so that your tortillas are heated through and ready to enjoy whenever visit Mexican food cravings. Read on for instructions on how to make your very own tortilla warmer — it’ll be well worth the effort!
With just a few easy steps on how to make a tortilla warmer combined with some clever tricks, you can make one of these wonderful warming pouches in no time – and soon enough be able to enjoy freshly warmed tortillas every day!
What is a Tortilla Warmer?
A tortilla warmer is an insulated pouch designed to keep a stack of tortillas warm and fresh. It is usually made from fabric but can also be made using insulation materials like neoprene or foam. The pouch typically has a zipper closure and can hold up to 8-10 flour or corn tortillas at once.
The Benefits of Using a Tortilla Warmer
1. To Keep Freshness
Not only does a tortilla warmer keep your tortillas warm and fresh, but it also prevents them from drying out. This is especially important for those who like to keep their tortillas for more than one day; the pouch helps preserve that original softness so you can enjoy them every day.
Plus, it’s much easier (and more hygienic) than storing them in a traditional wrapper or container, which can become soggy and unappetizing after a few uses.
2. To Keep Heat
A tortilla warmer is made of insulated material, so it’s able to keep the heat inside for longer periods of time. This means that your tortillas will stay warm throughout the meal, even if you’re taking your time eating them. Plus, if you have multiple people at the table, they can all enjoy warm tortillas — no need to heat up a new batch every few minutes!
3. To Save Time and Money
Making a homemade tortilla warmer is an affordable way to save money on purchasing premade ones, and it’s also a great time-saver. No more having to heat up a new batch of tortillas every few minutes; with your own DIY warmer, you can just grab them out of the pouch and enjoy!
Tools Needed for Your DIY Tortilla Warmer
To make your own tortilla warmer, you will need the following tools:
- Fabric of your choice (cotton, fleece, canvas, etc.)
- Sewing machine
- Thread and needle
- Pins
- Iron and ironing board
- Heat-resistant material like neoprene or foam
How to Make a Tortilla Warmer in 10 Steps
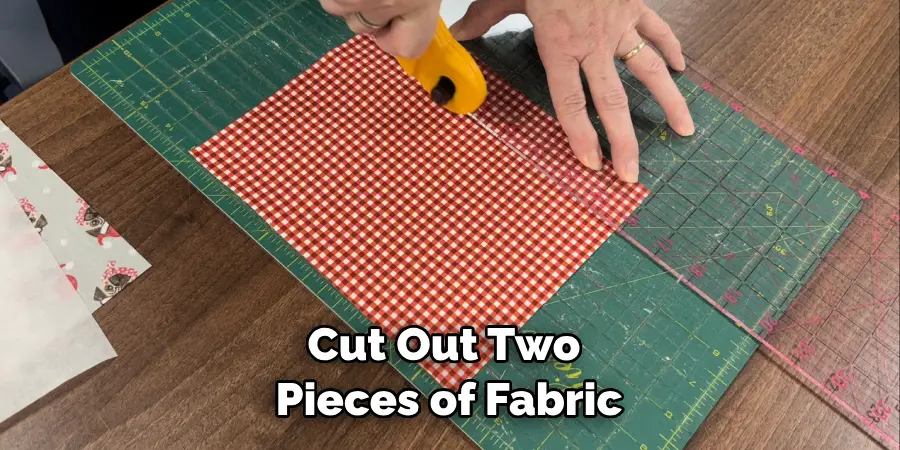
Step 1: Cut Fabrics
Cut out two pieces of fabric in the same shape, but one that’s slightly larger than the other. The size of your tortilla warmer will depend on how many tortillas you want to store in it. For example, an 8-10 tortilla warmer will need two pieces of fabric measuring 15” x 20” each.
Step 2: Create the Pouch
Place the two pieces of fabric on top of each other, with the right sides facing in. Sew together along three sides of the fabric, leaving one short side open. Make sure to use a backstitch for strength.
Step 3: Add Insulation Material
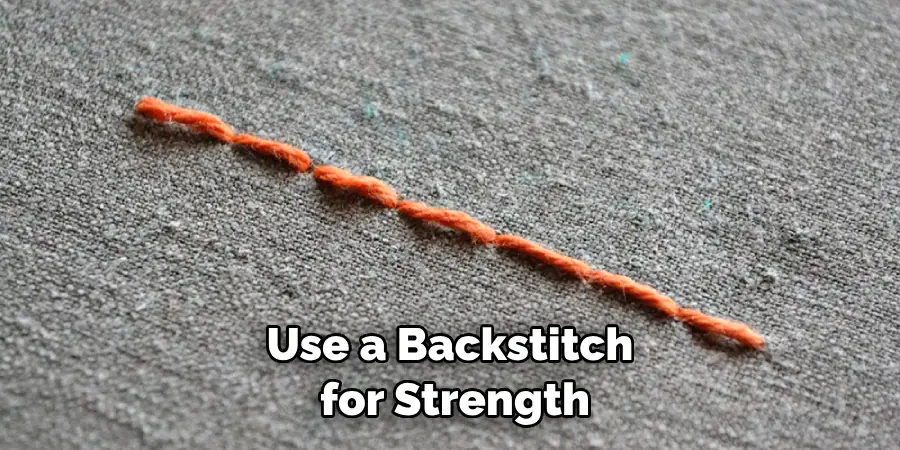
Cut out two pieces of the heat-resistant material, just slightly smaller than the fabric pieces. Place one piece in between the two fabric pieces, right side down. Sew around all four sides of the insulation material, making sure to backstitch for strength.
Step 4: Attach Zipper
Take your zipper and place it along the open side of the pouch. Pin it in place and sew around all four sides of the zipper, making sure to backstitch for strength.
Step 5: Finish Sewing
Turn the pouch inside out so that both fabric pieces are now on the outside with the insulation material inside. Make sure everything is snug and secure before sewing together the two open sides.
Make sure to backstitch for strength.
Step 6: Create a Pocket
Fold the pouch in half and pin it in place so that you can create a pocket. Sew around all four sides of the pocket, making sure to backstitch for strength. This will be where you store your tortillas when not being used.
Step 7: Iron Seams
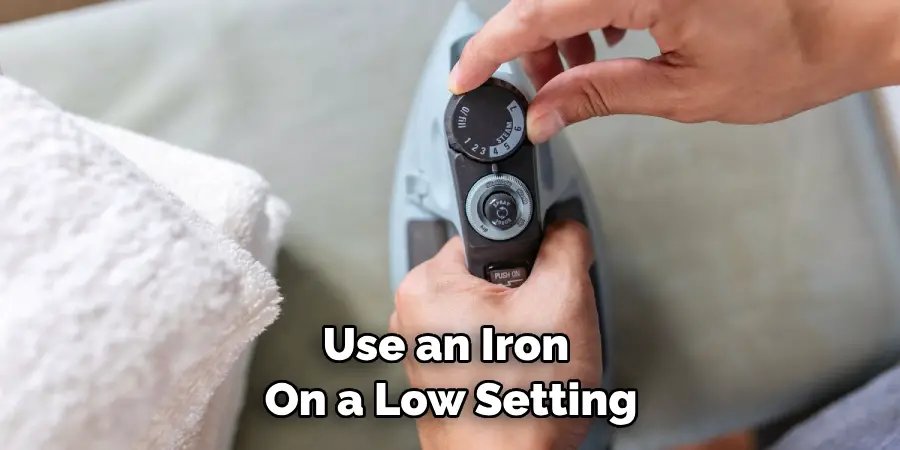
Use an iron on a low setting to press down all of the seams, being careful to avoid the zipper. This will give your tortilla warmer a nice, neat finish.
Step 8: Check for Leaks
Fill your tortilla warmer with water and check for any leaks or weak spots. If necessary, resew any areas that are not sealed tightly.
Step 9: Add Closure
Use a piece of elastic or ribbon to create a closure for the pocket of your tortilla warmer. Sew the ribbon securely in place, and you’re ready to use it!
Step 10: Enjoy Warm Tortillas!
Your tortilla warmer is now ready to use. Simply fill it with tortillas and place in the microwave or oven for a few minutes before serving. Enjoy your freshly warmed tortillas, prepared just the way you like them!
Tips for Making Your Own Tortilla Warmer
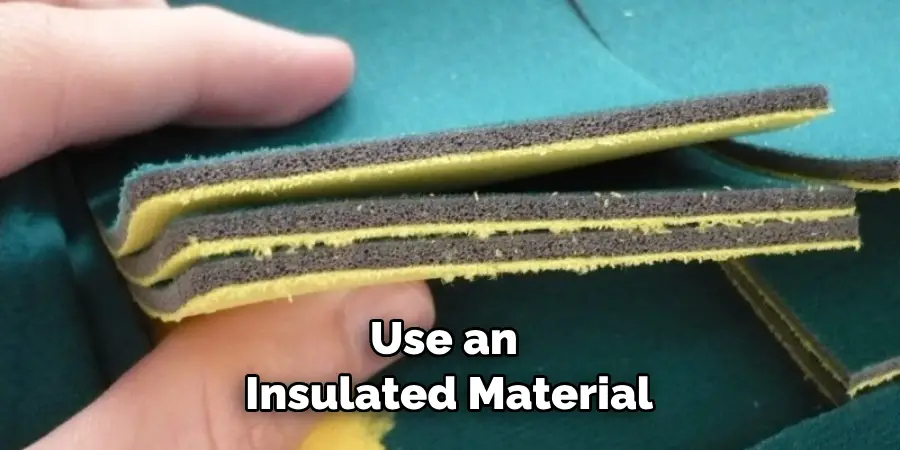
- Use an insulated material like neoprene or foam to help keep the tortillas warm for longer periods of time.
- Don’t forget to add a closure to your pocket so that your tortillas stay secure when not in use.
- If using fabric, be sure to prewash it first before starting the project. This will help ensure that it won’t shrink once you’ve finished the warmer.
- Make sure to backstitch all of your seams for added strength and durability.
- Feel free to get creative with the design of your tortilla warmer! Add pockets, embroidery, fun prints, etc., to give it a personalized touch.
Making your own tortilla warmer is a great way to enjoy freshly heated tortillas without having to worry about them getting cold or soggy. With just a few simple steps on how to make a tortilla warmer, you’ll have your own homemade warmer ready for a tortilla-loving lunch.
8 Common Mistakes to Avoid When Making a Tortilla Warmer
- Not using an insulated material. Using an uninsulated material like fabric may not keep your tortillas warm for very long, so be sure to use a heat-resistant material like neoprene or foam for best results.
- Skipping the closure. Adding a closure ensures that your tortillas stay secure and won’t fall out when not in use.
- Not prewashing fabric. If you’re using fabric for your tortilla warmer, make sure to prewash it before starting the project so that it doesn’t shrink after you’ve finished.
- Not backstitching seams. Make sure to backstitch all of your seams to ensure that your tortilla warmer stays securely together, even after lots of use.
- Using the wrong size zipper. Make sure the zipper you choose is slightly smaller than the opening of your pouch so it will fit properly.
- Not ironing seams. Ironing all of your seams before using your tortilla warmer gives it a nice, neat finish.
- Making the pouch too big or too small. The size of your pouch depends on how many tortillas you want to store in it, so make sure it’s large enough to fit all of them without being overly bulky.
- Not checking for leaks. Before using your warmer, fill it with water and check for any leaks or weak spots.
Making your own tortilla warmer is a great way to enjoy freshly heated tortillas without having to worry about them getting cold or soggy. Avoiding these common mistakes will help ensure that your DIY warmer lasts for years to come!
8 Maintenance Tips
To keep your tortilla warmer in perfect functioning condition, here are eight tips to help you out.
- Be sure to check on the temperature setting every time you use your tortilla warmer to make sure it’s not too hot or cold. This will help maintain even cooking and prevent burning or undercooking of the tortillas.
- Make sure to use a clean, damp cloth when cleaning your tortilla warmer, as residue from food can cause the warmer to become sticky and difficult to use.
- To prevent oil or butter from staining the material of the warmer, make sure you always wipe it off immediately after using it.
- Periodically check for any cracks or discoloration of the material. If you find any, replace it as soon as possible to ensure optimal performance.
- Store your tortilla warmer in a dry and cool place when not in use to help prevent any damage due to moisture.
- Inspect the lid for tightness before every use and make sure there are no gaps that might allow steam to escape during cooking.
- Check the bottom of the warmer for any buildup of food particles, as these can cause it to overheat and burn your food.
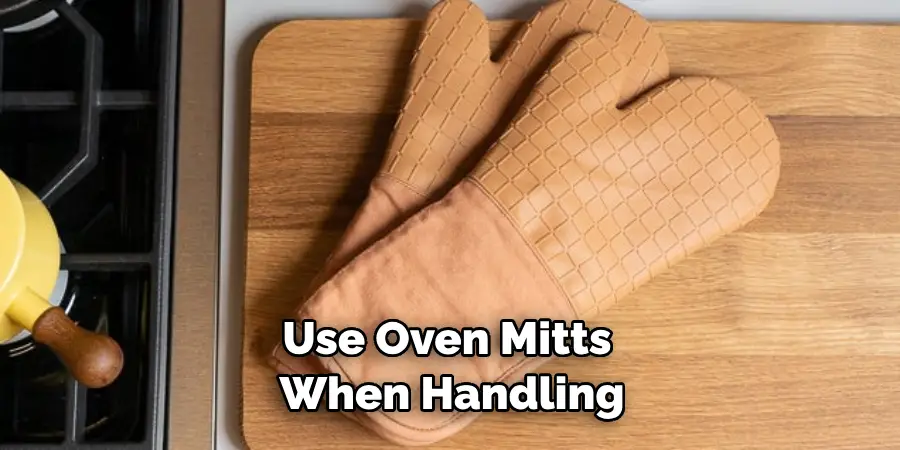
- To ensure maximum safety, always use oven mitts when handling your tortilla warmer or removing food from it when hot.
Following these tips on how to make a tortilla warmer will help you keep your tortilla warmer in perfect working order for years to come. Enjoy all of your delicious, hot, freshly cooked tortillas!
How Much Will It Cost?
Tortilla warmers can range in price depending on the size, material, and features they offer. Generally speaking, you can expect to pay between $20-$50 for a basic model, with higher-end models costing up to $100 or more.
When making your purchase decision, make sure to consider how often you plan on using it and how much food you’ll be cooking with it. If you don’t plan on using it frequently, a basic model should do just fine. However, if you plan on using it often or need to cook larger portions of food, a higher-end model might be the better investment.
Conclusion
To summarize, making your own tortilla warmer is a great way to show off your creativity and impress everyone at the dinner table. Not only does it give your tortillas a fresh and delicious flavor, but it also helps them stay warm for longer out of the oven.
Whether you’re giving tortilla warmers as gifts for special occasions or just looking to upgrade your culinary status, this easy-to-make item is sure to delight you.
You can use just about any fabric, sewing skill level, and imagination you have. With a little bit of patience and time, you’ll have the perfect handmade tortilla warmer that will be sure to meet all expectations.
Just follow the instructions and maintenance tips on how to make a tortilla warmer to ensure it lasts a long time! Moreover, it gives you an opportunity to add elements of color, texture, and pattern – perfect for achieving any aesthetic goal in a home-cook-friendly way! The final product has endless possibilities that make it simple, practical, and fun!

