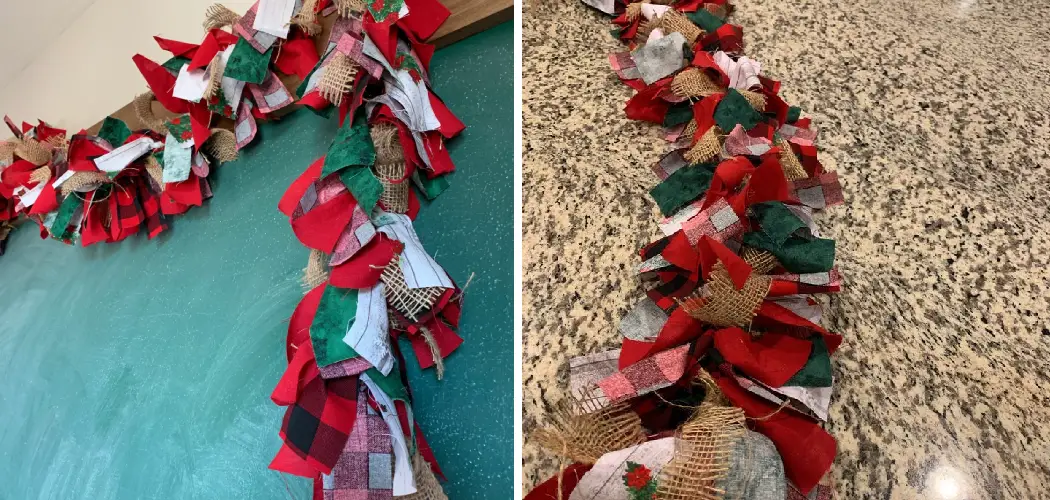
Are you looking to add a touch of handmade charm to your home décor this season? Creating beautiful decorations such as a tied ribbon garland is an easy and enjoyable way to spruce up any room in the house. This festive handcrafted decoration will surely bring joy for years to come! We’ve put together this comprehensive guide covering everything you need to know about making these colorful, sparkly showpieces – from which materials are best suited for the project, how long it takes, and where exactly on decorations should be hung.
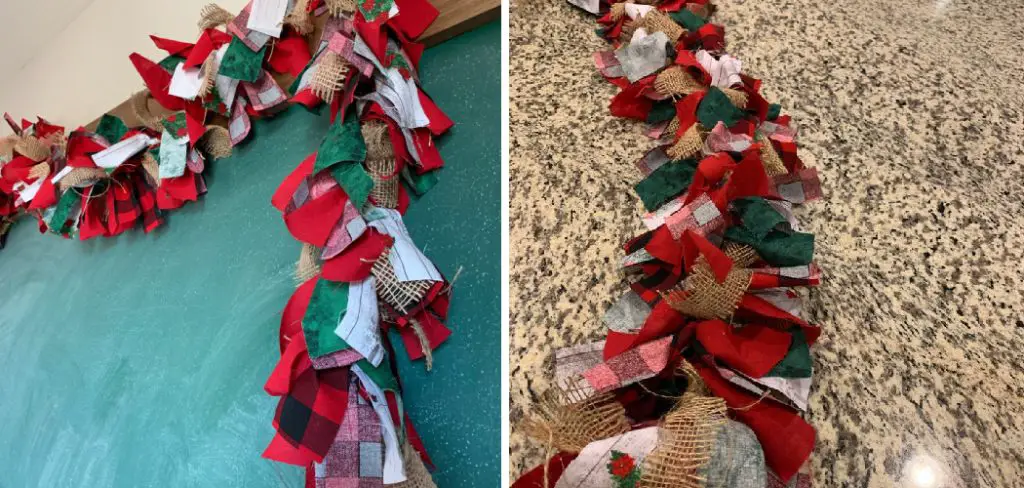
So gather your supplies and prepare yourself; with just a few simple steps on how to make a tied ribbon garland, you’ll soon have created something beautiful that will brighten your home through each holiday season.
Needed Tools
Before we dive in, it’s important to make sure you have all the necessary tools and materials for this project. Some of these items you might already have at home while others may require a quick trip to your nearest craft store. Here’s what you’ll need:
- Assorted Ribbons (in Various Colors, Widths, and Patterns)
- Scissors
- Hot Glue Gun and Glue Sticks
- Twine or String (to Hang the Garland)
11 Step-by-step Guidelines on How to Make a Tied Ribbon Garland
Step 1: Preparing the Ribbons
Start by selecting your desired ribbons and cut them into approximately 9-inch strips. You can use as many different colors and patterns as you like, but make sure to have a good variety for a more visually appealing garland. It’s also a good idea to have an equal number of strips for each type of ribbon you are using. You can also adjust the length of the strips according to your preference.
Step 2: Creating the Base
Take a piece of twine or string and cut it to your desired length. This will serve as the base for your garland. Make sure to leave some extra length on each end so you can easily hang it up once complete. Otherwise, you can always trim it later if needed. It’s better to have too much than not enough! You can also use a tension rod or curtain rod to hang the garland if you prefer.
Step 3: Attaching the Ribbons
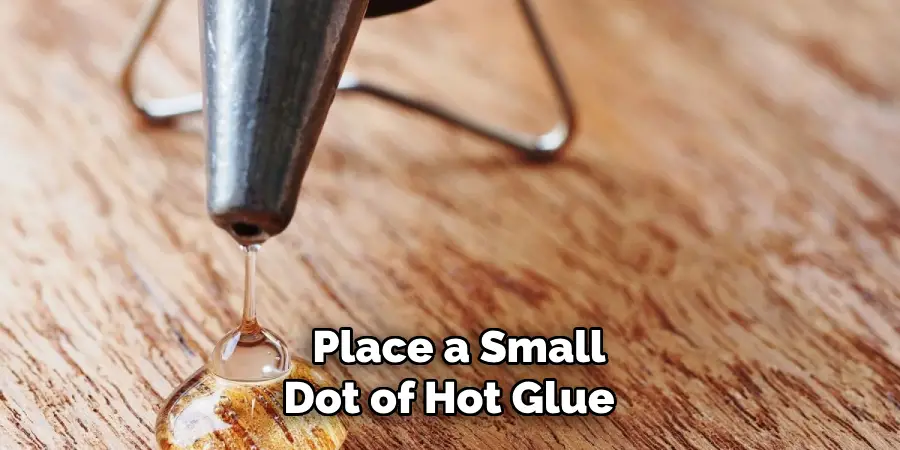
Take one of your ribbon strips and fold it in half. Then, place a small dot of hot glue on one end of the folded strip and attach it to the twine. Hold it in place for a few seconds until the glue sets. Repeat this step with your remaining ribbon strips, alternating the colors and patterns as you go. But make sure to leave a few inches of space between each ribbon for a more balanced look.
Step 4: Tying the Knots
Once all your ribbons are attached, you can start tying the knots. Take one ribbon and tie it in a simple knot around both pieces of twine. Make sure to pull it tight enough so that it stays in place but not too tight to crush the ribbon. Continue tying knots with each ribbon, alternating between the ribbons with each knot. You can also try different knot styles such as double knots or bows for added variety.
Step 5: Adding More Layers
To create a fuller and more layered look, repeat the previous step by adding more ribbons on top of the existing ones. This will give your garland a more three-dimensional appearance. Just make sure to tie the knots in different places along the base twine so that they are not all stacked in one spot. It should look like the ribbon strips are cascading down from the twine. Feel free to add as many layers as you like until you reach your desired thickness.
Step 6: Securing the Knots
Once you have completed one layer, it’s time to secure the knots. You can do this by adding a small dot of hot glue on each knot and pressing it down onto the twine. This will ensure that your garland stays in place and doesn’t unravel. This step is also important if you plan to use your garland outdoors where it may be exposed to weather elements.
Step 7: Adding Embellishments (Optional)
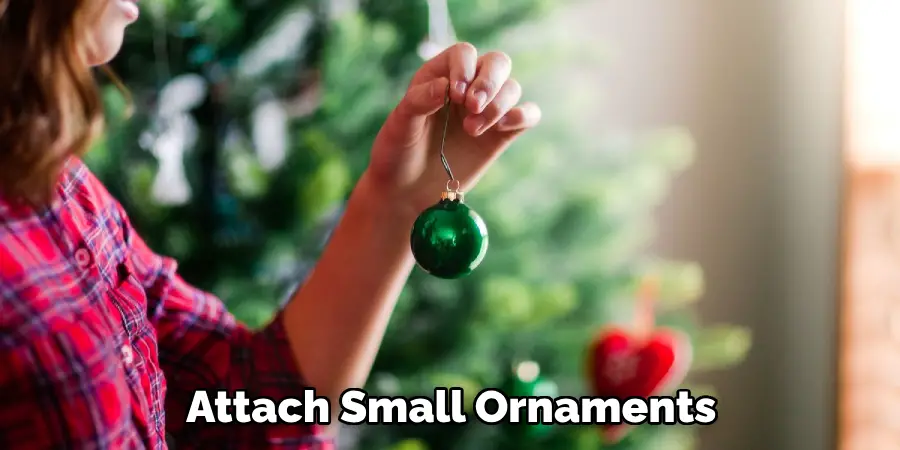
To add more charm and personalization, you can embellish your garland with additional decorations. You can attach small ornaments, bells, or even miniature stockings between the knots for a festive touch. Just make sure not to overcrowd your garland, as you don’t want it to look too busy or cluttered. It’s all about finding the right balance. Although these embellishments are optional, they can add a special touch to your garland that will make it stand out.
Step 8: Incorporating Lights (Optional)
For an extra festive look, you can also incorporate fairy lights into your garland. Simply wrap the lights around the twine and ribbon knots for a warm and cozy glow. This is perfect if you plan to use your garland as a decoration for a holiday party or gathering. You can even use battery-operated lights for convenience. Although this step is optional, it can take your garland to the next level and make it truly magical.
Step 9: Hanging the Garland
Once you have completed all the steps, it’s time to hang up your garland! You can drape it over a mantle, wrap it around a staircase railing or doorway, or even hang it above a window. The choice is yours! Just make sure to secure the ends of the twine or string with nails or hooks so that your garland stays in place.
Step 10: Maintenance
If your garland starts to look a little dull after being displayed for some time, simply fluff it up by running your fingers through the ribbons to give them more volume. You can also use a lint roller or a damp cloth to remove any dust or debris that may have accumulated. It’s also a good idea to store your garland in a sealed plastic bag or container when not in use to prevent it from becoming tangled or damaged.
Step 11: Enjoying Your Creation
Congratulations, you have successfully made a tied ribbon garland! Now it’s time to sit back and admire your handiwork. Your garland is sure to add a festive touch to any room in your home, making it feel warm and inviting during the holiday season. You can also experiment with different color combinations and ribbon patterns for other occasions such as birthdays, weddings, or baby showers.
Following these step-by-step guidelines on how to make a tied ribbon garland, you can now confidently create your own tied ribbon garland and add a personal touch to your home decor. Whether it’s for the holidays or any other special occasion, this beautiful and versatile decoration will surely impress your guests and make your space feel more cozy and festive. So gather your materials, put on some holiday tunes, and start crafting! Happy garland-making!
Frequently Asked Questions
Q: Can I Use Different Types of Ribbons for This Garland?
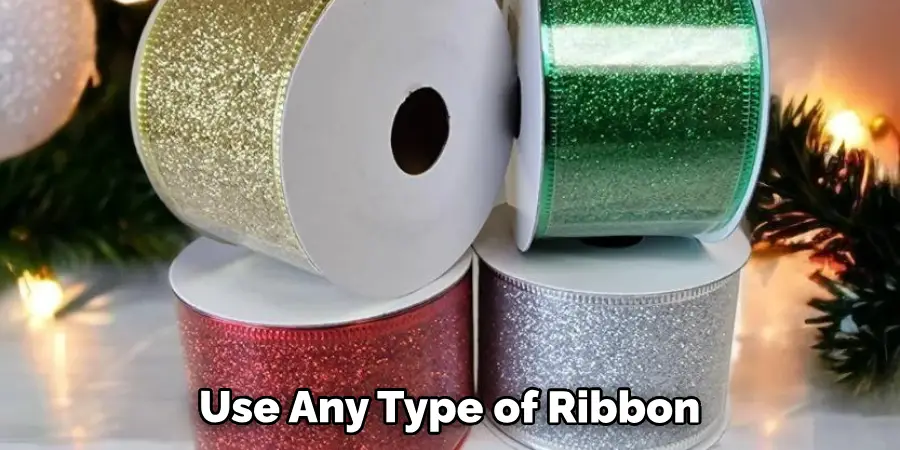
A: Yes, you can use any type of ribbon as long as they are cut into 9-inch strips. it’s best to have a mix of different colors and patterns for a more visually appealing garland.
Q: How Many Ribbons Do I Need?
A: The number of ribbons you need will depend on how long you want your garland to be and how close together you want the ribbons to be. As a general guideline, plan on using at least 2-3 ribbons for every foot of twine.
Q: Can I Make a Longer Garland?
A: Absolutely! You can adjust the length of your garland by using longer pieces of twine and more ribbon strips. Just make sure to leave enough space between each ribbon so that it doesn’t become too bulky or crowded.
Q: Do I Need to Use Hot Glue?
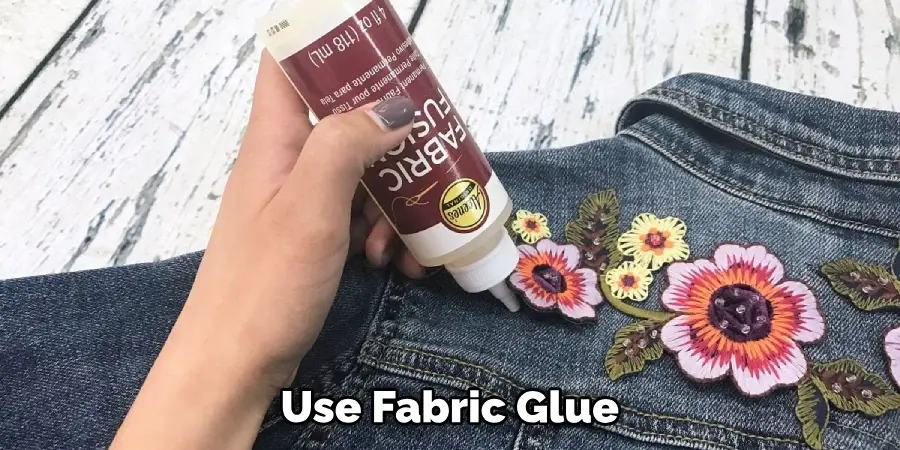
A: While hot glue is the easiest and most effective way to attach the ribbons, you can also use fabric glue or a needle and thread. Just make sure to secure the knots with a small dot of glue for added stability.
Conclusion
Now that you know how to make a beautiful and festive tied ribbon garland, it’s time to get crafting! Incorporate this amazing garland into your next party or gathering. The possibilities are endless – consider adding some flair with bright colors, lots of pompoms, balloons or something else that will make it stand out even more. If you have the time and resources, why not opt for garlands at different lengths throughout the space?
With a bit of effort and imagination, you can create a magical atmosphere in any room. So grab your supplies and get creative! There’s no better way to get everyone in the holiday spirit than with a cheerful and beautiful tied ribbon garland. Thanks for reading this article on how to make a tied ribbon
Expertise:
Crafting expert with a focus on innovative techniques and diverse materials.
Specialization:
- Textile arts (weaving, embroidery, and fabric dyeing)
- Woodworking and furniture design
- Mixed media and upcycling projects
Recognition:
- Featured in local art exhibits showcasing innovative craft projects
- Collaborated with community organizations to promote crafting workshops
- Received accolades for contributions to sustainable crafting initiatives
Mission:
- To inspire and empower crafters of all levels to discover their creative potential
- Encourages experimentation and self-expression through hands-on projects

