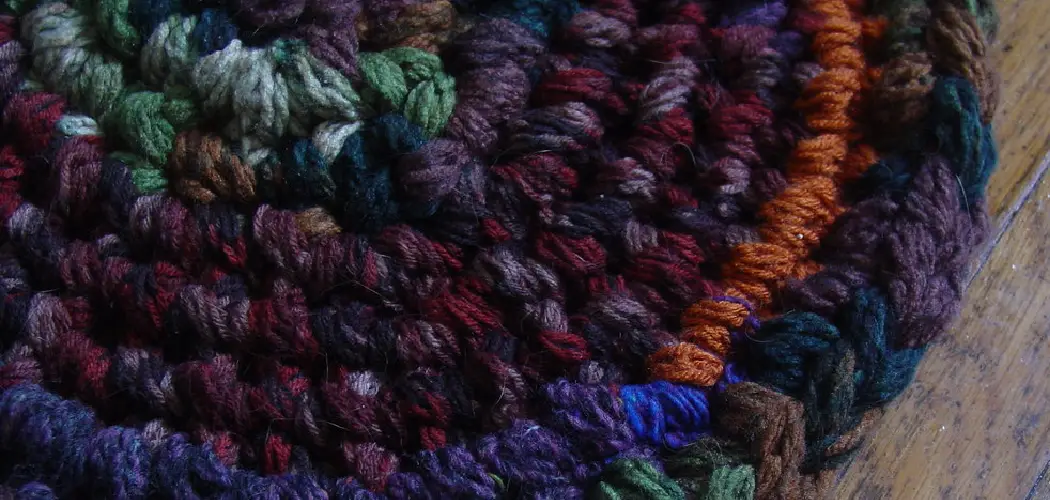
Creating a rug with yarn by hand is a unique and beautiful way to add an eye-catching piece of home decor to your space. Handmade rugs provide long-lasting durability, allowing them to remain in good condition for many years. They also offer the opportunity to mix and match different colors and textures of yarn, creating limitless design possibilities. A handmade rug can also make a great gift for someone special in your life.
Beyond these advantages, hand-crafting a rug is incredibly satisfying and requires no prior experience or skill. Its versatility is the primary benefit of Making a Rug With Yarn by Hand. You can customize the color and pattern of your rug depending on which type of yarn you use (i.e., wool, cotton, acrylic). This allows you to create an original piece that can be used in any room or home décor scheme. You can find step-by-step instructions on how to make a rug with yarn by hand in this blog article.
How Much Yarn Do You Need?
Regarding the amount of yarn, a good rule of thumb is to estimate approximately half a skein of yarn for every 10 square feet of rug space you want to cover. If you are working with multiple colors, consider that one skein can be used in more than one colorway, so you don’t need to buy a skein of each color.
In terms of yarn type, look for yarns that are made of natural fibers like cotton or wool, as these tend to be more durable and wear better over time. Synthetic yarns may also be used, but they may not last as long as natural fibers. Also, consider the thickness of the yarn; a thick yarn will be sturdier but take longer to make, while a thin yarn will be easier to work with and complete faster.

How Long Will It Take to Make the Rug?
Making a rug with yarn by hand can take anywhere from hours to days, depending on the size and complexity of the design. For example, a small round rug measuring 2 feet by 2 feet might only take an hour or two, while a rectangular rug measuring 8 feet by 10 feet could take several days. It is best to start with a smaller project to get comfortable with the techniques before tackling a bigger rug.
If you are a beginner, it is recommended that you start with a simple design like single crochet or loop stitch. These stitches are easy to learn and require less time than more complex designs such as Tunisian crochet or tapestry weaving. It is also important to ensure that you use the right supplies and materials, as this will affect the overall look of your rug. Be sure to purchase high-quality yarn that is durable and appropriate for the design you are creating.
What Type of Yarn Should You Use for the Rug?
When making a rug with yarn by hand, choosing the right type of yarn for your project is important. Look for sturdy and durable types of yarn designed for durabilities, such as wool or acrylic. Avoid using very thin or delicate fibers such as cotton, which can be easily frayed when being worked on with needles or hooks. You’ll also want to look for a colorfast yarn, which won’t fade or discolor over time.
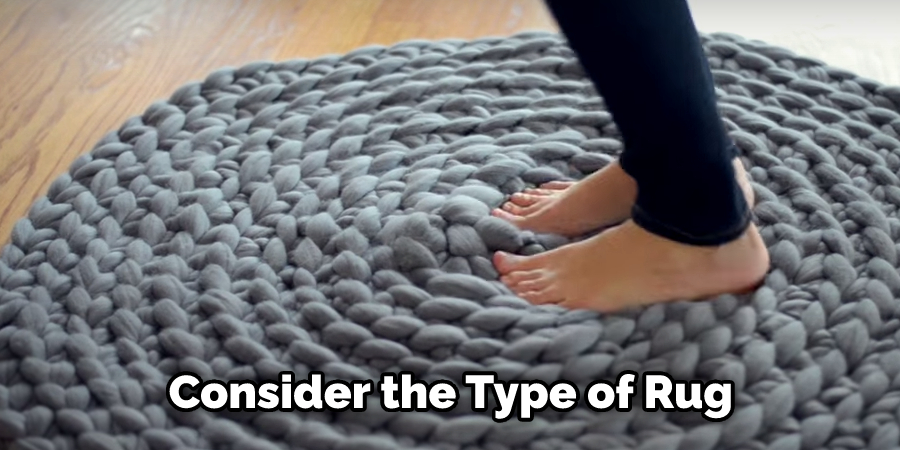
Consider the type of rug you are making and choose the appropriate yarn accordingly – thinner yarns work well for small projects like placemats or coasters, while thicker and heavier fibers are better suited for large projects like rugs or tapestries. Don’t forget to add a few extra skeins of yarn when purchasing, just in case your project requires more than you initially thought it would.
Tools & Materials You Will Need
- Yarn of various colors and textures (3-6 skeins)
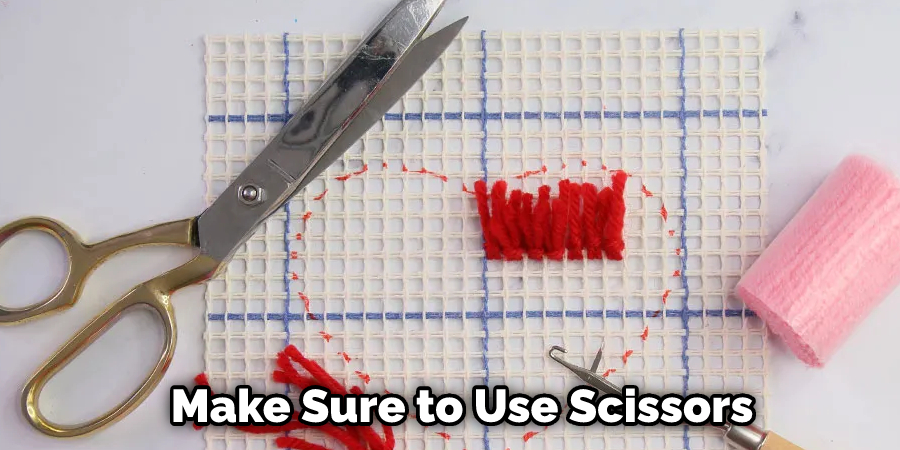
- Scissors
- Tapestry needle
- Sharp fabric scissors
- Rug padding
- Measuring tape or ruler
- Pencil or marker to draw lines on the canvas
- Canvas – preferably a cotton blend or wool material
- Latch hook tool
- Piece of fabric for the backing of the rug (optional)
Step by Step Processes for How to Make a Rug With Yarn by Hand
Step 1: Inspect Your Yarn
Make sure all the yarn strands are in good condition before you start rolling them into a rug. Depending on the size rug you’re making, measure out enough yard to cover the space of your desired rug. You can use any type of yarn, from thick to thin, wool to synthetic.
Step 2: Create a Skeleton
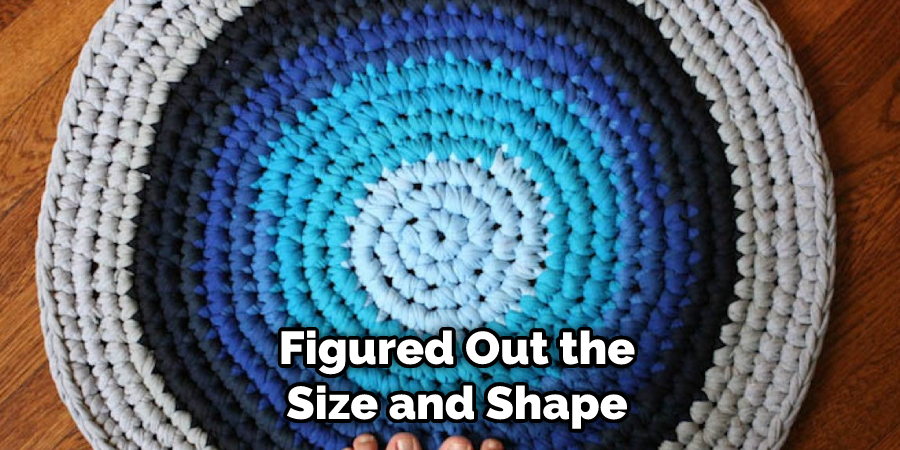
Once you’ve figured out the size and shape you want your rug to be, create a skeleton by making a frame out of cardboard or wood. This will help hold the shape as you begin rolling the yarn. Start with one end of the yarn and roll it onto your skeleton frame. Secure each layer as you go so the rug doesn’t unravel as it is formed. Remember that if you’re making a large rug, you may need to use several rolls of yarn.
Step 3: Weave Ends Together
To ensure that your rug remains as one piece, weave the ends of each roll together. This will also help make sure that the rug is even and secure. You may find gaps between rolls of yarn or some yarn strands that are sticking out. Fill in the gaps and use a crochet needle to pull loose threads back into the rug.
Step 4: Create A Backing
To give your rug more stability and structure, you can create a backing using either fabric, felt, or heavy-duty paper. Attach it to the back of your rug using an adhesive. Once finished, go around the edge and trim any excess yarn strands to create a neat finish. Depending on how thick you’d like your rug to be, you can add more layers onto the backing for extra padding.
Step 5: Place Rug in Desired Location
You can now place your rug in the desired location. To keep it from slipping and sliding, you may also want to attach non-slip material or double-sided tape underneath it.
Step 6: Enjoy Your New Rug
Sit back and enjoy your new, handmade rug. You can use it to brighten up any room and bring a touch of warmth and coziness into your home. To ensure that your rug lasts for many years, you should vacuum it regularly or give it a gentle shake outdoors to release dirt and dust. You may also want to spot-clean it with warm water and detergent if needed.
Making a rug with yarn by hand is an easy and enjoyable process that can bring a unique touch of warmth and coziness into your home.
Precautions for How to Make a Rug With Yarn by Hand
- Wear protective clothing such as gloves to prevent any cuts or irritation from the yarn.
- Make sure to use scissors that are designed for fabric when cutting your yarn, as regular scissors may not be sharp enough and can cause the yarn to fray or pull apart when crocheting or knotting.
- Make sure to use a rug-specific needle or hook when crocheting, as this will help ensure that the stitches are even and secure.
- If using furniture with rollers, try to put something thicker over it, such as a piece of cardboard or plywood; otherwise, the yarn will slip off while you’re working on it.
- Take your time and pay attention to details; this will help ensure that your rug is well-constructed and high-quality.
- Always keep a pair of scissors nearby if you need to make adjustments or trim any excess yarn. This will help prevent your work from becoming bunched up and messy.
Following these precautions will ensure that you can successfully create a beautiful rug with yarn by hand. With the right tools and supplies, anyone can make their very own intricate and unique rug in just a few simple steps.
How Should You Clean and Maintain Your Handmade Rug Over Time?
- Regularly vacuum the rug with a low-power setting on your vacuum. This will help to remove dirt and debris from the yarn fibers without causing damage to the rug.
- Spot clean spills or messes immediately using a damp cloth and mild detergent. Blot the area until no more liquid can be absorbed, then rinse with clean water and gently blot dry.
- Clean the entire rug every 6-12 months by taking outdoors and shaking it firmly to remove any dirt that has accumulated deep in the fibers.
- If necessary, take your handmade rug to a professional cleaner specializing in delicate textiles or area rugs for a deeper clean.
- Protect your handmade rug from direct sunlight, as the UV rays can fade the colors over time.
- Rotate your rug every six months to prevent any uneven wear in high-traffic areas of the home.
Do You Need Any Special Weaving Techniques or Skillset to Make the Rug?
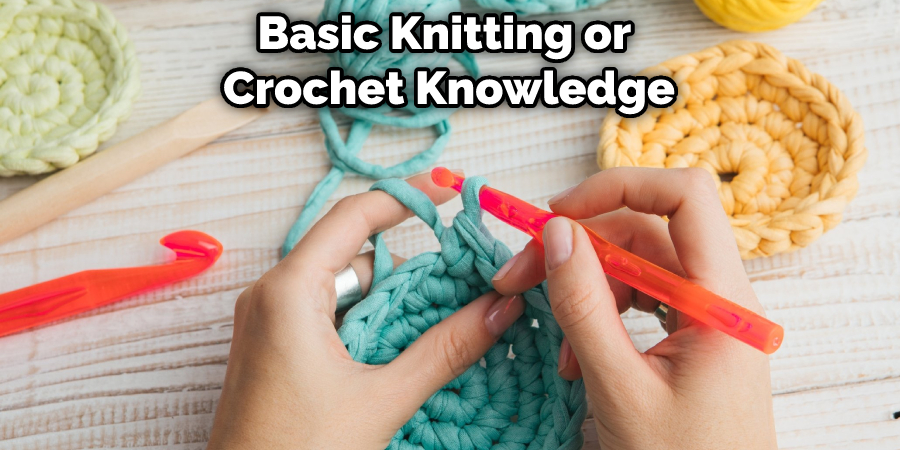
No, you don’t need any special weaving techniques or skillset to make a rug with yarn. All that’s required is basic knitting or crochet knowledge, some loose-knit yarn, and two wooden rods. The key to success is ensuring your tension remains consistent throughout the project – if it is too tight or too loose, it can cause unevenness in the rug and affect its overall look. The rods will help you keep your tension even while weaving. Additionally, it’s important to remember the looser your knitting or crochet stitches are, the easier it will be to weave the rug.
Now that you know what supplies and techniques to use let’s get started! The first step is to determine the size and shape of your rug. You can use any kind of yarn for this project, but chunky wool or acrylic yarns are the best choices since they’re easier to work with. Once you have your yarn chosen, create two wooden rods that match the length and width of your desired rug size. Then, wrap the yarn around both rods and tie a knot at the end.
Conclusion
In conclusion, making a rug with yarn by hand is an enjoyable craft project that can yield beautiful and unique results. It requires patience, a steady hand, and attention to detail, but the resulting creation will surely be worth the effort. With just a few supplies – such as yarn, a hook, and backing material – you can create your own one-of-a-kind rug for your home or give it as a gift.
It’s an easy learning project and can help you express your creative side. So if you’re looking for something new and fun, try making an area rug with yarn by hand – you won’t regret it. I hope reading this post has helped you learn how to make a rug with yarn by hand. Make sure the safety precautions are carried out in the order listed.
You Can Check It Out to Transfer Vinyl Without Transfer Paper

