Mirrors are an essential part of any home décor, providing a neat way to check your appearance before going on with your day, as well as having the potential to elevate any space with their sleek and stylish designs. If you’ve ever wanted to try making your own unique mirror frame, then this guide is perfect for you!
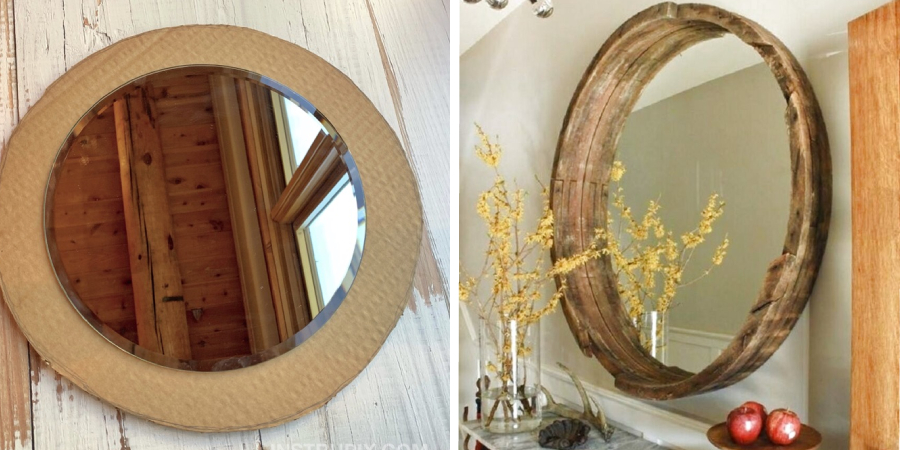
Here we will be walking through step-by-step instructions on how to make a round mirror frame that can easily be customized according to key measurements or individual preferences. With some creativity, imagination, and a few basic tools, you’ll have a beautiful handmade piece in no time!
Can You Put Trim around a Mirror?
Yes, you can put trim around a mirror. Trim will not only add an aesthetically pleasing look to the room but also help protect the edges of the mirror from wear and tear. You can use molding, tiles, or any other type of trim to create a custom frame for your mirror.
It is important to measure the mirror carefully before purchasing the trim, as you will need to ensure that it fits perfectly around the mirror. You can then use a suitable adhesive to attach the trim to the mirror and seal it in place. Finally, you may want to add a few coats of paint or varnish if desired for extra protection and added style. With careful planning and installation, your mirror will have a beautiful new frame that can last for years to come.
Supplies You Will Need
- A round mirror
- A piece of wood that is big enough to trace the mirror onto
- A jigsaw
- Sandpaper
- Paint or a stain of your choice
- Polyurethane (optional)
9 Steps How to Make a Round Mirror Frame
1. Preparing the Wood
The first step is to prepare the wood that you will be using for the frame. If you are using a new piece of wood, you will need to sand it down so that it is smooth. If you are using an old piece of wood, you will need to sand it down and then apply a primer before painting or staining it. You will also need to measure and cut the pieces of wood that you need for your frame.
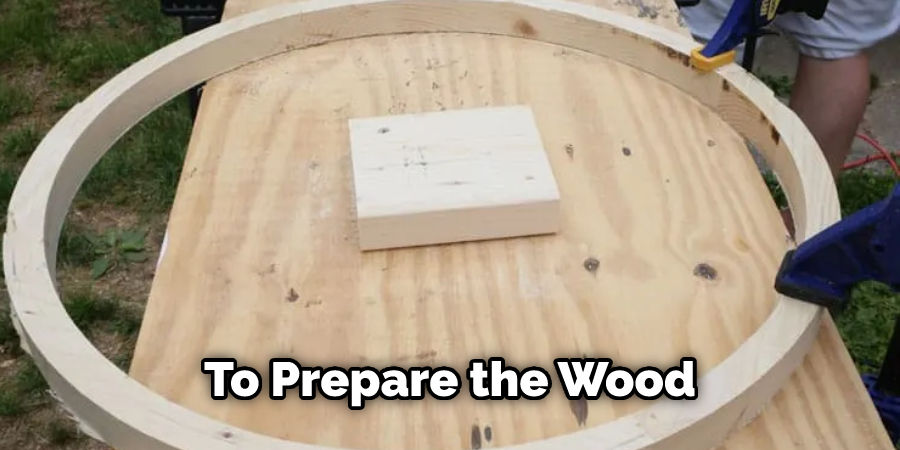
If you are using more than one type of wood, you will need to make sure that the pieces are sanded and cut in a way that they fit together properly.
2. Tracing the Mirror Onto the Wood
Once the wood is prepared, you will need to trace the outline of the mirror onto it. You can do this by using a pencil or a pen. Make sure that you trace the outline as accurately as possible so that the frame will fit properly around the mirror. You can also use a ruler to make sure that you are tracing the outline accurately. Once the outline is traced, cut the wood along the traced line using a saw.
3. Cutting Out the Frame
Once you have traced the outline of the mirror onto the wood, you will need to cut out the frame using a jigsaw. If you do not have a jigsaw, you can ask someone at your local hardware store to cut it out for you. When cutting out the frame, be sure to use safety precautions and wear protective eyewear. Once you have cut out the frame, sand down any rough edges and make sure the frame is perfectly smooth. However, be careful not to sand too much or else you may damage the frame.
4. Joining the Pieces Together
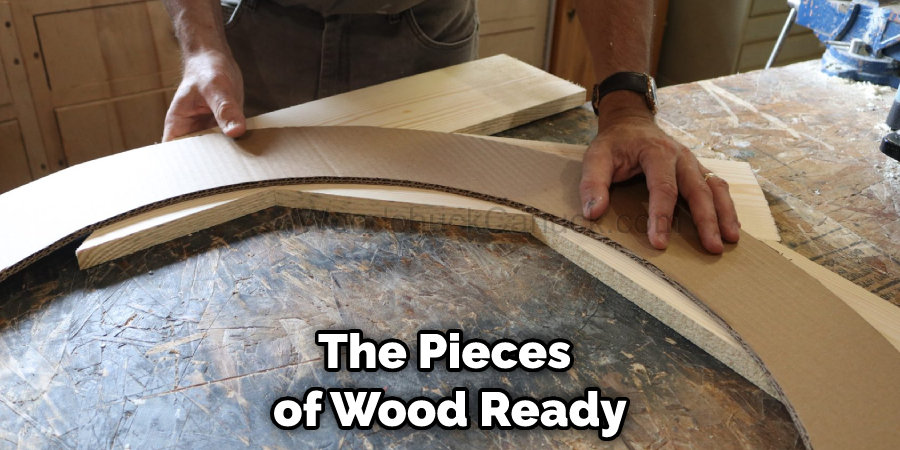
Once you have the pieces of wood ready, it’s time to join them together. You can use nails or screws depending on what works best for your project. Make sure that you predrill any holes in order to avoid splitting the wood when using nails or screws.
If necessary, you can also use a clamp to hold the pieces together while they are being joined. Try to use an even amount of force when joining the pieces together to ensure a tight bond. After everything is secured, double-check all your connections to make sure everything is in place.
5. Sanding Down the Frame
After you have cut out the frame, you will need to sand it down so that it is smooth. You can use either sandpaper or an electric sander for this step. Make sure to sand down all the edges and corners so that there are no sharp points or angles.
If you find any cracks, nicks, or signs of wear, be sure to sand those down as well. Once the frame is totally smooth, it will be ready for painting or staining. If you choose to stain the frame, make sure to use a good-quality wood stain that will last. However, if you are painting the frame, be sure to use high-quality paint that won’t easily chip or wear off.
6. Applying Paint or Stain
Once the frame is sanded down, you will need to apply paint or stain to it. If you are using paint, you will need to apply at least two coats in order to get good coverage. If you are using stain, you only need to apply one coat. Once the paint or stain is dry, you can optional step of applying a layer of polyurethane to protect it from scratches and wear and tear.
Depending on what you are using the frame for, this may be necessary, or it can be skipped. Finally, your framed project is ready to hang and enjoy!
7. Attaching the Frame to the Mirror
Once the paint or stain is dry, you will need to attach the frame to the mirror using screws or nails. Make sure that you attach it securely so that it does not fall off. You may also need to use some sort of adhesive to ensure that the frame stays in place. Once all screws and nails are in place, your custom-built mirror frame should be complete.
If desired, you can add some decoration or even a few shelves to the frame to further customize it and make your project stand out.
8. Step Eight: Finishing Touches
The last step is to add the finishing touches, such as trim, molding, hinges, handles, etc., depending on what kind of frame you are making. Make sure everything is level and secure before moving on to the final step of adding a coat or two of paint or stain. Depending on the type of frame, you may want to consider sealing the frame with a protective coating as well
. That’s it! You have now built your own custom frames. Try to experiment with different materials, sizes, shapes, and colors to get the perfect look for your home. With a little bit of time and effort, you can create some beautiful homemade frames that will be a great addition to any room.
9. Hang It Up!
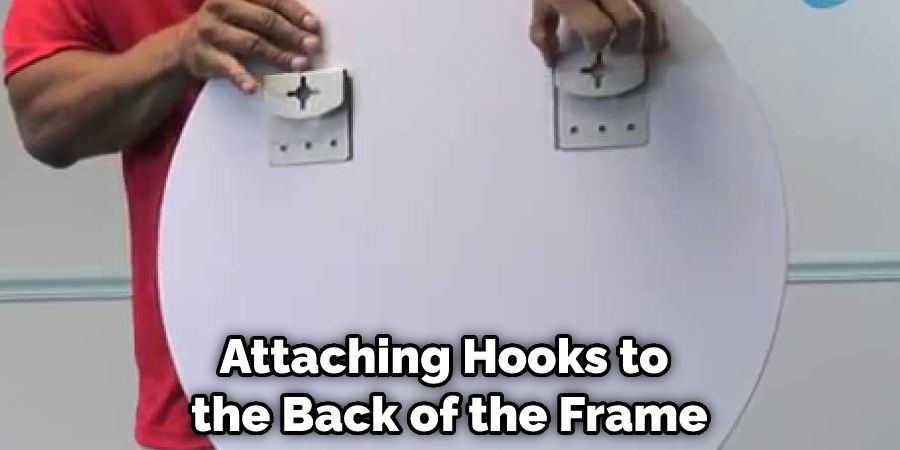
The last step is to hang up your new mirror! You can do this by attaching hooks to the back of the frame and then hanging them on a nail or screw in your wall. Alternatively, you can also lean your mirror up against a wall if you prefer not to make any holes in your walls. No matter what your preference is, make sure to take into consideration the weight of the mirror and how securely it needs to be hung up. Enjoy your new home decor!
Congratulations! You have made a beautiful mirror frame that you can enjoy for years to come. With just a few supplies and some patience, you can make a custom frame for any mirror in your home. Have fun and be creative!
You Can Check It Out To Make Paper Flowers for Mother’s Day
Things to Consider When Making a Round Mirror Frame
1. Consider the Space Available for the Frame:
When selecting a round mirror frame, it is important to consider how much wall space is available for the frame. Measure the wall space available before shopping to make sure that your desired frame size will fit in the area.
2. Choose a Color and Finish:
When selecting a round mirror frame, you have many colors and finish options. Think about your home decor style and color scheme when choosing a frame color and finish that will best complement your home’s aesthetic.
3. Select an Appropriate Material:
The material of the round mirror frame is also important to consider when making your selection. A metal or wood frame can work well with many different styles, but if you are looking for something more unique, glass frames may provide a more interesting look. Additionally, be aware that some materials may require special care and maintenance in order to keep them looking their best.
You Can Check it Out to Fix a Dropped Purl Stitch

Conclusion
So there you have it, a complete guide on how to make a round mirror frame. This is a relatively simple project that can be completed in an afternoon, and the results are definitely worth it.
Be sure to sand and prime your wood before painting or staining, and take your time with the miter cuts – a little extra effort here will make for a much nicer finished product. Thanks for following along, and we hope you enjoy making your own mirror frame!
You Can Check It Out To Make Origami Stem

