
Do you love to add a special, unique touch to your handmade crafts? If so, learning how to make a rosette ribbon is the perfect skill for you. Rosettes ribbons are beautiful and eye-catching decorations used in gift wrappings, party decorating projects such as banners and streamers, or even added into fun fashion accessories like headbands!

While it might not be as popular yet as other ribbon shapes like bows or loops, with some practice and patience, it’s easy enough for anyone — even beginners —to learn how to make one of these stunning rosettes! In this blog post, we will show you exactly what steps need to take and provide helpful examples along the way. Read on for some helpful tips for bringing an elegant flair to any craft project with your own homemade rosette ribbon!
What is a Rosette Ribbon?
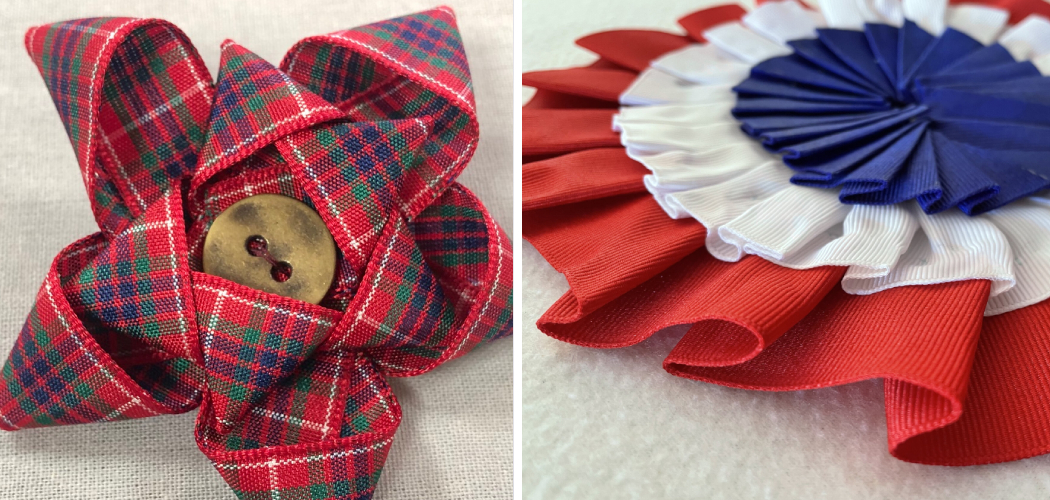
A rosette ribbon is a circular decoration made from gathered fabric or paper. It’s commonly used as an embellishment in wrapping presents and for decorating special occasions such as parties, weddings, birthdays, and more. When assembling the rosette, you simply take two rectangles of material (such as ribbon) and gather them together in the middle. You can then tie them together with a piece of thread, string, or even ribbon to secure the shape.
The end result is a beautiful rosette ribbon with an elegant and eye-catching look that’s perfect for any craft project you’re working on.
Choosing the Best Fabrics for Rosette Ribbon
When it comes to creating a rosette ribbon, the key is to choose fabrics and colors that will bring out the beauty of your design. For example, if you’re going for a more traditional look, opt for classic colors such as red or white. If you want something bolder or brighter, like blues and yellows, you can always use colorful ribbon or fabric.
Once you’ve chosen your materials, make sure that they are cut into the desired shape and size. You can either choose to make squares or rectangles of fabric, depending on the look you want to achieve.
What to Keep in Mind When Making a Rosette Ribbon
1. Size
When making your rosette ribbon, there are a few things to keep in mind. First and foremost, make sure that you have enough fabric or ribbon for the size of the project you’re working on. Then measure out exactly how much you need and cut it accordingly.
2. Gather
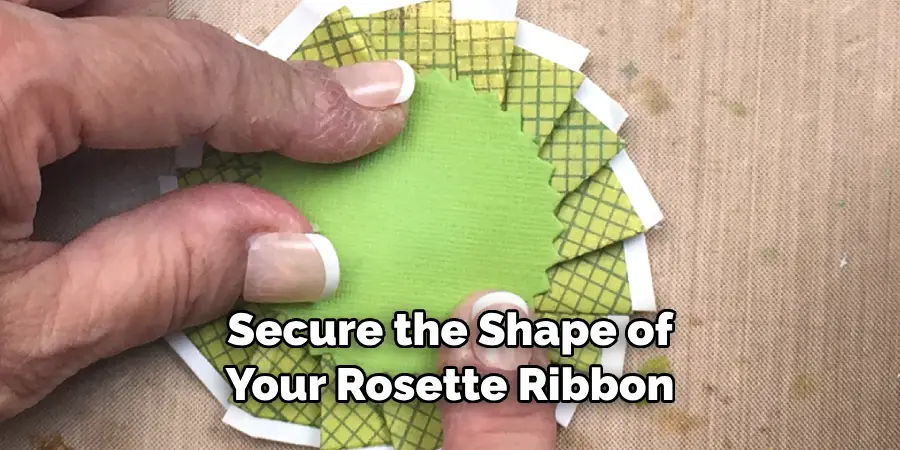
Once you’ve cut your fabric or ribbon, it’s time to start gathering the pieces together in the middle. To do this, simply wrap each piece around the other and tie them off with a piece of thread or string. This will help secure the shape of your rosette ribbon when it’s finished!
Required Items to Make a Rosette Ribbon
- Fabric or Ribbon (in your desired colors)
- Scissors
- Needle and Thread
- String or Ribbon
10 Ways How to Make a Rosette Ribbon
1. Cut and Gather Your Materials
First, you’ll need to gather your materials and cut them into the desired shape and size. For a traditional rosette, you’ll need two rectangles of fabric or ribbon. Then gather both pieces together in the middle and tie them off with a piece of thread or string.
2. Secure the Gathered Pieces
Once your materials are gathered, it’s time to secure them in place with a needle and thread. Start at the top of your gathered pieces and stitch them together using a basic running stitch. Make sure that you’re keeping an even tension as you sew, so your rosette will take shape properly.
3. Flatten and Secure the Bottom
Next, you’ll need to flatten out the bottom of your rosette ribbon and secure it in place. To do this, use a piece of string or ribbon and wrap it tightly around the base of your rosette. Tie off your string or ribbon to secure the shape.
4. Trim Any Excess Fabric
Finally, trim any excess fabric at the edges of your rosette ribbon. Doing so will give you a neat and tidy finish that will look beautiful on any project you’re working on. Trimming the edges also helps to keep your rosette from fraying or losing its shape over time.
5. Add an Extra Embellishment
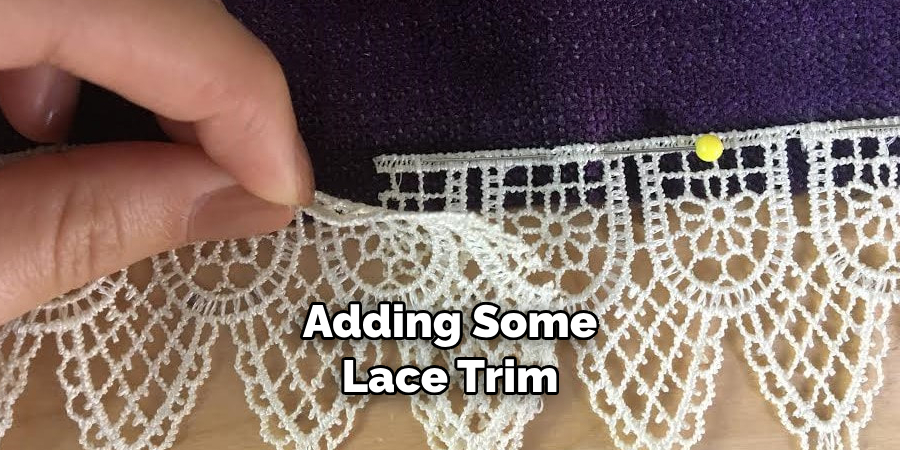
If you’re feeling extra creative, you can always add a special embellishment to your rosette ribbon. For example, if you’re using of fabric for your rosette, try adding some lace trim or sequins for a little added sparkle and glamour.
You can also use decorative ribbons or trims for a bold and eye-catching look. Just make sure not to overcrowd your rosette ribbon with too many embellishments, as this can take away from the beauty of the design.
6. Use Applique or Embroidery
If you want to go above and beyond when making your rosette ribbon, try adding some applique or embroidery. This is a great way to make your rosette extra special and unique, as you can choose any design or pattern that fits your project!
7. Use Glue to Secure the Fabric
Finally, use some glue to secure the edges of your fabric or ribbon pieces together. This will help keep everything in place and help maintain the shape of your rosette ribbon.
Making a beautiful and eye-catching rosette ribbon is easier than you might think! With these helpful tips, you’ll be able to create stunning rosettes in no time at all that will add an elegant flair to any craft project or gift wrapping. Now that you know the basics of how to make a rosette ribbon, why not give it a try today? You’ll be surprised by just how easy and fun it is!
8 Common Mistakes to Avoid
Making a rosette ribbon is not difficult, but there are some common mistakes that can easily be avoided with a little bit of preparation. Here are 8 common mistakes to look out for when making your own ribbon.
- Not having the right materials. To make a rosette ribbon, you need fabric, scissors, a glue gun and sticks, ribbons, and embellishments. Without these materials, you won’t have the right pieces to assemble your ribbon.
- Not measuring twice and cutting once. Once you’ve chosen your fabric of choice, be sure to measure twice before making any cuts! Otherwise, you may end up with a piece of fabric that is too small or not what you intended.
- Not buying enough fabric. When choosing your fabric, always overestimate how much you need and buy a bit extra to be sure that there is enough fabric to make your ribbon look perfect. Fabric that is too short will create an unappealing look.
- Not considering the width of your ribbon. Depending on where you plan to display your ribbon, you may need to take into account the width of your rosette and how long it needs to be in order to fit nicely.
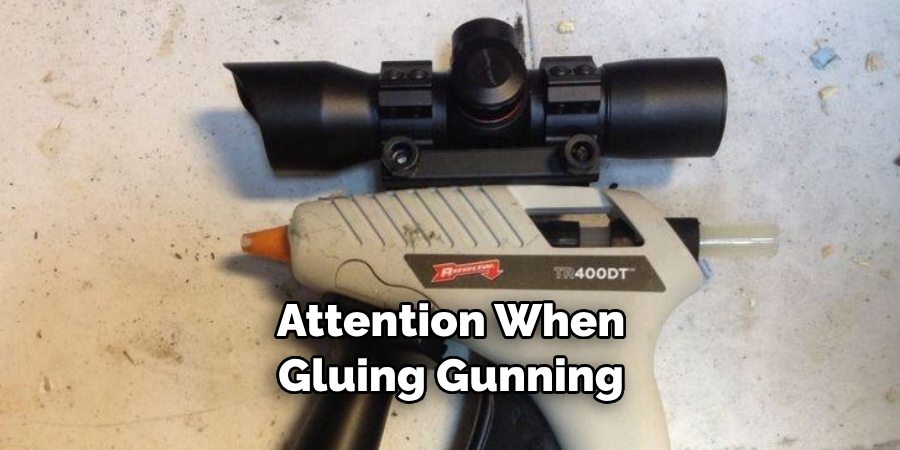
- Not paying attention when gluing gunning. Glue gunning is probably the trickiest part of making your ribbon. Be sure to pay attention and apply the glue evenly around the edges of your rosette in order for it to hold together properly.
- Not leaving enough time for drying. Once you’ve finished assembling your ribbon, be sure to leave it out to dry completely before moving on to the next step.
- Not using enough embellishments. Embellishments are a great way to add some extra character and uniqueness to your ribbon. However, be sure not to overdo it, as too many embellishments may make your ribbon look cluttered and overwhelming.
- Not having a plan of what type of ribbon to make. Before you start making your ribbon, it’s important to have a plan and decide what type of ribbon you want to make. This will help give you an idea of what materials and embellishments you need in order to create the desired effect.
By avoiding these common mistakes on how to make a rosette ribbon, you’ll be able to successfully make your own rosette ribbon that looks perfect for any occasion. With these tips in mind, you’ll be able to create a beautiful and unique ribbon with ease.
8 Tips to Make the Rosette Ribbon Special
- Select your ribbon material carefully. Choose a fabric that speaks to the occasion, such as velvet or satin for a formal event or gingham for a softer look. It will add to the overall look of your rosette.
- Measure and cut the ribbon into strips, making sure it is long enough for the desired size of rosette. The strips should be approximately one inch wide and twice as long as your desired diameter of the rosette. It’s best to use a ruler to ensure accuracy when measuring and cutting.
- Sew the ends together to form one long strip of ribbon, or use a glue gun if you prefer. This will create an endless loop of ribbons. It will make the rosette much easier to work with.
- Make pleats in the ribbon by folding it back and forth in an accordion-like fashion. The folds should be approximately 1/2 inch wide and evenly spaced along the length of the ribbon. Also, be sure to keep the folds consistent and evenly spaced for an even look.
- Securely attach the pleated ribbon at one end with a piece of thread or pipe cleaner. You can use a small stitch or glue gun to fasten it in place. While the ribbon is still pleated, wrap a piece of thread or ribbon on the other end to hold it together.
- Form the rosette by pushing each pleat together inwards to form a circle shape. Make sure that all of the pleats are facing inwards and that they create an even circle. When the shape is complete, use a needle and thread to secure it in place.
- Add embellishments such as beads or buttons to give your rosette an extra special touch. You can also add feathers or trim for a more creative look.
- Finally, attach the rosette securely to whatever you are wearing or decorating. You can use a safety pin, thread, or glue gun to attach it in place. Now you have your very own rosette ribbon!
With these tips on how to make a rosette ribbon, you now know how to make a beautiful and unique rosette ribbon for any occasion. Whether you are using it for decoration or fashioning an accessory, you can be sure that your rosette will make a statement.
Frequently Asked Questions
How Long Will It Take to Finish the Project?
Making a rosette ribbon is an easy project that can be completed in an afternoon, depending on the size and complexity of the design you plan to make. If you’re new to crafting with fabric, it may take a bit longer as you familiarize yourself with the techniques involved. However, even experienced crafters shouldn’t find it too difficult or time-consuming. Additionally, the good news is that you can use up scraps of fabric, so you don’t need to invest in a lot of extra materials.
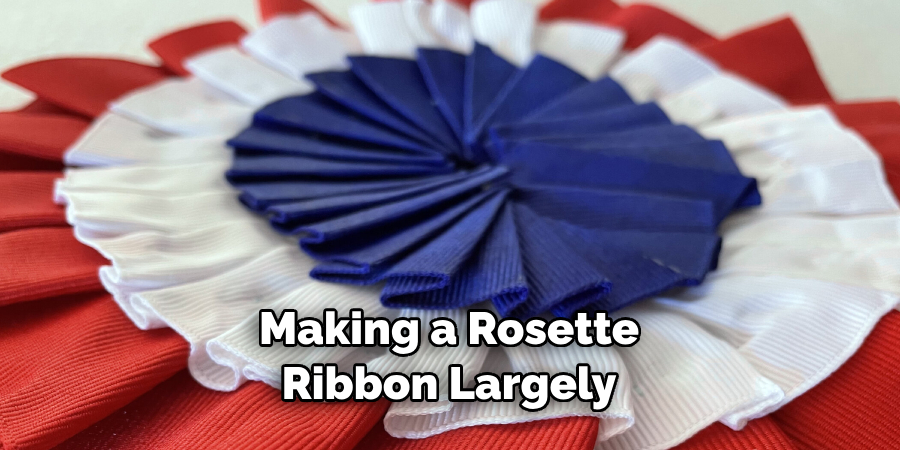
How Much Will It Cost?
The cost of making a rosette ribbon largely depends on the types of fabric and notions you use. If you already have a variety of fabrics, trims, and other embellishments in your crafting stash, you may not need to make any additional purchases. However, if you don’t have everything on hand, buying supplies can quickly add up. Depending on the complexity of your design, you may need to spend anywhere from a few dollars to a few hundred.
Conclusion
With a few materials and patience, anyone can make a rosette-style ribbon. There are countless variations and possibilities of shapes, colors, and sizes that allow you to create unique pieces that will stand out amongst the crowd. No matter what you plan to use these ribbons for, the options and chances for creativity are seemingly endless.
So go ahead, try something new! Gather all your supplies, get creative, and have some fun making rosette-style ribbons! Crafting these ribbons allows you to express yourself or say something special in a unique way that is sure to be eye-catching and memorable. Follow these simple steps on how to make a rosette ribbon and get started today!