Are you contemplating crafting a homemade puzzle mat so that your children can enjoy hours of creative and educational playtime? If the answer is yes, then we have just the thing for you!
Making a puzzle mat yourself doesn’t require too much in terms of time investment or materials; it’s really quite simple to make on your own. In this post, we will cover all of the steps for making a fun and colorful puzzle mat––from figuring out which pieces to purchase to how best to adhere them onto the surface––so read on if you are excited about how to make a puzzle mat.
Why May You Want to Make a Puzzle Mat?
1 . To Save Space and Keep Your Puzzles Safe
Are you tired of leaving your puzzles on the dining table, only to have them accidentally knocked off by a family member or pet? Making your own puzzle mat can help keep your puzzles safe and secure by providing a designated space for them. Additionally, it also takes up less space than leaving the puzzle out on a table.
2 . To Customize the Size and Design
Commercial puzzle mats come in standard sizes and designs, which may not fit your specific puzzle needs. By making your own puzzle mat, you have the flexibility to customize it according to your puzzle size and design preferences. This can also add a personal touch to your puzzle experience.
3 . To Save Money
Puzzle mats can be expensive, especially if you have multiple puzzles of different sizes. By making your own puzzle mat, you can save money and use the extra funds for more puzzles to add to your collection.
4 . To Have a Fun DIY Project
Making a puzzle mat can also be a fun and creative DIY project. You can involve your family or friends in the process and have a bonding experience while also creating something practical.
5 . To Create an Eco-Friendly Option
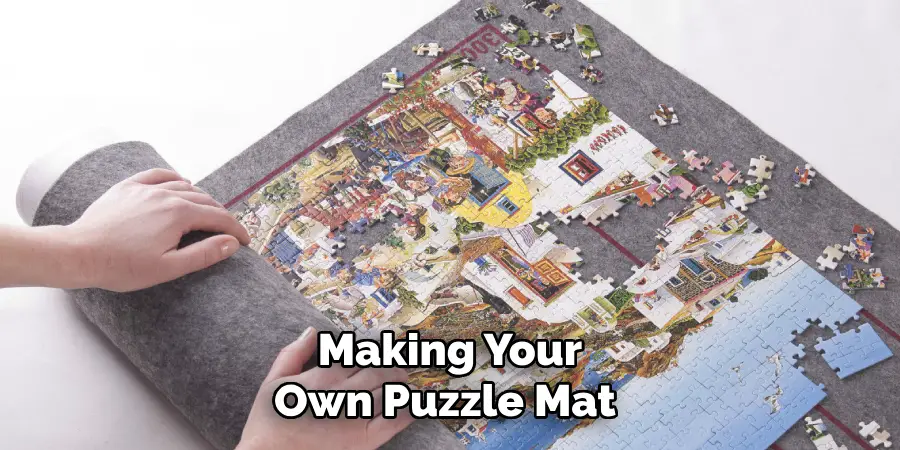
If you are conscious of the environment, making your own puzzle mat can be a more eco-friendly option. You can use recycled materials or repurpose old fabrics to make your puzzle mat, reducing waste and contributing to a sustainable lifestyle.
How to Make a Puzzle Mat in 5 Easy Steps
Step 1: Gather Your Materials
Before you begin, make sure you have all the necessary materials for making a puzzle mat. You will need a large piece of felt or flannel, fabric glue, scissors, and some tape. Additionally, you will also need a ruler to help with measuring and cutting the felt.
Step 2: Measure and Cut the Felt
Using your ruler, measure and cut the felt or flannel to your desired size. This will depend on the size of the puzzle you want to make a mat for. Make sure to leave some extra space around the edges for any potential mistakes or adjustments.
Step 3: Glue Down the Edges
Carefully apply fabric glue along all four edges of the felt. Then, fold the edges over and press them down onto the glue. This will create a neat and secure edge for your puzzle mat.
Step 4: Let it Dry
After gluing down all four edges, allow the puzzle mat to dry completely. This may take anywhere from 30 minutes to an hour, depending on the type of fabric glue used. Also make sure to follow any additional drying instructions provided by the specific glue brand.
Step 5: Use Tape for Extra Security
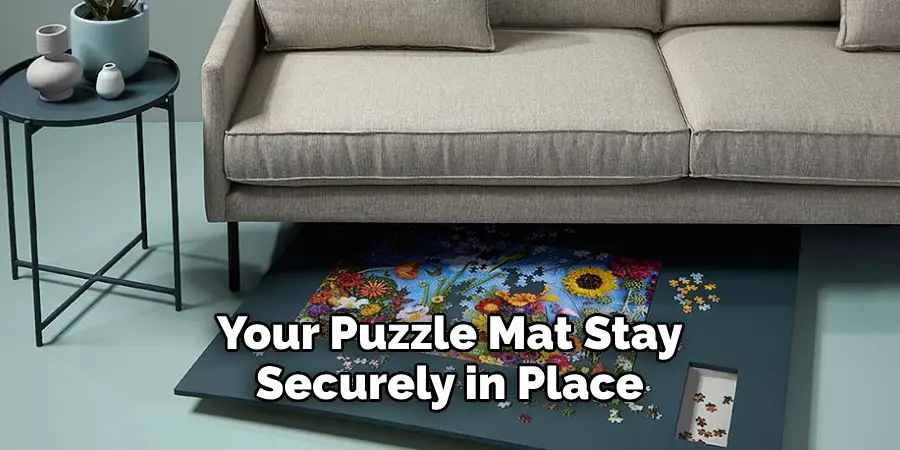
If you want to ensure that the edges of your puzzle mat stay securely in place, you can use some tape on the backside. Simply flip over the mat and add strips of tape along each edge. This will provide extra reinforcement and help prevent any potential unraveling.
Additional Tips and Tricks for Making Puzzle Mats
1 . Do Not Cut the Felt Too Small
When measuring and cutting the felt, make sure to leave some extra space around the edges. This will allow for any potential mistakes or adjustments and ensure that your puzzle mat is the perfect size for your puzzle.
2 . Consider Using Different Colors of Felt
If you’re making multiple puzzle mats, consider using different colors of felt for each one. This will not only add a pop of color to your puzzle-making process, but it can also help differentiate between different puzzles if you plan on storing them together.
3 . Use a Large, Flat Surface for Gluing
When applying fabric glue and folding over the edges of the felt, make sure to use a large, flat surface such as a table or the floor. This will allow you to easily spread out the felt and apply pressure while gluing, ensuring a smooth and neat edge.
4 . Try Different Types of Glue
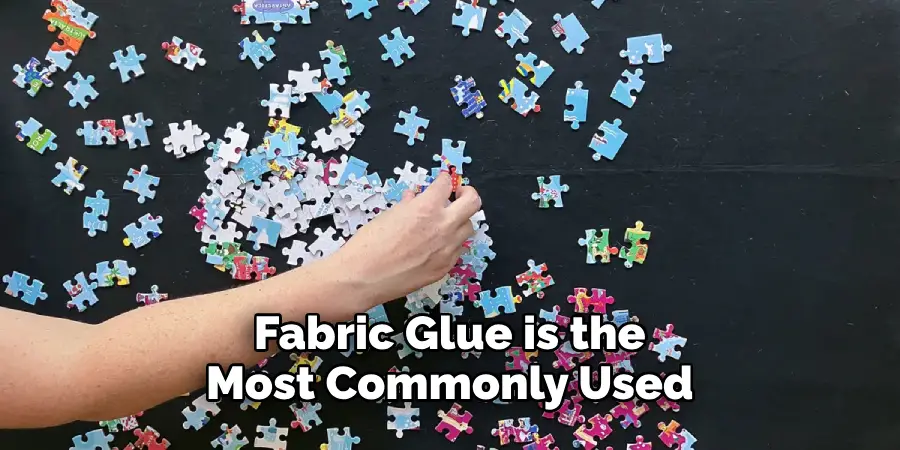
While fabric glue is the most commonly used adhesive for puzzle mats, there are other options available such as craft glue or hot glue. Experiment with different types of glue to see which one works best for your specific puzzle mat project.
5 . Customize Your Puzzle Mat
Get creative and make your puzzle mat unique by adding personal touches such as embroidery, fabric paint, or even patches. This will not only make your puzzle mat one-of-a-kind, but it can also add a fun and personalized element to the puzzling experience.
So there you have it – 5 easy steps for making your very own puzzle mat! Whether you’re an avid puzzler or just looking for a way to keep your puzzles organized, this DIY project is simple and practical. So gather your materials and get crafting, the perfect puzzle mat is just a few steps away!
Frequently Asked Questions
What Precautions Should I Take When Making a Puzzle Mat?
Making a puzzle mat is an easy and fun project that can be done by anyone. However, some precautions should be taken for safety and to ensure the longevity of your puzzle mat. Work in a clean and well-ventilated area to avoid inhaling any harmful fumes from adhesives or paints.
Use protective gear, such as gloves and a mask, when handling these materials. Additionally, make sure to read and follow all instructions and warning labels on any products you are using.
How Do I Clean My Puzzle Mat?
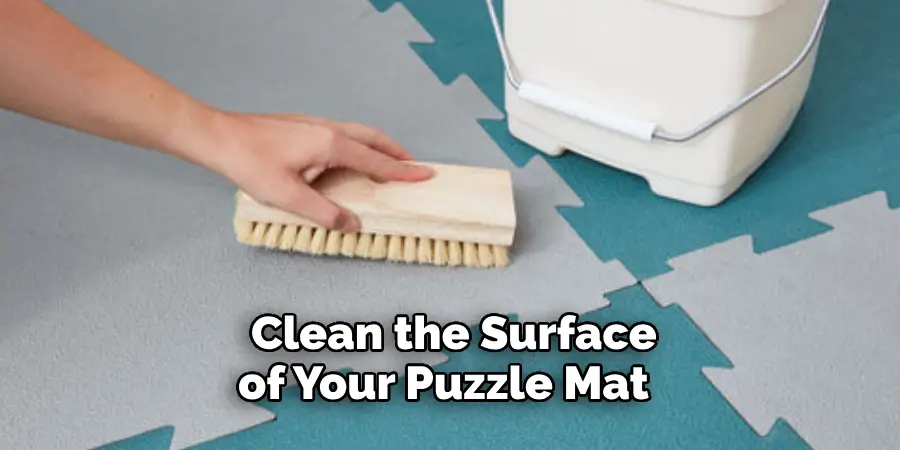
Regularly cleaning your puzzle mat will help maintain its appearance and extend its life. You can clean the surface of your puzzle mat with a soft cloth or sponge and mild soap and water. Avoid using harsh chemicals or abrasive cleaners, as they can damage the mat. To remove any stubborn stains, you can use a paste of baking soda and water or a gentle all-purpose cleaner.
Can I Customize My Puzzle Mat?
Absolutely! Making your puzzle mat allows for endless possibilities in terms of customization. You can choose different fabrics, colors, and designs to fit your personal style. You can also add extra features like pockets for storing puzzle pieces or a carrying strap for easy transportation. Get creative and make a puzzle mat that is uniquely yours.
How Do I Store My Puzzle Mat?
Proper storage is essential for maintaining the quality of your puzzle mat. When not in use, roll up your puzzle mat and secure it with a strap or tie. This will prevent the pieces from falling out and keep the mat from getting dirty or damaged. Avoid storing your puzzle mat in direct sunlight or damp areas, as this can cause fading or mold growth.
Can I Make Different Sizes of Puzzle Mats?
Yes, you can make puzzle mats in different sizes to accommodate various puzzle sizes. Simply adjust the measurements and materials accordingly. You can even make smaller mats for kids’ puzzles or larger ones for extra-challenging puzzles. Just make sure to leave enough room around the puzzle pieces so they don’t fall off the mat while you’re working on it.
Can I Make a Puzzle Mat for Multiple Puzzles?
Yes, you can make a puzzle mat that is big enough to fit multiple puzzles. However, keep in mind that the larger the mat, the more difficult it may be to transport and store. You can also make smaller individual mats and connect them together with snaps or Velcro strips for easy customization. The choice is yours!
Conclusion
With access to these materials and instructions, anyone can make their own puzzle mat for simple, handy floor protection and storage. Crafting this mat is an accessible weekend project for puzzle fans of all ages. Bringing the elements of this guide together could be a fun group activity as well.
Now you know how to make a puzzle mat! Have some fun getting creative and getting messy making a one-of-a-kind puzzle mat. There’s nothing quite like the pride of having made something with your own hands that both serves a useful purpose and looks great too! With some patience, you’ll soon find yourself admiring your handiwork while puzzling away in no time.

