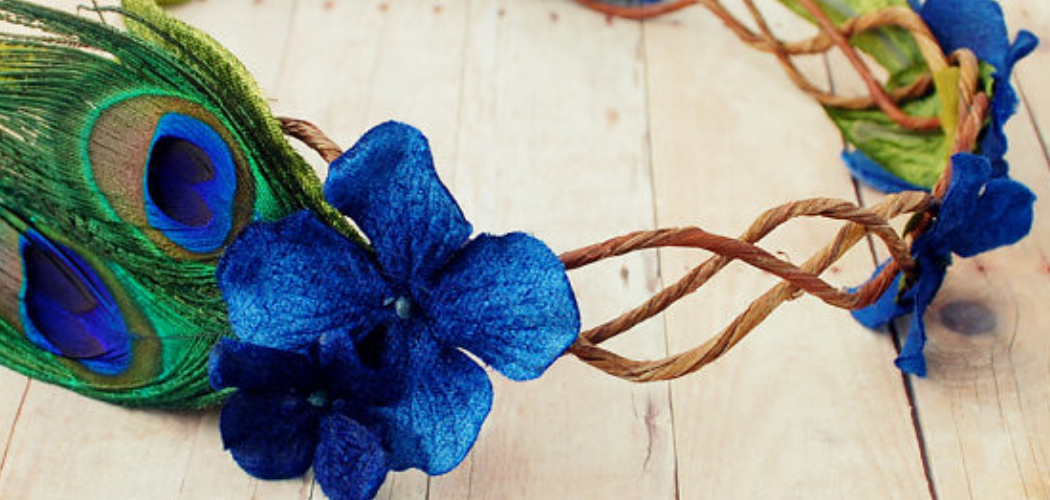
Are you tired of the same old hair accessories? Looking for something fun and stylish to carry a little extra sparkle into your everyday life? Are you ready to stand out from the crowd and create a look that’s uniquely yours?
Whether you’re looking for something different for your summer music festival outfit or just want to add some flair to your daily wardrobe, making a DIY feather headband could be precisely what you need! Perfectly stylish yet simple to make, these gorgeous accessories can easily take any look up a notch.
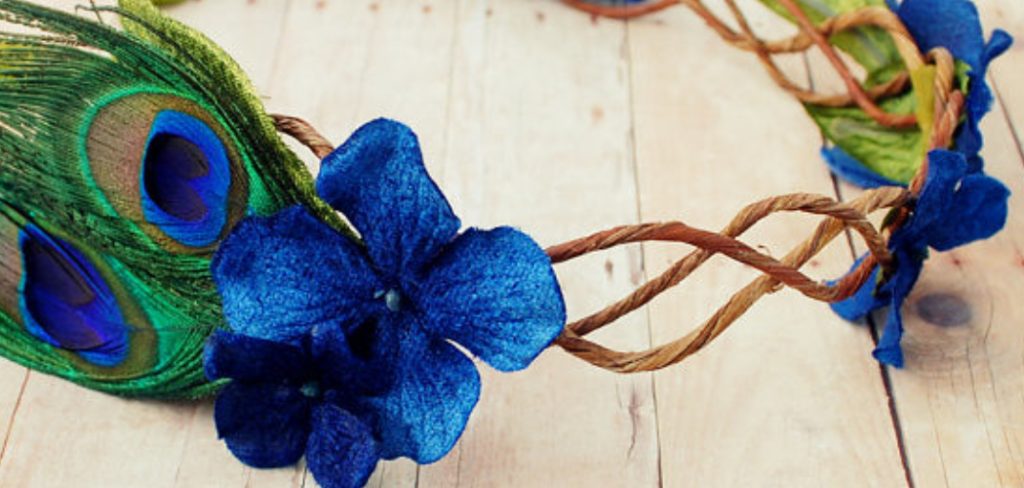
Not only are they highly fashionable, but they are also effortless to make. Whether you’re a novice or an experienced craftsperson, there’s no need to worry – with this step-by-step guide on how to make a feather headband, we’ll walk you through creating your fantastic feather headband so you can stand out from the crowd. So grab some feathers and get ready to explore how straightforward it is to transform them into something special!
Necessary Items
Before we dive into the step-by-step process, let’s make sure you have all the necessary items to get started. The good news is you already have most of these items at home!
- Feathers (choose a variety of colors and sizes depending on your preference)
- A plain headband (you can also use an elastic band or ribbon as an alternative)
- Hot glue gun (or any strong adhesive)
- Scissors
- Needle and thread (optional)
10 Steps on How to Make a Feather Headband
Step 1: Prepare the Feathers
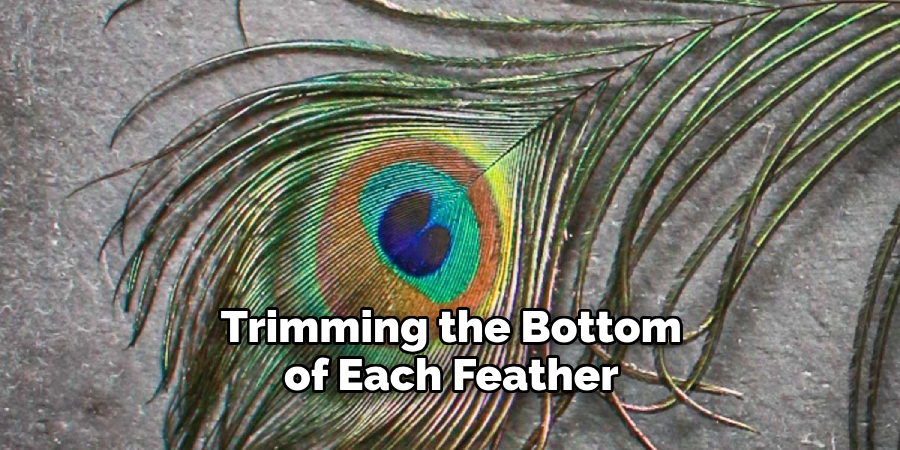
The first step in creating your feather headband is preparing the feathers. Start by trimming the bottom of each feather to remove any excess or uneven pieces. Then, arrange your feathers in a pattern of your choice. Mix and match different colors, sizes, and textures to create a unique look.
Step 2: Glue the Feathers
Once you have your feather arrangement ready, it’s time to glue them onto the headband. Apply a small amount of hot glue onto the base of each feather and carefully place it on the headband. Make sure to leave some space between each feather to avoid overcrowding.
Step 3: Secure with Thread (Optional)
If you want extra security, you can use a needle and thread to sew the feathers onto the headband. This step is optional, but it will ensure that your feathers are firmly attached.
Step 4: Create a Second Layer
For a more full and voluminous look, add a second layer of feathers on top of the first one. Simply repeat the same steps as before, gluing or sewing the feathers onto the headband.
Step 5: Trim Excess Feathers
After adding all your desired layers of feathers, trim any excess pieces sticking out from the sides or bottom of the headband. This will give your headband a cleaner and more polished look.
Step 6: Add Embellishments (Optional)
If you want to add some extra sparkle or a personal touch, now is the time. You can use beads, sequins, gems, or other embellishments to decorate your feather headband.
Step 7: Let it Dry
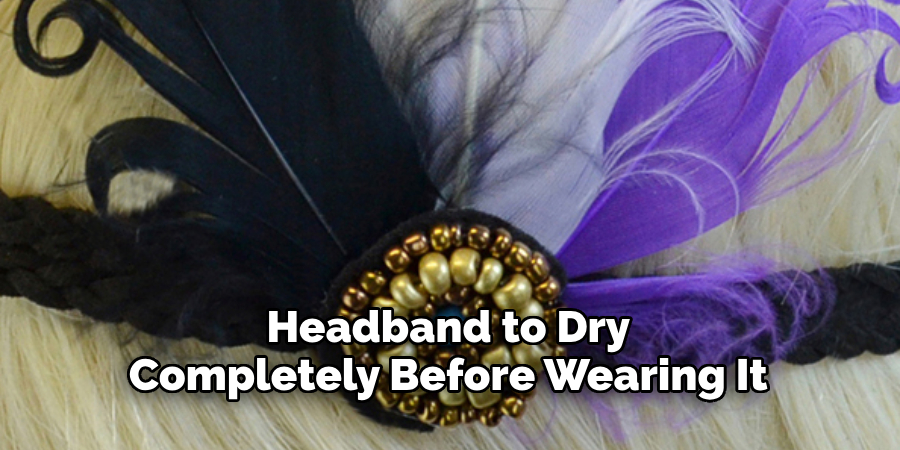
Allow your headband to dry completely before wearing it. This will ensure that the feathers and any added embellishments are securely attached.
Step 8: Try It On
Once your headband is dry, try it on and make any necessary adjustments. You can move the feathers around or add more to achieve your desired look.
Step 9: Flaunt Your Creation
Now that you have your very own feather headband, it’s time to show it off! Wear it with your favorite outfit, and get ready to receive compliments.
Step 10: Experiment and Have Fun!
The best part about making a DIY feather headband is that there are endless possibilities. You can experiment with different feather arrangements, colors, and embellishments to create a variety of unique headbands. Have fun, and let your creativity flow!
Making your feather headband is not only a perfect way to add some personality to your style but also an excellent opportunity to express yourself through fashion. With just a few simple steps and some basic materials, you can create an eye-catching accessory to make you stand out. So go ahead and try it – you’ll be surprised at how easy and fun it is! So why wait? Gather your supplies and start creating your very own feather headband today!
8 Care Tips for Your Feather Headband
Now that you have your beautiful feather headband, it’s essential to take proper care of it for a long time. Here are some tips to help you maintain your accessory:
1. Store in a Cool and Dry Place
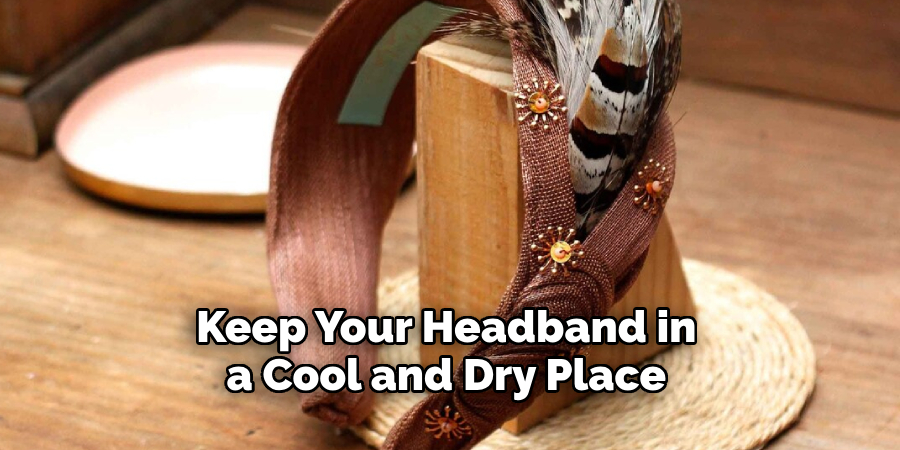
Feathers are delicate and can be easily damaged by moisture, so keep your headband in a cool and dry place when not in use. This will help preserve its quality and prevent any potential damage.
2. Handle with Care
Be gentle when handling your feather headband, as the feathers can quickly become tangled or bent out of shape. Avoid squeezing or pulling on the feathers too hard.
3. Avoid Contact with Water
As mentioned, moisture can damage feathers and cause them to lose shape and color. Try to keep your headband away from water or any other liquids. If it accidentally gets wet, gently pat it dry with a towel.
4. Don’t Leave in Direct Sunlight
Direct sunlight can cause feathers to fade and lose their luster. When not wearing your headband, store it away from direct sunlight.
5. Brush Out Tangles
If your feather headband becomes tangled, use a soft-bristled brush or comb to brush through the feathers and untangle them gently. Be careful not to pull too hard as this can damage the feathers.
6. Keep Away from Pets
Pets may be curious about your new accessory and try to play with it. Keep your feather headband out of reach to avoid any damage from playful pets.
7. Spot Clean Only
If your headband gets dirty, use a damp cloth or a toothbrush with mild soap to spot-clean the affected area. Avoid submerging the entire headband in water, as this may cause the feathers to lose their shape and color.
8. Handle with Love and Appreciation
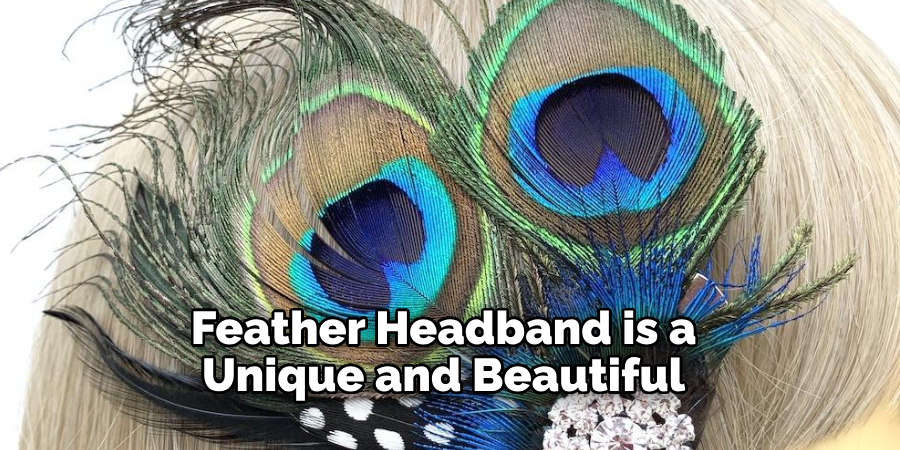
Your feather headband is a unique and beautiful creation, so handle it with love and appreciation. By following these care tips, you can enjoy your headband for many occasions!
Making a feather headband is a simple yet fun DIY project that allows you to add some personality to your style. With these ten easy steps, you can create a beautiful and unique accessory that will turn heads.
Just remember to take proper care of your feather headband so it can last for many occasions. Have fun and happy crafting! So why wait? Gather your supplies and start creating your very own feather headband today!
Frequently Asked Questions
Can I Use Real Feathers for My Headband?
Yes, you can use real feathers for your headband. Just make sure to clean and sanitize them before use properly. Alternatively, you can also use faux feathers for a more animal-friendly option.
How Long Will It Take to Make a Feather Headband?
The time it takes to make a feather headband will depend on your crafting skills and the level of intricacy in your design. Generally, it should take around 30 minutes to an hour to complete.
Can I Add Other Materials to My Headband?
Absolutely! You can get creative and add other materials, such as ribbons, lace, or fabric, to your feather headband. Just ensure they are securely attached so they don’t come loose while wearing them.
Do I Need Sewing Skills?
No, you do not need sewing skills for this DIY project. Glue is an excellent alternative to sewing and will work just as well for attaching the feathers to your headband.
Can I Make Different Styles of Feather Headbands?
Yes, there are endless possibilities when it comes to making feather headbands. You can experiment with different feather arrangements, colors, and embellishments to create unique styles.
Let your creativity flow! So why wait? Gather your supplies and start creating your very own feather headband today! The sky’s the limit when it comes to making these beautiful accessories. Have fun and happy crafting! So why wait? Gather your supplies and start creating your very own feather headband today!
Final Thoughts
Making a feather headband is fun and easy to add some pizzazz to your style. By following these ten simple steps on how to make a feather headband, you can create a unique and eye-catching accessory that will surely turn heads. With some creativity, supplies, and a few minutes, you’ll have a tasteful and beautiful feather headband to sport for your next night out.
Put on your crafty hat and start with your unique version of this DIY accessory. Once you finish, take a photo of your creation and share it, tagging us so we can admire your work! We can’t wait to see how yours turns out. Good luck, have fun, and above all else, enjoy the process! And with proper care, your feather headband can last for many occasions. So go ahead and get creative the possibilities are endless!

