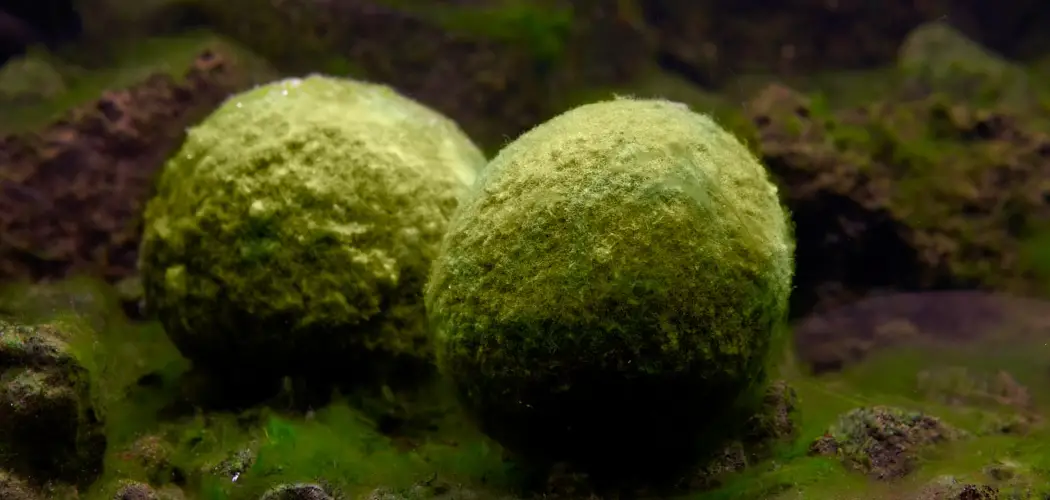
Are you looking for a unique way to spruce up your indoor decor? Moss balls are becoming increasingly popular as an easy, low-maintenance way to add exotic charm and texture to your home. Creating a moss ball doesn’t require any special skills or complex techniques – they can evoke the beauty of nature with relatively little effort.
Moss ball, also known as kokedama in Japanese, is a form of bonsai that involves wrapping the roots of a plant with soil and moss to create a living sculpture. This technique originated in Japan and has been popularized around the world for its simplicity and aesthetic appeal.
In this blog post, we’ll explain exactly how to make moss balls so that even novice craftspeople can succeed in making these beautiful home additions. Read on to learn more about how to make a moss ball!
What Will You Need?
Before you begin, gather all the necessary supplies. Here’s a list of what you’ll need to make a moss ball:
- Small plants with compact roots (such as ferns, ivies or succulents)
- Potting soil
- Sphagnum moss
- String or twine
- Scissors
Once you have these materials, you’re ready to get started!
10 Easy Steps on How to Make a Moss Ball
Step 1: Prepare Your Soil
Mix your potting soil with water until it reaches a firm but pliable consistency. If the soil is too dry, it will crumble and not hold its shape. Be careful not to add too much water – the soil should be wet but not soaking.
Step 2: Prep Your Plant
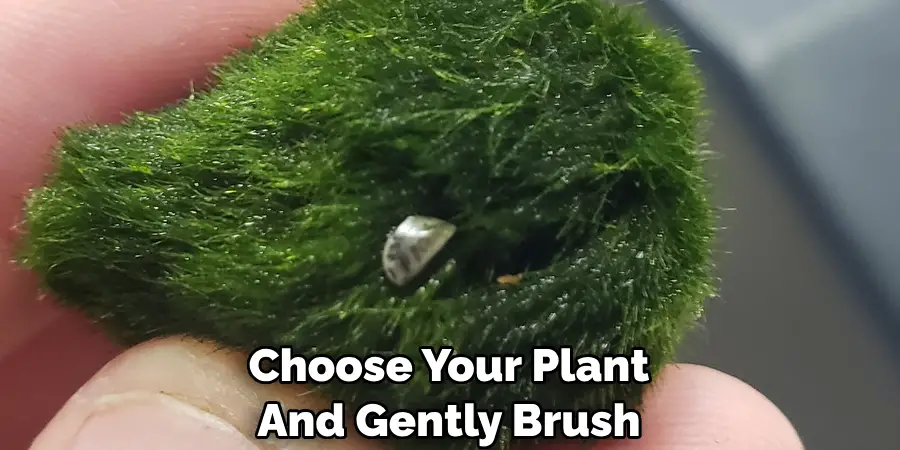
Choose your plant and gently brush away as much excess soil from its roots as possible using your fingers or a soft brush. By doing this, handling the plant and wrapping it with the moss will be easier. If your plant has long roots, trim them to make it more compact.
Step 3: Wrap Plant Roots in Soil
Next, take the prepared soil and carefully wrap your plant’s roots in it. You want to create a spherical shape, so add or remove soil as necessary to achieve this form. Keep the soil ball compact to ensure a solid base for the moss.
Step 4: Add the Moss
Now, it’s time to introduce the moss. Sphagnum moss is preferred due to its ability to retain moisture. Take your moss and soak it in water for a few minutes until it becomes soft and pliable. Then, gently squeeze out any excess water. Carefully wrap the moss around your soil ball, covering the surface completely. Don’t worry if it looks messy at this stage – the string or twine will help secure everything in place and give the moss ball its final shape.
Step 5: Secure with String or Twine
After you’ve completely covered the soil ball with moss, take your string or twine and begin to wrap it around the moss ball. Start from the top and work your way down, making sure to wrap tightly to secure the moss in place. Don’t worry about the visibility of the string or twine; it adds an artistic, rustic touch to the moss ball. Once you’re done wrapping, tie off the string or twine and cut off any excess.
Step 6: Water Your Moss Ball
Once your moss ball is secure, it’s time to water it. Submerge the moss ball in a bowl of water and leave it to soak for 10-15 minutes. The moss and soil will absorb the water, providing essential hydration to the plant. After washing, remove the moss ball from the water and gently squeeze out any excess. This step is crucial for the plant’s longevity and should be repeated regularly, depending on the type of plant used and the conditions in your home.
Step 7: Choose a Location for Your Moss Ball
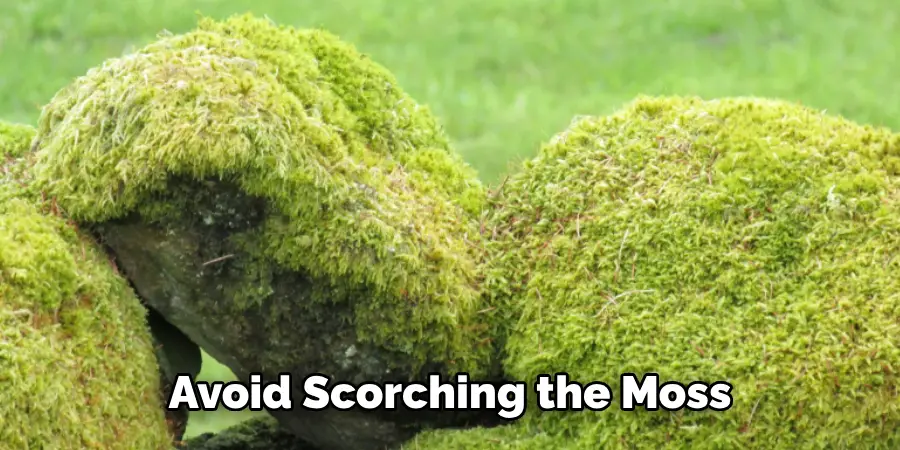
The next step is to find the perfect spot in your home for your newly crafted moss ball. Most moss ball plants prefer indirect light, so choose a location away from direct sunlight to avoid scorching the moss. The place should also be relaxed and well-ventilated. Some moss ball enthusiasts even like to hang their creations, so consider using a macrame plant hanger or a simple hook if you prefer this look. Remember, the location you choose could greatly affect your plant’s health, so choose wisely!
Step 8: Care for Your Moss Ball
Now that your moss ball is in its perfect spot, it’s important to remember to care for it properly to ensure it thrives. One of the key things to remember is to keep the moss moist. You can do this by misting it with water regularly or soaking it every few days.
The watering frequency will depend on the type of plant and the climate in your home. If you notice the moss drying out or the plant showing signs of distress, it might be time to water your moss ball. Also, remember to rotate your moss ball occasionally to ensure all sides receive equal exposure to light. In this way, the moss and plant will grow evenly, maintaining the beautiful spherical shape of your moss ball.
Step 9: Trim Your Moss Ball
Your moss ball may lose its neat, spherical shape as your plant grows. Regular trimming can help maintain its form. Use sharp scissors to cut back any overgrown plant parts or moss. Be careful not to trim too much at once; it’s better to shape the ball over time gradually. Remember, the goal is to keep the spherical form of your moss ball while allowing the plant to grow healthily.
Step 10: Enjoy Your Moss Ball
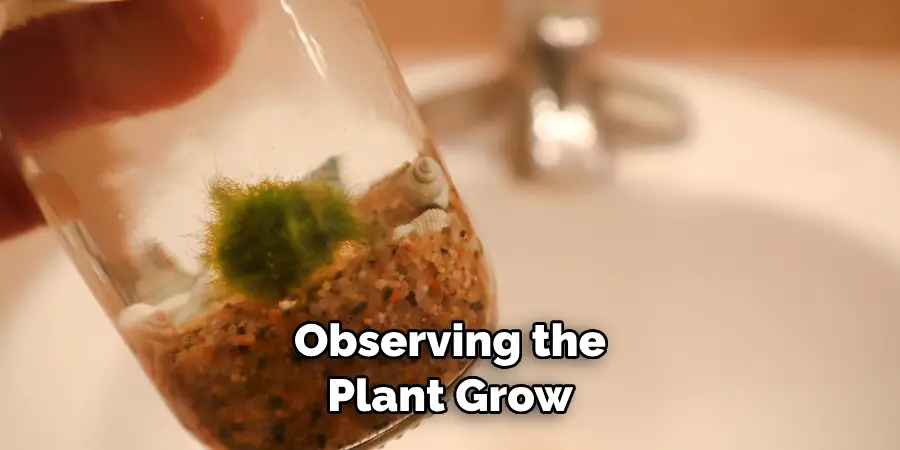
Lastly, take a step back and enjoy your creation! You’ve successfully created a beautiful moss ball that adds a touch of nature to your space. One of the joys of kokedama is observing the plant grow and change over time. Remember, each moss ball is unique, just like its maker. Enjoy nurturing it, and remember to share or display your creation for others to appreciate. Happy gardening!
Once you’ve mastered making a moss ball, don’t be afraid to experiment with different plant types, sizes, and shapes. The possibilities are endless!
5 Additional Tips and Tricks
- Choosing the Right Moss: When making a moss ball, selecting the right type of moss is vital. Opt for species like sheet moss or cushion moss for optimal results.
- Maintaining Moisture: Moss thrives in a damp environment. Regularly misting your moss ball will help to maintain the moisture levels and ensure its longevity.
- Proper Lighting: Position your moss ball in a location where it will receive indirect sunlight. Direct sunlight can cause the moss to dry out and may lead to its demise.
- Size of the Ball: The size of your moss ball depends on personal preference. However, remember that larger moss balls are harder to maintain than smaller ones due to their increased water needs.
- Handling and Re-shaping: Moss balls might lose their shape over time. Carefully handle and reshape your moss ball when necessary, ensuring it retains its spherical form.
You can create a beautiful and healthy moss ball with these additional tips and tricks.
5 Things You Should Avoid
- Overwatering: While moss balls require a certain level of dampness, overwatering can lead to moss decay. Be cautious not to over-saturate your moss ball.
- Exposure to Direct Sunlight: As previously mentioned, direct sunlight can harm your moss ball. Avoid placing it in areas where it will receive strong, direct sunlight.
- Neglecting Dust Build-Up: Dust can hinder Moss’s ability to photosynthesize properly. Regularly clean your moss ball to prevent dust accumulation.
- Using Chlorinated Water: Chlorine in tap water can harm the moss. Always use filtered or rainwater when watering your moss ball.
- Ignoring Signs of Ill-health: Brown patches or a musty smell indicate your moss ball is unhealthy. Pay attention to these signs and take the necessary action to revive your moss ball.
By following these tips and avoiding common mistakes, you can ensure your moss ball stays healthy and adds a touch of natural beauty to your home.
Do Moss Balls Smell?
While moss balls naturally have a faint earthy smell, they should not have a strong or unpleasant odor. If you notice a musty smell coming from your moss ball, it could indicate decay and should be addressed promptly to prevent further damage. Regularly inspecting your moss ball and handling any issues will help maintain its health and scent-free nature.
In conclusion, moss balls are a beautiful addition to any living space but also have many environmental benefits. They can be easily made at home with the suitable materials and care. So go ahead and try making your moss ball today!
Conclusion
By carefully choosing and assembling the materials you need and following the steps in this tutorial, you’ll have your little mossy creation to adorn your home. Have fun and be creative with it! Don’t be afraid to mix up the colors and textures – a beautiful variety of mosses, materials, and shapes can work together to create an exciting work of living art.
Hopefully, this tutorial on how to make a moss ball has inspired you to make your moss ball and incorporate more natural elements into your home decor.
With a little patience and attention to detail, you can easily make homemade moss balls to give any room a touch of life and beauty. And with that, go forth on your moss ball-making journey – happy crafting!

