

Are you looking for a way to add some artful flair to your home? With the help of some basic materials and the right technique, you can create something beautiful and unique! You can learn how to crochet a plant hanger from scratch with this step-by-step tutorial.
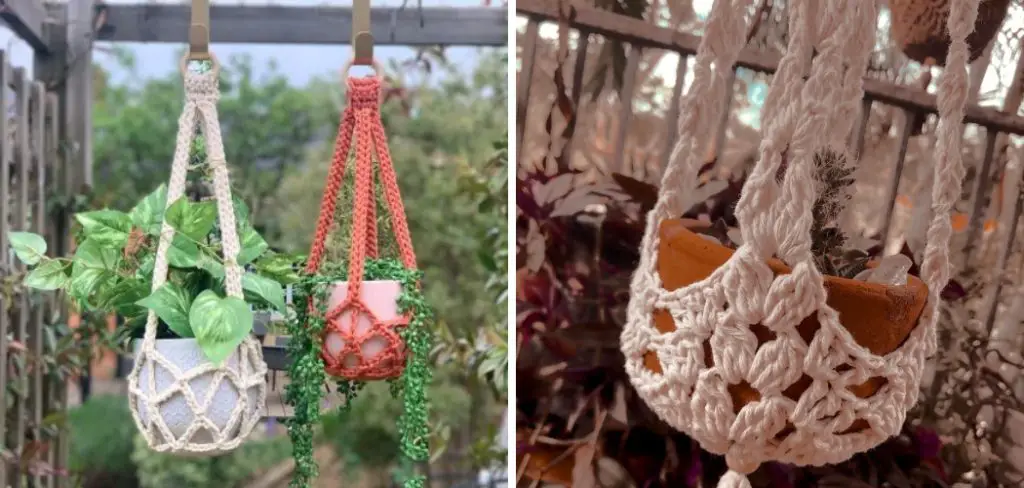
Crocheting is a surprisingly simple skill that anyone can learn, and it will give you an opportunity to express yourself through crafting. Whether you are just starting out or have been crocheting for years, there’s no better time than now to join in on the fun! Read on for more information about how easily you can make a decorative plant hanger of your very own.
Can You Use Yarn to Make Plant Hangers?
Yes, it is possible to use yarn to make plant hangers! All you need is a crochet hook and some yarn. With just a few basic stitches, you can easily create your own beautiful macrame-style plant hanger. The possibilities are endless in terms of the design and colors that you can incorporate into your project.
Making your own plant hangers is a great way to express your creativity, and it’s also an inexpensive way to bring plants into your home. It’s important to remember that any kind of yarn will work for making your own plant hanger, so don’t be afraid to experiment with different types and colors! With the right instructions, you’ll have your own gorgeous plant hanger in no time.
When you’re ready to get started, there are three main steps that you need to follow. First, determine the size of your plant hanger and how many strands of yarn will be needed for it. Then, make a slip knot and chain the number of stitches required for the length of your plant hanger. Finally, use a variety of crochet stitches to finish the project. To learn more about these three steps and how to complete them, read on!
Making your own plant hangers is a great way to save money while adding some personality and style to any room in your home. With just a few basic supplies, you can easily make your own unique plant hanger in no time! Get creative with the colors and design of your project, and don’t forget to take lots of photos along the way.
10 Methods on How to Crochet a Plant Hanger
1. Supplies You Will Need
In order to crochet a plant hanger, you will need some supplies. First, you will need a crochet hook. The size of the hook will depend on the type of yarn you are using. You will also need some yarn.
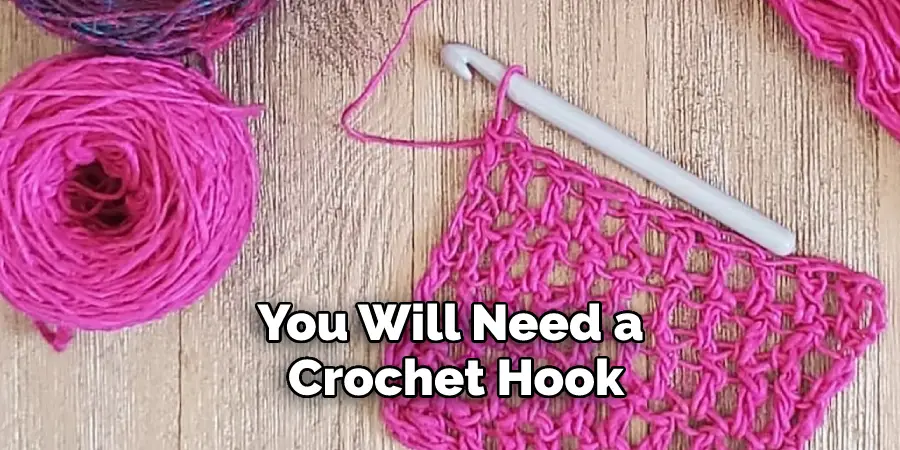
Again, the type of yarn you use will depend on the size of the hook you are using. You may also want to use a stitch marker to keep track of your progress. Finally, you will need a pair of scissors to cut the yarn when you are done. However, if you are using a thicker yarn, you may need to use some other type of cutter.
2. Make a Slip Knot
The first step is to make a slip knot. To do this, take your yarn and make a loop. Then, insert your hook into the loop and pull the yarn through the loop. This will create a second loop on your hook. Next, pull the tail of the yarn to tighten the first loop around the second loop. This is your slip knot, and it will help to secure the yarn to the hook.
While you can use your fingers to do this, a yarn needle may help make the process easier. Try to make the slip knot as tight as possible but not so tight that it is difficult to crochet the next stitches.
3. Crochet a Chain
Once you have made a slip knot, you can begin crocheting a chain. To do this, simply wrap the yarn around your hook and then pull it through the loop on your hook. This will create a new loop on your hook.
Repeat this process until you have created the desired length of the chain. Once you have completed the chain, cut the yarn and pull the end through the loop on your hook. This creates a knot that will hold your chain together. Although it is not necessary, you can also tie a double knot at the end of your chain to ensure it will remain secure.
4. Join the Chain into a Circle
Once you have crocheted your desired length of chain, it is time to join it into a circle. To do this, simply insert your hook into the first chain stitch that you made and then pull the yarn through both loops on your hook.
This will join the ends of your chain together and create a circle. If your circle does not look neat, simply use your hook to tidy up the stitches and make sure that it is even all the way around. Although this step may seem tricky at first, you will quickly get the hang of it.
5. Single Crochet in the Circle
Now that you have joined your chain into a circle, you can begin single crocheting in the circle. To do this, insert your hook into the center of the circle and then pull up a loop of yarn (you should now have two loops on your hook).
Next, yarn over and pull through both loops on your hook (this will create one single crochet stitch). Repeat this process around the entire circumference of the circle until you have reached your desired width.
6. Increase Your Stitches
In order to make a wider plant hanger, you will need to increase your stitches. To do this, simply insert your hook into the same stitch as before and then pull up another loop of yarn (you should now have three loops on your hook).
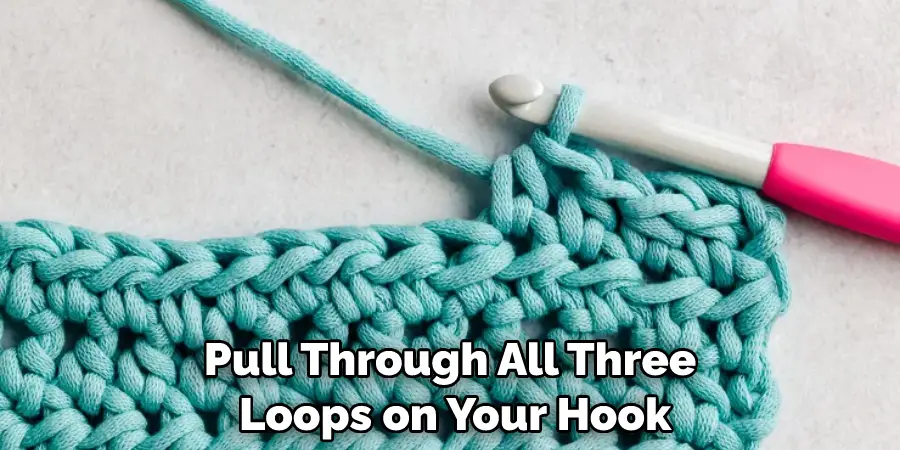
Next, yarn over and pull through all three loops on your hook (this will create two single crochet stitches in the same stitch). Repeat this step until you have the desired number of stitches. While this may seem tricky at first, it will soon become a part of your crochet repertoire.
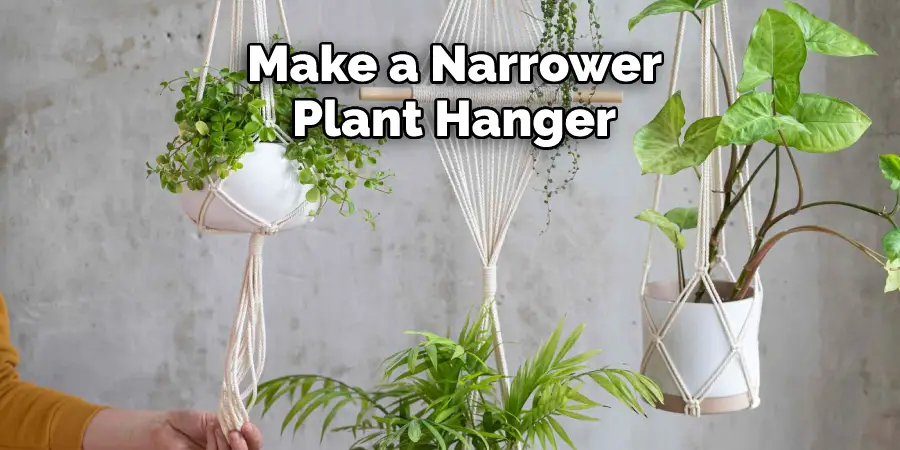
7. Decrease Your Stitches
Once you have increased your stitches, you may need to decrease them in order to make a narrower plant hanger. To do this, simply insert your hook into the next stitch and then pull up a loop (you should now have two loops on your hook). Next, yarn over and pull through both loops on your hook (this will create one single crochet stitch in the next stitch).
Repeat this all the way around your chain until you have reached the desired width for your plant hanger. If you want to make a wider plant hanger, you can simply repeat the increasing process. Try to keep your stitches even for the best-looking results.
8. Leave a Gap for Plant Pot
When you reach the desired length of your plant hanger, leave a gap for the plant pot. To do this, simply skip over the next stitch and continue crocheting in the stitches around the gap. This will create an opening large enough for your plant pot to fit through. If you need to make the opening larger, simply skip more stitches. Try to keep your gaps even throughout the entire length of the hanger.
9. Tie Off and Weave in Ends
Once you have reached the desired length of your plant hanger, it is time to tie off your work and weave in any remaining ends. To do this, simply cut the yarn and pull it through the last loop on your hook. Then, use a tapestry needle to weave in any remaining loose ends. This will help to secure your work and make sure that it doesn’t unravel. Once you have done this, your plant hanger is ready to be used!
It is really that easy to crochet a plant hanger, and it can be not only a great addition to your home decor but also a fun project to work on. With some simple supplies, you can make a plant hanger that will be sure to bring life and color to your home. So, why not give it a try? You might be surprised at how beautiful and easy it is to make!
10. Hang Your Plant Hanger
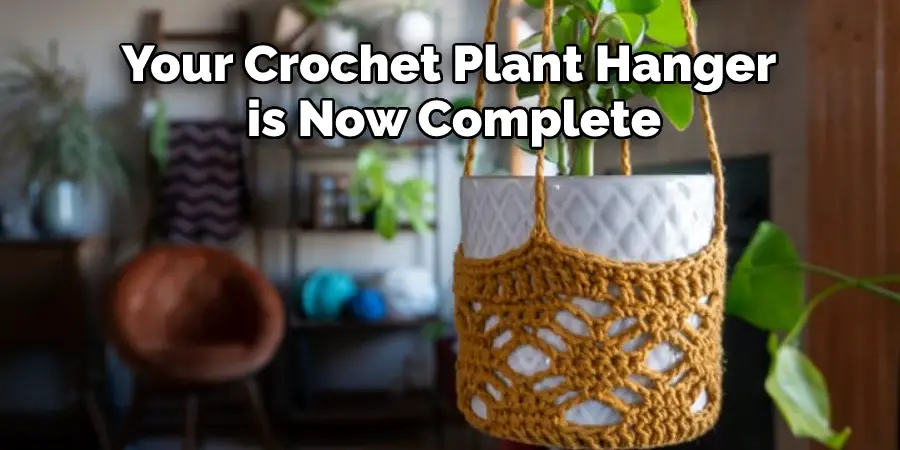
Once you have tied off your work and woven in all of the loose ends, it is time to hang your plant hanger. Simply loop the chain portion of the hanger over a hook or rod and then place your plant pot in the center of the hanger. Your crochet plant hanger is now complete! Additionally, if you want to create a variety of sizes, simply adjust the number of chain stitches and single crochet stitches accordingly.
Conclusion
Now that you know how to crochet a plant hanger, go forth and make your own! With this project, you can customize the length and type of yarn to get the perfect look for your home.
Don’t be afraid to experiment with different colors and patterns – the sky’s the limit! Whether you’re new to crocheting or have been doing it for years, this project is a great way to show off your skills. So what are you waiting for? Get out there and start crocheting some plant hangers!
You Can Check It Out to Crochet a Double Treble