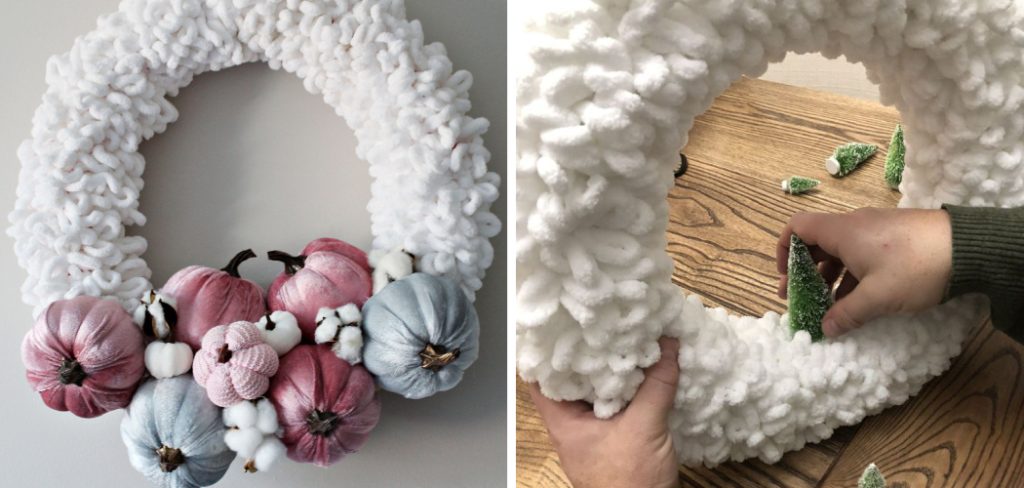
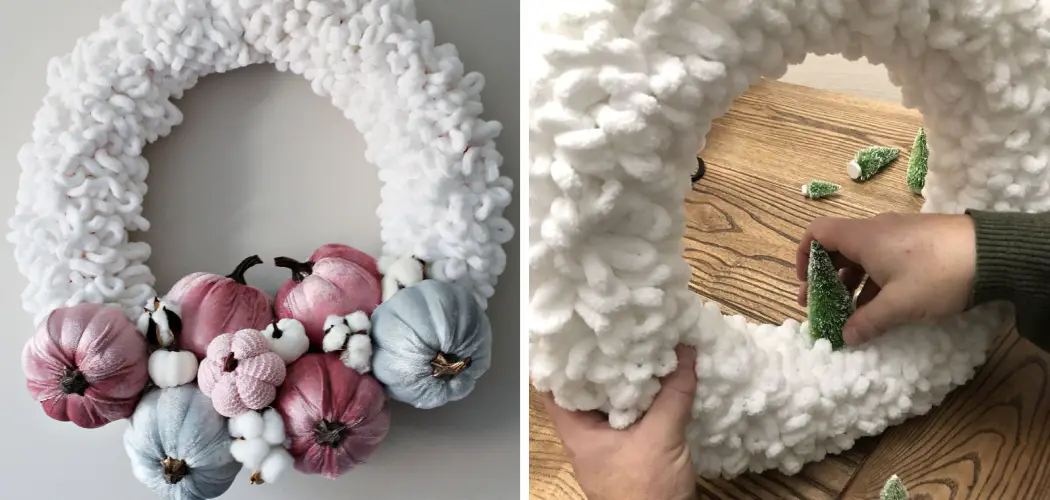
Are you looking for a unique way to spruce up your home décor? If you’re feeling crafty and are willing to take on a new challenge, why not try making a loop yarn wreath? This easy DIY project requires minimal effort but yields dazzling results. It can be used as a standalone piece of art, and the vibrant hues add life and energy to your home.

A loop yarn wreath is the perfect option! This crafty and colorful piece of home decor can be used for any occasion, from Christmas to birthdays and more. With just a few materials and steps, you will have an enchanting wreath that adds warmth and charm to any room in your house.
So if you’re ready to get creative and turn some heads with an eye-catching addition to your interior design, follow these simple steps on how to make a loop yarn wreath!
What Will You Need?
Before you begin, here is a list of the items you will need for this project:
- 2-3 colors of loop yarn
- Scissors
- A foam wreath form
- Glue gun with glue sticks (optional)
Once you have all your materials, it’s time to get started!
10 Easy Steps on How to Make a Loop Yarn Wreath
1. Cut Loop Yarn
Start by cutting the loop yarn into manageable pieces about 12-18 inches long. You’ll need as many pieces as you have colors of yarn. If you have three colors, for example, then cut three pieces of each color.
2. Prepare the Wreath Form:
Lay the foam wreath form on a flat surface and prepare it for the yarn by wrapping masking tape around it. This will help hold the yarn in place as you’re working with it. If you have a glue gun, use it to further secure the yarn.
3. Attach Loop Yarn:
Once the foam wreath form is ready, begin attaching the loop yarn to the form. To do this, insert one end of a piece of yarn into a gap between two pieces of masking tape and secure it in place using your fingers or tweezers. Then, wrap the rest of that piece around the foam form until you reach the starting point again, where you can tuck the end into another gap in between pieces of masking tape.
4. Layer the Loop Yarn:
Continue attaching the loop yarn in a layered fashion to create a full and vibrant wreath. If you are using three colors of yarn, it’s best to start with one color, move on to the next, and alternate between the two as you complete the design. Don’t be afraid to experiment with different patterns and textures!
5. Secure All Ends:
Once all pieces of loop yarn have been attached to the wreath form and secured using masking tape or glue, cut off any excess ends for a clean finish. It’s also a good idea to glue down any sticking ends. Additionally, if you want to add more embellishments, feel free to do so.
6. Embellish Your Wreath:
You can embellish your wreath by adding decorations such as artificial flowers or ribbons for an extra special touch! Secure them to your wreath using masking tape or glue, and you’ll be all set. If you’re looking for a simpler design, skip this step.
7. Hang Your Loop Yarn Wreath:
Now that your loop yarn wreath is finished, it’s time to hang it up! To find the best spot to hang your wreath, measure how much space it takes up and how much weight it can handle. For example, if you’re using a foam form, then hanging it from a nail on the wall should suffice.

8. Add Finishing Touches:
Now that your loop yarn wreath is hung up, it’s time to add some final touches. If you have any extra decorations or embellishments that you would like to add, now is the time to do so. You can also spray paint the wreath in a solid color if desired.
9. Enjoy Your Loop Yarn Wreath:
You did it! Your crafty DIY loop yarn wreath is complete and ready to be displayed in your home. Sit back and admire how far you’ve come. With a few simple steps and you now have a beautiful piece of home decor for everyone to enjoy!
10. Show off Your Creation!:
Don’t forget to share your masterpieces with friends and family! Show off how crafty you can be by posting pictures of your creation on social media or emailing a few people who would appreciate the effort. Your DIY loop yarn wreath will look great in any home, so don’t hesitate to tell everyone how proud you are!
Making a loop yarn wreath is an easy and fun project that anyone can do at home. With just a few supplies and simple steps, you can create beautiful wall decor that will impress your guests! Now go forth and get crafty—you have everything you need to make a stunning wreath.
5 Additional Tips and Ticks
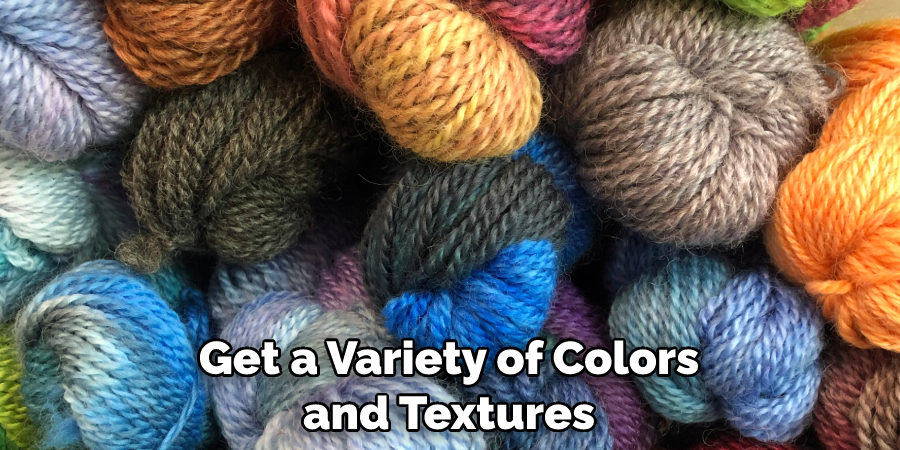
1. When you are gathering your yarn, be sure to get a variety of colors and textures. This will help create an interesting and beautiful wreath when it’s complete.
2. To make the wreath more full, try overlapping some of the loops. You can also add in extra pieces at the end to make it look fuller if needed.
3. If you are having trouble keeping the loops in place while you work, use pins or tape to hold them together temporarily while you tie them off.

4. A good way to keep track of how many loops you have made is by counting how many times you wrap around the styrofoam form before starting a new loop with a different color yarn.
5. Finally, don’t forget to have fun while you make your wreath! Working with the yarn can be a creative and relaxing process, so take your time and enjoy it.
Making something beautiful that you can display at home is always worth the effort!
5 Things You Should Avoid
1. Don’t Pull the Loops Too Tight: Doing this can cause the yarn to bunch up and create an uneven texture on the wreath. This can also cause the loops to break, leaving gaps in your wreath.
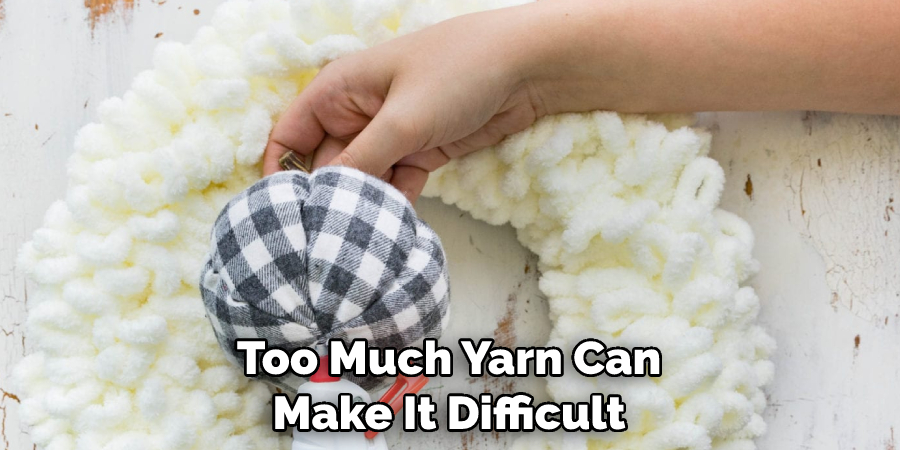
2. Don’t Use Too Much Yarn on Each Loop: Using too much yarn can make it difficult to keep the shape of the loops and may cause them to become stretched out and lose their form.
3. Avoid Using a Single Color for the Entire Wreath: This can create an uninteresting design, so don’t be afraid to mix up different colors!
4. Don’t Skip Over Any Areas When Adding Your Loops: Take time to ensure that you have even coverage throughout your entire wreath so that it looks aesthetically pleasing when finished.
5. Don’t Make All of Your Loops the Same Size: Varying the size of your loops can create a more eye-catching design. You could even combine different yarns and colors to enhance this effect further.
Creating a loop yarn wreath is a great way to add texture, color, and dimension to any room! If you want your project to look its best, these five tips will help you avoid some of the common mistakes that most people make when creating their own loop yarn wreaths.

How Do You Make a Loop Yarn Heart Wreath?
Making a loop yarn heart wreath is very similar to making a regular loop yarn wreath, but instead of forming loops in the shape of a circle, you will be creating loops in the shape of a heart. To make your own loop yarn heart wreath:
1. Start by tying two pieces of yarn together and then wrapping them around an object that has been covered with tape or wrapped in fabric. This will act as the base for your wreath.
2. Create as many small loops as you want using your chosen color or colors of yarn and attach them directly to the base of the wreath until it is full.
3. Once all the loops have been added, carefully pull each one tight enough to keep the shape of the heart.
4. To finish your wreath, add a ribbon or other decorations to give it an extra special touch!
Making a loop yarn heart wreath is a great way to add some fun and colors to any room. With just a few simple steps, you can create your own unique piece of art that is sure to be admired by everyone who passes by!
Conclusion
Making a loop yarn wreath is a craft the whole family can enjoy. The possibilities are endless, from rolling the yarn to choosing different materials and colors. While it might be daunting at first, following these easy steps will help anyone create custom loop yarn decorations that are perfect for birthdays, holidays, or just to add a special touch to any room in your house.
So whether you are an experienced DIYer looking for a new challenge or a beginner looking to get into crafting – this simple project is perfect for anyone who loves arts and crafts. Get creative and have fun with it!
Hopefully, the article on how to make a loop yarn wreath has been helpful to you. With the right supplies, a little patience, and these tips, your project will surely turn out great!

