Floating ornaments are a captivating addition to your holiday decor, adding a touch of magic and elegance to any space. These delightful ornaments create the illusion of levitation, giving your decorations a unique and eye-catching appeal. In this comprehensive guide, we’ll lead you through the step-by-step process of how to make a floating ornament.

From selecting the right materials to assembling and balancing the components, you’ll learn the techniques needed to create these enchanting ornaments. Whether you’re a seasoned crafter or a beginner, crafting floating ornaments is an enjoyable and rewarding experience that allows you to infuse your holiday decor with a touch of wonder and sophistication.
The Concept of Floating Ornaments
Floating ornaments are an interesting type of decorations that can be used to add a touch of whimsy and elegance to any space. These unique ornaments appear to float in mid-air, giving the illusion that they are suspended by magic or invisible strings. They are perfect for adding a bit of enchantment to holiday décor or as a year-round addition to your home.
The idea behind floating ornaments is to create the illusion of a weightless object that defies gravity. This can be achieved through various techniques and materials, such as clear string or fishing line, invisible wire or thread, or even cleverly placed mirrors.
These ornaments are versatile and can be used in a variety of settings, from hanging above a festive table setting to adorning a Christmas tree. They also make beautiful centerpieces for weddings or other special occasions.
Where to Obtain Crafting Supplies
If you’re looking to make your own floating ornament, the first thing you’ll need are crafting supplies. These can be found in a variety of places, from local craft stores to online retailers.
Local Craft Stores:
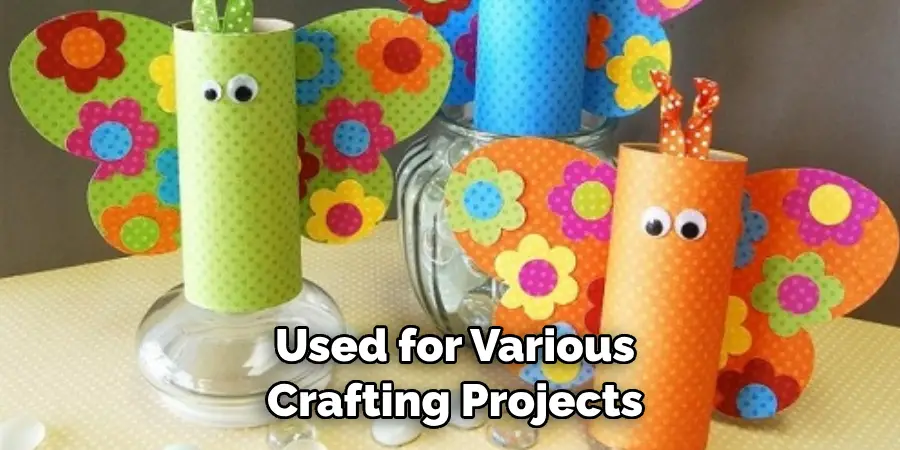
One of the best places to find crafting supplies is at your local craft store. These stores typically carry a wide range of materials that can be used for various crafting projects, including floating ornaments. You can find supplies such as clear plastic balls, string or ribbon, decorative items like glitter and paint, and other materials that are essential for making your floating ornament.
Online Retailers:
Another great place to find crafting supplies is through online retailers. Many websites specialize in selling craft supplies at competitive prices. Plus, you’ll have the convenience of shopping from the comfort of your own home and being able to easily compare prices and find the best deals. Some popular online retailers for crafting supplies include Etsy, Amazon, and Michaels.
Thrift Stores:
Don’t overlook thrift stores as a potential place to find crafting supplies. You never know what hidden treasures you may come across in these types of stores. Look for unique items that can be repurposed into decorations for your floating ornament. This is a great way to create one-of-a-kind ornaments that are not only beautiful but also have a personal touch.
Nature:
For those who love to incorporate natural elements into their crafts, nature itself can be an abundant source of crafting supplies. Take a walk outside and gather items such as pinecones, acorns, twigs, and leaves to use in your floating ornament. You can also find inspiration from nature for color schemes and designs.
10 Methods How to Make a Floating Ornament
1. Using a Balloon
One of the easiest ways to make a floating ornament is by using a balloon. First, inflate the balloon and tie it off at the end. Then, attach a loop of string to the top of the balloon, which will be used to hang the ornament from your tree or other decorations.
Next, fill the balloon with water and add in some glitter or confetti for extra sparkle. Once you’ve filled the balloon with water, carefully tie off the end and cut off any excess string. Hang your beautiful floating ornament from your tree or other decorations!
2. Using Plastic Bottles
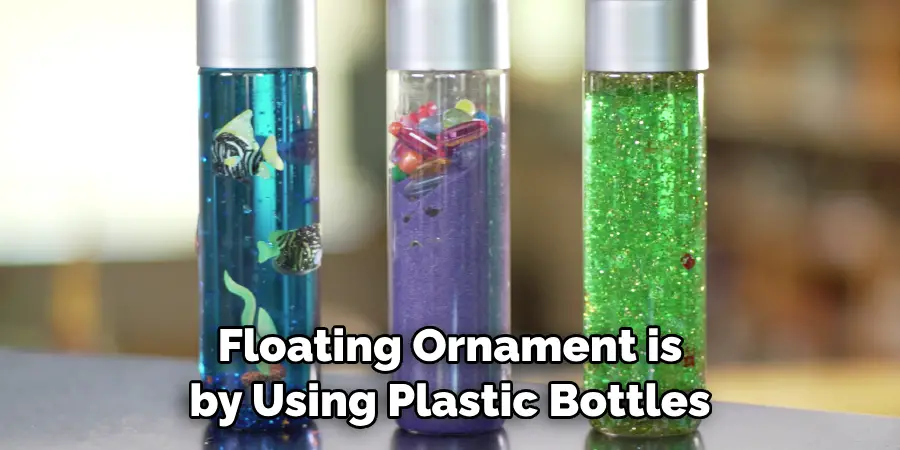
Another easy way to make a floating ornament is by using plastic bottles. Start by cutting off the bottom of two plastic bottles and discarding them. Then, take one bottle and fill it with water until it is almost full. Add in some glitter or confetti for extra sparkle before attaching a loop of string to the top of the bottle so that you can hang it from your tree or other decorations.
Finally, place the second bottle upside down on top of the first one and secure them together with tape or glue before hanging up your unique floating ornament!
3. Using Paper Mache
Making a paper mache floating ornament is an enjoyable craft project that allows you to get creative with your design. Start by inflating a balloon and tying it off at one end before covering it in paper mache paste and strips of newspaper until it is completely covered. Allow this to dry before popping the balloon inside and adding some glitter or confetti for extra sparkle before attaching a loop of string to hang up your finished product!
4. Using Clay
Using clay is another fun way to make a floating ornament! Start by rolling out pieces of clay into thin discs before cutting out shapes such as stars or hearts from them using cookie cutters or scissors.
Place these shapes onto an inflated balloon before adding some glitter or confetti for extra sparkle, then tying off at one end once they are all attached securely. Finally, attach a loop of string so that you can hang up your finished product!
5. Using Plastic Bags
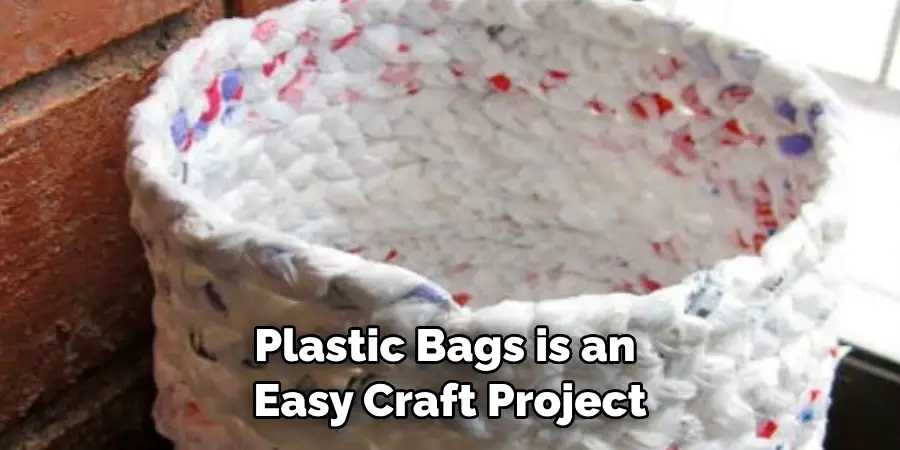
Making a floating ornament out of plastic bags is an easy craft project that anyone can do at home! Start by gathering several different colors and sizes of plastic bags then cutting them into small pieces before stuffing them into an inflated balloon until it is almost full – leave enough room for air so that you can tie off one end once finished stuffing!. Add in some glitter or confetti for extra sparkle, then attach a loop of string so that you can hang up your finished product!
6. Using Glitter Glue
Making an ornamental globe out of glitter glue is an easy yet beautiful way to decorate any space during holidays like Christmas! Begin by filling an inflated balloon with different colors of glitter glue then allow it to dry overnight – make sure not to overfill as this could cause it to burst!.
Once dried, pop the balloon inside then add some more glitter glue around its edges if desired before attaching a loop of string so that you can hang up your sparkling creation!
7. Using Paint
Using paint is another great way to create unique floating decorations for any occasion! Start by inflating several balloons then painting each one in different colors – acrylic paint works best here!.
Once they are completely dry, pop each painted balloon inside its own clear bag then add some shiny beads or sequins inside each bag for extra sparkle before attaching loops of string so that you can hang up your festive creations!
8. Using Fabric Scraps
Making fabric scrap floating orbs is another fun craft project that anyone can do at home – all you need are fabric scraps in various colors as well as embroidery floss!.
Begin by gathering several colorful fabric scraps then stuffing them into an inflated balloon until almost full – leave enough room for air so that you can tie off one end once finished stuffing!. Add in some embroidery floss strands for extra texture then attach loops on both ends so that you can hang up your fabric creations!
9. Using Felt Pieces
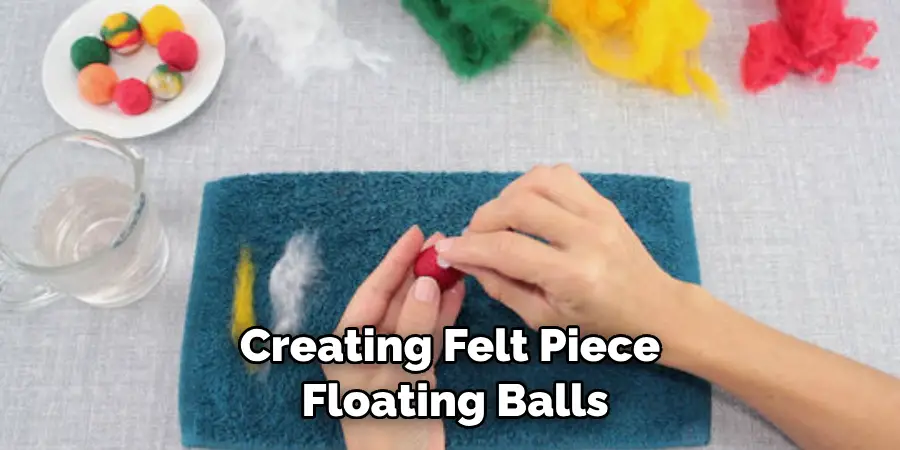
Creating felt piece floating balls is also easy enough for even beginners – all you need are felt pieces in various colors along with embroidery floss!. Begin by gathering several colorful felt pieces then stuffing them into an inflated balloon until almost full – leave enough room for air so that you can tie off one end once finished stuffing!. Securely sew together all felt pieces using embroidery floss strands then attach loops on both ends so that you can hang up your felt creations!
10. Using Yarn Balls
Making yarn balls is a classic craft project that can be easily turned into beautiful floating decorations. Begin by wrapping different colors of yarn around blown-up balloons then coat them with glue and allow to dry – make sure not to overcoat as this could cause the balloon to burst!. Once dried, pop the balloon inside before adding more layers or designs using different colored yarn.
Conclusion
Congratulations on learning to make a floating ornament! You now have the skills to create this impressive and quirky decoration. With any DIY project, it’s always important to consider safety first.
From slowly melting the wax to using a flame-resistant bowl for the boiling water, you can keep yourself safe and still create the perfect festive homemade buoyant ornaments. Start showing off your creative skills by making these clever decorations and hanging them in your windows.
Don’t forget to invite friends over for a crafting day so that you can show off this skill together! Now that you know how to make a floating ornament, get ready to impress your family during the holiday season with these stable decorations that will really light up any room. Don’t be left behind – embrace your creativity and have fun making this unique item today!

