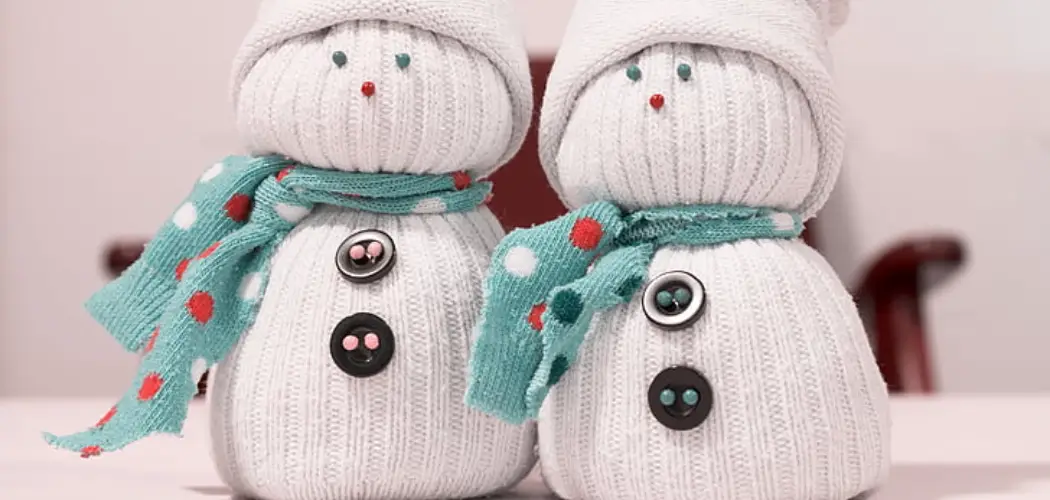
Are you looking for an interesting craft project to do with your family during the holiday season? Why not try making a fabric snowman? Not only is it fun and easy to create, but these handmade decorations will make beautiful additions to your home this winter.
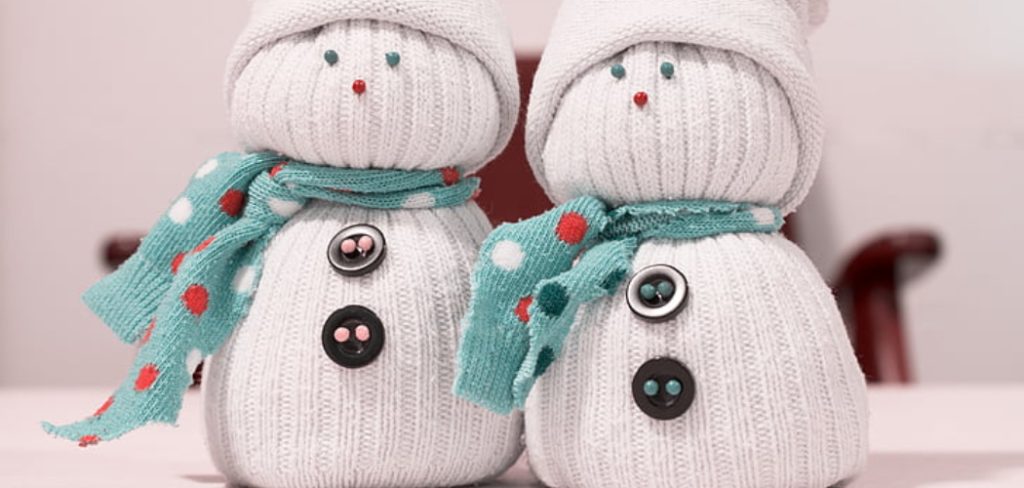
With just a few materials, some imagination and creativity, you’ll soon have the perfect personalized snowman decorating your mantle. In this post on how to make a fabric snowman we’ll be going over all the steps required to take an ordinary piece of fabric and turn it into an adorable snowman that is sure to bring cheer year-round. So don’t wait any longer – let’s get crafting!
11 Step-by-step Guidelines on How to Make a Fabric Snowman
Step 1: Gather Your Materials
You will need:
- Three Different-sized White Fabric Circles
- Black Fabric for the Eyes and Buttons
- Orange Fabric for the Nose
- Black Fabric Paint or Marker for the Mouth
- Red Fabric for the Scarf
- Fiberfill Stuffing
- Hot Glue Gun or Fabric Glue
- Scissors
Step 2: Cut Out Your Fabric Circles
Take your three circles of white fabric and cut them into different sizes, with each one being slightly smaller than the one before it. These will be the body parts of your snowman. You can use a template or trace around objects such as bowls to get the perfect circle shapes. But if you’re feeling adventurous, feel free to cut out your own unique shapes! It’s your snowman after all.
Step 3: Stitch the Fabric Circles Together
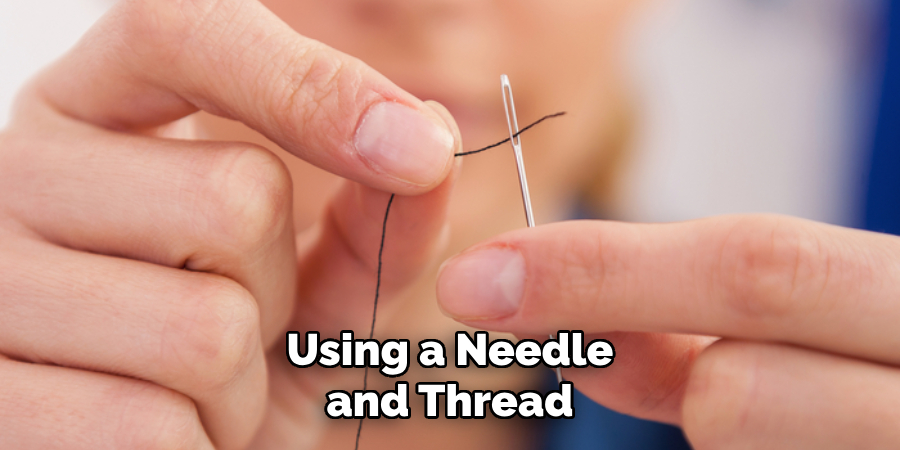
Take your three fabric circles stack the smallest one on top of the medium-sized one, and then stack them both onto the largest one. Using a needle and thread, stitch them together in the center to make sure they stay in place. You can also use a sewing machine if you prefer. It’s important to make sure the circles are securely attached so your snowman doesn’t fall apart.
Step 4: Stuff Your Snowman
Now it’s time to stuff your fabric snowman. Take some fiberfill stuffing and fill each of the three circles, starting with the smallest one on top. Make sure to stuff them firmly so that your snowman has a full, round shape. Once you’re satisfied with the stuffing, stitch or glue the open edges of each circle together to close them off.
Step 5: Add Your Snowman’s Face
Using your black fabric paint or marker, draw two dots for the eyes and three dots down the middle of the snowman’s body for buttons. The placement is up to you, so have fun and get creative with it. Then cut out a triangle from your orange fabric for the nose and glue it onto the snowman’s face. You can also use buttons or other materials for the eyes and nose if you prefer. This is where you can really make your snowman unique.
Step 6: Create the Snowman’s Arms
Cut two strips of black fabric for the snowman’s arms and stitch or glue them onto the sides of the middle circle. You can also use twigs or other materials to create more natural-looking arms. Again, this is your chance to get creative and make your snowman truly one-of-a-kind. It’s also a great opportunity to get the kids involved in the crafting process.
Step 7: Make Your Snowman Stand
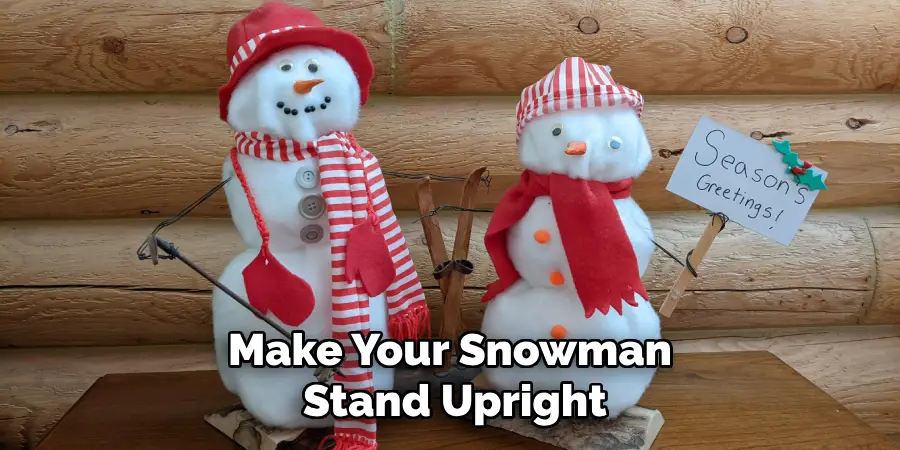
To make your snowman stand upright, cut out a small circular piece of fabric and stitch or glue it onto the bottom of the largest circle. This will give your snowman a sturdy base to stand on. But if you prefer, you can also leave your snowman without a base and use it as a hanging decoration. You can even add a string or ribbon to the top of your snowman’s head for easy hanging.
Step 8: Add a Scarf
To give your snowman some extra character, cut out a long strip of red fabric and wrap it around the neck area for a scarf. You can also use other materials such as ribbon or yarn to create different looks. And don’t be afraid to add other accessories like a hat or mittens to your snowman as well. However, make sure they are securely attached so they don’t fall off.
Step 9: Finishing Touches
Now it’s time to add some final touches to your fabric snowman. You can use buttons or beads for the eyes and mouth, glue on pom-poms for a textured effect, or even draw on eyebrows and rosy cheeks with fabric paint.
This is the fun part where you can really let your imagination run wild and make your snowman truly unique. It’s also a great way to involve the whole family in creating their own special snowmen.
Step 10: Let Your Snowman Dry
If you used any glue or fabric paint, make sure to let your snowman dry completely before displaying it. This can take anywhere from a few hours to overnight, depending on the materials used and how much was applied.
Once your snowman is dry, you can proudly display it in your home or give it as a thoughtful handmade gift to someone special. However, if you prefer a more permanent option, you can also use fabric glue or needle and thread to attach all the pieces together instead of glue.
Step 11: Have Fun!
The most important step of all – have fun! Making a fabric snowman should be an enjoyable and creative experience. Don’t be afraid to try new things and make mistakes along the way. In the end, you’ll have a beautiful handmade decoration that will bring joy and warmth to your home all winter long.
So gather your materials, get crafting, and let your imagination soar! Remember, the possibilities are endless when it comes to making fabric snowmen. And who knows – this may become your new favorite holiday tradition!
So there you have it – our step-by-step guide on how to make a fabric snowman. We hope you enjoyed it and are inspired to create your own beautiful snowman decorations. Happy crafting!
Additional Tips
- Use Different Colored Fabrics to Make a Rainbow Snowman or Create a Whole Family of Snowmen With Different Sizes and Designs.
- Add Glitter, Sequins, or Other Embellishments for Some Extra Sparkle on Your Fabric Snowman.
- Experiment With Different Facial Expressions and Features to Give Each Snowman Its Own Personality.
- Don’t Limit Yourself to Traditional Materials – Use Recycled Fabrics or Other Household Items to Create a Unique and Eco-friendly Snowman.
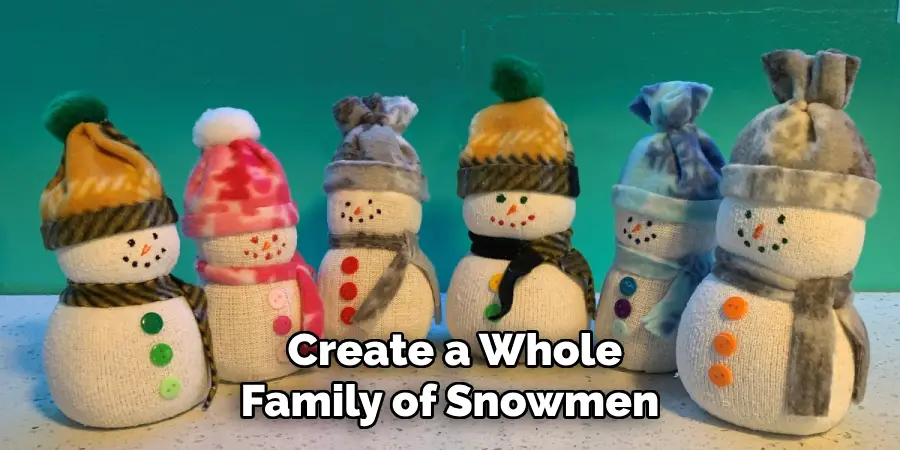
So Get Creative and Have Fun Making Your Very Own Fabric Snowman! Have a Happy Holiday Season! See You in the Next Guide!
Frequently Asked Questions
Q: Can I Use Other Types of Fabric Instead of Felt?
A: Absolutely! You can use any type of fabric that is easy to cut and sew, such as cotton, fleece, or flannel. Just keep in mind that some fabrics may be more difficult to work with than others. You can also mix and match different fabrics to create a more varied and textured snowman.
Q: Can I Use Glue Instead of Sewing?
A: Yes, you can use fabric glue or hot glue to attach the pieces together. However, keep in mind that using glue may not be as sturdy as sewing and may not hold up well over time. If you want a more permanent and durable snowman, we recommend using a needle and thread to stitch the pieces together.
Q: How Long Will It Take for My Snowman to Dry?
A: The drying time will depend on the materials used and how much was used. Generally, fabric paint can take a few hours to dry completely, while glue may take longer – anywhere from a few hours to overnight. It’s best to check the drying time on the specific products you are using and make sure to let your snowman dry completely before displaying it.
Conclusion
Creating a fabric snowman is a fun way to explore your inner artist and make something special for yourself or as a gift for someone. And the best part is that with its ease of crafting, you don’t need to be an expert in sewing or creating sculptures—anyone can do it! So why wait? Gather up some fabric, thread, stuffing, buttons and whatever else you want to use for decorations and get started on making your own one-of-a-kind fabric snowman.
Invite some friends over if you’re feeling extra creative and craft together. Once you’ve created your little guy, find a nice place to display him this holiday season! Holidays are all about slowing down time to appreciate what we have and spread cheer—and what better way than to show off your beautiful work made from the heart?
Let’s create our own unique fabric snowmen this holiday season; they are sure to bring lots of festive cheer wherever they go! Thanks for reading this article on how to make a fabric snowman.

