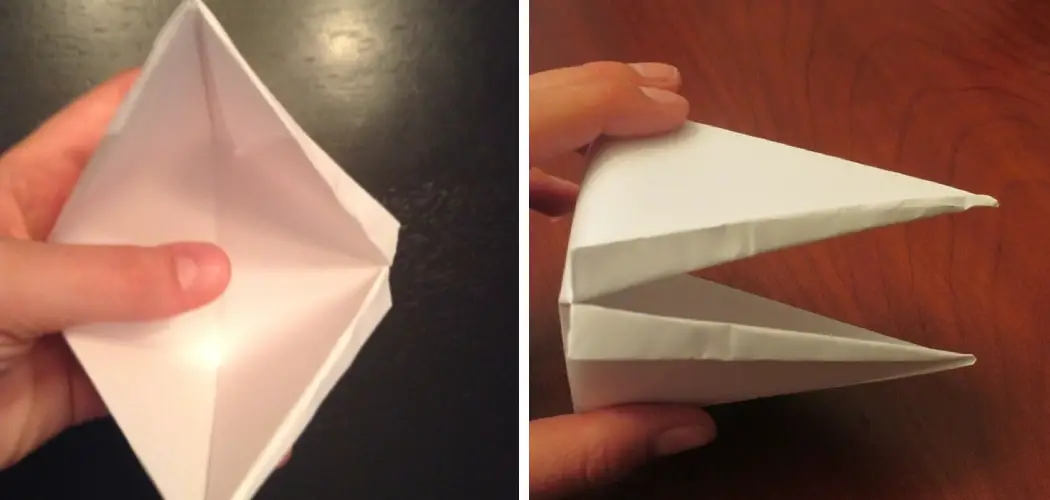
Are you looking for a creative way to make your new paper craft project stand out? Have you ever considered using a duck beak as the perfect finishing touch? Duck beaks are eye-catching and unique, offering a playful and imaginative detail that really captures attention. Not only that but making one from paper is surprisingly easy – so if you’re feeling a little crafty, then this post is just what you need!
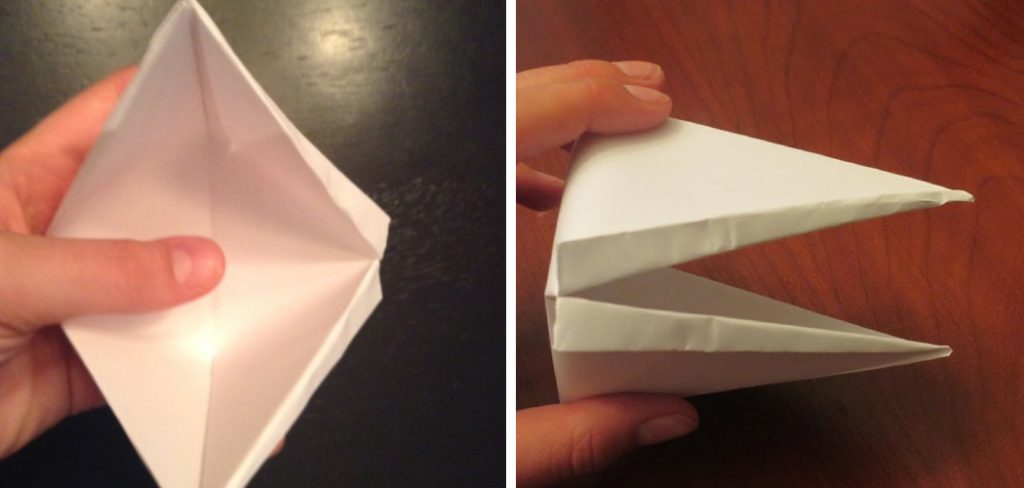
Using items you can find around the house, crafting a duck beak is an easy, fun activity that adds a unique touch to any project. With just some simple supplies like thick cardstock paper and construction paper in bright colors, basic arts and crafts skills, plus our step by step guide here, anyone can create their own duck beak! Read on to learn how to make a duck beak out of paper!
What is a Duck Beak?
A duck beak is the distinctive, pointed bill that all ducks have. It’s not just there for looks – it serves many purposes, such as helping to filter food out of water and being used as a tool for picking up small items. They come in different shapes, sizes and colors depending on the type of duck. You can make a duck beak out of paper to use in a variety of ways, such as adding it to a costume, decoration or even as part of a fun DIY game for kids.
What Will You Need?
Thick Cardstock Paper in a Coordinating Color to Your Project:
Using cardstock paper instead of regular paper is recommended because it provides a sturdier and more durable beak. You can choose any color that coordinates with your project, or you could even mix and match colors for a more playful look.
Construction Paper in Bright Colors:
Construction paper is perfect for adding some vibrant color to your duck beak. You can also use tissue paper or crepe paper for a more textured effect.
Scissors:
A good pair of scissors is essential for any crafting project, especially when working with thicker materials like cardstock. Make sure to use sharp scissors for clean and precise cuts.
Glue or Tape:
To hold your duck beak together, you will need some glue or tape. You can use regular white glue or double-sided tape for convenience.
Markers or Paint:
For adding details and personalizing your duck beak, you can use markers or paint in various colors. This is optional but adds a fun touch to your finished product.
Once you have gathered your supplies, you are ready to get started.
10 Easy Steps on How to Make a Duck Beak Out of Paper:
Step 1. Cut a Circle:
Start by cutting a large circle out of the cardstock paper. This will be the base of your duck beak, so you want to make sure that it is big enough to fit comfortably over whatever project you are using it on. Be careful not to make the circle too large; you want it to be proportional and not look out of place.
If you don’t have cardstock paper on hand, you can use regular paper and reinforce it by gluing multiple layers together. The thickness of the paper will ensure that your duck beak is sturdy and holds its shape.
Step 2. Cut Out a Pointed Shape:
Next, take a piece of construction paper and cut out a pointed shape that will serve as the tip of your duck beak. You can use any color you like but try to choose one that is bright and vibrant to really add some life and personality to your craft. Try experimenting with different shapes and sizes until you find one that looks just right.
You can also trace the outline of the circle onto the construction paper and cut around it to ensure a perfect fit. It’s always a good idea to double-check the sizing before gluing anything in place. The pointed shape should be slightly smaller than the circle so that it can fit inside.
Step 3. Glue on the Construction Paper Tip:
Once you have your pointed tip cut out, use some hot glue or a strong adhesive to attach it to the center of your cardstock circle, making sure that it is centered and straight. This will be the front of your duck beak, so make sure that it looks how you want before moving on to the next step. Use your pen or marker to add some additional details and decorations, if desired.
There are also alternative options to hot glue, such as double-sided tape or regular school glue. Depending on the age of the crafter and their level of skills, choose the best adhesive for your project.
Step 4. Cut Out Smaller Circles:
Next, you will need to cut out a number of smaller circles in various bright colors of construction paper. The exact number will depend on how big your duck beak is, but you want enough that there are several layers when they are all attached together. Try choosing a few different shapes and sizes for an interesting look and feel.
It’s important to note that the size and number of circles may vary depending on the desired look and size of your duck beak. Feel free to experiment with different sizes until you find what works best for you. You can also use stickers or pre-made shapes instead of cutting out your own circles.
Step 5. Glue the Paper Circles Together:
Once you have all of your circles cut out, it’s time to start attaching them together into one cohesive piece. Start by gluing the largest circle onto the bottom center of your duck beak tip, and then work your way outwards, gluing each circle onto the one below it in a circular pattern. You may need to use some additional glue or adhesive along the way to ensure that everything stays firmly in place.
You can also mix and match different colored circles to create a fun and unique look. Don’t be afraid to get creative and experiment with different patterns and designs! The more layers you add, the more depth and texture your duck beak will have.
Step 6. Add Details:
Once all of your paper circles are glued together, take a moment to add any final touches or details that you want. This could include adding lines or patterns with your pen or marker, painting on spots or stripes with acrylic paint, or even sewing a few embellishments into place if you want something more permanent.
Although adding details is completely optional, it can really add depth and dimension to your finished duck beak. Plus, it’s a great opportunity to let your creative side shine!
Step 7. Attach the Duck Beak to Your Project:
Now that your duck beak is fully assembled and decorated how you like, all that’s left is to attach it to your project. Whether you are using this for a card, a hat, or some other crafty creation, you need to simply hot glue it in place, and you’ll be ready to go. Ensure that it is centered and sits how you want, and then set your project aside to let the glue dry.
It’s important to note that if you are using hot glue, you may want to let an adult handle this step or supervise closely. Alternatively, other types of adhesive can be used such as double-sided tape or regular school glue.
Step 8. Try Different Styles of Duck Beaks:
Once you have the basics down, why not experiment with different styles and shapes of duck beaks? Try using square or triangular paper instead of circles or even try out a few different colors to see how they look. The possibilities are endless, so feel free to get creative with it! You can even add some feathers or other embellishments to really make your duck beak stand out.
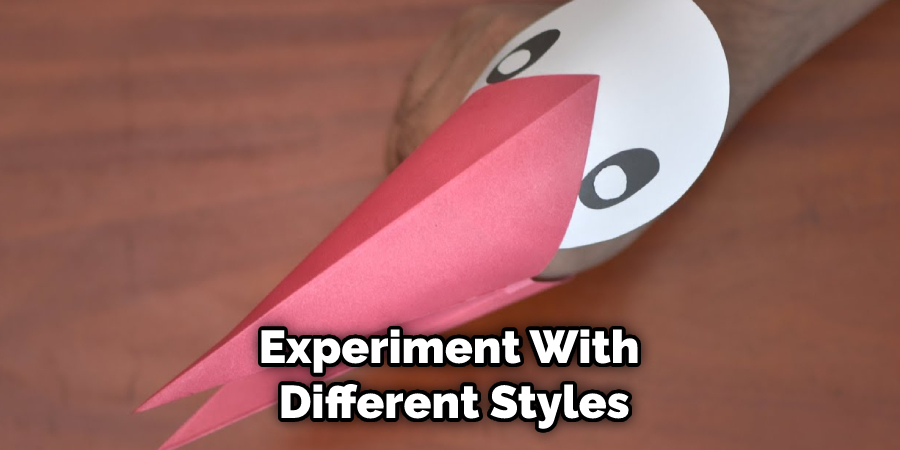
But if you’re happy with your first duck beak, don’t hesitate to make more and use them in a variety of different projects. They are great for adding a touch of whimsy and fun to any craft.
Step 9. Add Accessories and Decorations:
Another great way to customize your duck beaks is by adding fun accessories or decorations. You can try using googly eyes, buttons, pom-poms, feathers, or any other materials that you like. This will help add some extra personality and charm to your creations, so why not try it? You can even use these duck beaks as the foundation for a costume or dress-up piece, adding wings and a tail to turn it into a full duck costume!
The possibilities are truly endless when it comes to crafting with duck beaks. So have fun and let your imagination run wild! Continue exploring different materials, shapes, and sizes to see what kinds of unique and adorable duck beaks you can create. With a little creativity, anything is possible!
Step 10. Have Fun with Your Duck Beaks:
The most important thing when making duck beaks from paper is simply having fun with it! Whether you are creating them for yourself or for someone else as a gift, just let your creativity take over and enjoy the process of making something unique and beautiful. Happy crafting!
By following these steps, you can easily create beautiful, customized duck beaks out of paper that is perfect for any project or craft. Whether you want to use them on cards, hats, or other creations, just be sure to have fun and let your imagination run wild as you experiment with different shapes, sizes, colors, and accessories. And who knows – maybe you’ll even discover the next big trend in crafting!
5 Additional Tips and Tricks:
1. Carefully measure and cut out two paper circles using a ruler, compass, or other measuring tools.
2. Glue the circles together around the edges to create a cone shape for your duck beak.
3. Cut a small notch out of the base of your cone, where it will attach to your duck’s face, and then glue it in place securely.
4. If you want to make your duck beak more life-like, you can also bend the paper to create a curved shape that follows the contours of a real duck’s beak. Simply press down firmly on the beak with a shaping tool, like a pen or pencil, until it has the desired shape.
5. If you want to get creative, you can add details or patterns to your beak using paint or other craft supplies. For example, you could try adding some color and texture by painting on some small feathers or decorating the base of your duck’s beak with a fun pattern or design.
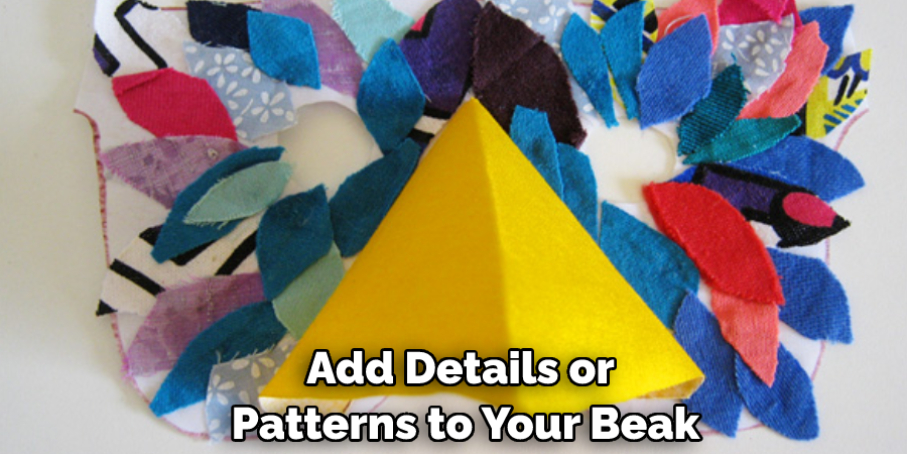
With these tips and tricks, you should be able to easily make a cute and realistic-looking duck beak out of paper for your next crafting project!
5 Precautions You Can Take:
1. Before you start, gathering all your materials is important. To make a duck beak out of paper, you will need scissors or a craft knife, construction paper in various colors and textures, double-sided tape or glue, and feathers for decoration.
2. Avoid using thin, flimsy paper for your beak. Instead, opt for thicker, more durable construction paper that will hold its shape better and is less likely to tear easily.
3. When cutting out the beak form, ensure you leave at least an inch of space around it so that you can attach it comfortably to your head or mask. If possible, try to cut out two pieces of beak material in case one is damaged or torn during the crafting process.
4. When attaching the beak to your mask or costume headpiece, start by securing one side with double-sided tape or glue and then pressing down on the other side to ensure good adhesion. You may need a few extra pieces of tape or glue along the edges to hold everything securely in place.
5. Take the time to decorate your paper beak with feathers or other fun embellishments, such as rhinestones, glitter, or sequins. This extra step will help make your duck costume really stand out and look authentic!
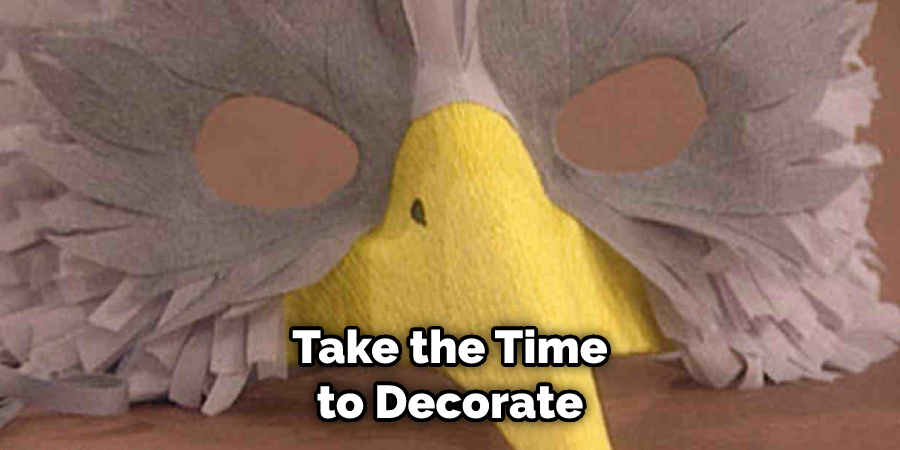
If you follow these simple guidelines and put in a little bit of time and effort, you should be able to create a beautiful and realistic-looking duck beak that perfectly complements your costume this Halloween. Good luck!
Frequently Asked Questions:
Q: What Type of Paper Should I Use to Make a Duck Beak?
A: It is best to use thick, sturdy construction paper for making a paper duck beak. This will ensure that the beak holds its shape and is less likely to tear or become damaged easily. You can also experiment with different textures and colors to add more personality to your beak.
Q: Can I Use Glue Instead of Double-Sided Tape?
A: Yes, you can use glue instead of double-sided tape to attach your beak to a mask or costume headpiece. Just make sure to use a strong adhesive and give it enough time to dry before wearing the beak.
Q: How Do I Make My Paper Duck Beak Look More Realistic?
A: To make your paper duck beak look more realistic, you can try shaping it by pressing down firmly on it with a shaping tool, such as a pen or pencil. You can also add details and textures using paint, feathers, or other craft supplies. This will help give the beak a more lifelike appearance.
Q: Can I Make Different Sizes and Shapes of Duck Beaks?
A: Absolutely! You can experiment with different sizes and shapes by adjusting the measurements when cutting out your paper circles. You can also try using different materials, such as thicker or thinner paper, to achieve different looks and styles. The possibilities are endless!
Q: Are There Other Ways to Decorate a Paper Duck Beak?
A: Yes, there are plenty of ways to decorate a paper duck beak! Besides using feathers or paint, you can also try adding other embellishments like rhinestones, glitter, or sequins. You can even use different techniques like embossing or stamping to create unique and eye-catching designs on your beak. Get creative and have fun with it!
Conclusion:
Making a duck beak out of paper is easy and only requires a few materials that are probably already around your house. With this quick and easy craft, you can have hours of fun playing with your new paper duck beak.
Make sure to put your duck beak on before you put the finishing touches on your paper masterpiece. Now that you know how to make a duck beak out of paper try using other materials like construction paper or even felt! Get creative and have fun with it.
Hopefully, this guide has given you the information and tools you need to create your own paper duck beak. Best of luck on your crafting adventures!
You Can Check It Out to Cut a Spider Web Out of Paper

