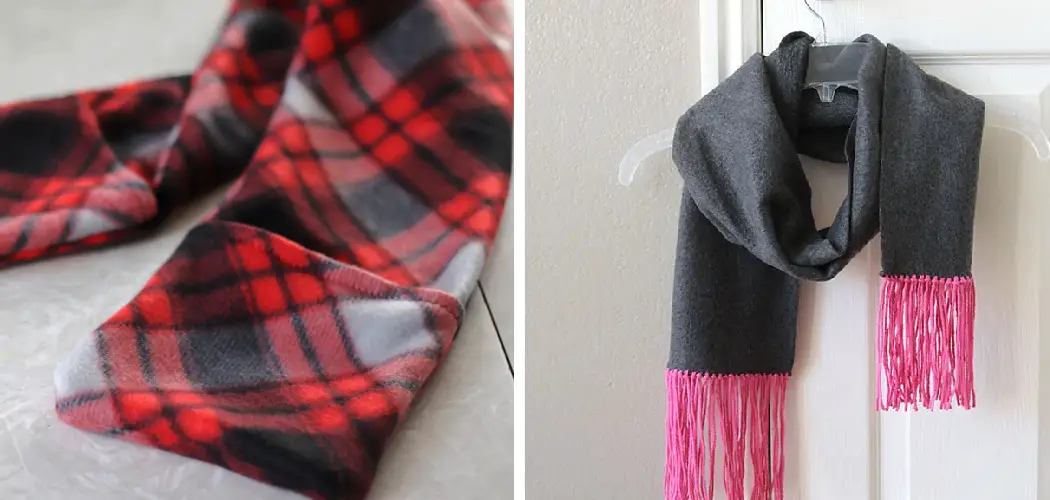
Do you need a cozy winter accessory? Scarves are the perfect way to keep warm, but why not make something even more comfy with this simple DIY project? You can easily create your double-sided fleece scarf in just a few easy steps. With minimal care, this homemade scarf will last through many cozy winters and provide that extra layer of insulation to get you through the coldest day!
Whether you’re an experienced seamstress or a beginner, this project is perfect for crafting and making something special. Always be sure to use an old pair of fabric scissors and a ruler when cutting fabrics.
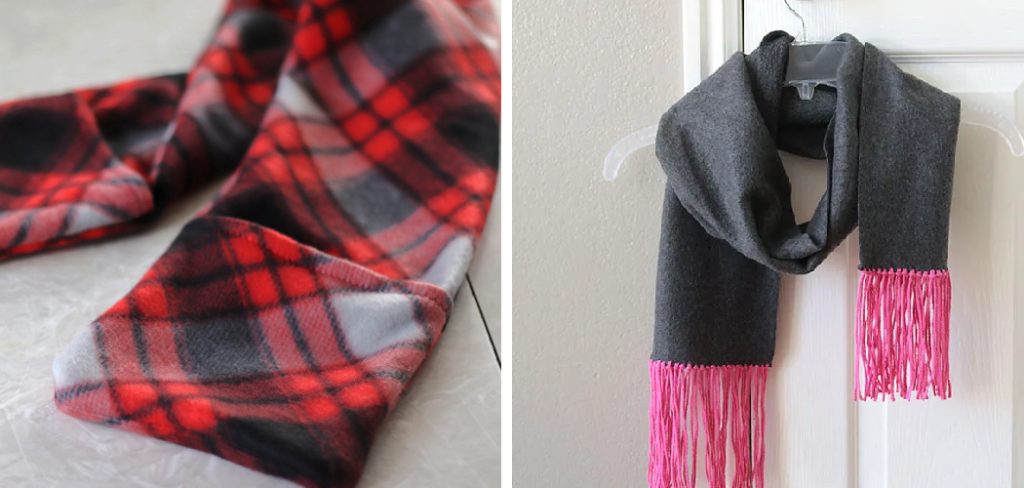
In this blog post, we’ll guide you through the process step-by-step of how to make a double sided fleece scarf from start to finish. Read on below for all the necessary information – no prior experience is necessary!
What Will You Need?
Before you get started, make sure to assemble a few tools and materials.
- Fleece fabric (2 yards)
- Tape Measure or Ruler
- Fabric scissors
- Pins/clip to hold the fabric in place
- Sewing machine
- The thread that matches your fleece fabric
Once you’ve gathered the necessary materials, you can start making your double sided fleece scarf. Let’s get started!
10 Easy Steps on How to Make a Double Sided Fleece Scarf
Step 1: Preparing the Fabric
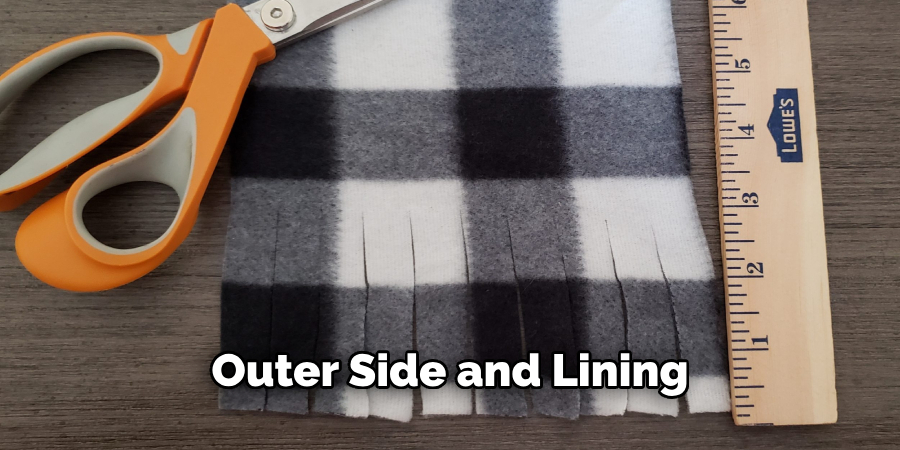
First, you need to cut two identical pieces of fabric. Measure and cut two rectangles that are 16 inches wide and 72 inches long. If you’re using two different fabric colors, remember which color will be the outer side and lining.
Step 2: Sewing the Fabric
Next, place the two rectangles of fleece fabric on each other, with the right sides facing in. Pin them together to keep them from sliding when sewing. Then, sew a straight stitch along the edges of your scarf, leaving about ¼ inch seam allowance (the amount of extra fabric that you leave between your stitches).
Step 3: Creating Your Fringe
Now it’s time to give your scarf some flair with fringe! You can make a one-inch or two-inch fringe according to preference. Create a pattern for cutting by marking 1-2 inch wide strips every 4 inches across the short ends of your scarf. The number of strips depends on the size of your scarf.
Step 4: Cutting the Fringe
Using a pair of scissors, cut along the lines you marked. Try to make all the fringe cutouts even to maintain a uniform look. If you’re using two fabric colors, alternate between them for the fringe so that your scarf looks more interesting.
Step 5: Finishing Up
Once you’ve finished cutting all the fringes, it’s time to complete your scarf! Flip the scarf inside out and sew along the edges again. This will ensure that all sides are secure and that your fringe will not unravel when worn or washed.
Step 6: Trim Threads
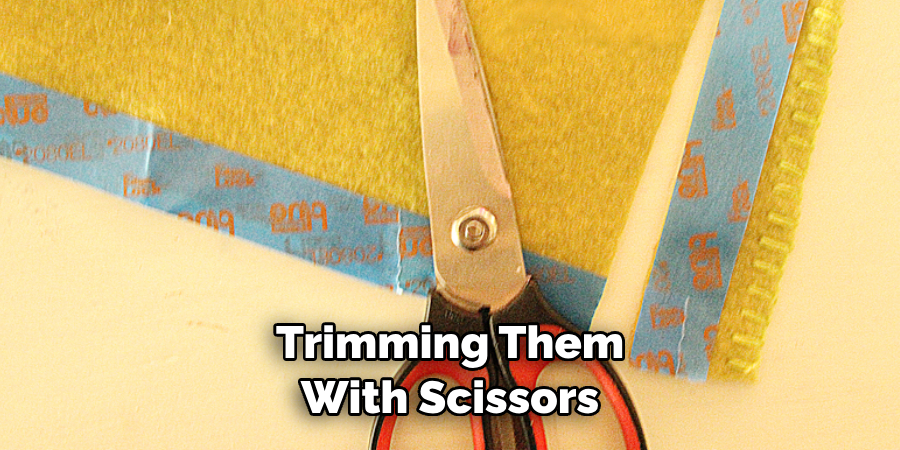
Remove any stray threads by trimming them with scissors as needed. Also, inspect your scarf for any other problems, such as loose strands of thread or uneven fringes. Be careful only to trim the threads and not the fabric.
Step 7: Finishing Touches
Finally, you can add finishing touches to make your scarf look even better. Add a few decorative stitches along the edges or embellishments such as buttons, beads, or tassels for a personalized touch. Alternatively, you can also use fabric paints or markers to add intricate patterns to your scarf.
Step 8: Wearing and Caring For Your Fleece Scarf
Now that your double sided fleece scarf is complete, it’s time to enjoy wearing it! Always hand wash using gentle detergent to keep your scarf looking its best, and lay it flat to dry. It should last many winters with proper care and maintenance.
Step 9: Keep Crafting
Congrats! You have just finished making your own double sided fleece scarf. Now you have the skills and confidence to tackle other fabric-related crafts. Whether it’s a new pillowcase, tote bag or sweater – the possibilities are endless.
Step 10: Document Your Projects
Remember to document your projects with before and after photos for future inspiration! Taking pictures of projects gives you a sense of accomplishment when reflecting on your crafting journey. Remember, you can always make it better in the future.
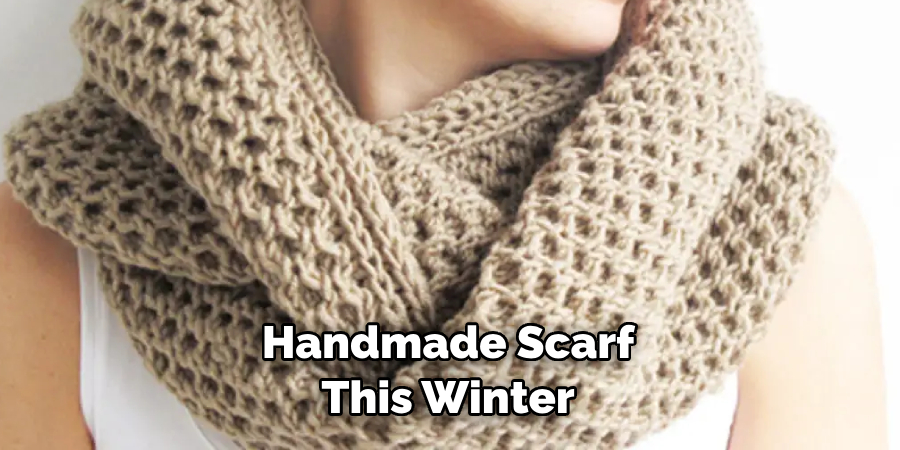
By following these ten easy steps, you know how to make a double sided fleece scarf. Use your new skills to create personalized gifts for family and friends, or keep them for yourself! Enjoy the warmth and comfort of wearing your handmade scarf this winter.
5 Additional Tips and Tricks
- Ensure each piece has a straight edge when measuring and cutting the fabric. This will ensure your scarf looks professional and even.
- Use pins to secure the two pieces of fabric together. This will make it easier to sew them together without having them shift or move around.
- Using a sewing machine, use a zig-zag stitch for greater durability and strength.
- Before you start sewing, practice on an old piece of fabric to get a feel for the machine and how it works. Testing different tension levels before stitching your scarf together is also helpful.
- To add extra cold weather protection, consider adding fringe along the edges of your scarf after sewn it together- this will provide some extra insulation from wind and cold temperatures!
With these tips and tricks, anyone can create a high-quality double sided fleece scarf!
5 Things You Should Avoid
- Don’t use a hot iron on your fabric! This can damage the material or cause shrinkage.
- Avoid using too thick or too long pins, as these can cause holes in your fabric.
- Don’t pull the fabric too tight when sewing- this can lead to wrinkles and bunched up material.
- Avoid using a straight stitch for your scarf- it won’t be very durable and could easily unravel over time.
- Resist the urge to skip steps- measure accurately, pin securely, and stitch correctly for the best results!
By following these simple tips and tricks, you can make a double sided fleece scarf that looks professional and will last you many years!
How Do You Bind Fleece?
When binding fleece, the best option is to use an overcasting stitch. This will create a solid, sturdy seam that won’t fall apart easily.
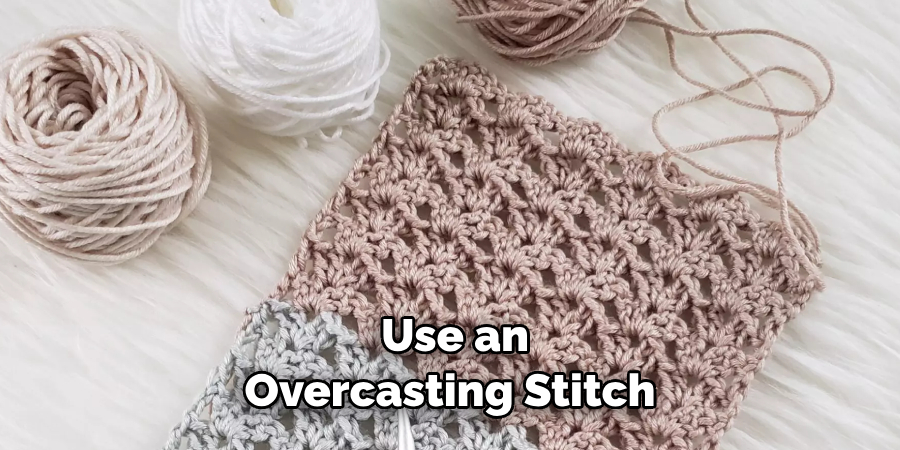
Additionally, it helps keep fraying at bay and gives your scarf a finished look. To do this, set the stitch length on your sewing machine to 3-4mm and sew around all four sides of your scarf.
You may need to adjust the tension for thicker or thinner fabrics, so be sure to test different settings before starting your project! Once you’ve completed the stitching process, trim any excess threads and turn your scarf right side out for a professional finish.
With these simple steps, you can easily bind fleece for any double-sided scarf project.
What Kind of Stitch for Fleece?
The best stitch for fleece is a zig-zag stitch. This will provide extra strength and durability to your scarf and prevent it from fraying or unraveling over time. To create this stitch, set the length of your sewing machine to 3-4mm and begin stitching around all four sides of your scarf.
Be sure to adjust the tension accordingly depending on the thickness of the fabric you’re using. If you’re using a thicker material, increase the tension; if you’re using a thinner material, decrease the tension. Once complete, trim any excess threads and turn your scarf right side out for a professional finish!
With these tips and tricks, you can create a beautiful double sided fleece scarf that will keep you warm all winter long! Whether it’s a gift for someone special or just something to keep you cozy, this project is sure to be a hit. So grab your supplies, follow the instructions above, and sew away!
With practice and patience, anyone can make a unique double-sided fleece scarf.
How Do You Sew Fleece by Hand?
While sewing fleece by hand is slower and more convenient than using a machine, it can still produce professional-looking results. To sew your scarf together, use a whip or blanket stitch to secure the edges.
Begin by knotting one end of the thread and then insert your needle in and out of both layers of material at regular intervals to create an even seam. If you’re feeling adventurous, add fancy stitches like cross-stitches or French knots for extra texture and detail!
Once you’ve completed stitching, tie off the end securely with a double knot and trim away any excess threads. With these steps in mind, you’ll be able to sew fleece by hand in no time confidently!
Conclusion
Making a double sided fleece scarf is a simple project for the adventurous beginner in sewing. It is also an ideal Christmas gift for that special someone in your life.
Not only will they be pleasantly surprised by the thoughtfulness of a handmade gift, but they can also stay warm and fashionable with this one-of-a-kind accessory. Plus, it will be made with love, ensuring that it is unique to them and providing the perfect finishing touch to any outfit.
So if you are looking for an easy craft to do or want to surprise someone with a gift they are sure to appreciate, try this simple project—you won’t regret it! With the right patience and determination, you, too, can make an incredible double sided fleece scarf that will turn heads as soon as you put it on.
Hopefully, the article on how to make a double sided fleece scarf has made it easier for you to create this cozy accessory. Now, all that’s left is to get started and make your own! Good luck, and happy crafting!

