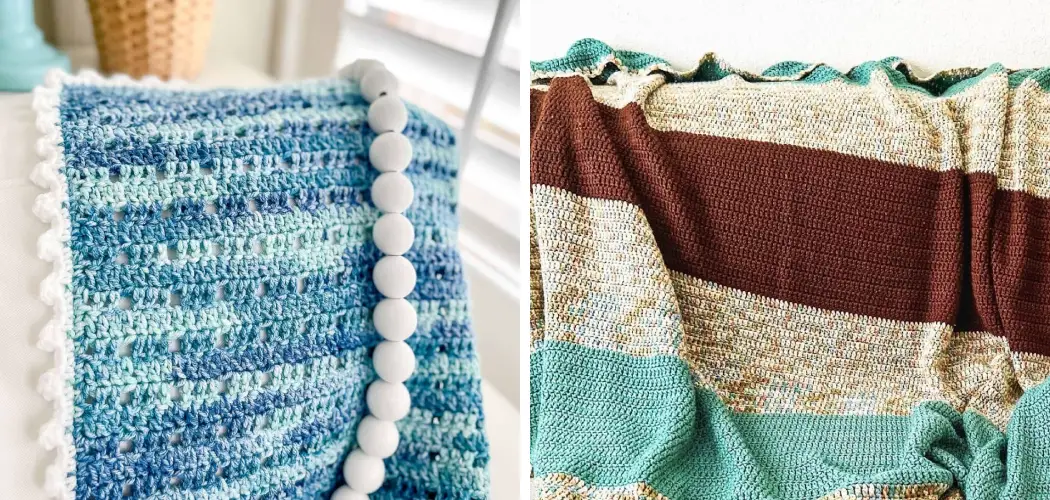
Are you a fan of cozy blankets you can snuggle up with on a chilly evening? Do you enjoy crocheting and want to make something new and exciting? Look no further than a double crochet blanket!
Creating a double crochet blanket is gratifying for novice and veteran crafters. This classic crochet technique creates a cozy, dense fabric ideal for warm blankets that comfort and charm. We will embark on a journey through selecting the suitable yarn and hook, mastering the double crochet stitch, and understanding how to size your blanket.
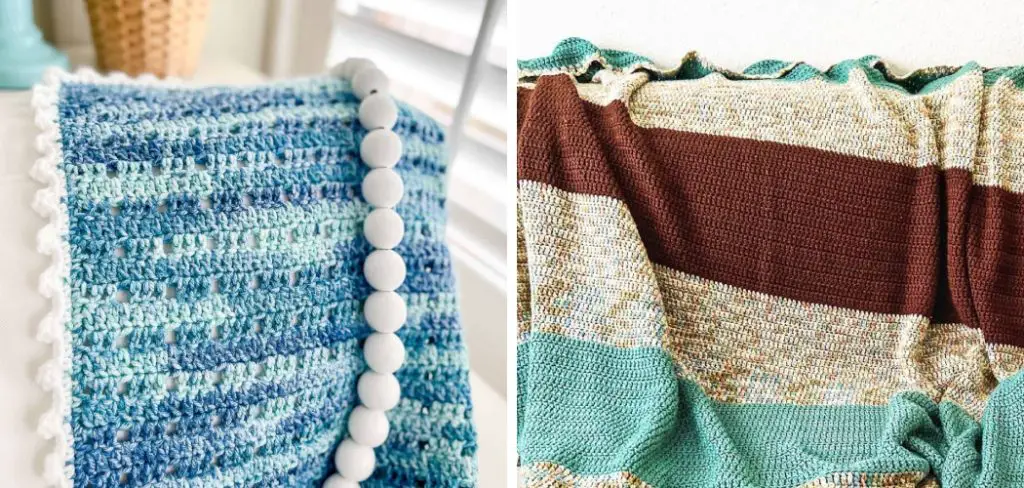
Whether you’re looking to craft a heartfelt gift or add a homemade touch to your home decor, this guide will provide step-by-step instructions on how to make a double crochet blanket. Let’s gather our supplies and prepare to bring your double crochet blanket to life.
Is Double Crochet Good for Blanket?
One of the first questions that may come to mind when considering a double crochet blanket is, “Is this type of stitch suitable for blankets?” The answer is a resounding yes!
The double crochet stitch creates a thick and dense fabric, making it perfect for keeping you warm and cozy. It also works up quickly, meaning you can finish your project in no time. Additionally, the double crochet stitch is versatile and can be used to create various patterns and designs, making it an excellent choice for any style of blanket.
So whether you want a simple, solid-colored throw or a more intricate patterned blanket, the double crochet stitch is up for the task. Plus, once you master this technique, you can also use it in other crocheting projects. So, let’s learn how to make a double crochet blanket together!
What Will You Need?
Before starting, gather all the materials you need for your project. These include:
- Yarn: Choose a soft, bulky yarn in your desired color. Acrylic or wool blends are ideal for creating a warm and durable blanket.
- Crochet Hook: Depending on the thickness of your chosen yarn, you will need an appropriate crochet hook size. A larger hook (6mm or above) is recommended for beginners as it makes it easier to see and work with the stitches.

- Scissors: You will need scissors to cut your yarn at various points throughout the project.
- Yarn Needle: A yarn needle is used for weaving in loose ends and sewing pieces of crochet together if creating a multi-colored or striped blanket.
- Measuring Tape: It’s important to measure as you work to ensure your blanket turns out the desired size.
- Stitch Markers: These are helpful for keeping track of your stitches and preventing mistakes.
Now that you have all the necessary supplies let’s move on to the fun part – learning how to double crochet!
10 Easy Steps on How to Make a Double Crochet Blanket
Step 1. Create a Slip Knot:
Begin by making a slip knot on your crochet hook. This is the first step in starting most crochet projects and provides the foundation for your chain. To make a slip knot, loop the yarn around your fingers, insert the hook through the loop, and pull the cord to tighten it around the bend. Make sure the knot is not too tight, allowing the pin to move freely.
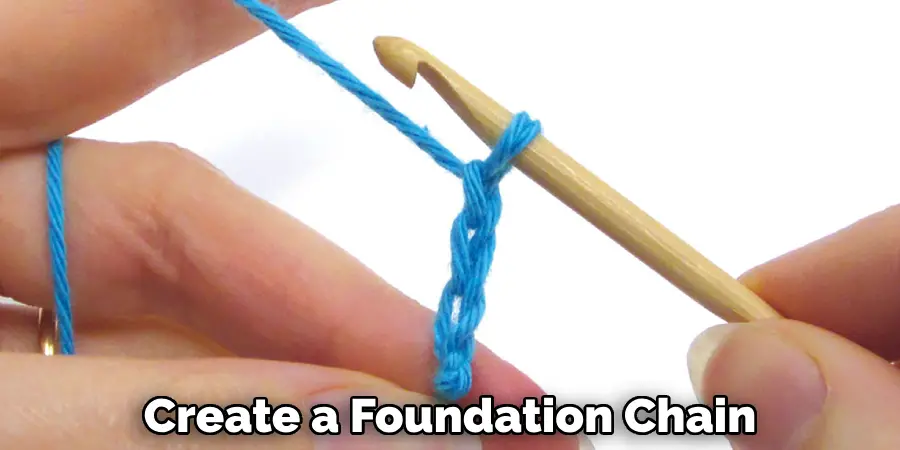
Step 2. Crochet a Foundation Chain:
Next, create a foundation chain that will determine the width of your blanket. For a double crochet blanket, you’ll want to ensure the number of chains is a multiple of three, plus an additional two chains for the turning chain. Carefully count each chain stitch, keeping the tension even but not too tight. This will ensure that your base row is straight and manageable, which can affect your blanket’s overall look and size.
Step 3. Learn the Double Crochet Stitch:
Once you have your foundation chain, it’s time to dive into the double crochet stitch. To start, yarn over (wrap the yarn from back to front over the crochet hook) and insert the hook into the third chain from the hook. Yarn over again and pull through, leaving three loops on the hook. Yarn over again and pull through the first two loops on the hook. You’ll now have two loops left.
Yarn over again and pull through both loops—congratulations, you’ve completed a double crochet! Continue this process along the entire foundation chain. Remember, at the end of each row, turn your work and chain two to start the next row—these chains will count as the first double crochet.
Step 4. Build Your Blanket’s Body:
Continue to double-crochet in each stitch across the row. When you reach the end, turn your work and start the next row by chaining two (this counts as the first double crochet of the new row). Yarn over and insert the hook into the first double crochet stitch from the previous row. Complete the double crochet stitch as you learned in Step 3. Keep the sides of the blanket straight by working the last double crochet of each row into the top of the turn chain from the beginning of the previous row. Repeat this process for each row until your blanket reaches the desired length.
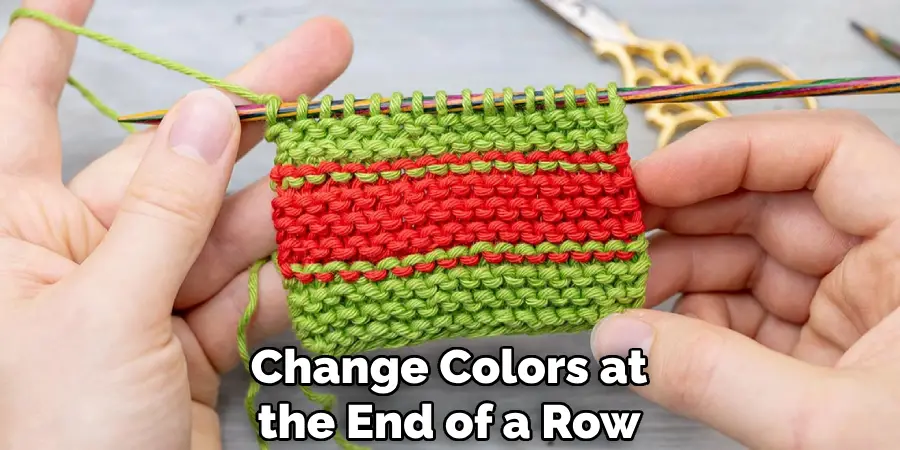
Step 5. Changing Colors (Optional):
If you want to add stripes or a checkered pattern to your blanket, you can easily change colors at the end of a row. To do this, complete the last double crochet stitch until you have two loops left on the hook. Then, with the new color yarn, yarn over and pull through the two loops to finish the stitch. Cut the old yarn, leaving a tail to weave in later, and continue with the new color. Remember to secure the yarn ends to prevent unraveling. Follow the color pattern you’ve chosen, changing colors at the end of rows as required to create your design.
Step 6. Finishing Off the Last Row:
When your blanket has reached the desired length, it’s time to finish off the last row—double crochet all the way to the end, as you have been doing. Once you complete the final double crochet stitch, cut the yarn, making sure to leave a six-inch tail. Thread over with the seat and pull through the last loop on your hook to secure it. Pull tight to make a knot. This will ensure that your work doesn’t unravel. Now, you can admire the body of your handmade blanket, with its rows and rows of neat double crochet stitches.
Step 7. Weaving in the Ends:
With the body of your blanket completed, it’s time to tidy up those loose yarn ends. Thread the yarn tail onto your yarn needle and weave it back and forth through the stitches on the wrong side of the blanket. This hides the ends and secures them within the fabric. Be sure to weave in each tail sufficiently so it will not come loose during use or during washing.
You can knot the bottom around a stitch for added security before weaving it in. Trim any excess yarn after the tails are woven in. This step gives your blanket a finished look and ensures that all the hard work you put into your project will stand the test of time and use.
Step 8. Adding a Border (Optional):
Consider adding a border to give your blanket a professional and polished look. This step is optional but can enhance your crochet blanket’s appearance and structural integrity. Start by attaching your yarn to any corner of the blanket with a slip stitch. Then, single crochet evenly around the entire perimeter of the veil, placing three single crochets in each corner to maintain a flat edge.
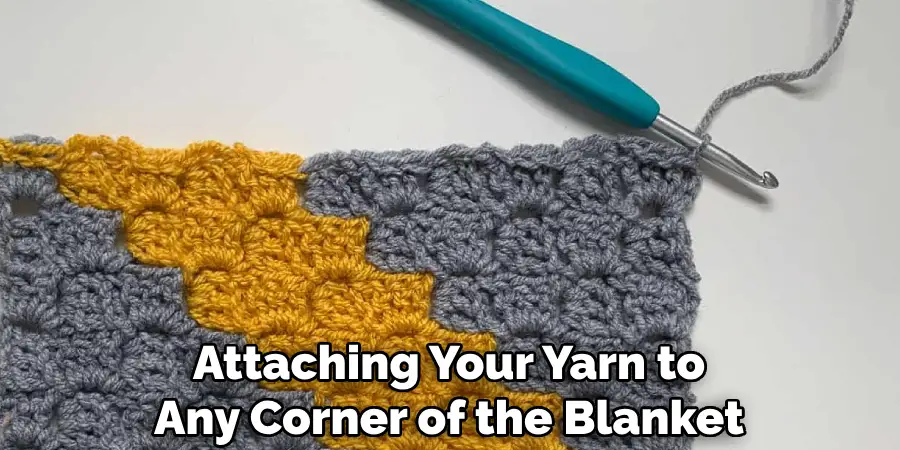
You can opt for multiple rounds of single crochet for a thicker border or experiment with different border patterns. Once you’ve completed the wall, slip stitch to the first single crochet of the frame to join the round. Cut the yarn and weave, and your blanket is ready for the final touches.
Step 9. Blocking Your Blanket:
After all the crocheting is done, blocking is an essential final step. It involves wetting or steaming your blanket and then pinning it into shape until it dries. Start by laying your blanket on a large, flat surface, like a blocking mat or a clean bed. Use rustproof pins to gently stretch your blanket to its desired dimensions and pin it in place. Blocking helps to even out the stitches, enhance the drape, and give your blanket a professional look. Remove the pins once your blanket is dry, and you’ll be ready for the last step.
Step 10. The Final Inspection:
Before you put your blanket into use, take some time for a final inspection. Spread it out and examine it closely, looking for any uneven stitches, loose ends that may have been missed, or areas needing more secure weaving. Correct any minor imperfections you find to ensure the blanket looks its best. This meticulous attention to detail represents the final loving touch of the creator, turning a simple craft project into a cherished heirloom. Once satisfied, your crochet blanket is complete and ready to be enjoyed for years.
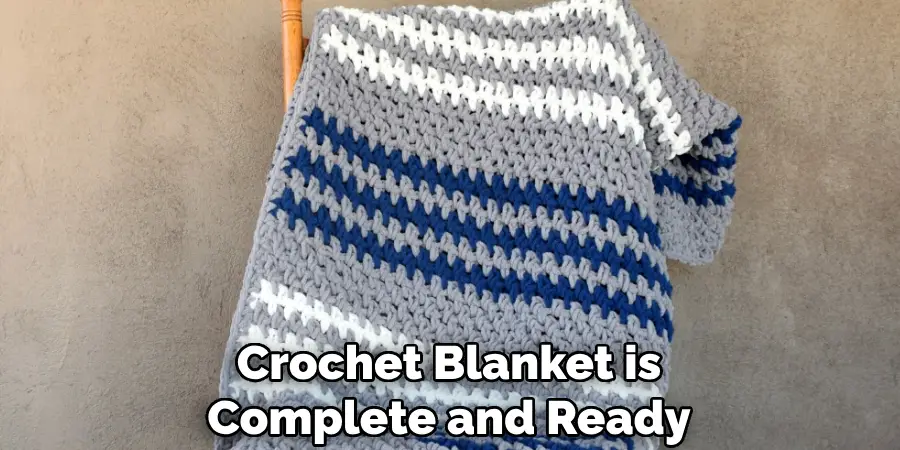
With your newfound knowledge, you can create beautiful, cozy crochet blankets for yourself, friends, and family. Experiment with different yarns, stitches, and patterns to unleash your creativity and make each blanket a unique work of art.
5 Additional Tips and Tricks
- Choose the Right Yarn: Selecting a soft yet durable yarn can make all the difference in your crochet blanket. Acrylic yarns are often favored due to their affordability and ease of care, while wool blends offer warmth and a luxurious feel.
- Maintain Consistent Tension: Keeping your yarn tension consistent is critical to creating an even fabric. If pressure varies, your blanket could have tight or loose stitches, affecting the overall look and feel.
- Experiment with Color Changes: Adding stripes or blocks of color can turn a simple double crochet blanket into a striking piece. Practice clean color changes by completing the final yarn with the new color over a stitch.
- Block Your Blanket: After finishing your blanket, block it to give it a professional finish. Wet the blanket and pin it to the correct measurements on a blocking board or a clean, flat surface to dry.
- Weave in Ends Securely: Keep your yarn ends secure to prevent them from unraveling over time. A tapestry needle is your best tool for threading the ends back through your stitches.
By following these additional tips and tricks, you can take your double crochet blanket to the next level.
6 Things You Should Avoid
- Neglecting Gauge: Skipping the step of making a gauge swatch can result in a blanket that needs to be bigger or bigger. Always check your gauge before starting your project to ensure the final dimensions are correct.
- Using Incorrect Hook Size: The wrong hook size can dramatically affect the texture and size of your blanket. Use the hook size recommended for your yarn or determined by your gauge swatch.
- Ignoring Yarn Care Instructions: Different yarns require different care. Avoid ruining your blanket by familiarizing yourself with the yarn’s care instructions, whether it’s machine washable or must be hand washed.
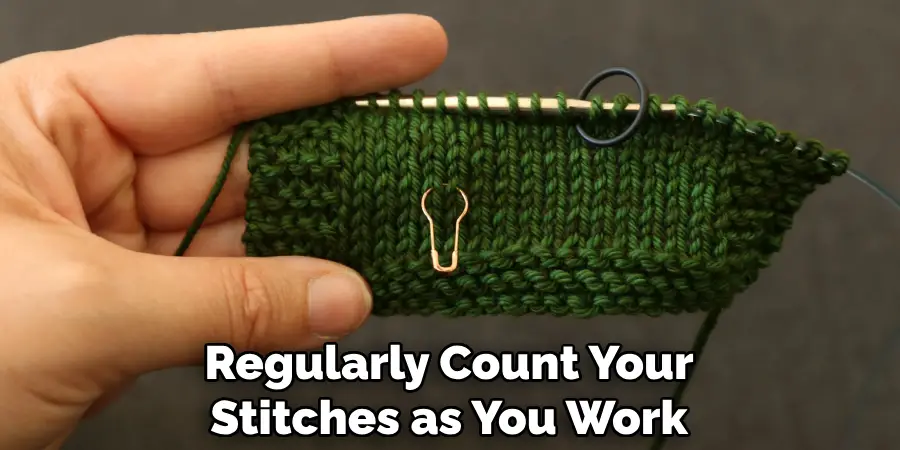
- Forgetting to Count Stitches: Regularly count your stitches as you work. This helps avoid increasing or decreasing stitches accidentally, which can cause your blanket to become misshapen.
- Rushing the Finishing Steps: Hurrying through the final steps, like weaving in ends or blocking, can undo all your hard work. Take the time to finish your blanket correctly to ensure the best possible result.
- Not Practicing Proper Technique: Crocheting is a skill that requires practice and patience. Avoid becoming frustrated by learning proper techniques, such as holding your yarn and hook correctly, for smooth and consistent stitches.
By avoiding these common mistakes, you can ensure that your double crochet blanket turns out beautifully.
6 Different Patterns to Try
- Granny Square: This classic pattern is perfect for beginners and can be easily customized by changing colors or adding additional rounds.
- Basket Weave: This pattern creates a beautiful texture with alternating blocks of front and back post stitches.
- Chevron: Also known as ripple stitch, this pattern creates a fun zig-zag effect and can be made with a single color or multiple colors.
- Shell Stitch: This pattern creates a scalloped edge and adds a feminine touch to your blanket.
- Moss Stitch: Also known as linen stitch, this pattern creates a woven look and is excellent for using up scraps of yarn in different colors.
- Waffle Stitch: This pattern creates a textured, grid-like design and is perfect for adding warmth to your blanket.
You can create unique and beautiful double crochet blankets that showcase your skills and creativity by trying out these different patterns.
What Type of Yarn is Best for a Double Crochet Blanket?
When choosing the best yarn for your double crochet blanket, there are a few factors to consider. The type of yarn you choose will impact the overall look and feel of your finished project and its durability and ease of care.
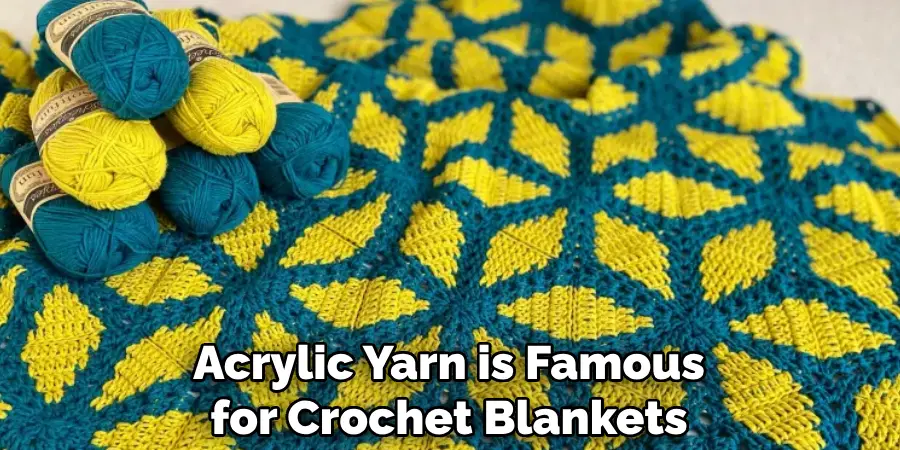
- Acrylic Yarn: Acrylic yarn is famous for crochet blankets due to its affordability and ease of care. It is also available in various colors, making it ideal for creating colorful and vibrant blankets.
- Wool Blend Yarn: Opt for a wool blend yarn if you’re looking for warmth and a luxurious feel. This type of yarn often contains a mix of sheep’s wool and other fibers, providing warmth while being soft and comfortable.
- Cotton Yarn: Cotton yarn is a good choice for those who prefer natural fibers. It is soft, durable, and breathable, making it great for all seasons.
- Bulky or Chunky Yarn: Bulky or chunky yarns are thicker than traditional yarns, making them ideal for creating cozy and warm blankets. They also work quickly, making them perfect for those who want to finish their project in a shorter time.
Ultimately, the best yarn for your double crochet blanket will depend on personal preference and the desired outcome. It’s always a good idea to research and even experiment with different types of yarn to find what works best for you. So, be patient and have fun exploring different yarn options for your next double crochet blanket project!
How Can You Choose the Perfect Color Combination for Your Double Crochet Blanket?
Choosing the right colors for your double crochet blanket can make all the difference in its overall appearance. Here are some tips to help you select the perfect color combination:
- Consider the Recipient: Consider who will receive the blanket and their personal style preferences. Is there a specific color or color scheme that they love? If you’re making the blanket for yourself, think about what colors you are drawn to and what will complement your home decor.
- Use a Color Wheel: Color wheels are great tools for selecting complementary or contrasting colors that work well together. You can use it to choose colors that are next to each other on the wheel for a harmonious look or choose colors on opposite sides for a bolder contrast.
- Stick to a Limited Color Palette: Using too many colors in your blanket can make it look busy and overwhelming. Stick to 2-4 primary colors and add neutrals like white, grey, or beige to balance out the design.
- Try Different Shades: Feel free to mix light and dark shades of the same color for a subtle and sophisticated effect. You can also experiment with different textures, like using a variegated yarn in one of your chosen colors.
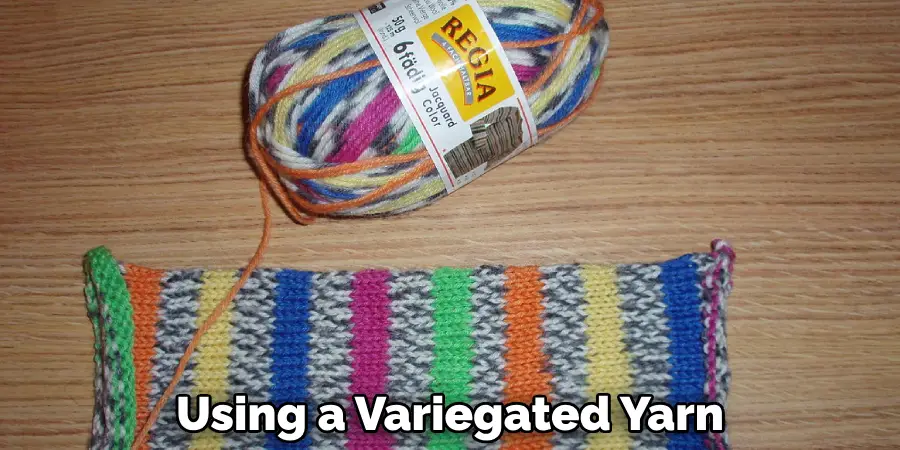
Ultimately, choosing the perfect color combination is a matter of personal preference. Have fun playing around with different colors until you find the right combination that speaks to you and reflects your style.
Conclusion
how to make a double crochet blanket is a journey of creativity and skill. Whether you’re a seasoned crocheter or a beginner eager to dive into the art of yarn and hooks, the process is rewarding, and the result is a thing of comfort and beauty. Remember to choose your adventure thoughtfully, considering texture, warmth, and ease of care. Embrace the array of patterns available, from the simplicity of granny squares to the textured splendor of waffle stitches, to personalize each blanket you make. Color selection is another avenue for expressing your creative vision; use it to tell a story or convey a mood.
Above all, enjoy the process, refine your technique, and don’t shy away from challenges—they often lead to your most impressive creations. Happy crocheting, and may your double crochet blankets bring warmth and style to many cozy moments.

