Welcome! If you’re looking for a fun and easy crochet project to keep your hands busy, then look no further than learning how to make a crochet envelope. Crocheting envelopes is a craft that anyone can learn, regardless of your experience level.
Whether you are a seasoned crochet veteran or a complete beginner picking up your hook and yarn for the first time, you’ll be able to follow along with this tutorial and end up with a beautifully crafted envelope that is perfect for storing little gifts or notes.
In this post, I’m going to walk you through the basic steps of making a crocheted envelope, starting from the foundation chain all the way through and adding the finishing touches. By the end, you’ll be amazed at what you can create with just a few easy stitches and a bit of yarn. Let’s get started!
What Will You Need?
Before we jump into the tutorial, let’s ensure you have everything you need to start. The great thing about crocheting envelopes is that it doesn’t require a lot of supplies.
- Yarn: You can use any color or weight of yarn you like, but I recommend using a medium-weight thread (also known as worsted weight) for this project. This will make the envelope sturdy enough to hold its shape but not too bulky.
- Crochet Hook: Choose a hook size that corresponds with your yarn weight. I suggest using a 4mm or 5mm hook for medium-weight yarn.
- Scissors: You’ll need scissors to cut your yarn as you work.
- Yarn Needle: A yarn needle is used for weaving in ends and sewing pieces together.
- Button: This is optional, but a regulator adds a nice decorative touch to your envelope and helps keep it closed.
Once you have all your supplies, you’re ready to start crocheting!
9 Easy Steps on How to Make a Crochet Envelope
Step 1. Crochet the Envelope
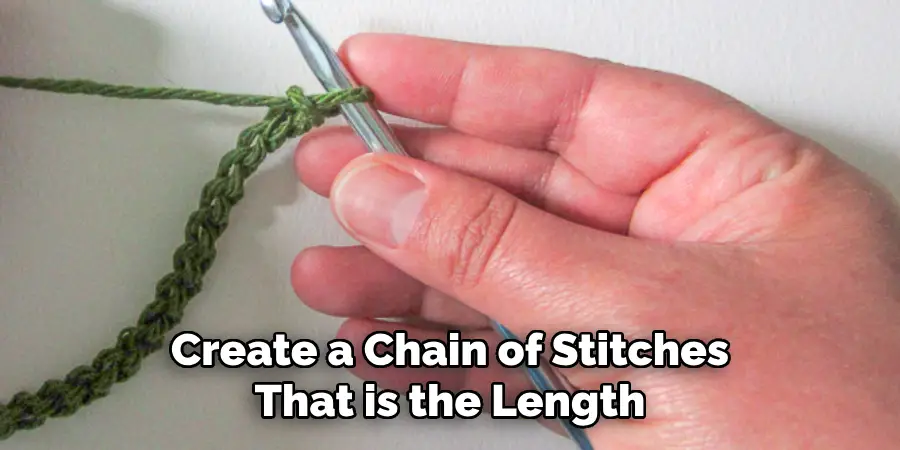
To begin, create a chain of stitches that is the length of your desired envelope size, plus 2-3 extra stitches for the flap. Then, work single crochet stitches across each row until you reach the desired height of your envelope. To create the flap, decrease one stitch at each end of every other row until you have reached your desired point for the flap. Finish off by weaving in any loose ends with your tapestry needle.
Step 2. Add Finishing Touches
Once you have completed crocheting the envelope, it’s time to add any finishing touches, such as buttons or other decorations. You can sew on a button and create a loop with yarn to secure it closed or use velcro for an easier closure option.
You can also add a lining to give your envelope more structure and durability. Simply cut out fabric to fit inside the envelope and sew it in place using a whip stitch around the edges. Your crochet envelope is now complete!
Step 3. Using Your Crochet Envelope
Now that your crochet envelope is complete, you can start using it—slide in small items such as gift cards, handwritten notes, or jewelry. If you’ve added a button, loop closure, or velcro, secure the flap to keep your items safe.
Step 4. Care for Your Crochet Envelope
To keep your crochet envelope looking as good as new, take care when washing it. Hand wash your envelope with mild soap and cool water, then lay it flat to dry. Avoid wringing it out, as this could distort its shape.
Step 5. Experiment with Different Designs
Now that you’ve mastered the basics of how to make a crochet envelope, feel free to experiment with different designs. Try using different yarn colors or types, incorporate various crochet stitches for texture, or add appliques and embellishments for a personalized touch.
The possibilities are limitless, and you are only bound by your creativity. Remember, the most important thing is to have fun and enjoy creating something unique with your hands.
Step 6. Share Your Creations
Don’t keep your beautiful crochet envelopes to yourself. Share your creative work with others! You can gift them to friends or family or sell them. Posting pictures of your completed envelopes on social media can inspire others to take up this fun and relaxing craft.
Remember, each crochet envelope you make is a testament to your creativity and skill. So go ahead, spread the joy of crocheting!
Step 7. Troubleshooting Your Crochet Envelope
When cropping your envelope, you may encounter some minor challenges. If your stitches are too tight, use a larger hook or loosen your grip on the yarn. If your envelope’s shape seems off, double-check your stitch count to ensure you’re not accidentally adding or skipping stitches.
If your yarn gets tangled, take a moment to untangle it and smooth out your work before proceeding. Remember, practice makes perfect, so don’t get discouraged if your first few attempts don’t turn out exactly as you hoped. Continue practicing, and you’ll soon create crochet envelopes like a pro!
Step 8. Take Care of Your Tools
Proper care of your crochet tools is crucial in maintaining longevity and ensuring a smooth crochet experience. Store your crochet hooks in a protective case or pouch to prevent them from getting damaged or lost. Keep your yarn clean and dry to avoid dust or moisture.
If you’re using a yarn bowl, ensure it’s emptied regularly to prevent any dust or yarn scraps buildup. Keep your scissors sharp and your yarn needles in a safe place. Caring for your tools ensures they’re always ready for your next crochet envelope project.
Step 9. Reflect on Your Progress
Once you’ve completed your crochet envelope, take a moment to reflect on your progress and what you’ve learned throughout the process. Consider what worked well and what areas could use improvement.
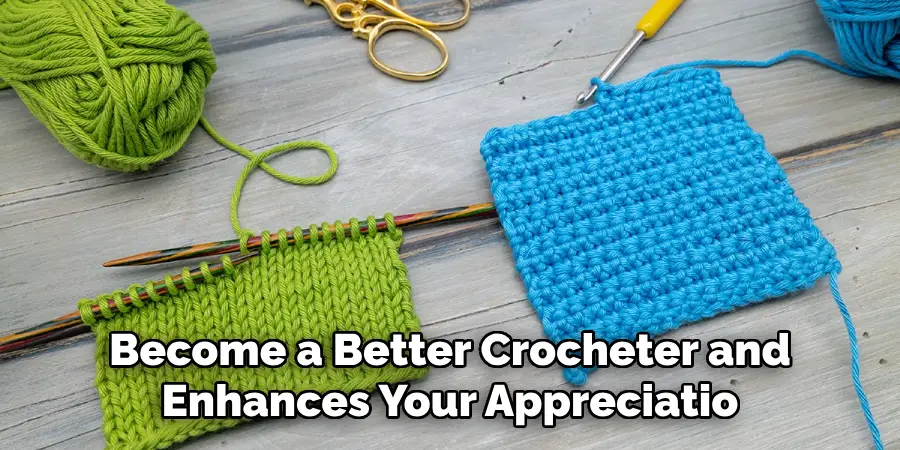
Did you find any particular stitch challenging? Were there steps in the process that you found more enjoyable than others? This reflection helps you become a better crocheter and enhances your appreciation for the craft and the unique pieces you create.
Remember, each project is an opportunity to learn something new and to gain a deeper understanding of the skillful art of crochet.
5 Additional Tips and Tricks
- Use Quality Yarn: Choosing high-quality yarn ensures your crochet envelope will last longer and resist wear and tear. Consider materials like cotton or wool for their durability and aesthetic appeal.
- Keep Tension Consistent: Consistency is critical when crocheting. Maintaining the same tension throughout your work can significantly enhance the finished product’s appearance and sturdiness.
- Choose the Right Needle Size: The size of your crochet needle impacts your project’s final size and tightness. If your stitches are too loose, you may need a smaller hand. Conversely, a larger needle might be necessary if your stitches are too tight.
- Practice Basic Stitches: Before making a crochet envelope, ensure you’re comfortable with basic crochet stitches—master single and double crochet, as these are often used in envelope patterns.
- Stay Patient: Don’t rush the process. Crocheting is a skill that takes time to master. Take your time, especially when learning new patterns or techniques. Remember, the result will be worth your patience and effort.
With these additional tips and tricks, you’ll be well on your way to creating a beautiful and functional crochet envelope. Remember to have fun and experiment with different yarns, colors, and stitch patterns to make your envelope unique.
5 Different Pattern Ideas
- Colorful Stripes: Use different yarn colors to create stripes on your envelope. This pattern is perfect for adding a pop of color and personalization.
- Lace Edging: Add a delicate touch by incorporating lace into the design of your crochet envelope’s edge.
- Flower Applique: Crochet a tiny flower applique and attach it to your envelope for a whimsical touch.
- Textured Stitches: Experiment with textured stitches like popcorn, bobble, or puff stitches to add dimension to your envelope.
- Personalized Monogram: Use basic crochet stitches to create your initials or monogram on the front flap of the envelope. This pattern is perfect for personalized gifts or special occasions.
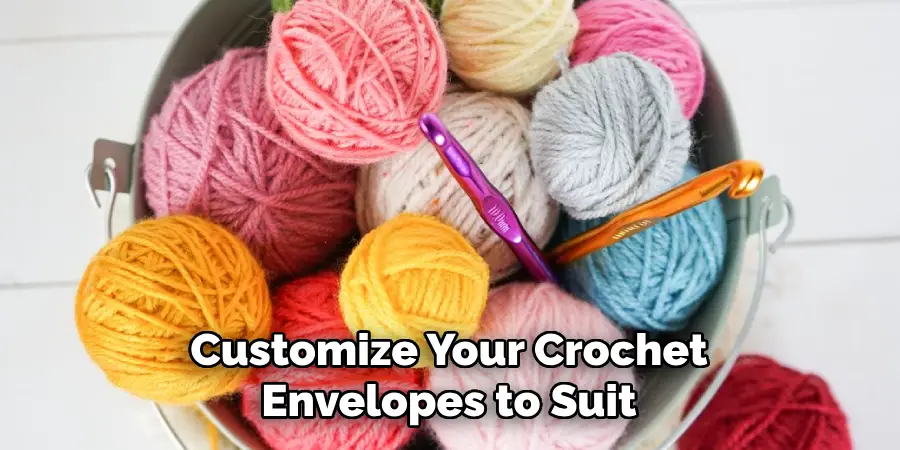
ith these different pattern ideas, you can customize your crochet envelopes to suit any occasion or personal preference. Get creative and have fun with your designs!
Conclusion
In conclusion, learning how to make a crochet envelope is a fun and enjoyable activity and has practical uses. Following the steps outlined in this post, you can create unique and personalized envelopes for all your mailing needs.
Remember to keep practicing and experimenting with different stitches and colors to make each envelope genuinely one-of-a-kind. Whether for sending out unique invitations or storing precious keepsakes, your crochet envelopes will surely add a special touch to any occasion.
So why not gather your materials and begin crafting today? With enough practice, you can turn this hobby into a thriving business by selling your handcrafted envelopes online or at local markets and fairs. The possibilities are endless!
So don’t be afraid to explore and let your creativity run wild with crochet envelopes. Thank you for reading, and happy crocheting!
Expertise:
Crafting expert with a focus on innovative techniques and diverse materials.
Specialization:
- Textile arts (weaving, embroidery, and fabric dyeing)
- Woodworking and furniture design
- Mixed media and upcycling projects
Recognition:
- Featured in local art exhibits showcasing innovative craft projects
- Collaborated with community organizations to promote crafting workshops
- Received accolades for contributions to sustainable crafting initiatives
Mission:
- To inspire and empower crafters of all levels to discover their creative potential
- Encourages experimentation and self-expression through hands-on projects

