
Nothing quite says autumn like a ceramic pumpkin. Whether you’re decorating for a special occasion or just want to add some seasonal charm to your home, making your own ceramic pumpkin is not only fun but also surprisingly easy. If you’re looking for a fun, creative way to add a seasonal touch to your home this fall, try making a ceramic pumpkin!
Crafting with clay can be an incredibly satisfying experience as you watch each lump of raw material transform into something beautiful and unique. Plus, since the only tools needed are readily available at any craft or pottery store, making ceramic pumpkins is an easy and affordable project for all ages.
Read on to learn exactly what materials and techniques on how to make a ceramic pumpkin are required in order to create your very own autumn-inspired piece of art!
The Benefits of Having a Ceramic Pumpkin
1. Creativity
Crafting with clay is a great way to flex your creativity and create something unique that fits the style of your home. Plus, unlike real pumpkins, ceramic pumpkins last for years and will never rot or go bad.
2. Affordable
Making ceramic pumpkins is an affordable craft project that anyone can do, regardless of budget or skill level. All of the materials needed are readily available at any craft or pottery store and can be used again and again for future projects.
3. Fun
Creating a ceramic pumpkin is a fun and rewarding experience for all ages. Not only will you have a unique piece of art to show off, but the process of crafting it is also extremely satisfying and enjoyable!
What You Will Need
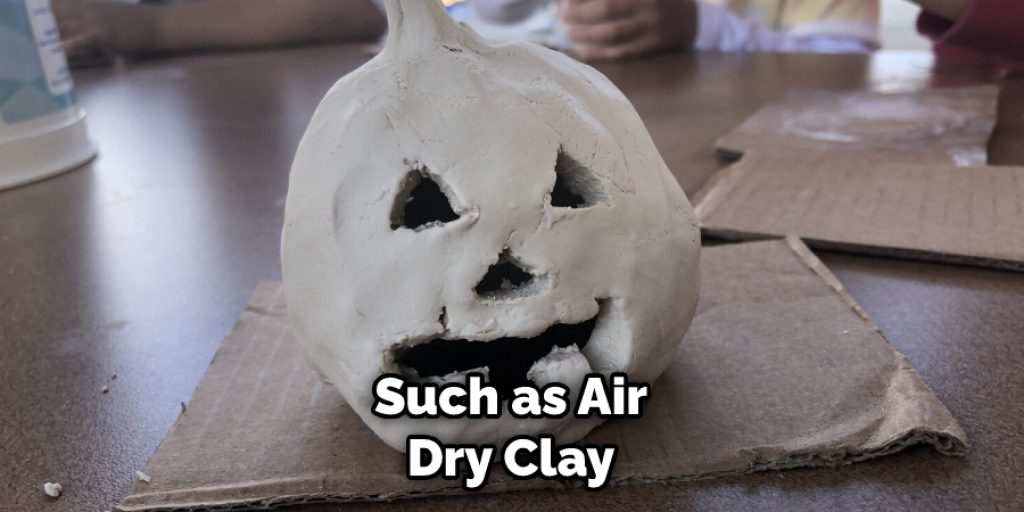
- Clay- The first thing that you’ll need for this project is clay. Depending on your preference, you can use any type of clay, such as air-dry clay, bakeable clay, or even polymer clay.
- Roller- A rolling pin or other flat objects such as a bottle can be used to flatten the clay.
- Knife- You will need something sharp, like an X-Acto knife, to cut out shapes and create details on your ceramic pumpkin.
- Brush- A soft brush is needed to smooth out any rough edges that may appear while working with the clay.
- Bake- If you are using bakeable clay, you will need an oven or kiln to bake it in accordance with the manufacturer’s instructions.
- Paint- Acrylic paint can be used to add color to your ceramic pumpkin. Glaze- A glaze can be used if you want to add a glossy finish and make the pumpkin shine.
10 Tips on How to Make a Ceramic Pumpkin
1. Prepare the Base
Start with your base. Begin by forming a ball of clay and using the roller to flatten it until it is about 1/4 inch thick. Try to make the edges as even and symmetrical as possible. It will be the bottom of your pumpkin, so make sure it is flat and level.
2. Add a Stem
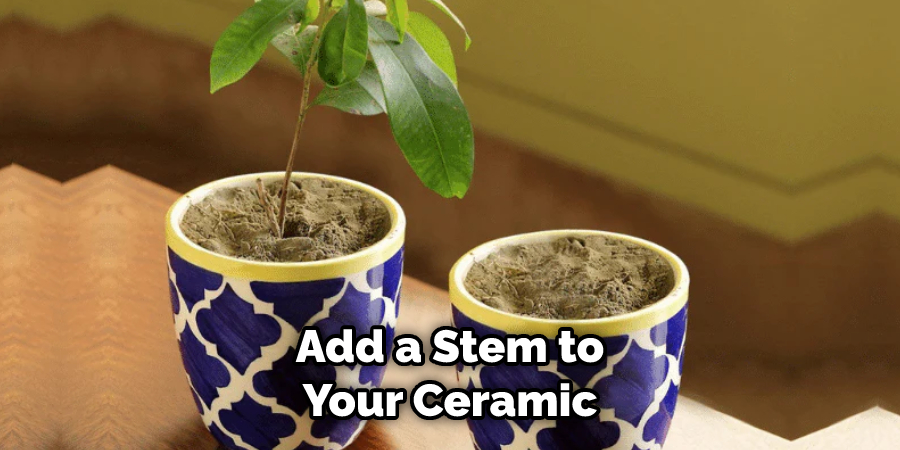
Now it’s time to add a stem to your ceramic pumpkin! Begin by rolling out a piece of clay into a thin cylinder shape. Gently press one end onto the top of the base and then form the other end into a curved shape.
3. Create the Pumpkin Shape
Begin shaping the pumpkin by gently pressing and pinching the edges of your base to form ridges that will give it an authentic pumpkin look. You can also use your fingers to create dimples for more detail. Be sure to brush away any excess clay after you’ve finished shaping the base.
4. Add Features
Once you’ve created the basic shape of your ceramic pumpkin, it’s time to add more detail! Use your knife to cut out small shapes for eyes and a mouth, or make abstract patterns like leaves or swirls to give your pumpkin personality.
5. Bake the Clay
If you’re using bakeable clay, it’s time to put your ceramic pumpkin in the oven! Keep an eye on the temperature and make sure not to overbake. Once your pumpkin is done baking, let it cool before adding any paint or glaze.
6. Paint the Pumpkin
Now that your ceramic pumpkin is finished, you can add color! Use acrylic paint or a brush to create different designs and patterns that will make your pumpkin unique. You can even use multiple colors to give it an ombre effect.
7. Apply Glaze
If desired, you can also apply a glaze to give the pumpkin a glossy finish. Brush the glaze over your ceramic pumpkin, making sure to get into all of the crevices and ridges for a beautiful, polished look.
8. Let it Dry
Let the glaze dry completely before doing anything else with your ceramic pumpkin. While you leave it to dry, you can make more pumpkins or add additional details.
9. Add a Hanger
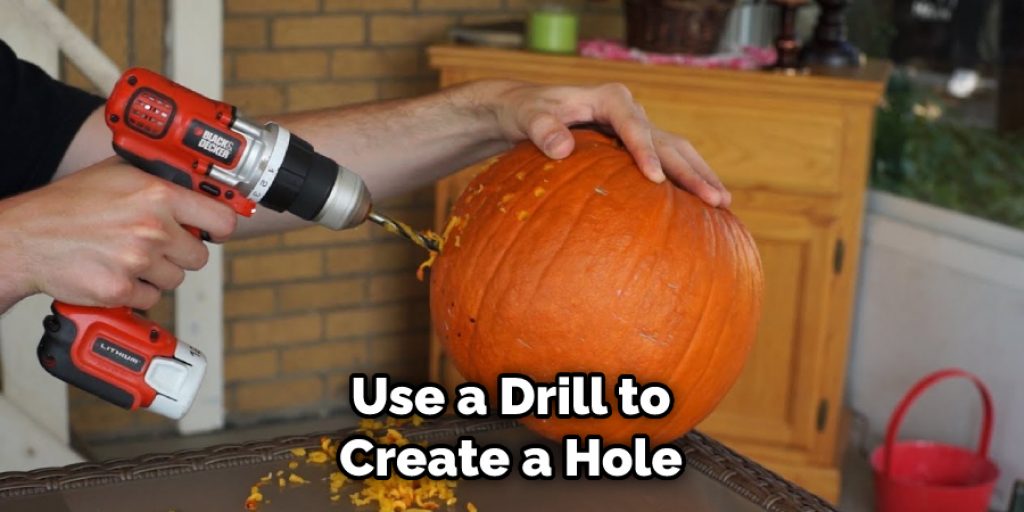
Once the glaze is completely dry, use a drill to create a hole in the stem so that you can hang your ceramic pumpkin up on the wall or display it wherever you’d like. It is like a piece of wall art!
10. Enjoy the Finished Product
And you’re done! All that’s left to do is admire your work and bask in the satisfaction of having created something beautiful with your own two hands. Now, grab a cup of tea or hot cocoa and enjoy your handmade ceramic pumpkin!
You have now learned how to make a ceramic pumpkin. Making ceramic pumpkins is a great way to express your creativity and be proud of the unique decoration you have created with your own hands. Have fun making more ceramic pumpkins, and get creative with different shapes, sizes, colors, and accessories.
8 Care Tips for the Ceramic Pumpkin
- Place the ceramic pumpkin in a dry and ventilated place. It is important to avoid direct sunlight as this could cause discoloration or fading of the ceramic glaze. If you leave it in an enclosed and humid area, the glaze may develop blisters or crack.
- When you are not using it, store your pumpkin in a cool and dark environment to prevent fading. It will add to the longevity of the piece. The pumpkin should be wrapped in a cotton or felt cloth to avoid any scratches on its surface.
- It is important to periodically clean the ceramic pumpkin. You can do this by wiping it gently with a damp cloth and a mild detergent solution. Avoid using abrasive materials or harsh chemicals as they can damage the glaze and reduce its life span.
- Avoid dropping the pumpkin from a height or using it in rough activities, as ceramic is prone to breakage when subjected to too much force. The pumpkin should also not be placed near a heat source as this can damage it.
- Whenever you are transporting the pumpkin, use protective packaging to avoid any breakage or damage during the journey. Wrapping it in soft furnishings such as cotton or felt will provide enough cushion and support for the ceramic material to ensure its safe transport.
- Never put the pumpkin in a dishwasher to clean it, as this can damage the glaze and its overall finish. It is best to hand-wash it with a mild detergent solution and dry it immediately after cleaning it with a soft cloth.
- When not actively displaying the ceramic pumpkin, place it in an area where children or pets can’t reach it. This will reduce any accidental breakage of the pumpkin and maximize its lifespan.
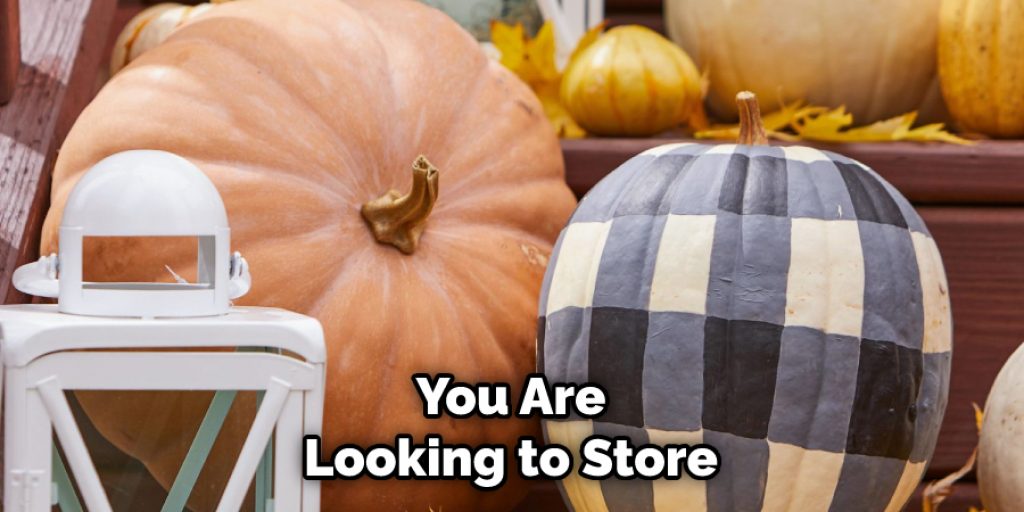
- Finally, if you are looking to store the ceramic pumpkin for an extended period, consider packing it in acid-free tissue paper or cloth and keep it in a cool and dry area away from direct sunlight. Doing this will ensure that the pumpkin remains in good condition for years to come.
Follow these tips to take proper care of your ceramic pumpkin and extend its life span! Enjoy displaying this beautiful vessel of seasonal cheer year after year.
How Long Will a Ceramic Pumpkin Last?
Ceramic pumpkins are very durable and can last for many years if properly cared for. They do not require much maintenance, but it is important to protect them from the elements. Sunlight, water, and temperature changes can all damage the glaze on a ceramic pumpkin over time. To keep your ceramic pumpkin looking great year after year, keep it in a cool, dry place away from direct sunlight.
You should also occasionally dust or wipe down the pumpkin with a damp cloth to prevent dirt and debris buildup. With the right care, you can enjoy your ceramic pumpkin for many seasons to come!
Conclusion
Crafting a beautiful and festive ceramic pumpkin is a wonderful way to add a touch of autumn style to any home. It’s easy enough to learn the techniques on how to make a ceramic pumpkin as well as make this craft suitable for every skill level. Plus, with just some clay, slip, and glaze, you can create an immortal pumpkin that will last forever.
Working with fire and carefully glazing it to give it a glossy finish is the most satisfying part of creating your one-of-a-kind pumpkin masterpiece. Now that you know how to create custom ceramic pumpkins, there’s no limit to the styles, designs, and themes that you can create! Have fun making your own unique ceramic pumpkins and showing off your crafting skills this fall!