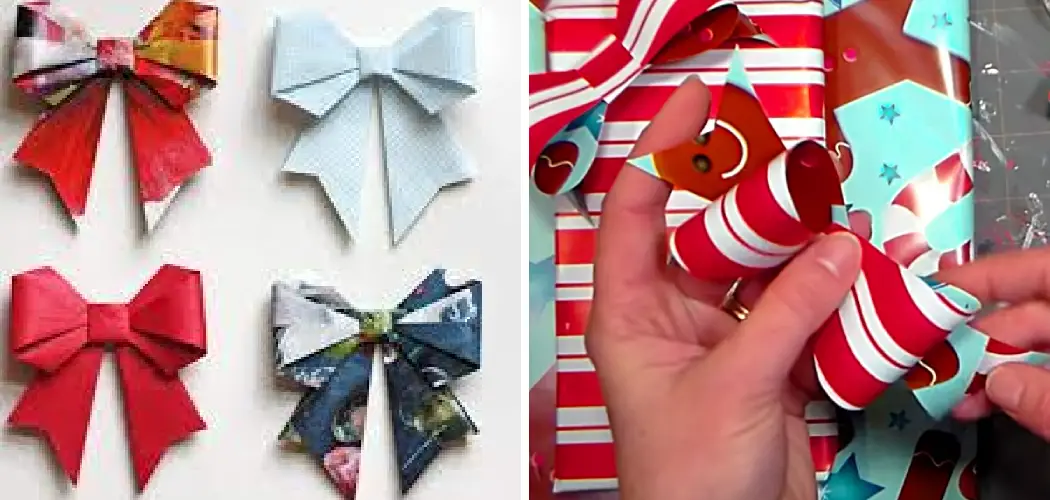
Are you looking for a creative way to reuse wrapping paper? With just a few simple steps, you can make a beautiful, decorative bow from leftover gift wrap! Keep your holiday spirit alive while reducing waste and putting those extra ribbons and rolls of wrapping paper to good use.
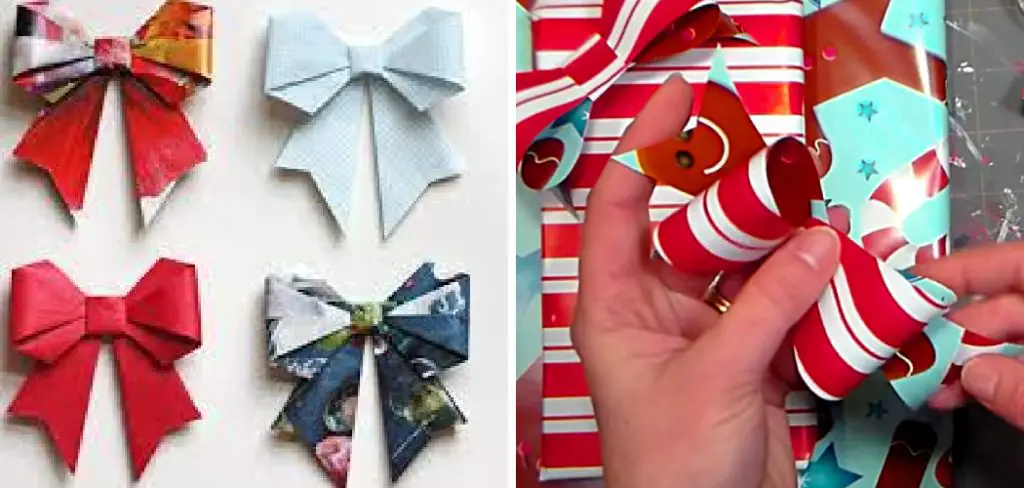
This blog post will demonstrate how to make a bow from leftover wrapping paper out of what would otherwise be destined for the trash. Whether it’s adorning the top of a present or perched atop the Christmas tree, making bows with leftover wrapping paper is sure to bring smiles all season long!
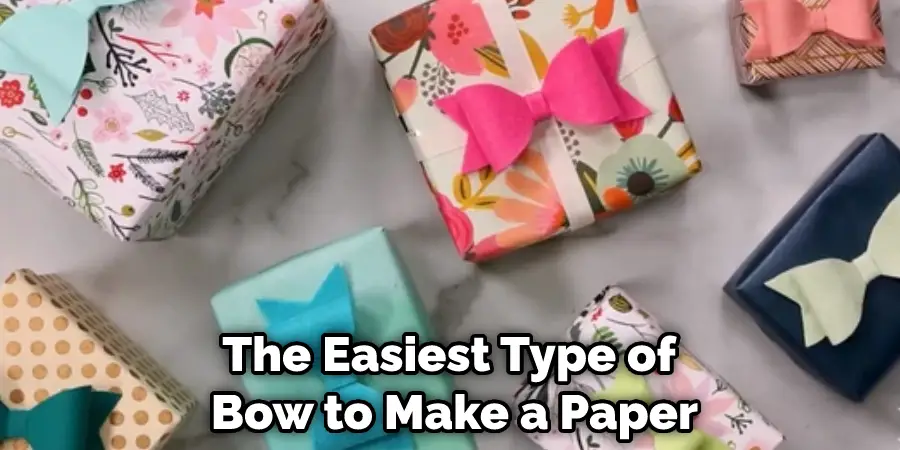
What Is the Easiest Bow to Learn?
The easiest type of bow to make is the basic looped bow. To create a looped bow, you’ll need 3-4 strips of wrapping paper cut at least 12 inches in length and about 1 inch wide. You can adjust the sizes depending on how big or small you want your loops to be! Start by making two large loops with the first two strips of paper and securing them in the middle with a bit of tape.
Now, create one or two smaller loops with the remaining strips of wrapping paper and secure them on top of the larger loops. Make sure to fluff out your bow so that it looks full! Finally, trim off any excess wrapping paper to neaten the bow and secure it in place with a piece of tape. And you’re done! You can now easily use your looped bow to add some extra holiday cheer to your presents. Have fun!
If you’d like something a bit more intricate, try making a layered bow, which requires slightly more skill but is still fairly easy to make. To create a layered bow, you’ll need 6-7 strips of wrapping paper cut at least 12 inches in length and about 1 inch wide. You can adjust the sizes depending on how big or small you want your loops to be! Start by making three large loops with the first three strips of paper and securing them in the middle with a bit of tape.
Next, create two medium loops and one small loop with the remaining strips of wrapping paper and secure them on top of the larger loops. Make sure to fluff out your bow so that it looks full! Finally, trim off any excess wrapping paper to neaten the bow and secure it in place with a piece of tape.
Things You will need
- Leftover wrapping paper
- Scissors
- Ruler or measuring tape
- Pencil or pen
- Hot glue gun and glue sticks
- Ribbon, string, or twine (optional)
10 Methods How to Make a Bow from Leftover Wrapping Paper
1. Gather Your Supplies:
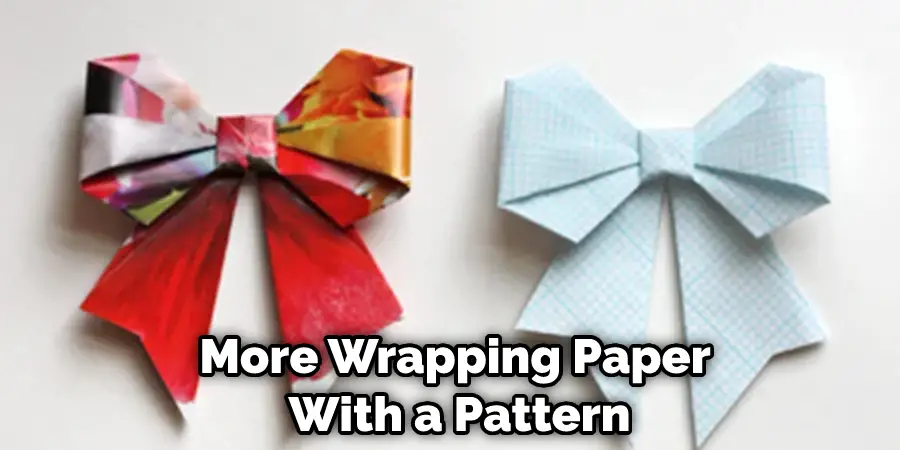
Start by gathering your supplies. You will need a pair of scissors, wrapping paper, and tape or glue. If you are adding a ribbon, then you will need that as well. Although it is not necessary, it can be helpful to have a ruler and pen or pencil on hand. Try to pick out wrapping paper with a pattern or color that you like, as it will be the base of your bow.
2. Cut the Wrapping Paper:
Cut the wrapping paper into two sections. One should be a long rectangle, and the other should be a shorter, narrower rectangle. Cut the long rectangle to have a width of about one inch, and cut the short rectangle to be wider than the long piece.
For example, if the long piece has a width of one inch, the short piece should have a width of two inches. However, the size of the short piece and the long piece can be adjusted according to preference. Make sure that the short piece is at least two inches longer than the long piece.
3. Form the Base of the Bow:
Fold the longer rectangle in half length-wise and then fold it into thirds width-wise to form an “X” shape. This will form the base of your bow. Secure with tape or glue as needed. if the ends start to fray, use scissors to trim them. While this step is optional, it will help your bow hold its shape. However, it’s not essential if you don’t have any extra materials.
4. Create Loops for each Side:
Cut four strips from the remaining piece of wrapping paper, about 2 inches wide each. Then make two loops out of each strip by folding them in half and securing them with tape or glue at the ends of each loop.
If you would like the loops to stand out more, you can use double-sided tape. While you’re making the loops, use a ruler to ensure that each side is even. Although it is not necessary, you can also trim the edges of each loop to make them more even. Then, set the loops aside.
5. Attach the Loops to the Base of the Bow:
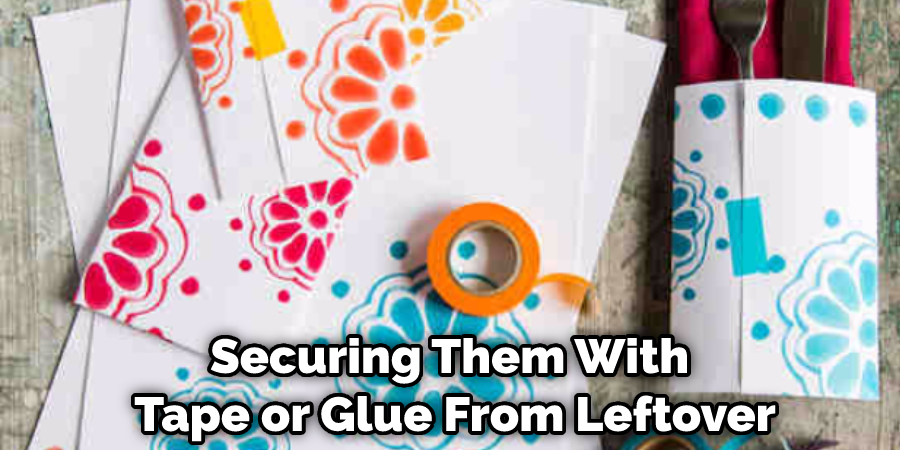
Take two loops and attach them to each side of your bow base. Secure with tape or glue at the ends. Make sure the loops are even and facing the same direction. If desired, cut the excess paper away from each loop. However, make sure not to cut too close to the tape or glue so that the loops stay secure. Try to make sure the loops look symmetrical.
6. Make a Center Tie for the Bow:
Cut one more piece of wrapping paper into a long, thin strip, about 4 inches in length. Fold it in half and secure it with tape or glue at one end. This will form your center tie for the bow. If the paper is slippery and hard to work with, you can use a thin string or twine instead. However, do not use tape or glue on the string, as it will be too difficult to remove later. Try to make the center tie as even and symmetrical as possible.
7. Tie Each Loop With The Center Tie:
Take each loop and tie them loosely in the center with your center tie piece. It’s ok if it’s not perfect – you can always adjust later. If you’re having a hard time getting the loops to stay together, use small pieces of tape to keep them in place. However, don’t tape them too tightly, as it can make the bow less “fluffy.” Make sure you pull each piece of the bow gently and evenly to ensure a nice round shape.
8. Tie the Center Tie with a Pretty Ribbon:
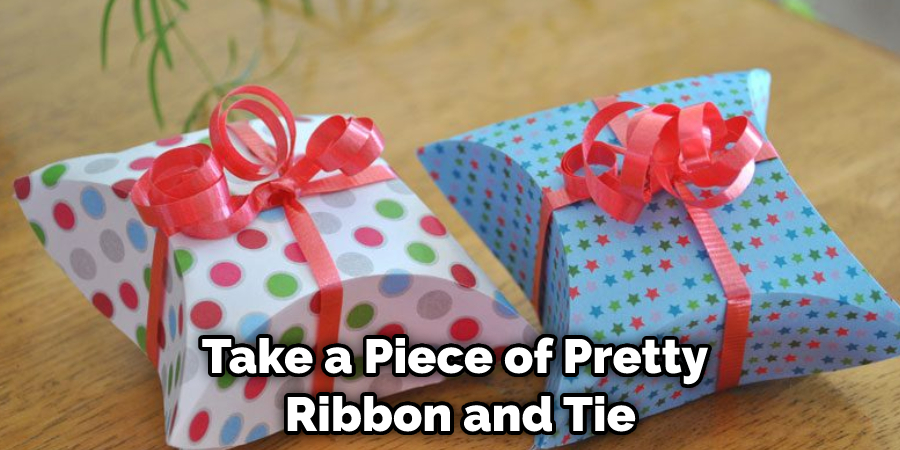
Take a piece of pretty ribbon and tie it around the center tie in a bow shape. This will help keep everything together and add a nice decorative touch to your bow. If you don’t have any ribbon, you can also simply use some of the leftover wrapping paper to make a bow. Just cut out two long strips and tie them together in a knot to create your bow. You can also use fabric scraps or even string if you don’t have ribbon or wrapping paper. Once everything is tied together, your bow is ready to be used for whatever you need. Enjoy!
9. Adjust the Loops:
Lift up each loop and adjust them as desired until they look just right. Then secure with tape or glue if needed. Suppose you have an extra piece of ribbon; glue or tie it around the center of the bow to make a nice finishing touch.
While you have the bow in your hand, you can use some of the tapes to make sure all of the loops stay perfectly secure. Once the bow is complete, you can use it to adorn your gifts or any other craft project. Enjoy the satisfaction of making something beautiful with materials you already have on hand.
10. Admire Your Handiwork!
Step back and admire your handiwork – you’ve created a beautiful bow out of leftover wrapping paper in no time at all! Now all that’s left is to use it on whatever gift you are planning to give away.
If you are feeling confident enough, you can even try adding a few more twists and turns to make the bow look even better. Who knows – it could become your signature bow style! With enough practice, you can make great-looking bows for any special occasion. So go ahead and give it a try!
Things to Consioder When Making a Bow from Leftover Wrapping Paper
1. Choose the Color of Your Bow Carefully–
You’ll want something that complements the wrapping paper and stands out from the gift itself. Choose a color that will make your gift look extra special.
2. Consider the Size of Your Bow–
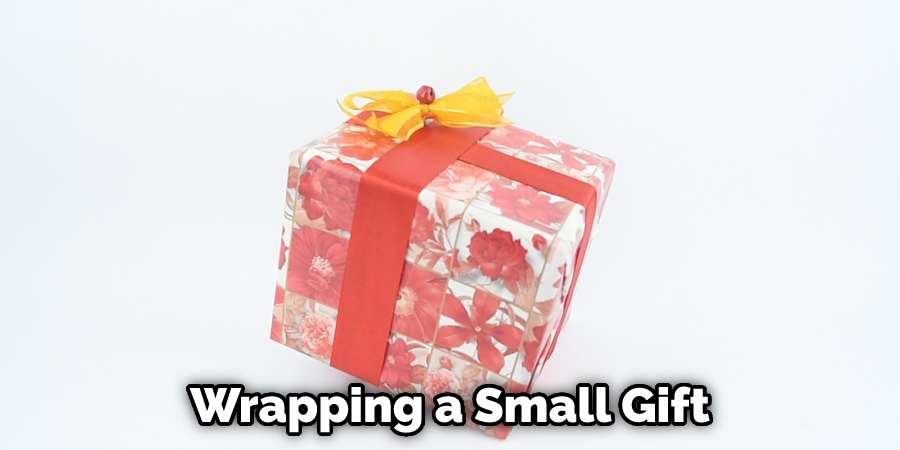
If you’re wrapping a small gift, you’ll want to choose a size that is suitable for the size of your package. Bigger packages will require bigger bows, while smaller packages will be better suited with a more petite bow.
3. Choose the Right Shape
There are many different shapes to choose from when making a bow out of leftover wrapping paper. You can go with classic loops, stars, or hearts, or even something more creative like a butterfly shape or an abstract design.
4. Use Your Tools Wisely
The tools you use to make your bow are just as important as the materials themselves. Make sure to get scissors and tape that work well and won’t tear or damage your paper. If you’re using glue, make sure it’s the right kind for paper and won’t leave behind any residue.
5. Practice Makes Perfect
Making a bow out of leftover wrapping paper is an art form that takes some practice to master. Don’t be discouraged if your first few attempts don’t turn out perfectly- just keep trying until you get it right! With enough practice, you’ll be able to make beautiful bows out of any leftover wrapping paper.
With these tips in mind, you can create the perfect bow for your gift! So go ahead and let your creativity shine with a homemade bow from leftover wrapping paper. It’s sure to put a special touch on any present.
You Can Check It Out to Stiffen Crochet
What Are the Three Basic Bow Designs?
One of the most popular bow designs is the classic looped bow. This design consists of two symmetrical loops, which can be adjusted to accommodate different sizes and shapes of gift boxes. Another popular bow design is the cascading bow, which consists of several small loops stacked on top of one another for a whimsical effect. The third basic bow design is the flat bow, which looks like a large ribbon and lays flat against any surface.
All three designs use the same basic technique to construct them – each requires two pieces of wrapping paper in two contrasting colors or patterns that are cut into strips and then looped together around an object, such as a pencil or dowel rod. A tail is added by cutting off one end at an angle and then gluing it to the back of the bow. Finally, a knot is tied at the center to finish off the design. With these easy steps, you can make beautiful bows quickly with leftover wrapping paper!

While there are many variations on these basic bow designs, like adding additional loops or tails, experimenting with different colors and patterns, or creating multiple bows in one piece of wrapping paper, the same three basic techniques will provide you with a great starting point for mastering your bow-making skills. So get creative and have fun making beautiful bows from that leftover wrapping paper!
Conclusion
You’ve done it! You now have a beautiful bow made from wrapping paper that would otherwise have gone to waste. Follow these ten easy steps on how to make a bow from leftover wrapping paper can be followed anytime you find yourself with leftover wrapping paper and a desire to spruce up a gift.
Get creative with your loop sizes, ribbon colors, and center tie designs to make each bow unique. Friends and family will be impressed with both the thoughtfulness of your gifts and your resourcefulness in using every last scrap of holiday cheer.
You Can Check It Out to Make Paper Pine Cones

