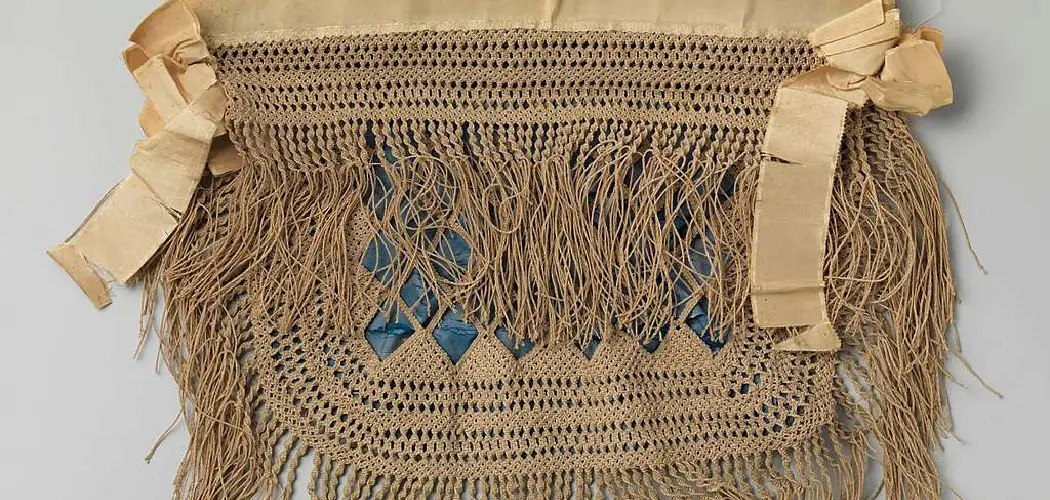
Are you looking for a fun way to bring some life into your home with eye-catching designs? Macrame wall hangings are the perfect solution! With their intricate knot patterns and color combinations, these fascinating art pieces can create an eclectic look for your interior.

Not only do macrame wall hangings look beautiful, but learning how to macrame is one of the most rewarding crafts out there. In this blog post, we’ll explore the process behind creating stunningly intricate macramé art through step-by-step instructions. Plus, our journey will even include a few pro tips along the way so that you can make something truly unique!
So grab your materials and get ready – it’s time to dive into How To Macrame A Wall Hanging!
What Will You Need?
Macrame wall hangings require few materials, making them a budget-friendly craft project. Here are the essential tools you’ll need to get started:
- A sturdy wooden dowel or branch as your base
- Spools of macrame cord in different colors and thicknesses
- Scissors
- Measuring tape or ruler
- Comb or brush
Once you have your materials, it’s time to move on to the fun part – knotting!
8 Easy Steps on How to Macrame a Wall Hanging
Step 1: Prepare Your Base
Start by hanging your dowel or branch horizontally on a wall or any sturdy surface. This will serve as the foundation for your macrame wall hanging.
Next, cut several pieces of cord in different lengths, depending on how long you want your wall hanging to be.
Step 2: Attach the Cord
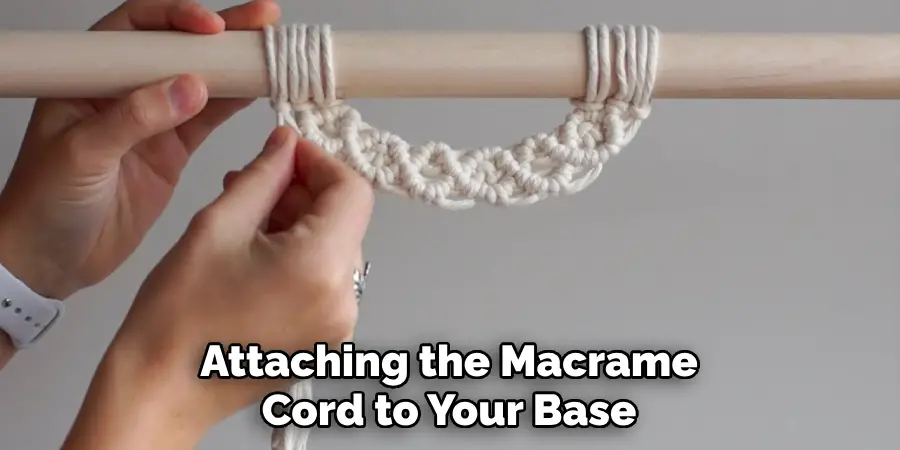
Begin attaching the macrame cord to your base. To do this, fold a piece of your cut cord in half to form a loop at the top. Then, place this loop behind your dowel or branch and pull the two ends of the cord through the loop. This is called a Lark’s Head knot. Repeat this process with all of your cut pieces of cord until the base is covered. The more pieces you add, the fuller your macrame wall hanging will be. Now, you’re ready to start crafting your design!
Step 3: Start Your Design
Now comes the exciting part – starting your macrame design with knots. You can make various types of knots, but for beginners, we’ll start with the most common ones: the Square knot and the Spiral knot.
For a Square knot, divide four cords into three sections – two outer and two inner cords. Pass the left outer cord over the two middle cords and under the right outer cord. Next, pass the right outer cord under the two middle cords and through the loop on the left side. Pull it tight, and you have half a Square knot. Repeat this process, but start with the right outer cord for the second half.
For a Spiral knot, follow the same process as for the Square knot, but always start with the same outer cord. This will create a spiraling effect.
Repeat these steps, alternating between square and spiral knots until you achieve your desired design. Congratulations! You’re now on your way to creating your macrame wall hanging.
Step 4: Add Variation
Consider integrating beads or rings into your design to add some variation to your macrame wall hanging. Simply thread these onto the cord before you start knotting. Alternatively, you can create pockets and hangers using the Clove Hitch knot. To do this, take one cord and make it your “lead cord”.
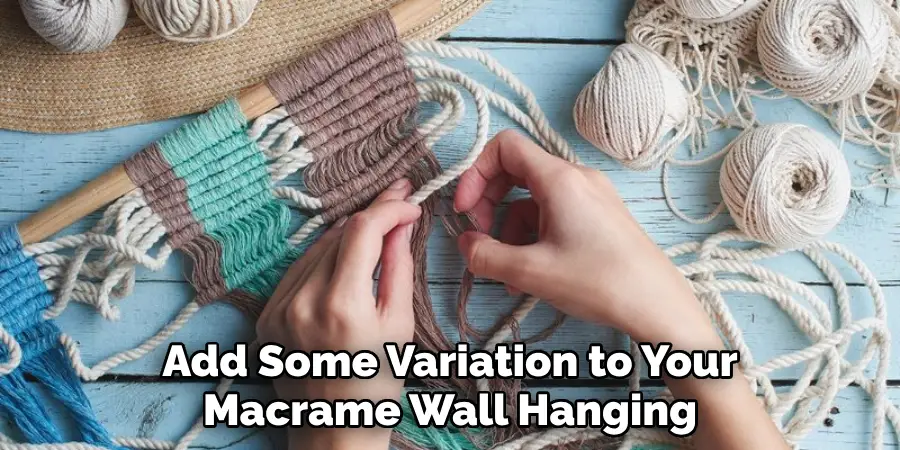
Wrap the other cords around this lead cord in Clove Hitch knots by making a loop over the lead cord, then pull the tail through the loop from behind and tighten. This will result in a series of knots along your lead cord. You can make the lead cord straight or curved for different effects. By playing around with different knot styles and incorporating various elements, you can make your macrame wall hanging truly one-of-a-kind.
Step 5: Final Touches
Once you’re satisfied with your macrame wall hanging’s design, it’s time to add the final touches. If you’ve left extra cord length at the bottom, you can leave it for a rustic look or trim it to achieve a clean finish. You can also unravel the ends of the macrame cord to create a fringed effect.
If you’ve used colored cords, you might consider dyeing the ends for an ombre effect. Once you’re happy with the final result, hang your unique piece of art in your favorite space and watch as it transforms the area with its handcrafted charm. There you have it, your macrame wall hanging, made from scratch!
Step 6: Care and Maintenance
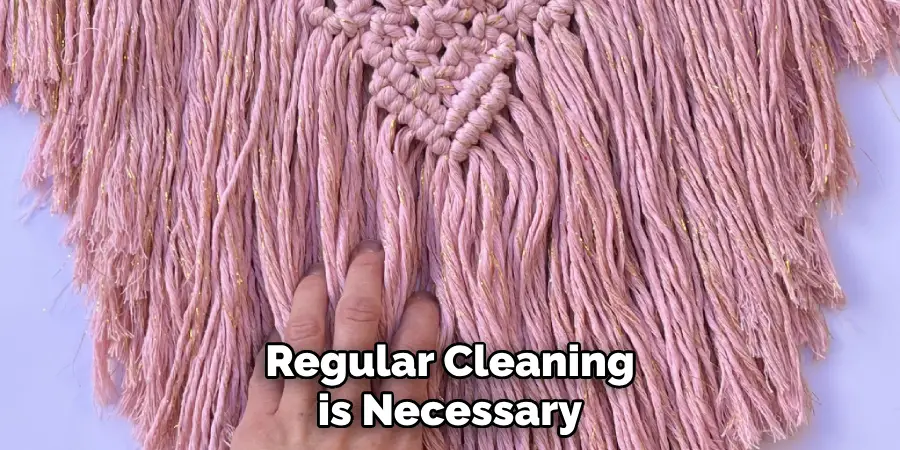
Maintaining your macrame wall hanging is just as important as creating it. Over time, dust and dirt may settle on your piece, especially if it’s hanging in a high-traffic area. To keep your art looking fresh and new, regular cleaning is necessary. Lightly dusting the hanging with a feather duster or a soft cloth can help maintain its appearance.
If your piece needs a deeper clean, gently hand wash it in cold water using a mild soap. Rinse thoroughly and hang it to dry in a well-ventilated area, away from direct sunlight, to prevent the colors from fading. With proper care and maintenance, your handcrafted macrame wall hanging will last for years, adding charm and elegance to your space.
Step 7: Share and Inspire
Now that you’ve created your macrame wall hanging, it’s time to share your artwork with friends, family, and the world. Post pictures of your finished piece on social media platforms like Instagram or Pinterest and inspire others to delve into the world of macrame. You never know; your artistic journey could motivate someone else to start their own. So, go ahead and spread the love for macrame, and continue to create, explore, and inspire.
Step 8: Explore and Experiment
Now that you’ve mastered the basics of macrame don’t be afraid to experiment and push your creative boundaries. Try using different cords, like jute or cotton, or incorporating unusual materials like leather, beads, or even feathers into your designs. You can also play around with different sizes and shapes, creating everything from small, minimalist hangings to large, intricate wall tapestries.
The beauty of macrame is that it’s a highly versatile craft, allowing you to express your style and creativity in endless ways. Remember, there are no mistakes in art, unique creations. So, keep exploring, experimenting, and, above all, knotting!
By following these steps and adding your personal touch, you can easily create a stunning macrame wall hanging that will add warmth, texture, and character to any space.
5 Additional Tips and Tricks

- Choose the Right Materials: A high-quality cotton cord is generally recommended for macrame wall hangings. Its texture and durability make it easy to work with and ensure your finished piece will last.
- Practice Makes Perfect: Before starting your main project, try out different macrame knots on a small piece of cord. This will help you get comfortable with the techniques.
- Keep Your Cords Untangled: The cords can easily become twisted and knotted as you work. Gently comb them with your fingers or a fine-tooth comb periodically to prevent tangling.
- Maintain Consistent Tension: The appearance of your wall hanging greatly depends on how tightly or loosely you tie your knots. Try to keep the tension consistent throughout your project for the best results.
- Add a Personal Touch: Add beads, feathers, or other embellishments to your design. These personal touches make your wall hanging unique and reflect your personal aesthetic.
With these additional tips and tricks, you’ll be well on your way to creating a beautiful macrame wall hanging.
5 Things You Should Avoid
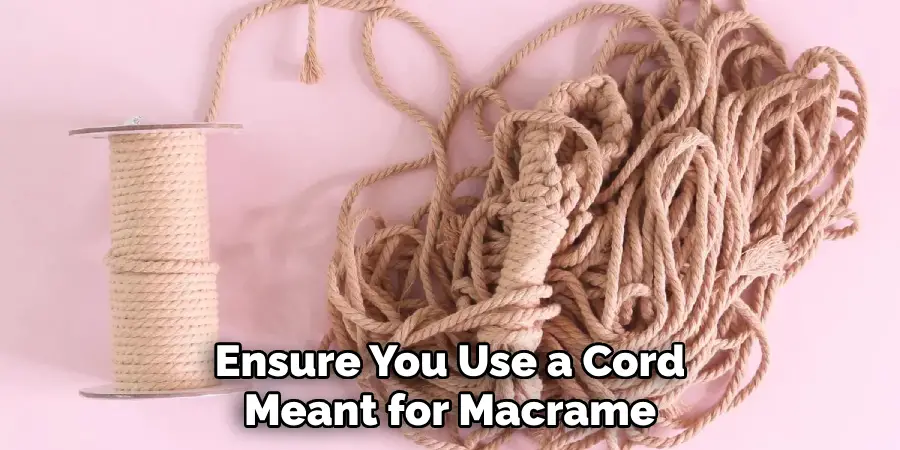
- Using the Wrong Type of Cord: Not all cords are suitable for macrame. Using the right type can lead to a stronger structure and a more-than-perfect finish. Ensure you use a cord meant for macrame, like cotton or hemp.
- Irregular Knot Sizing: Consistency is key in macrame. Irregular or mismatched knots can disrupt the pattern and overall appearance of your wall hanging.
- Rushing Through Your Project: Macrame requires patience. Rushing can lead to mistakes and inconsistent knotting. Take your time and enjoy the process.
- Neglecting to Maintain Cord Order: Keeping your cords in order is crucial to follow the pattern correctly. Neglecting this can result in a jumbled, confusing design.
- Ignoring Safety Measures: Always keep a pair of sharp scissors handy for cutting the cord, but remember to use them carefully to avoid any personal injury. Similarly, keep your workspace clean and organized to prevent accidents.
By avoiding these common mistakes, you can ensure your macrame wall hanging turns out beautifully and without any hiccups. Now that you have all the necessary knowledge and tips, it’s time to get started on creating your own unique macrame masterpiece!
5 Different Knots to Try
- Square Knot: This is one of the most basic and versatile knots in macrame. It creates a diagonal pattern and can be used in various ways, including for making fringe.
- Half Square Knot: Similar to the square knot, but with only two cords instead of four. It creates a tighter diagonal pattern and is often used for creating intricate designs.
- Larks Head Knot: This simple knot attaches cords to a dowel or rod. It can also be used as a decorative element in your wall hanging.
- Double Half Hitch Knot: This knot creates a spiral pattern and is commonly used for making plant hangers or adding texture to your wall hanging.
- Josephine Knot: This knot creates a rounded, intricate design and is perfect for adding visual interest to your wall hanging.
With these different types of knots in your repertoire, you can create endless patterns and designs for your macrame wall hanging. Experiment with different combinations and see what unique creations you can create!
What is Macrame Made of?
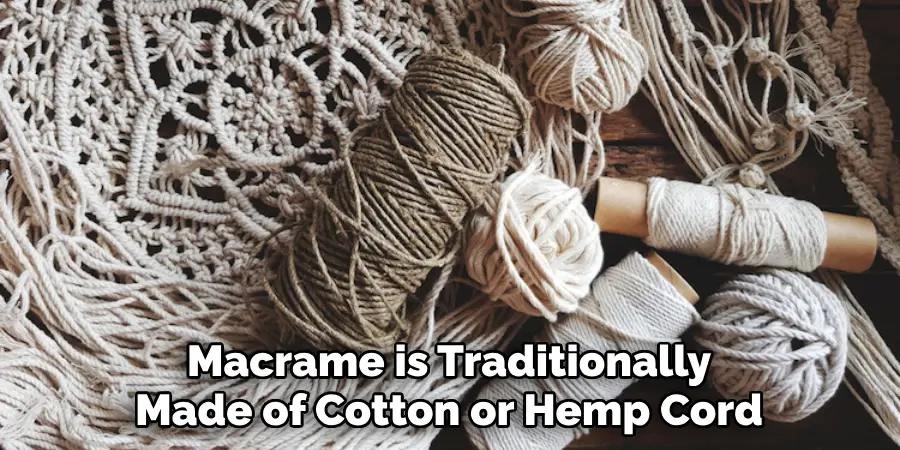
Macrame is traditionally made of cotton or hemp cord, but nowadays, there are various materials available for macrame. Some other popular options include jute, linen, and nylon cords. You can also incorporate different materials like ribbons or yarn to add texture and interest to your wall hanging.
You can also use various materials for the base structure, such as wooden dowels or metal rings. These support and allow for different shapes and sizes in your macrame piece.
Feel free to get creative with your choices! Just make sure the material you choose is strong enough to support the weight of your wall hanging and is suitable for macrame techniques.
Can You Add Color to the Macrame?
Absolutely! While traditional macramework is done in natural, earthy tones, there are no rules for adding color to your design. You can use colored cords or add accents like beads or tassels in different hues. You can also dye your own cord using natural dyes or fabric dye for a truly unique look.
Remember to consider the overall aesthetic you want to achieve and choose colors that complement each other. Be bold play with different color combinations, and see what works best for your design.
Now, armed with all this knowledge and inspiration, it’s time to unleash your creativity and make a beautiful macrame wall hanging that reflects your personal style. Happy knotting!
Conclusion
Now that you’ve learned how to macrame a wall hanging, it’s time to get active and start creating! Macrame is a unique craft that is simple enough for any skill level but can be used to create fantastic projects. Whether you are an experienced crafter looking for something unique or a new craving to learn something different, macrame is the perfect place to start.
You can find patterns online or create your own with whatever colors and materials spark your creativity.Hopefully, this guide has given you all the tools and tips to create a stunning macrame wall hanging.
Don’t be afraid to experiment – even mistakes look great in macrame. With this knowledge and confidence, you’ll be able to make one-of-a-kind wall hangings and standout pieces of art. So take some time, relax, and get creative with your macrame!

