
Do you want to take your knitting skills to the next level? Looking for a project that’s both fun and challenging? Look no further than learning how to knit a star! With just some needles, yarn, and patience you can create something really special that looks beautiful in any space. Knitting stars isn’t just an extension of traditional knitting techniques – it requires mastering new ones for neat corners and crisp points.
In this blog post, we’ll walk through all the steps required to produce a stunning knitted star over which even experienced knitters can be proud!

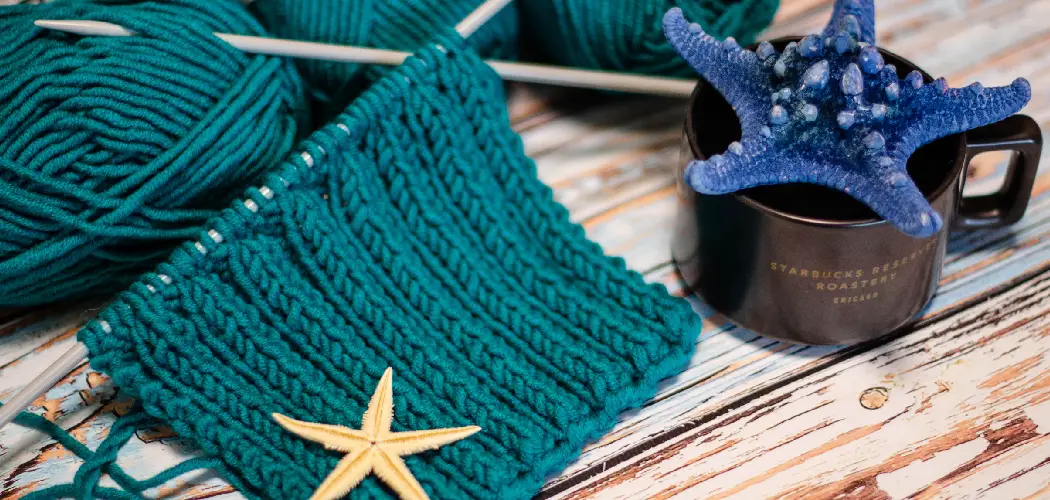
Tools and Materials You Will Need to Knit a Star
- Knitting needles (or a knitting loom!)
- Yarn of your choice
- Tapestry needle
- Scissors
- Measuring tape
Step-by-Step Guidelines on How to Knit a Star
Step 1: Make the Center of the Star
To begin, you will need to make a loop in the center of your star. This is called a “magic loop” and it helps secure all your points into place as you knit around them. To make the loop, first cast four stitches onto one needle.
Next, move those stitches over to the other needle and make a slip knot, leaving a small bit of yarn in between the two needles for later use. Pull the ends of the yarn tightly so that it has a snug fit around all four stitches. This will form your center loop.
Step 2: Knit Around the Loop
Now it’s time to start knitting around the loop you created. To do this, knit a stitch in each of the four stitches from your center loop until all have been worked. Then, with your right-hand needle, reach through and pick up one more stitch in between the needles (this is where we left that small bit of yarn earlier on!).
Knit this extra stitch together with the next stitch on your left needle. You should now have five stitches – one for each point of the star!

Step 3: Continue Knitting Around Your Star
Continue knitting around the star, increasing by one stitch after every four rounds. For example, for the second round, you would knit six stitches, the third round would be seven, and so on.
By continuing to increase your stitches until you have reached the desired size of your star, you will be able to create a neat and even shape that tapers in at the points.
Step 4: Finishing Off Your Star
Once you’re happy with the size, it’s time to finish off your star. To do this, cut the yarn and thread the end through a tapestry needle. Carefully weave the end of the yarn in between each point of the star until you reach the center loop again. Then, pull tight so that all points come together neatly and securely with a knot.
Step 5: Block Your Star
Blocking your star is the final step in creating a neat and even shape. To do this, lay your star out on a flat surface and use pins to secure each point down. Then, spray or dip the star in warm water before letting it dry completely. Once it’s completely dry, gently pull off the pins and admire your beautiful finished star!
You can now use your knitted star to decorate any space in your home or even gift it to a loved one. With just a bit of patience and practice, you’ll be able to create stunning stars for all occasions.
Additional Tips and Tricks to Knit a Star
- When casting on the center loop, use a larger needle than you would normally use for knitting so that it’s easier to pick up the extra stitch in between the two needles.
- If you want your star to have an even more pointed shape, try using a crochet hook instead of knitting needles when creating the center loop.
- Use blocking wires if you want your star’s shape to be more precise. Blocking wires are thin metal wires that help give the knit an even, professional finish.
- You can make your star in any size or color – have fun and get creative!
- If you’re knitting a larger star, work with two colors to create a beautiful two-toned design.
- If you’re having trouble keeping track of your stitches, try using stitch markers to help you out!
- To keep your star from becoming too stretched out over time, use a good-quality wool yarn that has some natural elasticity.

Knitting stars is a great project to challenge yourself with and you’ll be amazed at the results! With just some yarn, needles, or knitting loom, and patience, anyone can create beautiful stars of any size. Happy knitting!
Things You Should Consider to Knit a Star
1. Choose the right yarn. The yarn you pick for your star should be lightweight and soft, so it won’t become too bulky or heavy when you knit it.
2. Get the right needles. You will need a pair of short knitting needles that are smaller than those used to create a regular sweater or scarf. This size needle allows for tighter stitches and a smoother finished product.
3. Craft your star with the help of a pattern. A pattern can guide you in making a perfect star shape, so make sure to find one that is appropriate for your skill level and desired design.
4. Start from the outside and work inward. When knitting a star, it’s best to start from the outside and gradually move inward; this will help ensure that the star is symmetrical and balanced.
5. Add some color! When making a star, you can switch colors mid-way to create an interesting pattern or design on your finished product.
6. Try out different textures! Explore the variety of yarns available in both texture and color; experiment with different combinations to see which ones you like best.
7. Knitting a star is an enjoyable activity, so don’t forget to have fun with it and make something unique and special.

8. Be creative! Use the colors and textures of your yarn to create interesting designs that will make your finished product truly stand out. With some practice, your stars will be sure to become the envy of all your friends.
Following these considerations, you can be sure to make beautiful stars that will last for years. Don’t be afraid to get creative and explore different color combinations and textures. Have fun! With a little practice, you’ll soon find yourself knitting stars like a pro. Good luck and happy stitching!
Frequently Asked Questions
What Type of Yarn Do I Need for Knitting a Star?
You can use any type and weight of yarn for knitting a star. However, if you’re a beginner, we recommend using worsted-weight or DK (double knit) weight yarn. If you’re looking to create a more detailed star, then use a lightweight yarn. Make sure to choose the right size of knitting needles according to the type of yarn you’re using.
How Do I Change Colors While Knitting a Star?
If you’d like to create a star with multiple colors, you’ll need to switch them out when necessary. To do this, knit until you reach the place where you’d like the color change and drop the first color. Then, pick up the second color and knit until it’s time to switch again. For a more seamless transition, you can twist the old and new colors together before dropping one of them.
What Size Knitting Needles Do I Need for a Star?
The size of the knitting needles you’ll use depends on the type of yarn you’ve chosen. For worsted-weight or DK (double knit) weight yarns, use 5mm to 8mm sized needles. For lightweight yarns, go with 2mm to 4mm sized needles. It’s important to select the right size for your project in order to achieve a neat finish.
How Do I Cast Off When Knitting a Star?
Once you’ve finished knitting the star, you’ll need to cast off in order to secure your work. To do this, knit two stitches together and then pass the first stitch over the second stitch. Continue until there’s only one stitch left on the needle, then cut the yarn and pull it through the last stitch to fasten it off.

Conclusion
Learning how to knit a star can be surprisingly easy in a few simple steps: choose the right needles, yarn, and pattern; cast on your stitches; add additional rounds as desired; bind off; sew your fabric inside out for a neat finish. You now have the know-how to make beautiful stars from wool or any other type of yarn you like.
As you go along, add details like puff stitches or motifs to make the design more intricate. By following these steps and experimenting with different techniques, you can create distinct and evocative stars to decorate your home or give away as gifts. More importantly, you will also acquire a skill that will last a lifetime!