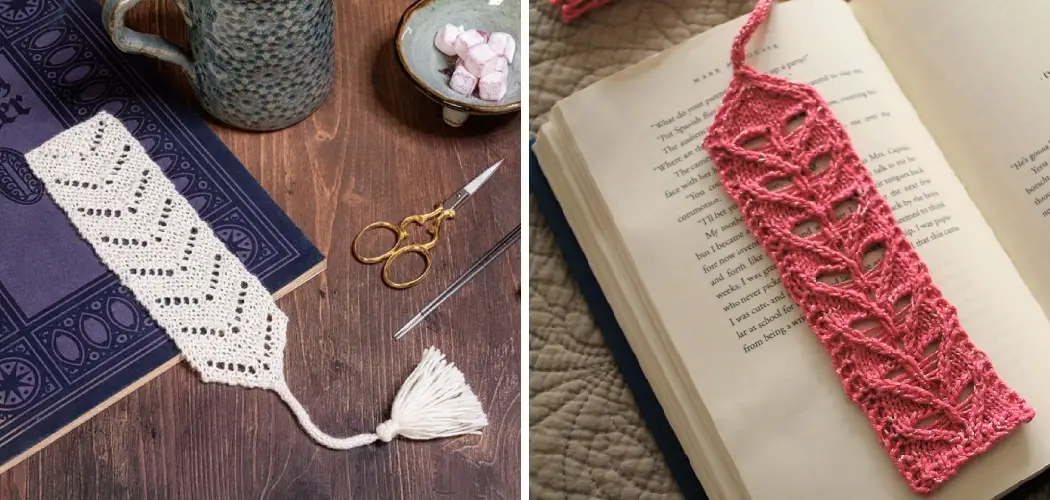
In a world dominated by digital screens, there’s a certain nostalgia and charm in crafting something as simple and functional as a knitted bookmark. As avid readers and knitting enthusiasts alike can attest, combining these passions by knitting your own bookmark adds a personal touch to your reading experience.
Whether you’re a beginner looking for a manageable project or an experienced knitter seeking a quick and satisfying endeavor, knitting a bookmark is a delightful choice. Beyond the meditative rhythm of the stitches, this venture introduces you to techniques like color changes, stitch variations, and even lacework, depending on your desired level of intricacy.
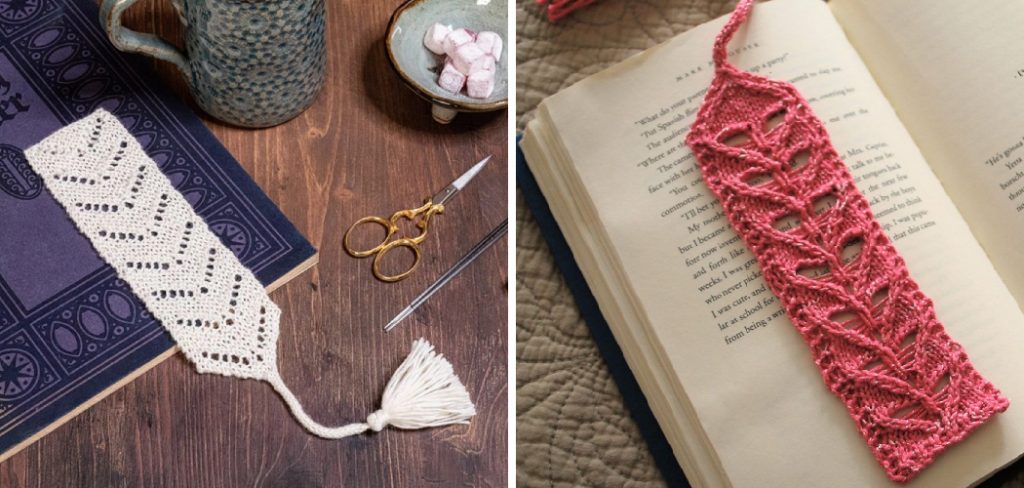
A knitted bookmark not only holds your place in a book but also holds a piece of your creativity between its fibers. In the following guide, we’ll dive into how to knit a bookmark, explore different styles and patterns, and offer tips to ensure your literary companions are not only marked but beautifully adorned.
The Versatility of Bookmarks as Handmade Gifts or Personal Accessories
Bookmarks are ideal projects for beginner knitters as they require basic techniques and no shaping. They can easily be customized with color choices, stitch patterns, and embellishments to make them truly unique.
Whether you’re knitting a bookmark as a handmade gift or simply as an accessory for your own books, these small projects are sure to bring joy. Plus, they’re as handy and practical as they are cozy! However, before you can begin to customize your bookmark, you’ll need to learn the basics of how to knit one.
What Is the Best Yarn for Bookmarks?
When it comes to knitting bookmarks, the yarn you choose is key. Choosing the right yarn can help your bookmark look better and last longer.
A good rule of thumb is to use 100% cotton yarn for a durable bookmark that won’t stretch or fade quickly. Softer materials like merino wool are also suitable, but may not last as long. Blends containing silk, linen, bamboo or alpaca are also great for creating unique bookmark designs.
If you’re looking to create a bolder design, you could also consider using metallic or textured yarns. These can add an extra level of interest and visual appeal to your bookmark.

Just make sure that whatever yarn you choose is smooth and won’t snag or pull too easily. It should also be easy to work with and relatively light so that it won’t weigh down your bookmark.
Finally, the type of yarn you buy will also depend on the size of your project. If you want to make a large bookmark, for example, you may need to purchase bulkier yarn than what you would buy for a smaller one.
Choosing the right yarn can make all the difference when it comes to making a beautiful and durable bookmark. A little research and experimentation will help you find the perfect yarn for your project. Once you have, you’ll be ready to start knitting!
10 Methods on How to Knit a Bookmark
Gather Your Supplies:
Before you begin knitting your bookmark, make sure you have all of the supplies you need. You will need a pair of knitting needles, some yarn in the color of your choice, and a tapestry needle for weaving in the ends. If you are an experienced knitter, feel free to pick out any pattern for your bookmark. But for those of us who are beginners, here is a simple pattern that’s sure to look great!
Cast On Your Stitches:
To begin knitting your bookmark, cast on the number of stitches that is equal to the width of your bookmark. Make sure to leave a tail at least six inches long so that you can weave it in later. Choose a simple stitch pattern that you like, such as the garter or stockinette stitch. When you’re finished casting on, join your work to form a circle and make sure that your stitches aren’t twisted.
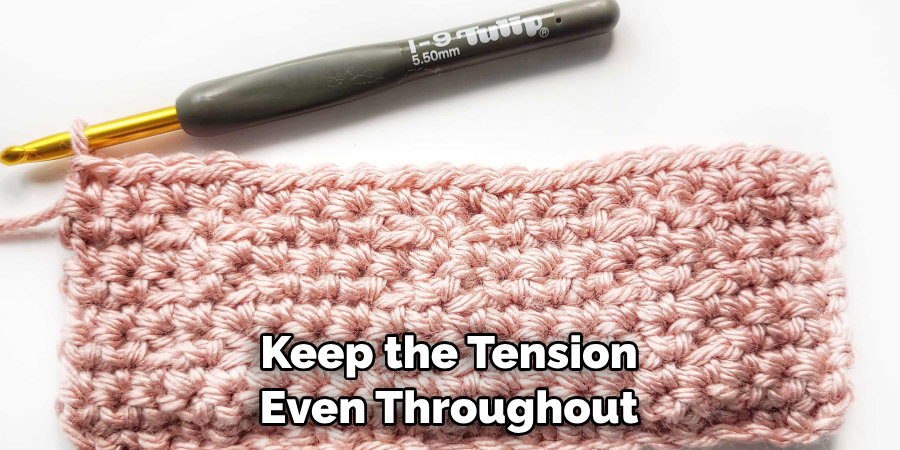
Next, begin knitting your stitches in the round. Continue working until you’ve reached the desired length of your bookmark. Try to keep the tension even throughout. Once you’ve completed the desired length, cast off your stitches to secure them and leave a tail of at least six inches for weaving in.
Knit the Bookmark:
Once you have cast on your stitches, start knitting your bookmark by following the pattern or instructions that come with it. Depending on which type of stitch you are using, this could be as simple as just knitting every row or more complicated if it involves repeating a certain pattern over and over again.
In any case, it’s important to keep your stitches even and tight to ensure the bookmark will stay in shape.
Once you’ve finished knitting, it’s time to cast off. To do this, knit two stitches together until you have one stitch left. Then thread the end of the yarn through this last stitch and pull it tight so that the last loop is secure. Finally, cut off any excess yarn and your bookmark is ready to use!
Bind Off Your Stitches:
When you reach the end of your bookmark, bind off all of your stitches by slipping them one by one onto a tapestry needle and then pulling the yarn through each stitch until they are all off the needle. Cut off any excess yarn and weave in both ends with a tapestry needle.
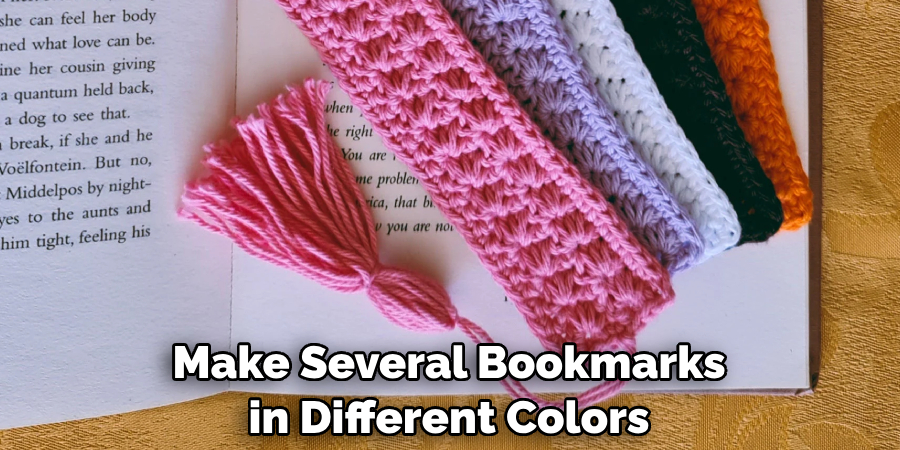
Your bookmark is now ready to use. Pick out a book and curl up in your favorite chair with your new handmade bookmark keeping your place. You can also make several bookmarks in different colors, textures, and patterns and give them as gifts.
Add Embellishments:
If desired, add embellishments such as beads or buttons to give your bookmark extra character and personality. This can be done by threading them onto yarn before casting on or by sewing them onto the finished product with a tapestry needle after binding off all of your stitches.
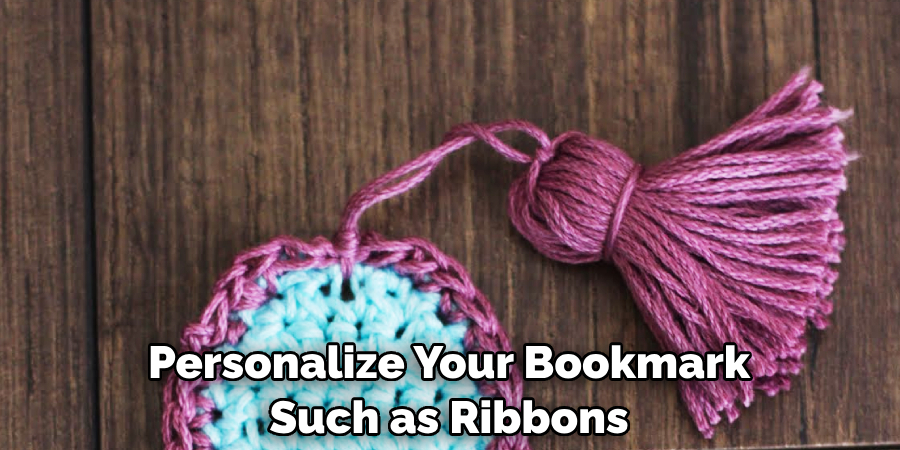
You can also choose to add tassels to the ends of your bookmark. To do this, cut two pieces of yarn that are 2-4 inches long and use a tapestry needle to thread them through the edge stitch on either end of your bookmark. Tie the ends together with a tight double knot, and snip off any excess yarn. With these
Block Your Bookmark:
Blocking is an important step when finishing any knitted project as it helps to even out any uneven stitches and gives it a professional look and feel. To block your bookmark, simply dampen it with water and lay it flat on an ironing board covered with towels or blocking mats until dry before using it or gifting it away!
If you’re feeling confident, why not try tackling some additional stitches to add texture and pattern to your bookmark? Commonly-used knitting stitches that work well on bookmarks include moss stitch, garter stitch, seed stitch and cable stitch. Have fun experimenting with different textures and colours!
Weave In The Ends:
Once you’ve blocked your bookmark, use a tapestry needle to weave in any loose ends from casting on or binding off that may still be visible on either side of the finished product for a neat finish!
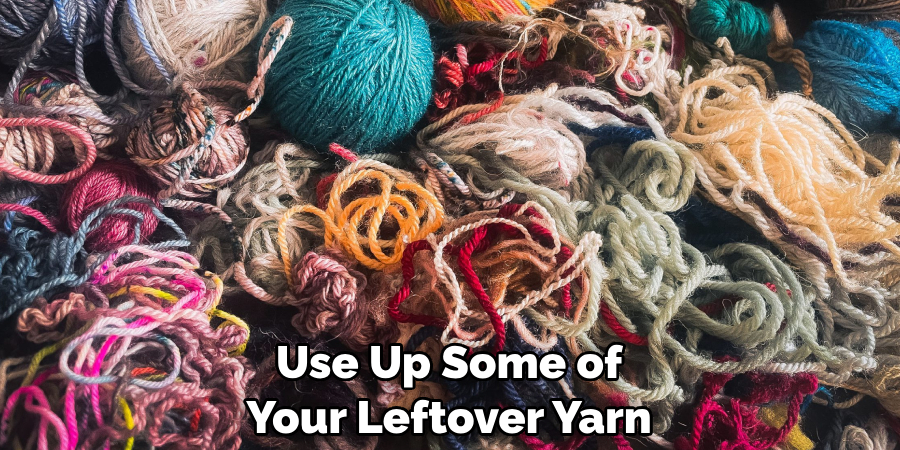
Knitting a bookmark is a great way to use up some of your leftover yarn and create something unique, customized to your own style. And best of all, you’ll have a special little reminder that you can take with you wherever you go. Whether it’s for a gift or simply to enjoy yourself, knitting this bookmark is sure to bring hours of creative joy!
Make A Tassel Or Pom Pom:
Another great way to customize your bookmark is to add a tassel or pom pom at either end for added texture and charm! To do this, simply wrap some yarn around four fingers several times until you have reached the desired thickness before cutting one end off and tying it securely at the top with another piece of yarn before trimming down any excess pieces for an even look!
If you’d prefer to make a pom pom, you can use a pompom maker or even two paper plates to create your desired size and shape. Then attach your finished product onto either end of the bookmark with some glue for an extra special touch!
Attach Ribbon Or String:
For an added touch, attach ribbon or string at either end of your finished bookmark so that it can easily be hung up when not in use! This can be done by simply tying each end securely into place before trimming off any excess pieces for an even finish!
Although this is an optional step, it can make a great addition to your finished bookmark. To make it extra special, why not pick a ribbon or string in an eye-catching color?
Finish Up & Enjoy!:
After adding any final touches to personalize your bookmark such as ribbons or tassels, simply sit back and enjoy knowing that you have created something beautiful with your own two hands!
Knitting a bookmark is a great way to practice and develop your knitting skills while also having something practical and aesthetically pleasing to show for it. Plus, who doesn’t love the feeling of accomplishment that comes with making something with their own two hands?
If you’re looking for other ways to add some creativity into your life, why not give knitting a try? It is a fun and satisfying hobby that can provide hours of relaxing joy. With just a few basics and some practice, you can make almost any item imaginable!
Things to Consider When Knitting a Bookmark
Whether you’re a seasoned expert or just getting started with knitting, making your own bookmark is both fun and rewarding. Before you start knitting, there are a few things to consider that will help you get the best possible result.
First off, decide on what type of yarn you want to use for your project. Different types of yarn vary in weight, texture and color, so choose wisely. Depending on the pattern or design you are making, some yarn might be better than others.
Next, select the size of needles that you will use for your bookmark. If you’re using a small skein of yarn then it might be best to go with smaller needle sizes to ensure that all stitches fit snugly together. Alternatively, if you’re working with a larger skein of yarn then larger needle sizes might make more sense in order to create the desired look.
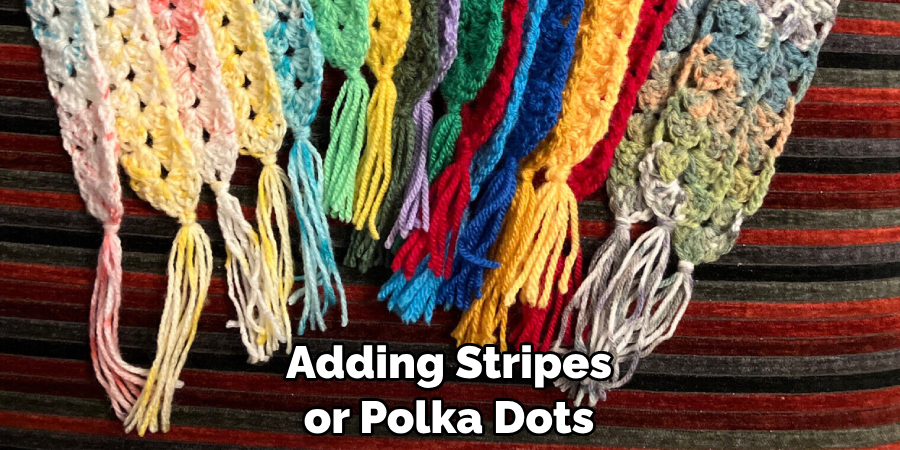
Finally, consider any patterns or designs that you want to incorporate into your bookmark. If you’re knitting for someone else, it can be fun to add a personalized touch such as their initials or favorite color. Or if you’re looking for a simpler, yet still eye-catching design, adding stripes or polka dots can be an easy way to make your bookmark stand out from the crowd.
Conclusion
With all the tips and tricks included in this blog post, knitting a bookmark is easier than ever! Anyone from a beginner to an experienced knitter can make these, and there’s no end to creative possibilities.
Try experimenting with different colors, textures, and stitch patterns – you never know what unique and amazing designs you may come up with! Now that you know how to knit a bookmark, why not give it a go? All you need are some needles, yarn, and creativity – so have fun with it! With your new bookmark in hand, it will be sure to add some personality to whatever book you are reading.

