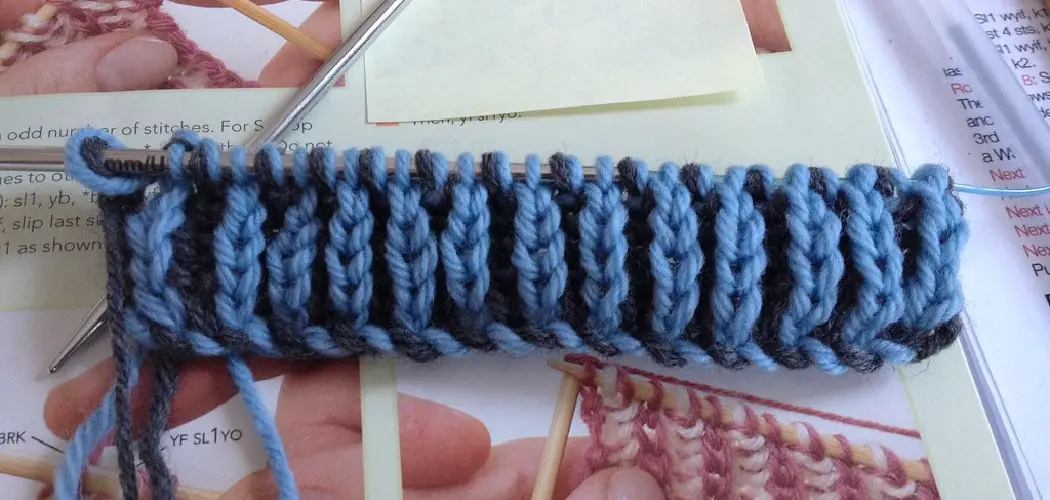
Are you a crochet enthusiast looking to refine your skills in making beautiful creations? We’ve been there before: the excitement of using yarn and stitch combinations to bring art alive can be incredibly rewarding. But, like any craft master, we sometimes need a little help perfecting our technique.
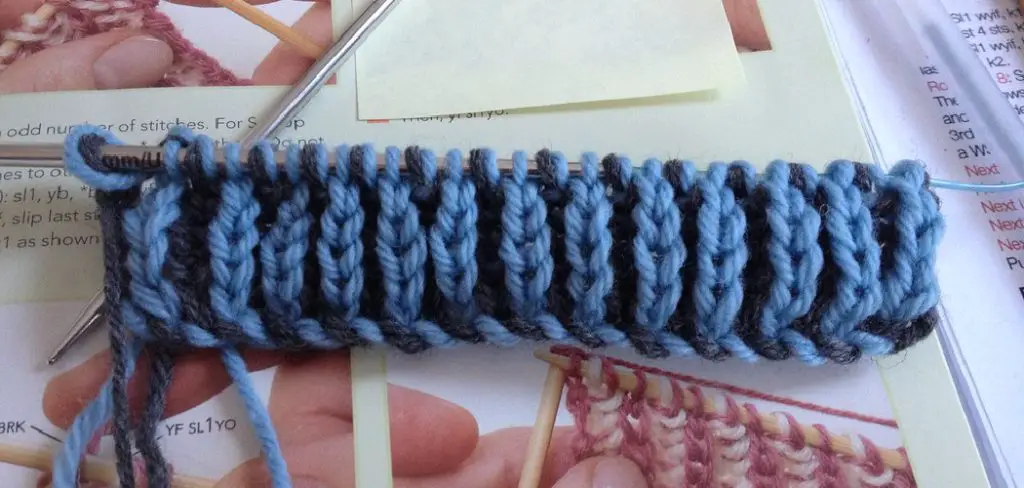
Today we’ll look at one of the most essential parts of crocheting – joining new yarn with slip stitches! With this guide, you will learn tips and techniques on how to join your new yarn seamlessly while completing any project.In this blog post, we’ll walk through all aspects of the joining process and provide expert tips on completing it perfectly.
Joining yarn with a slip stitch is essential when starting or adding new colors to any crochet project. Once complete, following our comprehensive step-by-step instructions will leave even an absolute novice confident and ready to take on their next challenge. So keep reading for everything you need to know about how to join yarn in crochet with slip stitch!
Why May You Want to Join Yarn in Crochet With Slip Stitch?
1 . To Avoid Losing Stitches
If you are working with multiple colors in a project, there is always the risk of losing stitches. When you join yarn using the slip stitch technique, it allows for an even and secure transition between colors. This way, your stitches remain secure and you do not have to worry about them slipping out or coming undone during use or washing.
2 . To Make Color Changes Easier
Using the slip stitch to join yarn makes it easier for you to change colors when working with multiple skeins of yarn in a project. It eliminates the need to cut and tie off your old color, allowing you to seamlessly move from one hue to another. This can help speed up your work while also making sure that the colors look uniform and neat.
3 . To Make Your Work Look Neat and Professional
The slip stitch technique creates a neat, even transition from one color to another in your work. This gives it a professional-looking finish that is sure to impress anyone who sees it. It also ensures that your stitches are secure and prevents any of them from coming undone or slipping out during use and washing.
How to Join Yarn in Crochet With Slip Stitch in 6 Easy Steps
Step 1: Gather All The Tools
The very first step is to gather all the tools that you will need for the job, such as a crochet hook and multiple skeins of yarn. If you are working with different colors, make sure to keep them separated so that it is easier to identify each one.
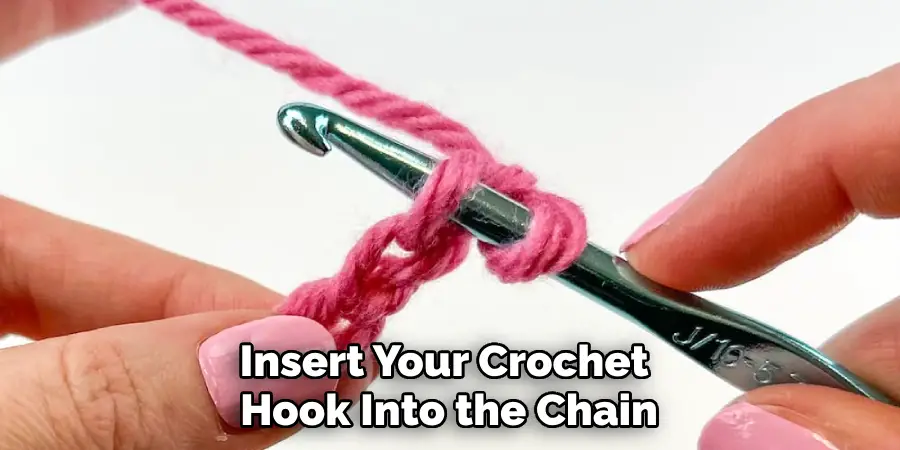
Step 2: Insert The Hook Into The Chain
Insert your crochet hook into the chain where you want to join the new yarn. Make sure to leave a few stitches between the end of the old yarn and where you insert the hook.
Step 3: Thread The New Yarn Through The Hook
Thread the new yarn through your crochet hook, then pull it back through the chain. This will create a loop with both colors of yarn coming out of it. Also make sure to leave a few inches of the old yarn at the end, as this will help secure your stitches.
Step 4: Pull The Yarn Through The Loop
Grab both ends of the new yarn and pull them through the loop created by Step 3. Make sure that the yarn is pulled taut so that there are no gaps or loose strands in between your stitches.
Step 5: Tighten The Knot
Grab both ends of the new yarn and pull them in opposite directions to tighten up the knot. This will ensure that the newly joined yarn is secure and not at risk of coming undone or slipping out during use or washing.
Step 6: Start Crocheting Again
Once you are satisfied with the tightness of the knot, you can start crocheting again with the newly joined yarn. This technique will allow you to seamlessly transition from one skein to another without having to worry about losing stitches or having gaps in your work.
Tips For Joining Yarn With Slip Stitch
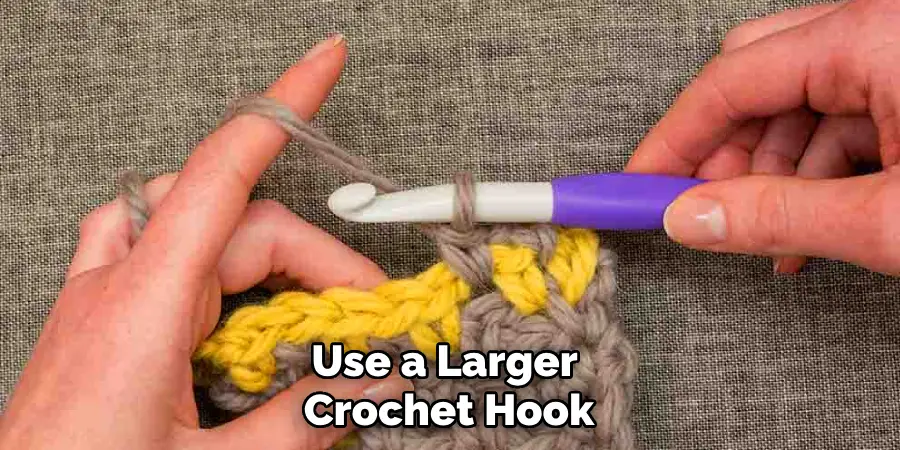
1 . Use a Larger Crochet Hook
When joining yarn with a slip stitch, it is best to use a larger crochet hook than you normally would. This will ensure that the knot remains tight and secure when working on your project.
2 . Secure The End of The Old Yarn
Before pulling the new yarn through the loop, make sure to secure the end of the old yarn. This will help prevent it from slipping out or unraveling during use and washing. Also make sure to leave a few inches of the old yarn at the end, as this will help make your stitches even and secure.
3 . Pull The Yarn Taut
When pulling the new yarn through the loop, be sure to pull it taut so that there are no gaps or loose strands in between your stitches. This will ensure that your work looks neat and professional.
4 . Take Your Time
When joining a new skein of yarn, it is important to take your time and make sure that everything is secure. This will help ensure that your stitches remain tight and secure, while also giving you a professional-looking finish.
Learning to join yarn in crochet with slip stitch is a great way to add professional-looking detail and color changes to your projects. By following these easy steps, you’ll be able to create neat, even transitions between different colors of yarn in no time!
Frequently Asked Questions
What Precautions Should I Take While Joining Yarn in Crochet With Slip Stitch?
When joining yarn in crochet with a slip stitch, it is important to be mindful of the tension you are using. Too much tension can lead to a tight, stiff joint that may cause undue stress on your stitches. You should also ensure that your working yarn and new yarn are both facing the same direction, as this will allow for a smoother join.
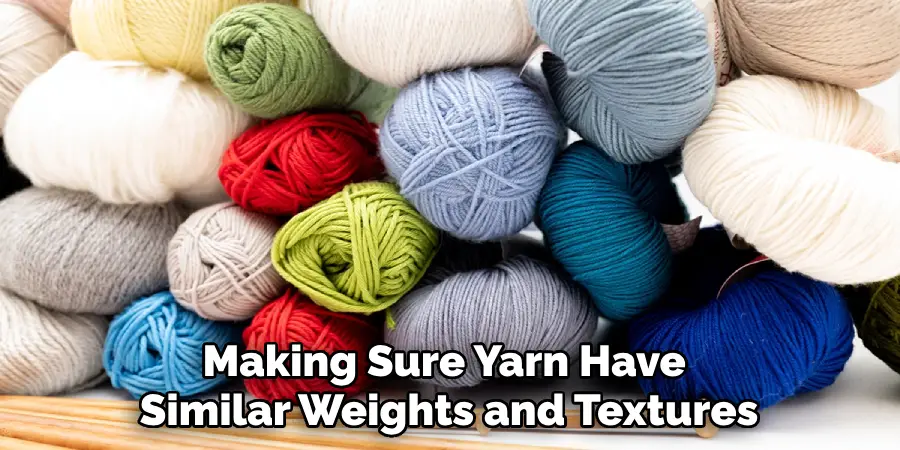
Finally, it is important to be mindful of the yarns you are using, making sure they have similar weights and textures. This will help ensure that your join looks and functions properly.
How Do I Securely Join Yarn in Crochet With Slip Stitch?
To securely join the new yarn in crochet with a slip stitch, you should begin by inserting your hook into the next stitch of your current row. Then, pull up a loop using the new yarn and bring it through both loops on the hook. Finally, chain one to finish off the join. This will help to ensure that your join is strong and secure.
What Are Other Methods For Joining Yarn in Crochet?
Aside from slip stitch, there are a number of other methods you can use to join yarn in crochet. This includes the invisible join, which is similar to the slip stitch but creates an almost imperceptible seam; the knotted join, which uses a single knot to hold both strands together; and the looped method, which uses a loop of yarn to join the old and new strands.
Each of these methods have their own unique benefits, so it is important to consider your project’s needs when deciding which method to use.
Do I Need To Use a New Crochet Hook When Joining Yarn in Crochet?
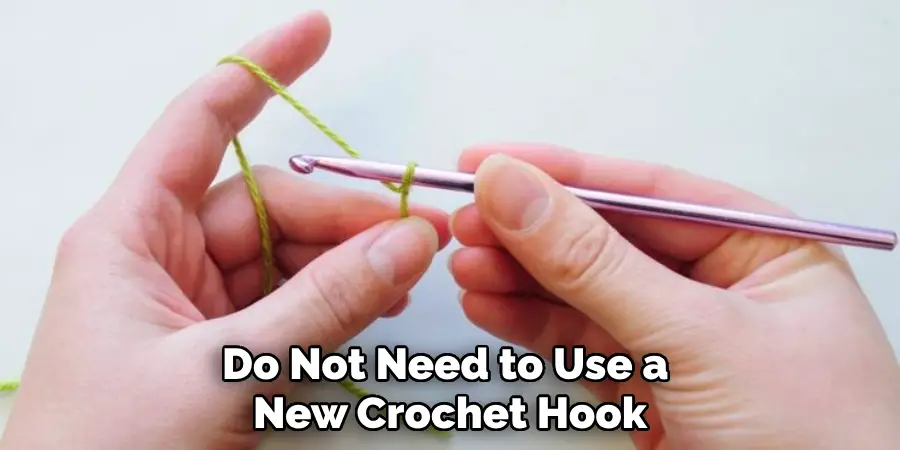
No, you do not need to use a new crochet hook when joining yarn in crochet. As long as your existing hook is clean and free of any debris or fibers, you can continue using the same hook for your project. This will help to ensure that your join looks neat and professional.
What Are Some Tips For Joining Yarn In Crochet?
When joining yarn in crochet, it is important to remember a few key tips. First, when joining new yarn of a different color or texture than your existing yarn, be sure to tie the two strands together before making your join. This will help prevent the new strand from unraveling.
Additionally, you should always make sure your tension is even and consistent while joining new yarn in crochet. This will ensure a seamless join and help to keep your stitches looking neat. Finally, be sure to weave in any loose ends after making your join, as this will help ensure that all of your yarn is securely attached to the project.
What Is the Best Way to Store Leftover Yarn?
Storing leftover yarn can be a bit of a challenge, but there are some simple steps you can take to ensure your leftover yarn stays in good condition. First, always store your yarn in an airtight container or bag. This will help protect it from dirt, dust, and other potential hazards.
Additionally, you should always make sure your yarn is labeled with its weight and color so that it’s easier to identify when you need it for a project. Finally, if possible, store your yarn away from direct sunlight as this can cause the colors to fade or discolor over time. With these tips in mind, you can ensure your leftover yarn stays in good condition and is ready to use at any time.
Can I Join Yarn of Different Colors in Crochet?
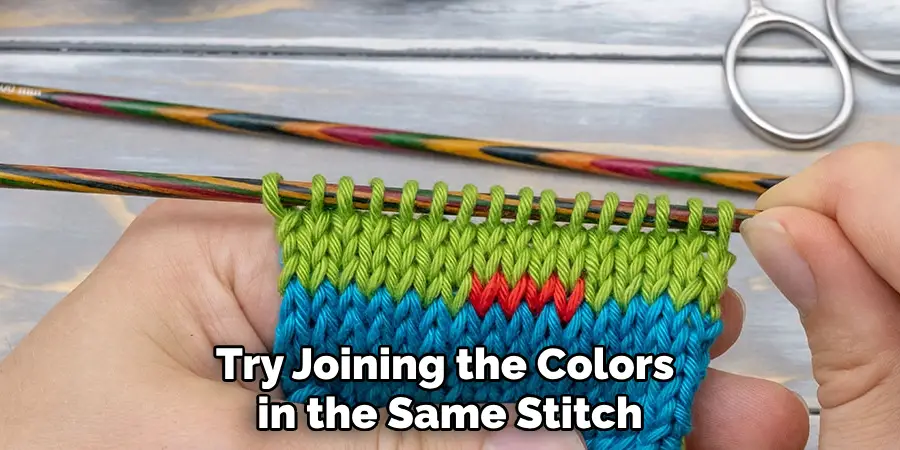
Yes, it is possible to join yarn of different colors in crochet. In fact, this can be a great way to add visual interest to your project. For best results, try joining the colors in the same stitch, as this will help create a seamless look.
Alternatively, you can also join the yarns in separate stitches to create more of an intentional contrast. Just be sure to pay attention to your tension and use the same pattern for both yarns when joining for consistent results.
Conclusion
Joining yarn in crochet with a slip stitch is an important technique to learn for creating beautiful projects. When done correctly, you’ll never have to worry about seeing gaps or tension issues between colors or sizes of yarn. This simple but powerful technique adds an extra layer of security to each project you work on.
Now you know how to join yarn in crochet with slip stitch! And when you’re using multiple hanks of yarn, slip stitching makes it easy to secure those delicate ends so they don’t unravel during the project. Moreover, this slip-stitch method of joining your new yarn ends will help create a smoother, more cohesive look and feel wherever you use it. With careful practice and attention to detail, you’ll be sure to find yourself mastering this skill in no time!

