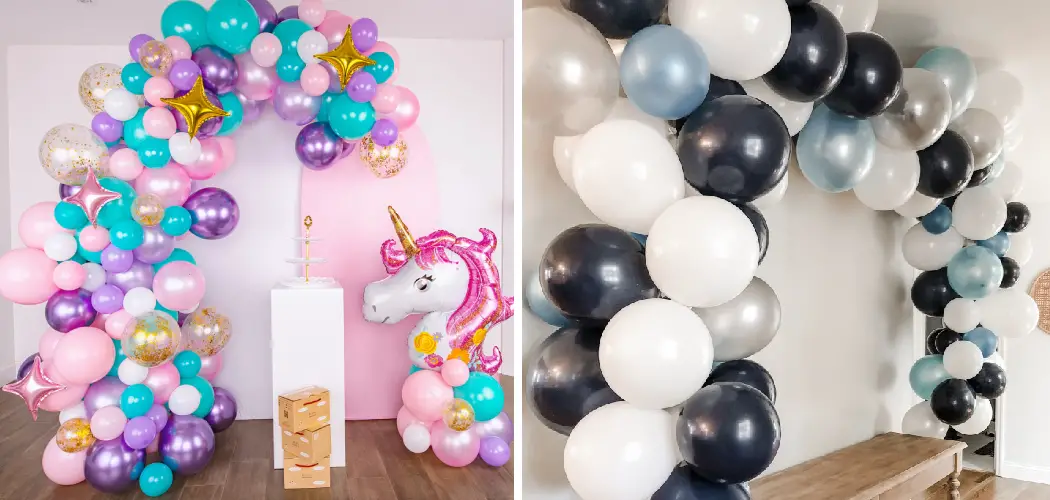
Are you looking for a way to hang swaths of colorful balloons up on your wall but don’t have any tools or know-how? Are you looking for a fun and festive way to spruce up your home décor? Creating a stunning balloon garland may seem tricky, but it’s actually much easier than you think! All you need is some creativity and craft material to make this decoration come alive.
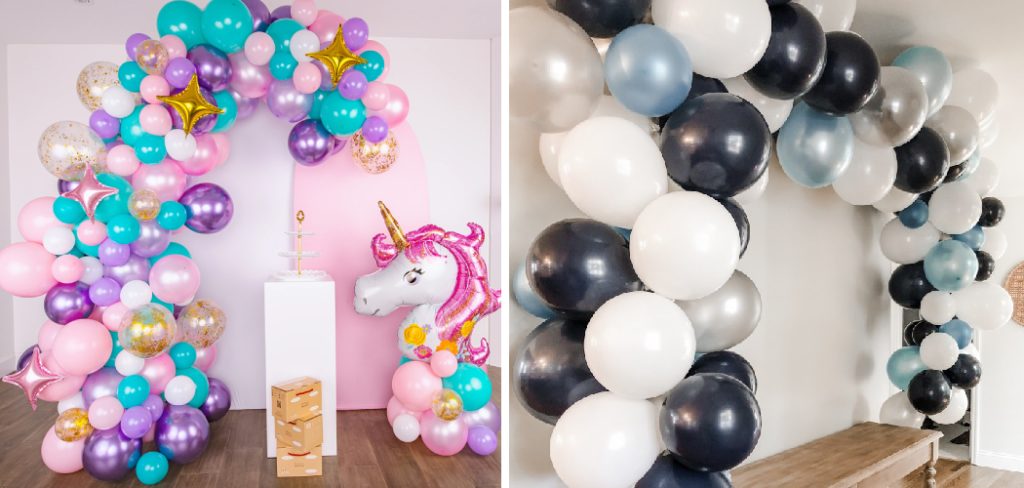
In this blog post, we will provide detailed instructions on how to create the perfect Balloon Garland without using any nails or other fixtures. Read through carefully as our step-by-step guide on how to hang balloon garland on wall without nails tells you everything you need to know about hanging these dazzling decorations with ease! If you’re ready to transform the look of your space in just minutes, let’s get started!
Things to Keep in Mind While Hanging Balloon Garland on Wall Without Nails
1. Tape
Make sure to use strong tape like double-sided mounting tape or heavy-duty adhesive strips for the best results. It is important to use a tape that has enough adhesive strength to hold the balloons in place and keep them from falling off.
2. Measurement
Take exact measurements of your wall so you know exactly how much garland you will need for each side. Calculate, cut, and add accordingly. This will help you avoid any unnecessary wastage or running out of supplies!
3. Placement
When it comes to the placement of your balloon garland, make sure to evenly space out them around the perimeter of the wall and not just in one area. It is best to start from one corner and work your way around the room.
Required Materials
Before you begin, it’s important to equip yourself with all the necessary materials. Gather up the following items and have them ready:
- Tape measure
- Craft paper or newspaper
- Scissors
- Double-sided tape (preferably clear) or adhesive hooks
- Balloons of different sizes and colors
10 Instructions on How to Hang Balloon Garland on Wall Without Nails
1. Plan Out the Design
First, take a few minutes to plan out the design of your balloon garland. Use Tape measure to Measure the length and width of the wall you want to hang it on and determine how many balloons you’ll need for each section. Keep in mind the colors and sizes of the balloons you have available, as well as how thick and wide you want your garland to be.

2. Cut Craft Paper/Newspaper
Cut craft paper or newspaper into strips that are around 2 inches (5 cm) wide. Measure them out evenly, depending on how many sections of balloon garland you’ll need.
3. Attach Craft Paper
Use double-sided tape or adhesive hooks to attach the strips of craft paper or newspaper onto the wall, making sure that they are all even and straight. Make sure you securely press down each strip before moving on to the next one.
4. Start Hanging Balloons
Now that you have the craft paper or newspaper strips attached to the wall, you can start hanging balloons of different sizes and colors. Start by attaching a balloon at the beginning of each strip and work your way down in an alternating pattern. You can use double sided tape for this as well, or adhesive hooks.
5. Continue Hanging Balloons
Continue to hang balloons in an alternating pattern, making sure that each balloon is secure and evenly spaced out from one another. If you need more length or want your garland to be thicker, simply vary the size of the balloons you use.
6. Add More Strips
If needed, add more craft paper or newspaper strips onto the wall for extra support and stability for your balloon garland. More strips will ensure that the balloons are evenly spaced out.
7. Secure Ends of Strips
Once you’ve hung all the balloons, secure the ends of each strip with double-sided tape or adhesive hooks so they don’t come undone. This will ensure that your balloon garland stays in place and doesn’t move around.
8. Check for Spaces
Lastly, look over the entire garland and check for any spaces or gaps between balloons. If there are any, fill them with smaller balloons to create a fuller look. Checking for any misaligned or uneven sections can also help improve the overall look of your balloon garland.
9. Enjoy!
Now that you’ve finished sit back and admire your work! You’ve just created a beautiful and festive decoration without using any nails or tools. Hang Balloon Garland on Wall Without Nails in minutes with this easy step-by-step guide.
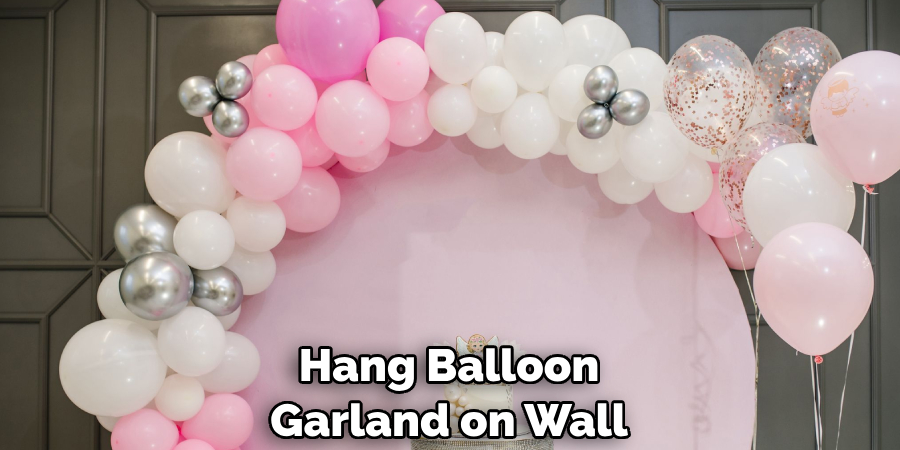
10. Share your Creation
Be sure to share a picture of your masterpiece with friends and family! This is the perfect way to show off your craftsmanship and decorating skills.
With this guide on how to hang Balloon Garland on Wall Without Nails, you can transform any dull wall into something festive and exciting in just minutes! So what are you waiting for? Get creative and start decorating!
8 Safety Precautions to Follow
When hanging a balloon garland on your wall without nails, it is important to remember some safety precautions that will help you avoid injury and keep your home secure. Here are 8 simple safety tips when installing a balloon garland:
1. Measure the area where you plan to hang the balloon garland. Make sure there is enough space for the project, and it will not be too close to any nearby walls, furniture, or windows. It will ensure that the balloon garland is hung correctly and will not get damaged during installation.
2. Choose a strong adhesive to attach the balloons to your wall. A good quality double-sided tape or powerful glue can help hold the balloons in place, but make sure it is rated for use on walls as some adhesives may damage the paint and cause staining.
3. If using glue, apply it sparingly to avoid over-saturation of the wall and stickiness that will be difficult to remove later. Make sure you evenly spread the adhesive so that it is properly attached to the balloons and wall.
4. Use a level or ruler when hanging your balloon garland on the wall to keep it even and straight. This will help you to hang the garland correctly without making any errors in placement.
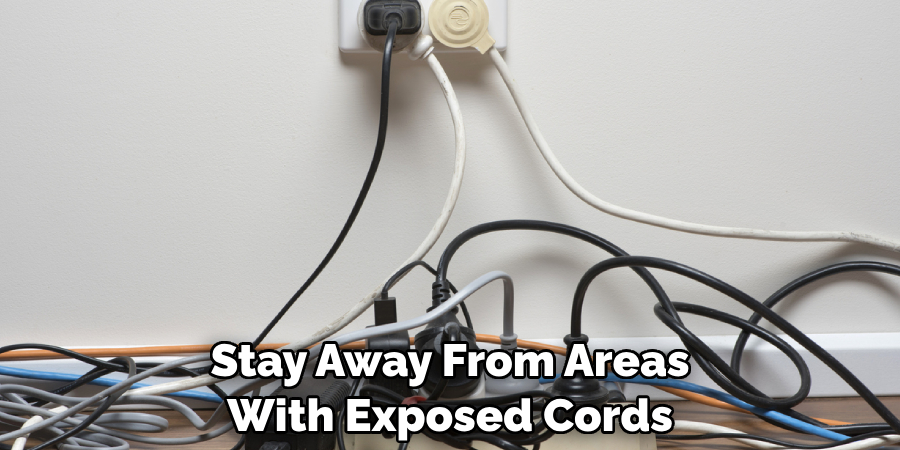
5. Make sure you are aware of any power outlets or wiring near where you intend to hang your balloon garland. It is best to stay away from areas with exposed cords, as these can be dangerous when hung around balloons.
6. When handling helium tanks, be sure to read the instructions carefully. Wear protective gloves and make sure that all safety protocols are followed. Otherwise, you risk the possibility of a gas leak or explosion.
7. Prior to inflating your balloons, check them for any signs of damage or weak spots that may lead to breakage during handling and hanging. Discard any balloons that are faulty, as they could burst when filled with helium.
8. When hanging your balloon garland, it is best to have someone help you. This will reduce the risk of accidents and ensure that all balloons are hung properly.
Following these 8 safety precautions will help make sure your balloon garland is installed correctly and securely without any nails or drills needed. Have fun with your decorations!
Frequently Asked Questions
How Long Will It Take to Complete the Project?
The amount of time it takes to hang a balloon garland on a wall without nails will depend on the size and complexity of the project. A simple, short garland can take 30 minutes or less, while a larger, more intricate design could take several hours to complete.
If you are unsure of how long your particular project might take, it is best to consult an experienced professional who can advise you on the estimated time.
Will It Damage or Mark My Wall?
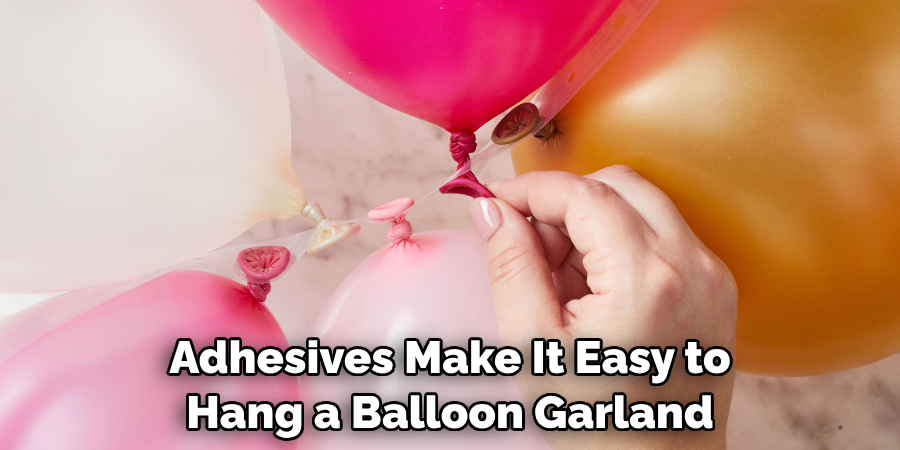
No, hanging a balloon garland on a wall without nails will not cause any damage to the surface. There are several adhesive products available that are safe for use on walls and won’t leave any marks or residue behind once removed. These adhesives make it easy to hang a balloon garland without the use of nails, allowing you to quickly and easily create impressive decoration.
Conclusion
Hanging a balloon garland on your wall is a surefire way to make your space look unique and festive. With the right tools and supplies, it can be easy to transform any room with an eye-catching display.
Of course, it’s important to use nondamaging interior adhesives like Command Strips so as not to damage the walls. Using this method eliminates the need for nails, which can be difficult to maneuver and cause permanent damage.
Another benefit of skipping the nails is that there’s no risk of causing any electrical issues should you get too close to wiring within the walls. All in all, hanging up beautiful balloon garlands without nails or screws just requires some carefulness and patience, but once complete, you will be left with an impressive display that will be admired by all who see it.
With its simple steps on how to hang balloon garland on wall without nails and countless possibilities for customization, creating a striking balloon garland is an easy DIY that everyone should try.

