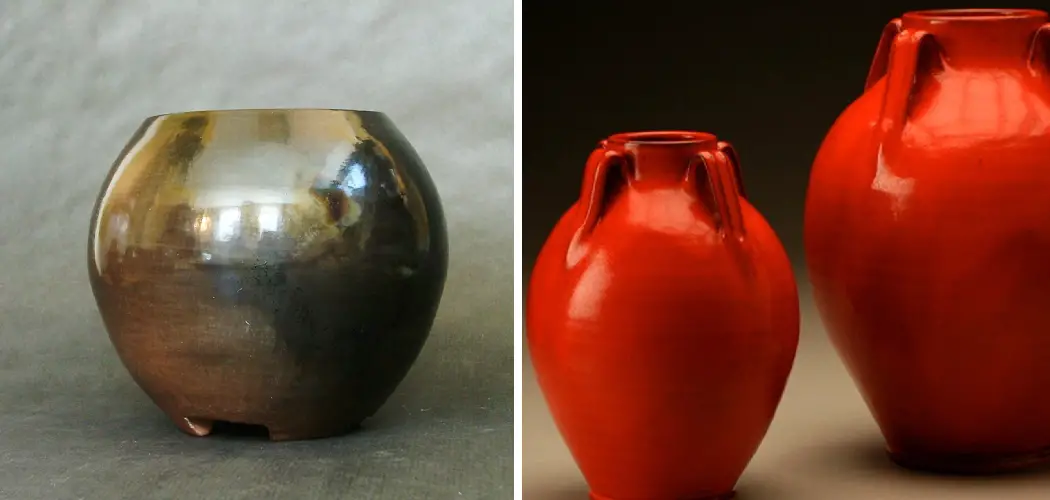
Are you a budding pottery artist looking to make your own unique masterpieces without needing a kiln? If yes, then this post is perfect for you! Glazing on both store-bought and handmade clay pieces is an important part of bringing clay creations to life.
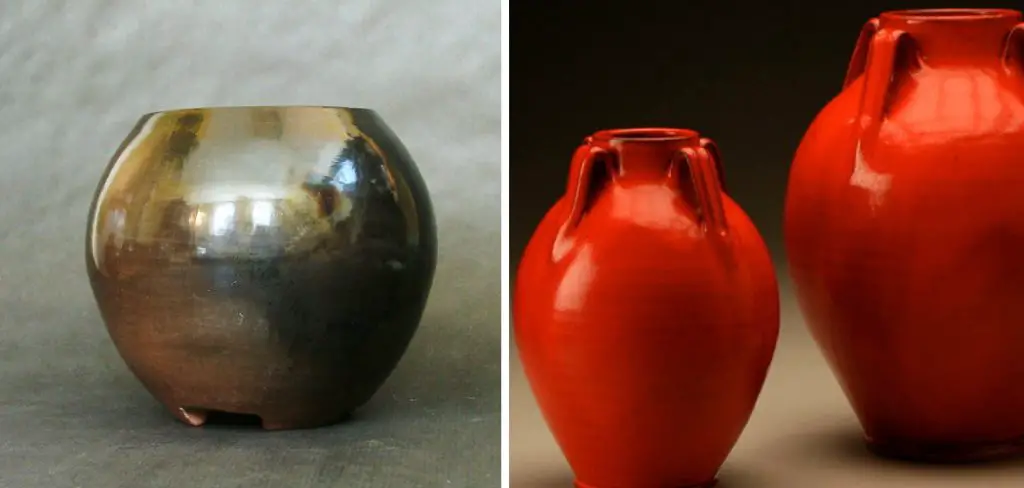
While traditionally achieved through high temperatures with the help of a kiln, it is possible to glaze pottery even without one – and we’re here to show you how! Read on how to glaze pottery without a kiln as we share tips on the type of supplies needed, what temperature works best for glazing unfired pottery, how formulations affect the outcome, and more.
Needed Tools and Materials
Given below are the tools and materials you will need to glaze pottery without a kiln:
- Pottery Piece That You Want to Glaze (Store-bought or Handcrafted)
- Powdered Ceramic Glazes (Available in Different Colors)
- Paintbrush
- Bowl or Container for Mixing the Glaze
- Water for Mixing
- Spray Bottle Filled With Warm Water
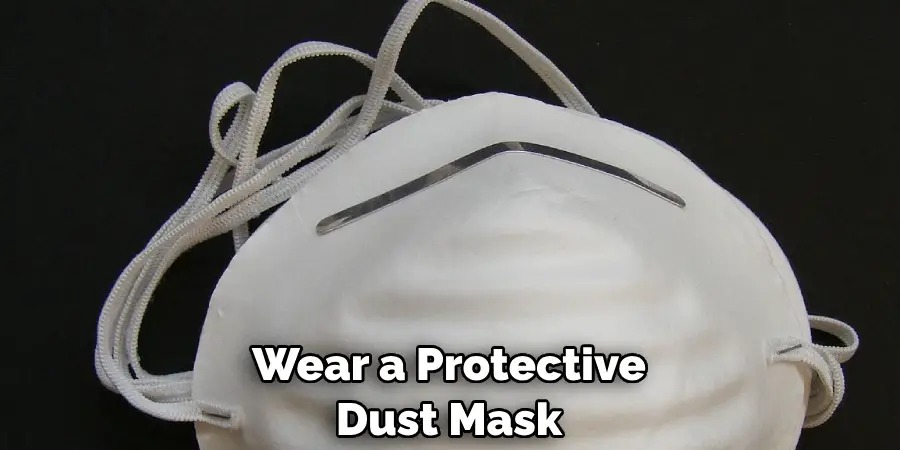
- Protective Dust Mask (to Avoid Breathing in Glaze Dust)
11 Step-by-step Guidelines on How to Glaze Pottery Without a Kiln
Step 1: Choose the Right Piece
Choose a pottery piece that you want to glaze. It can be either store-bought or handcrafted. The piece should be free of any dirt or dust and it should not be too porous. if the piece is too porous, it will absorb more glaze and will not dry properly. But if the piece is too smooth, the glaze won’t stick properly.
It is best to choose a piece with a slight texture. It is also important to make sure that the piece has been dried completely and doesn’t have any visible cracks.
Step 2: Prepare the Glaze
Mix the powdered glazes in a bowl according to the instructions given on the package. Make sure to wear your protective mask while doing this as glaze dust is harmful when inhaled.
It is important to get the right consistency because if it’s too runny, it will not adhere properly and if it’s too thick, it will not dry properly. It is best to use a glaze with a medium viscosity. But keep in mind that the glaze will thicken as it dries.
Step 3: Apply the Glaze
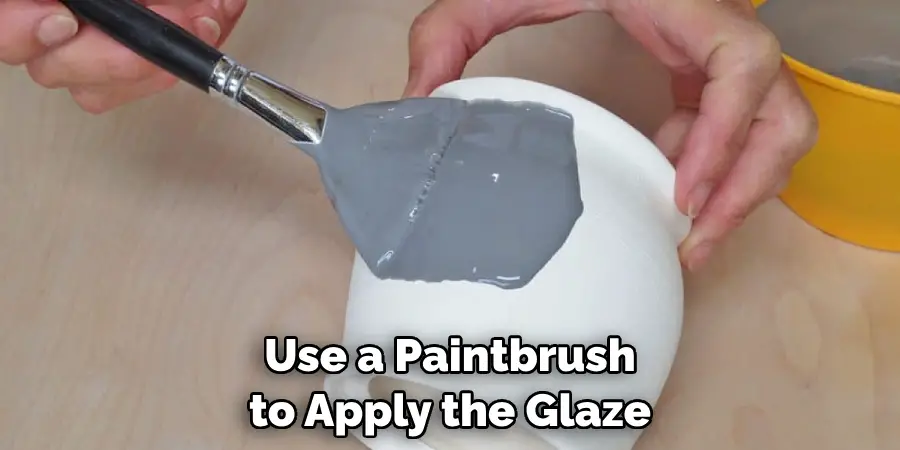
Use a paintbrush to apply the glaze evenly on all sides of the pottery piece. Take your time so that you cover every nook and cranny of your piece. Let the piece dry completely before moving on to the next step. It is important to make sure that the glaze has adhered properly and that there are no air bubbles. This will ensure that the glaze does not crack or flake off later.
Step 4: Fire-Up Your Oven
Turn on your oven to around 200 degrees Fahrenheit (93 Celsius). Be careful not to set the heat too high as this may cause the glaze to crack or bubble. It is best to keep a close eye on the piece while it’s baking. This will ensure that the glaze doesn’t overheat. It will usually take 30 minutes for the glaze to dry.
But you can check by lightly tapping it with a fingernail. If the glaze is firm and does not give off any residue, then it is completely dry.
Step 5: Place Pottery in Oven
Carefully place your pottery piece in the oven and let it bake for about an hour at 200 degrees Fahrenheit (93 Celsius). After an hour, turn off your oven and take out the pottery. It is important to make sure that the glaze has cooled down and set completely before moving it.
This will ensure that the glaze does not crack or bubble. It is also important to note that some glazes may require more than an hour of baking.
Step 6: Let It Cool Down
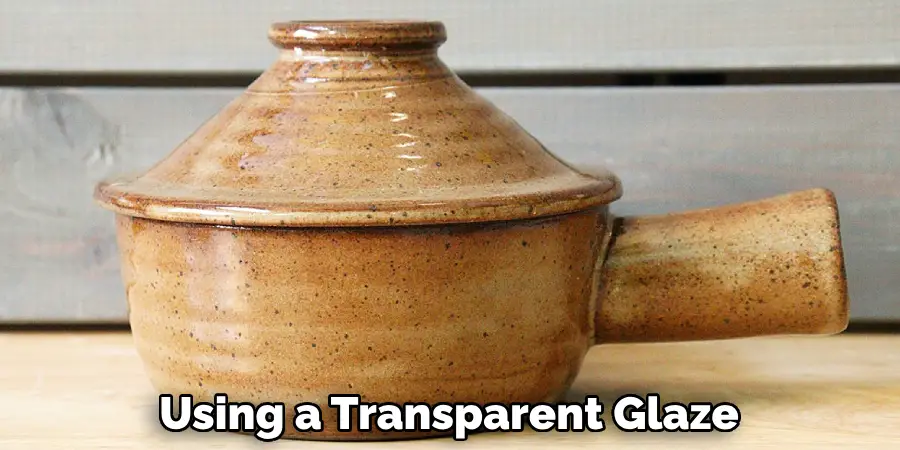
Allow your pottery to cool down before handling it. This will help ensure that you won’t burn yourself when you start working with it again. This also helps the glaze to set properly. This step is especially important if you are using a transparent glaze as it can cause the pottery to crack or bubble if handled too soon. It is best to let it cool down for at least an hour before you start working with it.
Step 7: Re-apply Glaze if Needed
Check if there are any areas of your piece where the glaze has not taken hold or looks uneven. If needed, re-apply some glaze on the affected areas and let it dry before moving on to the next step. This will ensure that the glaze does not crack or bubble once it is fired. It is also important to make sure that the piece has been dried completely before applying more glaze.
Step 8: Rinse in Water
Once you’re satisfied with your piece, rinse it in warm water to remove any extra dust or particles. This will help give your pottery a smooth and even finish. This is also an important step to get rid of any glaze dust that may have settled on the surface. If you are using a transparent glaze, it is important to make sure that the piece is completely dry before moving on.
Step 9: Spray With Warm Water
Spray your pottery with warm water using a spray bottle. This will help lock in the glaze and also bring out its colors even more when fired up again in an oven. The amount of water you use should be just enough to give the glaze a glossy finish without making it too runny. It is important to make sure that the pottery piece does not get too wet as it can cause the glaze to become runny and lose its color.
Step 10: Fire Again in Oven
Place your pottery back into the oven and bake for another hour at 200 degrees Fahrenheit (93 Celsius). After an hour, turn off your oven and take out the pottery. If you are using a transparent glaze, it is important to make sure that the piece has cooled down before handling it again. This will ensure that the glaze does not crack or bubble.
Step 11: Let It Cool Down Again
Allow the pottery to cool down for another 10 minutes before handling it with your hands. Your glazed pottery is now ready to show off! It is best to store it in a dry and dust-free environment. Always remember to wear a protective mask when working with glazes as it is harmful when inhaled. With this 11-step guide, you can easily learn how to glaze pottery without a kiln. Have fun!
With these steps, you should be able to glaze any store-bought or handmade clay pieces without needing a kiln. Keep in mind that different brands of glazes react differently when heated up in an oven so it’s important to pay close attention to the instructions given on the package.
As long as you follow these steps carefully, you will have no problem creating beautiful glazed pottery pieces without having access to a kiln.
Do You Need to Use Professionals?
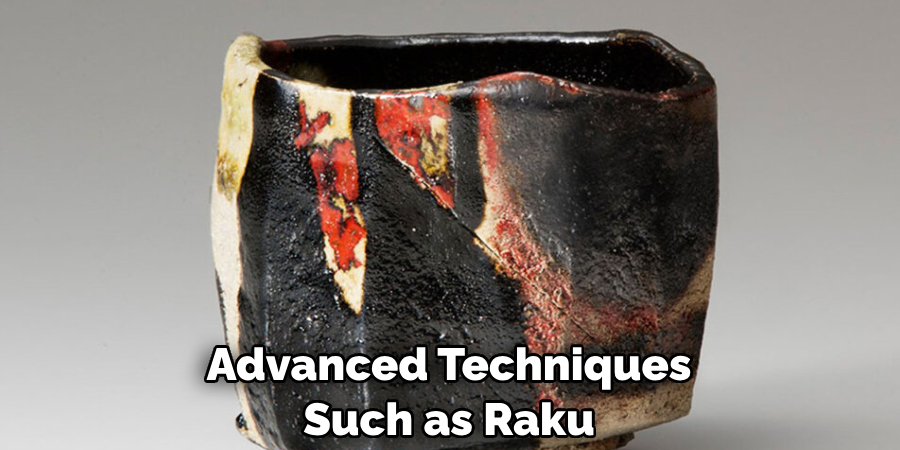
No, you do not need to use a professional in order to glaze pottery without a kiln. This is an easy DIY project that anyone can do with the right tools and materials. However, if you are looking for more advanced techniques such as raku or pit-firing, then it would be best to seek out the services of a professional.
How Much Could It Cost?
The cost of glazing pottery without a kiln is relatively low. The supplies needed for this project are usually quite affordable and can be found in most art stores. Depending on the size of your pottery piece, you could expect to spend around 10-15 dollars on all the materials needed.
Taking into account the time and effort required to complete this project, it’s worth investing in some quality glazes that will ensure great results.
In conclusion, it is entirely possible to glaze pottery without a kiln with the right tools and materials. With these easy steps, you’ll be able to create beautiful pieces of art that would otherwise require the use of a kiln! So go ahead and get creative! Good luck and happy glazing!
Frequently Asked Questions
Q: What Kind of Glazes Can Be Used to Glaze Pottery Without a Kiln?
A: Any type of powdered ceramic glaze should work. However, it’s best to opt for high-quality glazes as they will give you the best results and last longer.
Q: What Temperature Should I Set My Oven To?
A: You should set your oven to around 200 degrees Fahrenheit (93 Celsius). Be careful not to set the heat too high as this may cause the glaze to crack or bubble.
Q: How Long Does It Take for Glazed Pottery To Cool Down?
A: Generally speaking, it takes about 10 minutes for pottery to cool down after being taken out of an oven. Always make sure that your piece is completely cooled before attempting to handle it again.
Q: Is It Necessary to Wear a Protective Mask When Mixing Glaze?
A: Yes, it is important to wear a protective dust mask when mixing glazes as the dust can be harmful if inhaled. This will ensure your safety while working with this material.
Conclusion
Glazing pottery without a kiln can be done in small batches, so there’s no need to break the bank investing in large-scale equipment. Plus, you’ll never be short of a new creative challenge!
With glazing, your creativity and hard work will determine the look of your pieces, and you can always count on unique results each time. So don’t put away that paintbrush yet: it’s time to start creating beautiful pottery with traditional and non-traditional glazes.
Take risks and find out what works best for your pieces: and if you ever get stuck along the way, remember that there are plenty of tutorials online that can help you create without a kiln. Now go forth and reclaim ceramic artistry once more! Thanks for reading this article on how to glaze pottery without a kiln.
You Can Check This Out To Crochet a Water Bottle Holder

