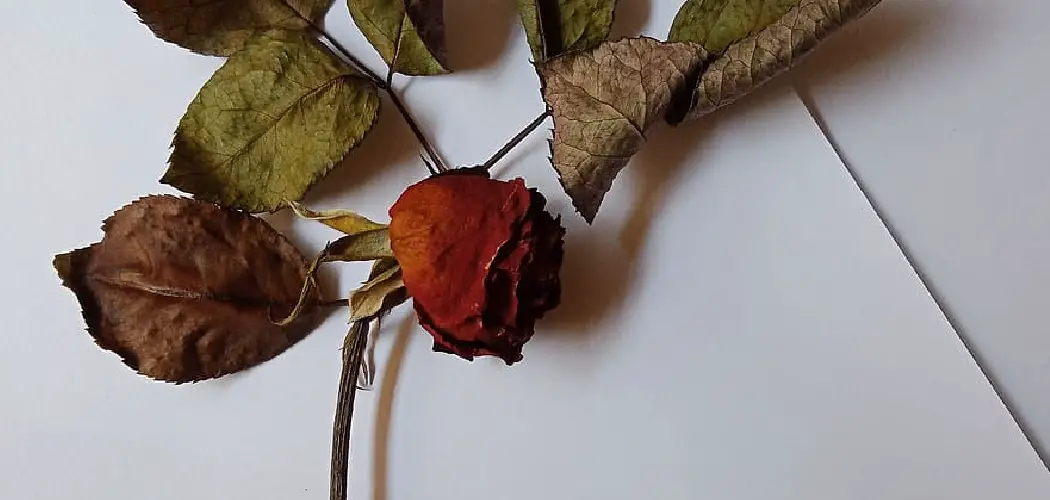
Framing dried roses is an artful way to preserve the beauty of these cherished blooms far beyond their natural lifespan. Whether it’s a single rose from a bouquet that holds sentimental value or an array of colors from your garden, encapsulating them behind glass is a testament to life’s fleeting moments captured in time.

In the following sections on how to frame dried roses, we will outline the simple steps to prepare, arrange, and frame your dried roses, transforming them into a timeless piece of décor that serves as a constant reminder of cherished memories.
What You Will Need
Dried Roses:
To frame dried roses, you will need the star of the show – the roses themselves. Make sure they are fully dried before beginning the process to avoid any potential for mold or damage to the petals. You can dry your own roses by hanging them upside down in a dark, dry place for a few weeks until they are completely dehydrated. Alternatively, you can purchase pre-dried roses from a craft store or online.
Frame:

Choose a frame that complements the size and color of your dried roses. A deep shadow box frame works well for displaying multiple roses, while a regular picture frame can showcase a single rose beautifully. Make sure the frame is clean and free of dust before beginning.
Background Material:
This will serve as the backdrop for your dried roses and can range from plain white paper to colored or patterned cardstock. You can also use a piece of fabric, such as linen, for a more textured look.
Tools:
Scissors:
You will need a pair of sharp scissors to trim the stems and any excess foliage off your dried roses.
Adhesive:
To secure your dried roses in place, you will need some form of adhesive. This can be glue dots, double-sided tape, or even a hot glue gun for a more permanent hold. Make sure to choose an adhesive that is safe for use with dried flowers and will not cause any discoloration.
11 Step-by-step Guides on How to Frame Dried Roses
Step 1: Prepare Your Workspace
Gather all your materials and find a clean, well-lit workspace to begin. Lay out some newspaper or a drop cloth to protect your surface from any potential spills or mess. The drying process can leave behind bits of petals or foliage, so make sure to have a vacuum or dustpan nearby for easy clean-up.
The workspace should also be well-ventilated to allow any fumes from the adhesive to dissipate. It is important to work in a space where your dried roses will not be disturbed as you prepare and arrange them. You don’t want to accidentally bump or jostle them and risk damaging the delicate petals.
Step 2: Select and Prepare Your Roses

Choose which roses you want to frame and lay them out on the background material to get an idea of how they will look in the frame. You can arrange them by color, size, or shape – it’s up to you! Play around with different arrangements until you find one that you like.
If your roses are too big for the frame, carefully trim them down with scissors. Make sure to leave enough stems attached so you can still secure them in place. Otherwise, the petals may fall off if they are not properly secured.
Step 3: Arrange Your Dried Roses
Once you have settled on an arrangement, carefully place your dried roses on the background material and secure them in place. You can use adhesive to stick them onto the background or gently tuck them under any existing layers of petals. If you are using a deep shadow box frame, you can also layer the roses for a dimensional look.
Be sure to leave enough space between each rose to avoid overcrowding. The goal is to create a balanced and visually appealing display. It’s a good idea to take a step back and examine your arrangement from different angles before moving on to the next step.
Step 4: Prepare the Frame
Before placing your arranged roses in the frame, make sure it is clean and free of any dust or debris. You can use a soft cloth or compressed air to remove any particles that may have accumulated inside the frame. If you are using a deep shadow box frame, make sure there is enough space between the glass and the backing for your arranged roses to fit comfortably.
But be sure not to leave too much space, as this can cause the roses to shift or move around. The frame should also have a sturdy backing to support the weight of the dried roses. It’s a good idea to test the frame before securing the roses in place.
Step 5: Add Decorative Elements (Optional)
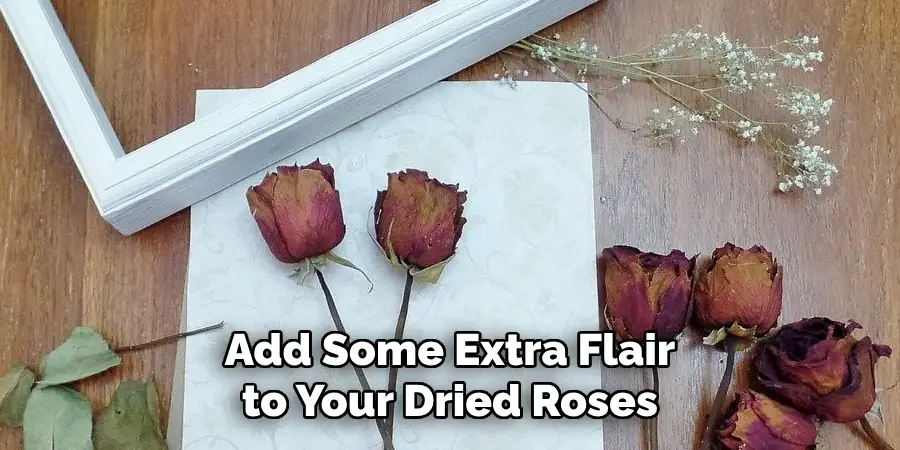
If you want to add some extra flair to your framed dried roses, you can incorporate other decorative elements into the design. This could include small trinkets, lace, ribbon, or even a small photo. Just make sure the additional elements do not overpower or distract from the beauty of the roses themselves.
It’s best to keep the design simple and let the roses be the main focus. You can also add these elements after the roses have been secured in place to avoid any potential damage. It’s all about personal preference and what you feel will enhance the overall aesthetic of your frame.
Step 6: Allow the Glue to Dry
After carefully placing and arranging your dried roses in the frame, it’s important to allow the adhesive to dry completely before moving or hanging the frame. This can take anywhere from a few hours to overnight, depending on the type of adhesive used.
Check the manufacturer’s instructions for specific drying times. The longer you allow the glue to dry, the stronger the bond will be between the roses and the background material. You don’t want to risk your beautiful display falling apart! You can also use this time to clean up your workspace and organize any remaining materials.
Step 7: Trim Excess Paper (If Necessary)
If you used a piece of background material larger than the frame, you may need to trim off any excess paper. This will ensure that the edges of the background are neatly hidden by the frame and do not distract from the overall design. Use scissors or a ruler and craft knife for precise cuts.
The edges of the background material should be flush with the frame. You can also use a frame with a mat board to eliminate the need for trimming. It all depends on your personal preference and the look you are trying to achieve. But if you do trim, be sure to use caution and take your time.
Step 8: Clean the Glass (If Applicable)
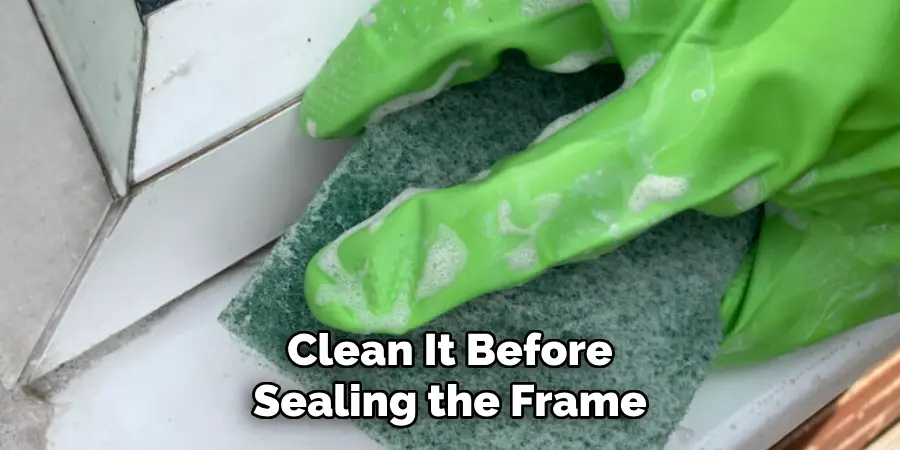
If your frame has glass, now is a good time to clean it before sealing the frame. Use a soft cloth and glass cleaner to remove any fingerprints or smudges from the inside of the glass. This will ensure that your framed dried roses look their best when displayed. Make sure not to use too much cleaner, as this can cause streaking or damage to the frame.
You can also use a microfiber cloth for a lint-free clean. After the glass is clean, carefully place it back into the frame and make sure it is secure. There should be no visible marks or blemishes on the glass once the frame is sealed.
Step 9: Insert the Frame Backing
Once the glue has dried and the glass is clean, you can insert the frame backing. This is usually a piece of cardboard or foam board that fits into the back of the frame to keep everything in place.
Make sure it is secure and fits snugly inside the frame. You can also use tape or clips to hold it in place if needed. If your frame does not come with a backing, you can use a piece of cardboard or foam board and cut it to fit inside the frame.
Just make sure it is sturdy enough to support the weight of the frame. Whether you use a pre-made backing or make your own, it’s important to have one in place before sealing the frame.
Step 10: Hang or Display Your Framed Dried Roses
Congratulations, you have now completed all the steps to frame your dried roses! Your beautiful display is now ready to be hung or displayed in your home. You can hang it on a wall using a picture hanger or prop it up on a shelf or table.
Just make sure to avoid direct sunlight and areas with high humidity, as this can cause fading and damage to your framed roses. With the proper care and maintenance, your dried roses can be enjoyed for many years to come.
They are not only beautiful decorations but also cherished keepsakes that hold special memories and meaning. It’s a wonderful way to preserve and display something that is not only visually appealing but also holds sentimental value.
Step 11: Enjoy Your Beautiful Creation!

Following these steps on how to frame dried roses will help you create a stunning framed display of your dried roses that you can enjoy and cherish. The process may seem a bit daunting at first, but with patience and attention to detail, you will have a gorgeous piece of artwork that adds beauty and character to your home.
You can also use these same steps to frame other dried flowers or plants, allowing you to create an entire collection of unique and personalized displays. So go ahead, get creative, and enjoy the fruits of your labor!
The possibilities are endless when it comes to framing dried roses, and the end result is always worth it. Now, you can proudly display your framed dried roses and share the beautiful story behind them with others. It’s not just a decoration.
It’s a reminder of a special moment or person that will bring joy and warmth to your heart every time you look at it. So take some time to appreciate and enjoy your beautiful creation – you deserve it! Happy framing!
Tips and Best Practices for Framing Dried Roses
- Use High Quality, Acid-free Materials to Ensure the Longevity and Preservation of Your Roses.
- Avoid Overhandling the Dried Roses to Prevent Any Damage or Breakage.
- Choose a Frame That Complements the Color and Texture of Your Dried Roses.
- Consider Adding Additional Decorative Elements Sparingly for an Extra Touch of Personalization.
- Allow Ample Drying Time for the Adhesive Used to Secure the Roses in Place.
- Clean the Glass Before Sealing the Frame for a Polished and Professional Look.
- Hang or Display Your Framed Dried Roses in a Room With Moderate Temperature and Low Humidity.
- Avoid Direct Sunlight Exposure to Prevent the Fading of the Colors.
- Consider Using UV Protected Glass if You Want to Hang Your Framed Dried Roses in a Sunlit Area.
Common Mistakes to Avoid in Framing Dried Roses
- Using Poor Quality Materials That Can Cause Damage to Your Dried Roses Over Time.
- Not Allowing Enough Drying Time for the Adhesive, Resulting in a Weak Bond.
- Overhandling or Manipulating the Dried Roses Too Much, Leading to Breakage or Damaged Petals.
- Placing the Frame in an Area With High Humidity Which Can Cause Mold or Damage to the Dried Roses.
- Choosing a Frame That Overpowers or Clashes With the Beauty of the Dried Roses.
- Cleaning the Glass With Too Much Cleaner Results in Streaks or Damage to the Frame.
- Hanging the Framed Dried Roses in an Area With Direct Sunlight Causing Fading or Discoloration.
Alternative Framing Ideas for Dried Roses

- Use a Shadow Box Frame to Add Depth and Dimension to Your Display.
- Create a Collage of Framed Dried Roses Using Multiple Frames in Different Sizes.
- Place the Dried Roses in a Floating Frame for a Modern and Minimalistic Look.
- Showcase Your Dried Roses on a Decorative Plate or Platter Instead of Using a Traditional Frame.
- Incorporate Other Natural Elements, Such as Dried Leaves or Twigs Into Your Display.
- Hang Multiple Frames in a Grouping for an Art Gallery Inspired Look.
- Use a Vintage or Antique Frame to Add a Touch of Character and Charm.
- Create a Wreath Using Dried Roses and Hang It on the Wall as a Unique and Eye-Catching Display.
Overall, the key to framing dried roses is to use high-quality materials and allow ample time for each step. With patience and attention to detail, you can create a stunning piece of artwork that will be cherished for years to come. So go ahead and give it a try – your inner artist awaits! Happy framing!
Frequently Asked Questions
Q1: Can I Frame Other Types of Dried Flowers or Plants Using These Steps?
A1: Yes, you can use these same steps to frame a variety of dried flowers and plants. Just make sure to choose the right materials and follow proper preservation techniques for each type of plant. The possibilities are endless!
Q2: Can I Use a Pre-Made Frame Instead of Building My Own?
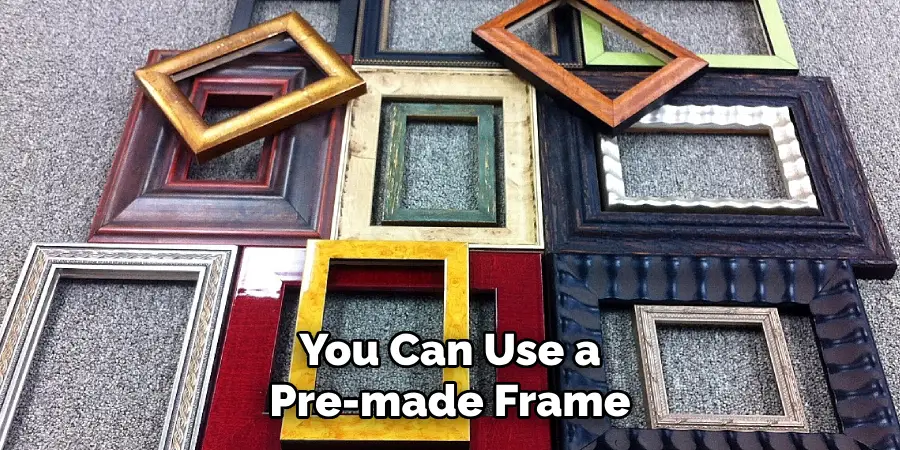
A2: Absolutely! If you prefer, you can use a pre-made frame that fits the size and style of your dried roses. Just make sure to follow the same steps for securing the roses and adding any additional elements before sealing the frame. You can also add a personal touch by customizing the pre-made frame with paint or other decorations.
Q3: How Long Will My Framed Dried Roses Last?
A3: With proper care and maintenance, your framed dried roses can last for many years. The key is to avoid direct sunlight and high-humidity areas, as this can cause fading and damage over time. You can also use UV-protected glass for added preservation. Enjoy your beautiful creation for years to come!
Q4: Can I Display My Framed Dried Roses Outdoors?
A4: It’s not recommended to display your framed dried roses outdoors, as the weather and elements can cause damage to both the frame and flowers. It’s best to keep them indoors where they can be properly preserved and enjoyed. However, you can consider using a UV-protected glass if you want to hang your frame in a sunlit area indoors.
Conclusion
Framing dried roses is much more than a crafting project—it’s a meaningful process that encapsulates a slice of nature’s beauty and personal memories within a frame. The steps outlined in this guide help ensure your floral keepsakes are displayed in the best way possible, allowing you to cherish these special moments indefinitely.
With your roses arranged and secured, they become not just a decorative piece but a story of personal history, a connection to a time, a place, a person, or an emotion. Whether hung on a wall, placed on a mantle, or gifted to a loved one, your framed roses will continue to unfold their subtle, silent narrative for years to come. Thanks for reading this article on how to frame dried roses.

