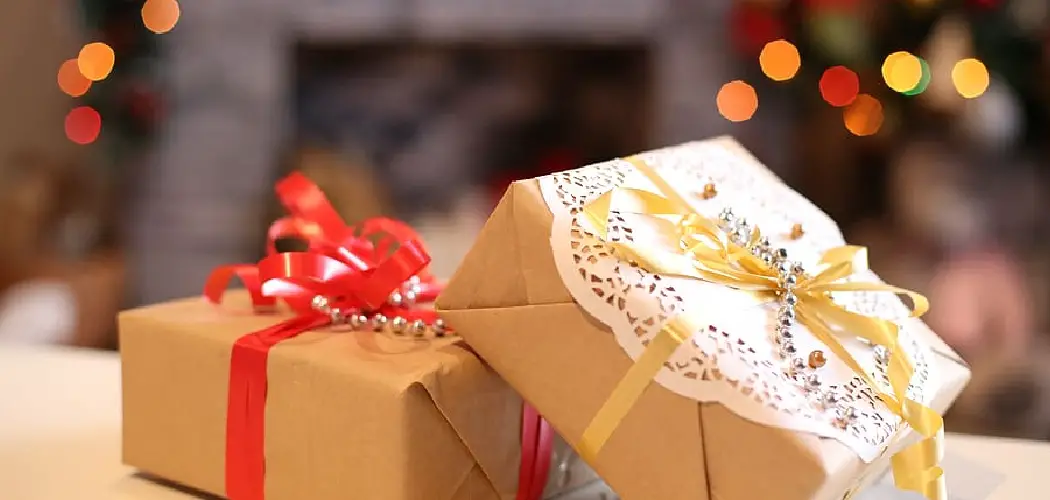
If you’re looking for a creative and unique way to present a gift card, then folding a gift card holder is the perfect solution. This easy-to-follow tutorial will take you through how to fold your customized holder, allowing you to brighten up any present or reward with your own handmade creation.
Whether it be birthdays, Christmas, or special occasions like graduations and weddings – adding an extra touch like this can help show just how much thought was placed into the gift itself. You don’t need any fancy tools either; all you need is some paper ready and waiting in various patterns or colors that could even be used to match the recipient’s personality!
In this blog post, we’ll walk through all the steps needed how to fold a gift card holder! So prepare yourself with these instructions!
What Will You Need?
To make a gift card holder, you will need the following:
- A4 paper in any color or pattern of your choosing
- A ruler
- Pencil or pen
- Scissors
- Glue or sticky tape
- Optional embellishments such as ribbons, stickers, stamps, etc.
Once you have gathered everything you need, it’s time to get started!
10 Easy Steps on How to Fold a Gift Card Holder
Step 1: Get Your Paper Ready
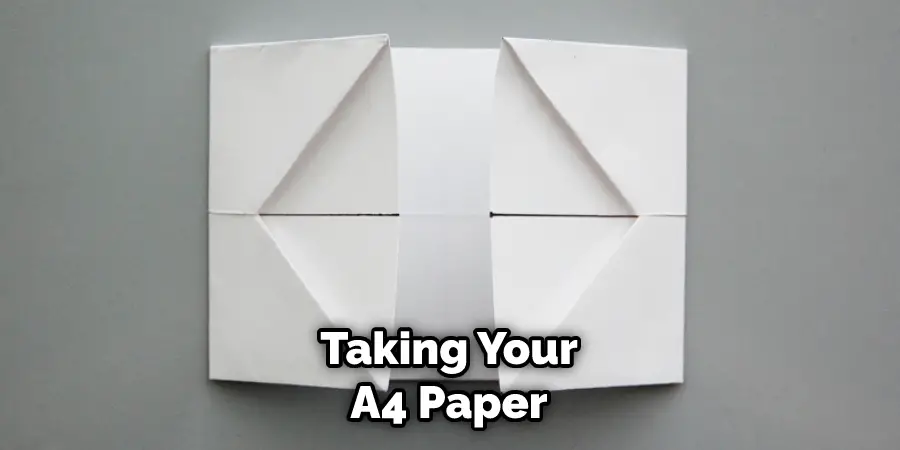
Start by taking your A4 paper and folding it into three equal parts lengthwise. Make sure the fold is as clean and even as possible. If you are using patterned paper, align the patterns and ensure all the folds are straight.
Step 2: Measure Twice, Cut Once
Now, you will need to measure and cut the sides of your paper. Measure 5 cm from the top edge and 7 cm from the bottom edge. Use a ruler to make sure it’s accurate. Then cut along both lines with scissors.
Step 3: Fold It Up
Now fold up your paper so that the two edges are overlapping each other at a 90-degree angle. The top flap should now be folded over as well, forming a rectangular shape. Make sure all of your folds are straight and even for an attractive finished product.
Step 4: Stick It Together
Next, use glue or sticky tape to stick the overlapping flaps together. This will ensure that your holder stays secure and won’t break apart when placing the gift card inside. If you’re using glue, make sure it is completely dry before continuing.
Step 5: Add Some Embellishments
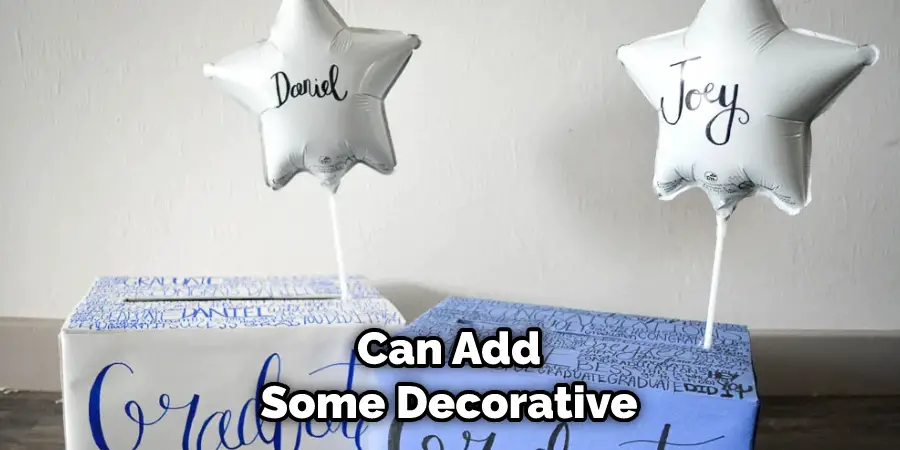
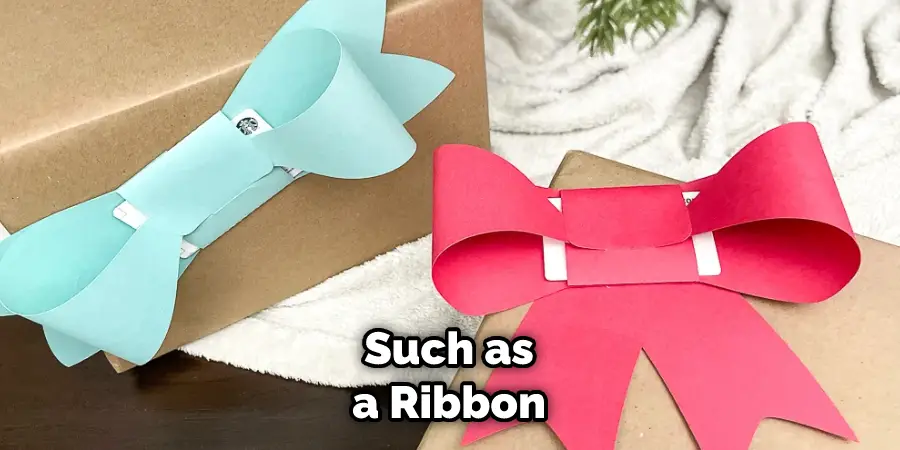
Now comes the fun part! You can add some decorative touches to your holder, such as ribbon, stickers, stamps or any other embellishments that take your fancy. You can also write a personal message on the front to add a special touch. Get creative!
Step 6: Fold Over The Top Flap
Once you have added your decorations, it’s time to fold over the top flap of the holder. This will create a neat little pocket for your gift card to slip into. Carefully tuck in all of the corners so they are even and secure.
Step 7: Time To Trim The Excess Paper
Using scissors carefully, trim off any excess paper that is not required. This will ensure your holder looks neat and tidy. Additionally, you may want to round off the edges of your paper so that it looks more attractive.
Step 8: Fold The Sides In
Next, fold the sides of your holder into the middle at a 90-degree angle so it forms a pocket shape. Secure these folds with glue or sticky tape again to make sure they stay in place. Be careful not to make the sides too tight so that your gift card can fit inside.
Step 9: Fold The Bottom Flap Up
Now, fold up the bottom flap of your holder so that it covers the pocket. If you like, you can add some more embellishments here, such as a ribbon or a personal message. Secure this flap with glue or sticky tape to keep it in place.
Step 10: Place The Gift Card Inside
The last step is inserting your gift card into the holder, ensuring it fits snugly inside. Now your holder is ready to be gifted! Remember to include a message with your gift card so the recipient knows who it’s from.
And there you have it – ten easy steps on folding a gift card holder! These holders are a simple yet thoughtful way of presenting a gift card and take minimal time and effort to create. So why not give it a go? We’d love to see what you come up with!
5 Additional Tips and Tricks
- To create a beautiful gift card holder, use the prettiest paper you can find. Consider choosing patterns and colors that match the recipient’s style and personality.
- Once you’ve chosen the paper, use a ruler and cutting mat to get it into the right size for folding. Make sure to cut straight lines – otherwise, your card holder won’t look as neat!
- Before you start folding, be sure to crease all of the edges with a bone folder or spoon handle so that they fold crisply and evenly.
- Don’t be afraid to get creative! You can add embellishments like ribbons or stamps or put some extra thought into how you will arrange the folds to create interesting shapes and designs.
- Try folding several card holders at once so that you can create a set of them for presents or thank-you cards. They make great gifts and are sure to impress the recipient!
Making a gift card holder is an easy and fun way to add a personalized touch to your gifts. With these tips and tricks, you’ll be able to create beautiful and unique holders that are sure to impress!
5 Things You Should Avoid
- Don’t use paper that is too thick or heavy, as it will be difficult to fold and may not hold the shape of the cardholder properly.
- Avoid using scissors to cut the paper, as it may rip or tear unevenly. Instead, use a razor blade and cutting mat for precise lines.
- Don’t forget to crease all of the edges with a bone folder or spoon handle before you start folding – this will help ensure your cardholder looks neat and professional when finished.
- Don’t be too ambitious with embellishments – simple designs are often more effective than overly complex ones.
- Lastly, don’t try to fold too many gift card holders at once – take your time and focus on making each one look perfect!
By following these tips, you can make sure that you end up with the perfect gift card holder! With a little bit of practice, you’ll be able to create beautiful and unique holders that are sure to impress!
How Do You Wrap a Card Holder?
Once your gift card holder is done, it’s time to wrap it up! If you want to show off the design of the holder, you can use a clear cellophane bag. This will give it a special touch and keep the design pristine. You can also choose to wrap the card in tissue paper or colored ribbons if you’d like.
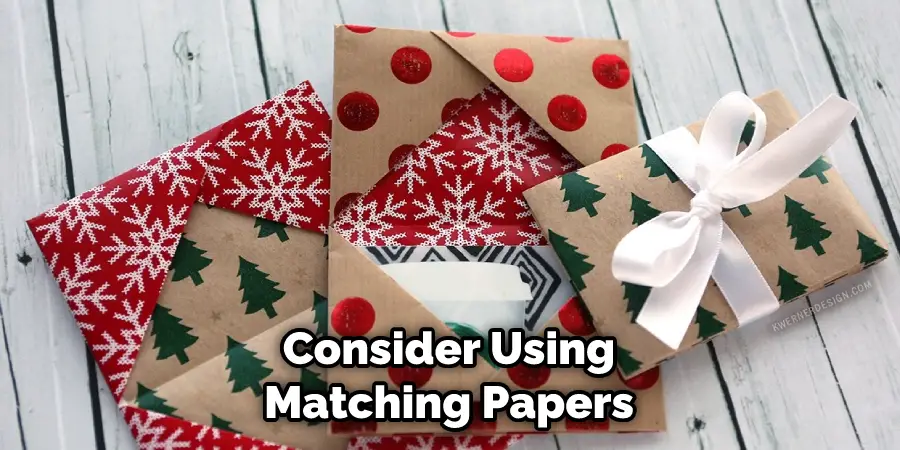
If you’re giving multiple holders as part of a set, consider using matching papers or wrapping them all together in one large bundle with a pretty ribbon. Whatever option you choose, be sure to attach a gift tag with instructions on how to open the holder – no one wants their surprise ruined by having trouble opening the package!
With these helpful tips, you’ll be able to make and wrap the perfect gift card holder for any occasion. Whether it’s a birthday, graduation, or just a way to show someone you care, your handmade cardholder will be sure to make the recipient smile.
Which Color is Best for a Gift Card Holder?
When it comes to choosing the perfect color for your gift card holder, there are no hard and fast rules. It all depends on the occasion and how you want the recipient to feel when they open it. Choose bright colors such as reds, oranges, and yellows if you’re going for a fun, celebratory look.
Additionally, if you’re aiming for a more traditional feel, you can opt for a monochromatic palette of blues and whites. Alternatively, you could choose colors that are especially meaningful to the recipient – such as their favorite color or a color associated with their hobby or profession.
When picking out colors, be sure to consider how they’ll look together on the finished card holder.
Conclusion
Crafting is a great way to add a personal touch to any gift-giving occasion. With this folding technique, you can make a personalized and inexpensive gift card holder. Not only will it be useful and convenient for the recipient, but it also looks charming.
Additionally, you can even use scrapbooking materials such as adhesive paper or decorative ribbon to give it an extra flair. If you’re looking for an easy, fun craft project, folding a gift card holder may be just the thing. Give it a try and see how much satisfaction you get from creating your own unique gift card holder!
Hopefully, the article on how to fold a gift card holder has been useful and helpful. Remember, with practice and a bit of creativity, you can make the perfect gift card holder for any occasion! Good luck with your gift-giving endeavors. Happy crafting!

