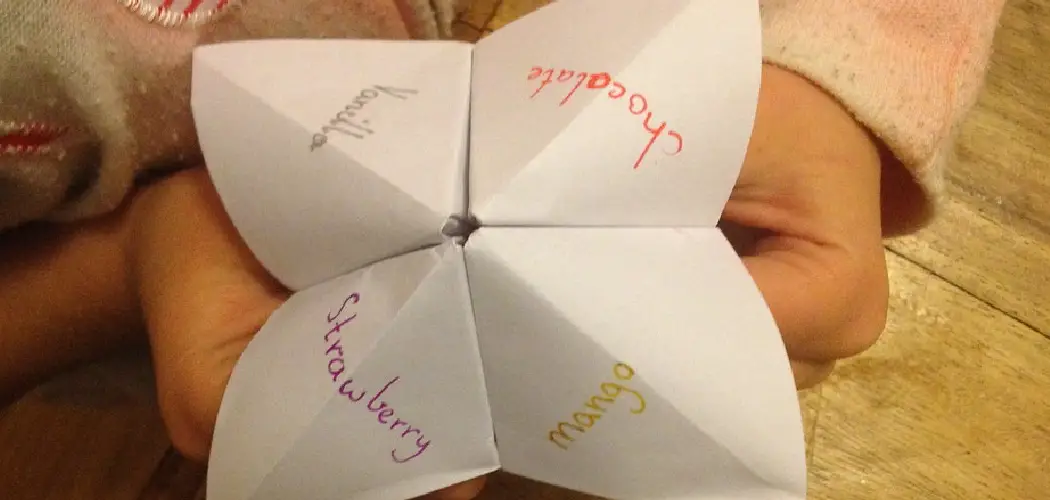
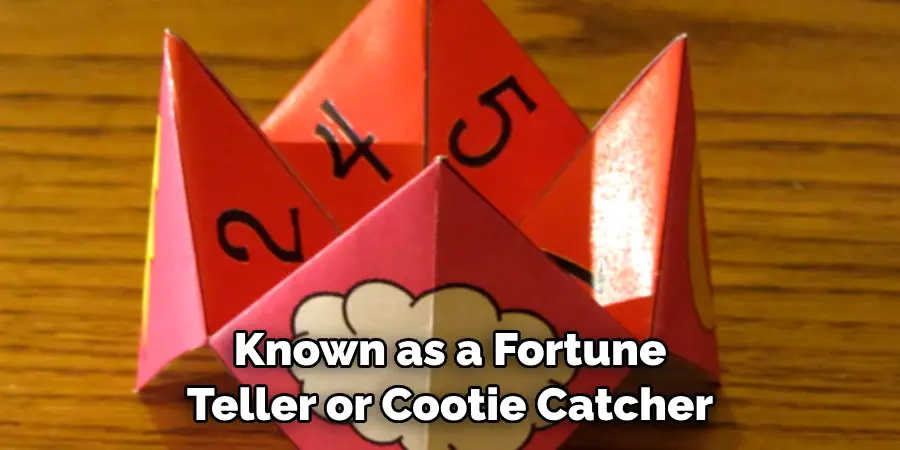
Unleashing nostalgia and a dose of childhood whimsy, folding a chatterbox (also known as a fortune teller or cootie catcher) transcends the realms of play into a delightful and interactive art form. This step-by-step guide demystifies how to fold a chatterbox—a cleverly folded paper origami that unfolds into a playful game of predictions and choices. Whether you’re sharing laughs with friends, engaging in family fun, or seeking a creative outlet, mastering the art of folding a chatterbox opens a world of whimsical possibilities.
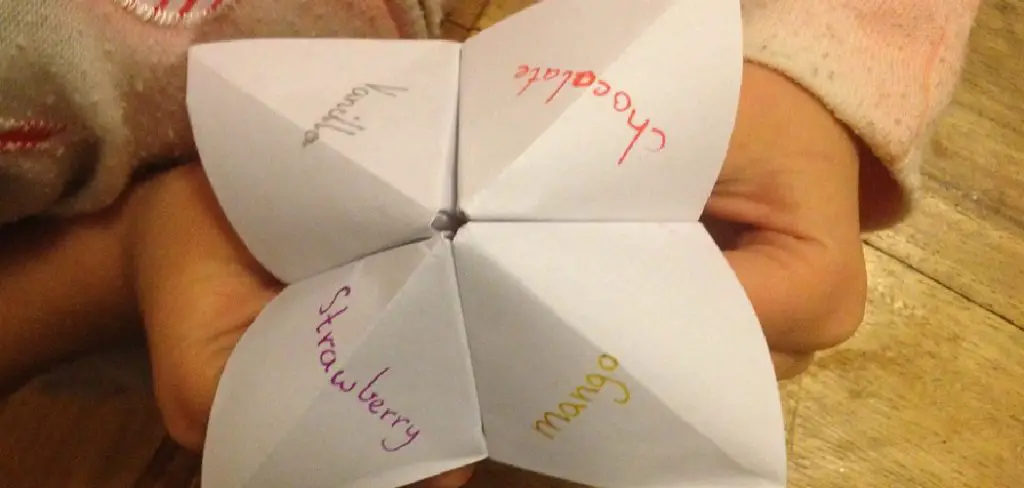
From selecting vibrant paper to adding personalized fortunes, we explore the creative nuances that make each chatterbox a unique expression of imagination. Join us on this journey back to carefree moments, where the simple pleasure of folding paper ignites a playful spirit and brings a touch of joy to both young and young-at-heart.
Definition and Purpose of a Chatterbox
A chatterbox, also known as a fortune teller or cootie catcher, is a popular paper game that is often played by children. It involves folding a piece of paper into a small square shape with various flaps and numbers, and then manipulating the flaps to reveal hidden messages or answers.
The purpose of a chatterbox is primarily for entertainment and amusement. It can also serve as a simple form of divination or decision-making tool, where players ask questions and follow the instructions on the flaps to determine their “destiny” or next steps. Additionally, chatterboxes can be used as a means for communication between friends, with hidden messages written on the inside of the flaps.
History and Origins of Chatterbox
The origins of the chatterbox can be traced back to ancient Chinese and Japanese origami techniques, where paper folding was used for decorative and ceremonial purposes. However, the first recorded mention of a similar game resembling a chatterbox is in 18th century Europe, with its popularity spreading throughout the rest of the world in the following centuries.
In recent years, chatterboxes have become widespread through their inclusion in popular culture, such as in movies, TV shows, and children’s books. It has also evolved into various versions and themes, with some featuring cartoon characters or pop culture references.
10 Methods How to Fold a Chatterbox
1. The Traditional Method
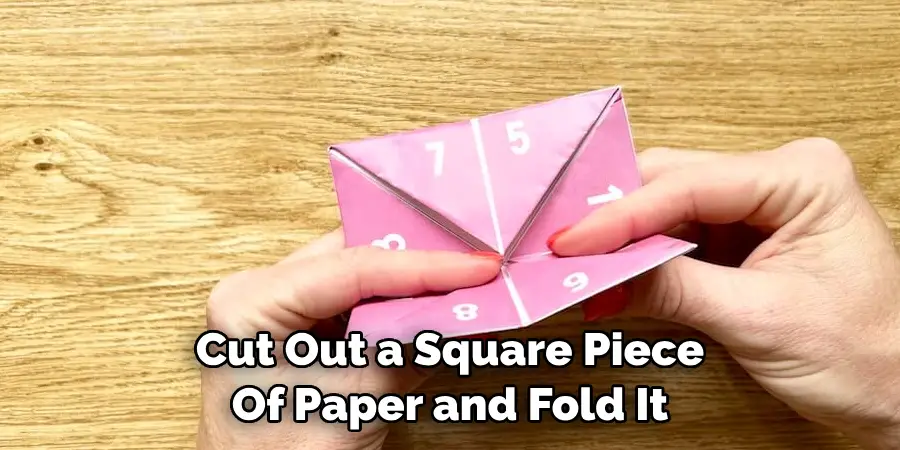
The traditional method of folding a chatterbox is the most popular and recognizable way to make one. To begin, cut out a square piece of paper and fold it in half diagonally. Then, fold each corner into the center of the paper, creating a triangle shape. Finally, flip the triangle over and fold each corner into the center again, creating a smaller triangle shape with four flaps.
2. The Origami Method
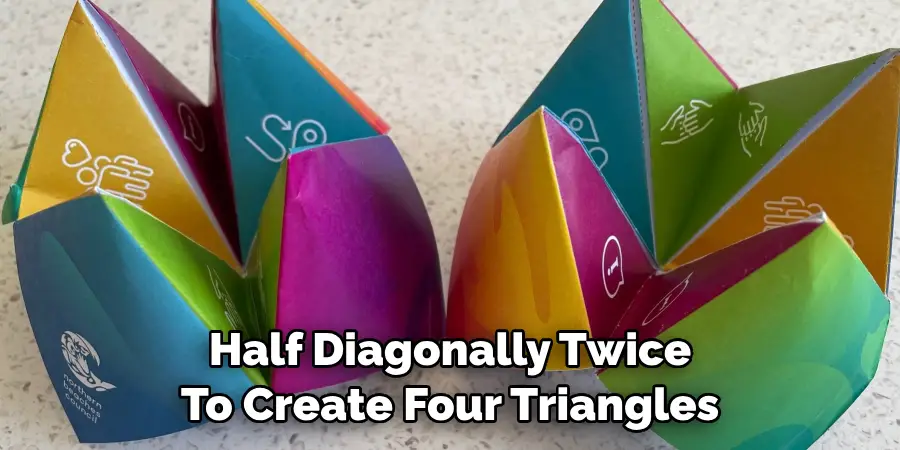
The origami method is another popular way to make a chatterbox. To begin, cut out a square piece of paper and fold it in half diagonally twice to create four triangles. Next, unfold one triangle and then fold it back up so that its point meets the middle crease of the other three triangles. Finally, repeat this process for all four triangles until you have created an eight-pointed star shape with four flaps.
3. The Pyramid Method
The pyramid method is perfect for those who want to add some extra flair to their chatterbox! To begin, cut out a square piece of paper and fold it in half diagonally twice to create four triangles. Then, take two adjacent triangles and fold them together at their points to form a pyramid shape with two flaps on either side. Finally, repeat this process for all four triangles until you have created an eight-sided pyramid with eight flaps.
4. The Spiral Method
The spiral method is great for those looking for something unique! To begin, cut out a square piece of paper and draw an X in the center from corner to corner. Then, starting at one end of the X line, start rolling up your paper around itself until you reach the other end of the X line. Finally, unfold your spiral so that it looks like an eight-pointed star with eight flaps!
5. The Diamond Method
The diamond method is perfect if you want to make a chatterbox that stands out from the rest! To begin, cut out a square piece of paper and draw an X in the center from corner to corner like before but this time draw two lines instead of one – one horizontal line going across and one vertical line going down from top left to bottom right corners (this will be your diamond). Then, starting at one end of either line, roll up your paper around itself until you reach the other end – just like before – only this time, keep rolling until both ends meet in the middle, forming your diamond shape with eight flaps!
6. The Accordion Method
The accordion method is great if you want something that’s quick and easy! To begin, cut out a rectangular piece of paper (it can be any size) and then divide it into thirds by folding it back on itself twice lengthwise so that you have three equal parts when unfolded again (you should also make sure there are no creases in between). Now simply start folding each third back on itself accordion style until you reach your desired size – when finished unfolding, you should have an eight-pointed star shape with eight flaps!
7. The Zigzag Method
If you’re looking for something different, try making your chatterbox using zigzag folds! Start by cutting out a rectangular piece of paper (again, any size will do), then divide it into thirds by folding it back on itself twice widthwise so that when unfolded again, there are three equal parts (you should also make sure there are no creases between them). Now, start folding each third back on itself in a zigzag style until you reach your desired size. When you have finished unfolding, you should have an eight-pointed star shape with eight flaps!
8. The Flower Method
For something truly unique, try making your chatterbox using flower folds! Start by cutting out a circular piece of paper, then divide it into fourths by folding it back on itself twice clockwise so that when unfolded again, there are four equal sections (you should also make sure there are no creases between them). Now start folding each section back on its flower style until all sections meet in the middle, forming your flower-shaped chatterbox with eight petals/flaps!
9. The Starburst Method
If you’re looking for something dynamic, try making your chatterbox using starburst folds! Start by cutting out an octagonal-shaped piece of paper, then divide it into eighths by folding each side inward towards its opposite side so that when unfolded again, there are eight equal sections (you should also make sure there are no creases between them). Now start folding each section inward towards its opposite side starburst style until all sections meet in the middle, forming your starburst-shaped chatterbox with eight points/flaps!
10. The Layered Method
The layered method is perfect if you want to add some depth and dimension to your chatterbox. To begin, cut out a square piece of paper and fold it in half diagonally twice to create four triangles. Then, unfold one triangle and cut along the crease line until you reach the center of the paper. Repeat this process for all four triangles until you have created a square with eight flaps. Finally, fold each flap inwards towards the center and tuck them into each other to create a layered effect.
Things to Consider When Folding a Chatterbox
When it comes to folding a chatterbox, there are a few things to keep in mind. While the process may seem simple, there are certain considerations that can make all the difference in the final product.
First and foremost, choose your paper wisely. A thicker or sturdier paper will hold its shape better and be more durable over time. This is especially important if you plan on using the chatterbox multiple times.
Next, make sure to follow the crease lines carefully. Incorrectly folded creases can lead to a lopsided or misshapen chatterbox. It’s also important to fold each section neatly and accurately for a cleaner finished product.
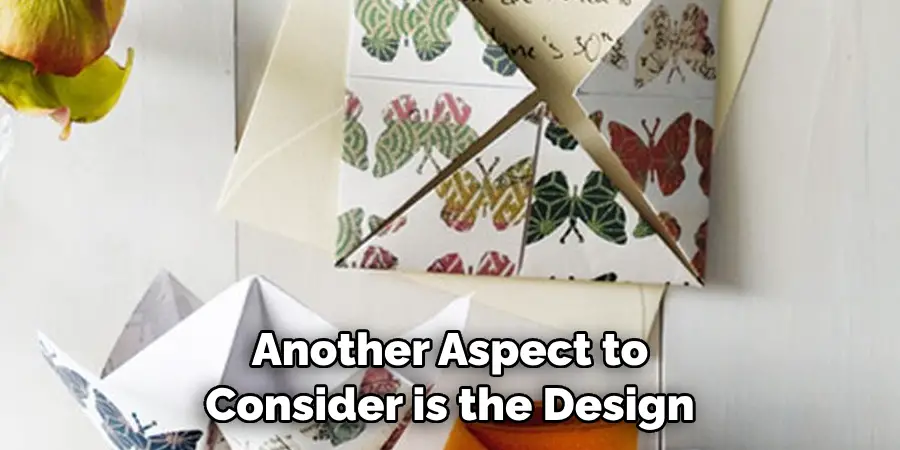
Another aspect to consider is the design of your chatterbox. You can get creative and personalize the outside with colors, patterns, or even drawings. However, keep in mind that overly intricate designs may be difficult to fold and may not hold up as well.
Conclusion
Learning how to fold a chatterbox is an exciting activity that can lead to hours of fun for all ages! And now that you have all the steps, hopefully you’ll be able to fold one with ease. After all, practice makes perfect – so try it out and make the most of your conversation piece for future parties,
family gatherings or just any small get-together! Get creative with the patterns and colors, make a few different shapes and sizes – no matter how you fold it, your chatterbox will definitely be something to talk about. It’ll even serve as a great way to pass the time in between conversations! So don’t delay any longer – try folding a chatterbox today and see just how much joy it can bring into your life!

