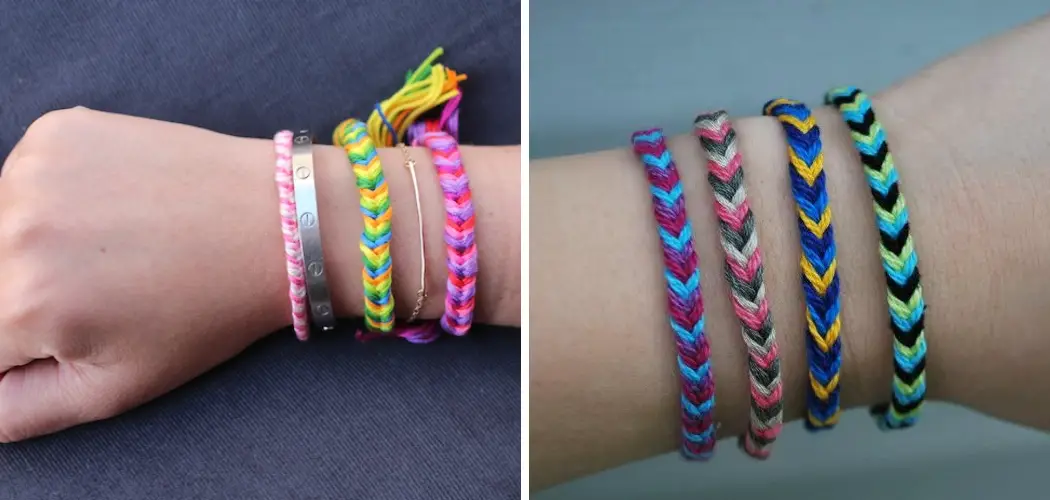
Are you looking for a creative way to spruce up your crafts? Maybe something that will make them more eye-catching and unique? Are you looking for a stylish, unique bracelet to complete your look or add a touch of texture to the décor of your craft project? Look no further than the fishtail braid bracelet–the perfect combination of fashion and function!
This eye-catching accessory is both beautiful and easy to create with just a few basic supplies.
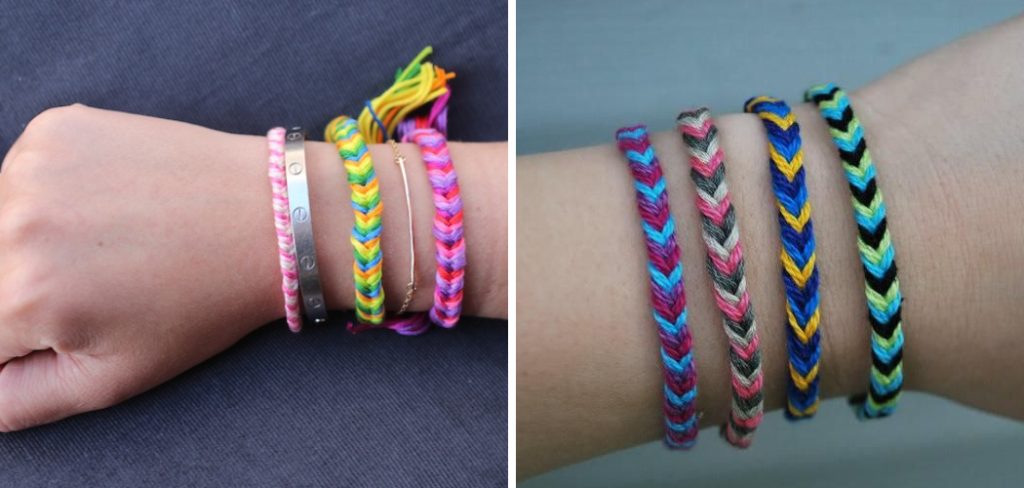
Whether you’re an experienced crafter or someone who’s never tackled this type of project before, this tutorial will teach you how to put together the perfect fishtail braid bracelet in record time. This simple but intricate method is perfect for giving any craft project an individual touch.
Whether you use it alone or as decoration on another item, this design never fails to add personality and charm. Check out these simple steps on how to fishtail braid bracelet today, and get ready to show off your beautiful creation!
What is Fishtail Braid Bracelet?
Fishtail braid bracelets are a type of bracelet made up of multiple strands of cord or thread braided together into an intricate and eye-catching design. The result is a stylish and unique accessory that looks great with any outfit.
This method of weaving is also known as the ‘fishbone’ technique, as it resembles the vertebrae of a fish skeleton. This style is perfect for making a statement piece that will be sure to grab attention.
Is It Difficult to Make Fishtail Braid Bracelet?
The great thing about making a fishtail braid bracelet is that it does not require much in the way of materials or tools. All you need is some cord, thread, or yarn and a pair of scissors. It is also one of the easier forms of braiding to master, so even a beginner can achieve professional-looking results with minimal effort.
Tools You Will Need
- 2 colors of embroidery floss, cord, or thread (at least 12 inches)
- Scissors
- Lighter (optional)
10 Instructions on How to Fishtail Braid Bracelet
1. Gather Supplies
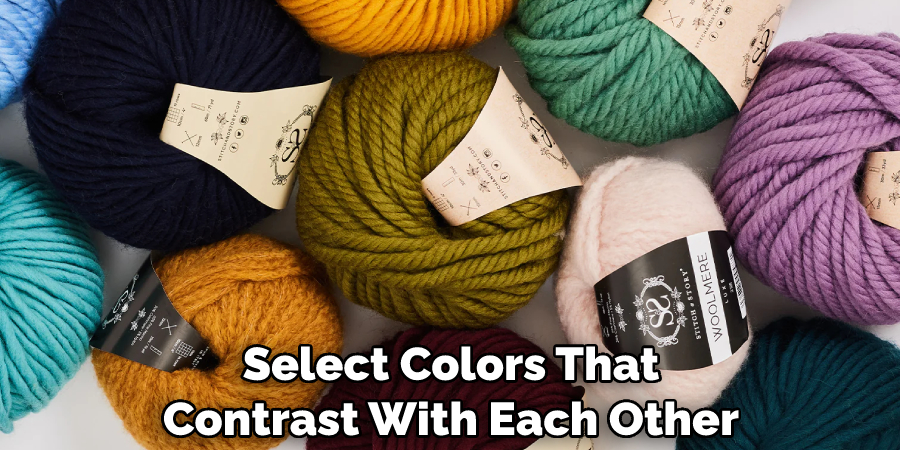
Start by gathering your supplies, including two colors of embroidery floss, cord or thread (at least 12 inches long), and a pair of scissors. If you can, select colors that contrast with each other for maximum effect.
2. Cut the Threads
Cut four lengths of thread from each color so you have eight threads in total. Make sure the threads are at least 12 inches long to ensure you have enough material to complete your project. The threads should be the same length.
3. Tie a Knot
Take two threads (one of each color) and tie a knot at one end, creating an anchor for your braid. Secure all eight threads together in this way to form your starting point. The knot should be tight enough to hold the threads in place.
4. Separate Threads into Two Groups
Separate the eight strands of thread into two equal-sized groups, four threads per group. One set will contain all four of one color, and the other set will have all four of the other color. These two groups will form the basis of your braid.
5. Begin Braiding
Start braiding by taking the rightmost thread in the left group and crossing it over the two center threads of your left group, then take the leftmost thread from your right group and cross it over the two center threads. Keep alternating between these two steps until you reach the end of the threads.
6. Tighten and Pull Threads
Once you have finished braiding, it is time to tighten and pull the threads. Use your fingers or a crochet hook to gently pull the braid tight, and make sure that all eight threads are even in length. This will ensure that your braid looks even and neat.
7. Tie a Knot
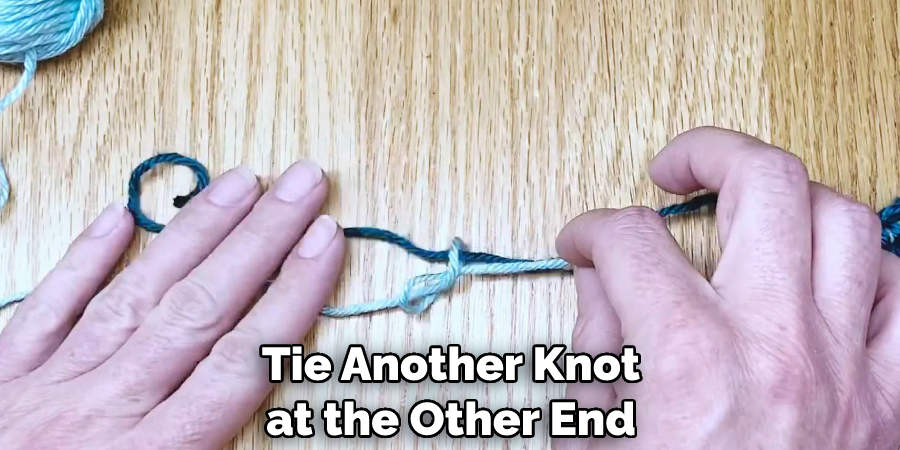
Once your threads are taut, tie another knot at the other end of the strands to secure them in place. Make sure this knot is just as tight as the first one so that your braid does not unravel. Trim any excess thread if necessary.
8. Add a Closure
To finish off your bracelet, you will need to add a closure. A simple knot or loop can be used, but for a more secure closure you may want to use crimp beads or even jewelry clasps. You can also attach charms or pendants to the braid by using wire or jump rings.
9. Burn the Ends
Burning the ends of your bracelet is not necessary, but it will help prevent fraying and make the bracelet look more finished. Use a lighter to lightly melt each end of your braid, then pinch the threads together while the melted thread is still soft and pliable. This will prevent fraying and help keep your bracelet secure.
10. Wear and Enjoy!
Your fishtail braid bracelet is now complete! It can be worn as a standalone statement piece or layered with other bracelets for maximum impact. Have fun wearing it and showing off your handiwork!
With just a few simple supplies and easy-to-follow steps, you can create beautiful fishtail braid bracelets in no time. The possibilities for creative styling are virtually endless! So give this project a try, and craft up something unique that you can wear with pride.
8 Maintenance Tips for Fishtail Braid Bracelet
Once you’ve mastered the art of fishtail braiding, it’s important to know how to maintain your bracelet so that it looks great and lasts as long as possible. Here are 8 maintenance tips to keep in mind when taking care of a fishtail braid bracelet:
1. Clean your bracelet regularly. Keeping it free of dirt or other debris will help to preserve the look and condition of the braid. While cleaning, be sure to use a soft cloth or brush and avoid submerging the piece in water.
2. Check for any weak or frayed strands. If you notice one, use scissors to snip off the damaged strand and then re-braid the bracelet with fresh strands. Also, periodically trim the ends of your bracelet to keep the braid looking neat.
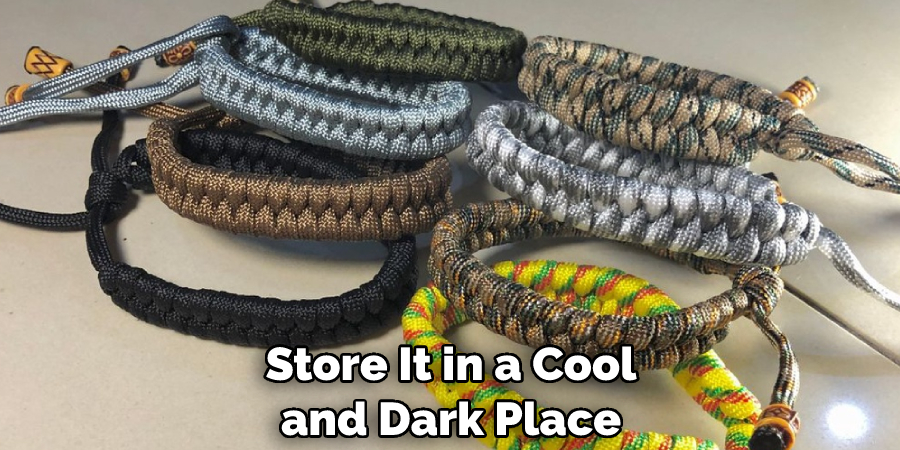
3. Store your bracelet away from direct sunlight, which can cause the colors in the strand to fade over time. Instead, store it in a cool and dark place when not wearing it. Storing it in a jewelry box or soft pouch is ideal.
4. Avoid wearing your bracelet while swimming, showering, or doing any other activities that can cause it to get wet or dirty. Also, don’t wear it while gardening, performing any manual labor, or exercising, as sweat and dirt can damage the braid.
5. Avoid exposing your bracelet to harsh chemicals, such as cleaning products or perfumes. These can cause the colors in the braid to fade and also weaken the strands over time.
6. Apply a light coat of conditioner or oil to the finished braid every month or so to keep it looking glossy and healthy. Light coatings of beeswax can also be used for added protection. Also, consider using a specialized fabric protector to help prevent water and dirt from staining the strands.
7. When not wearing the bracelet, do not leave it in direct contact with other jewelry items, as this can lead to tangles or knots. Instead, store each piece of jewelry separately in its own pouch or box.
8. Have your bracelet professionally inspected and cleaned every few years to ensure that it stays in good condition. This will help to keep the braid looking vibrant and strong for many years to come.
Following these tips will help you get the most out of your fishtail braid bracelet, so be sure to give them a try! With proper care, your bracelet will stay looking great for years to come.
Frequently Asked Questions
Is Fishtail Braid Bracelet Durable?
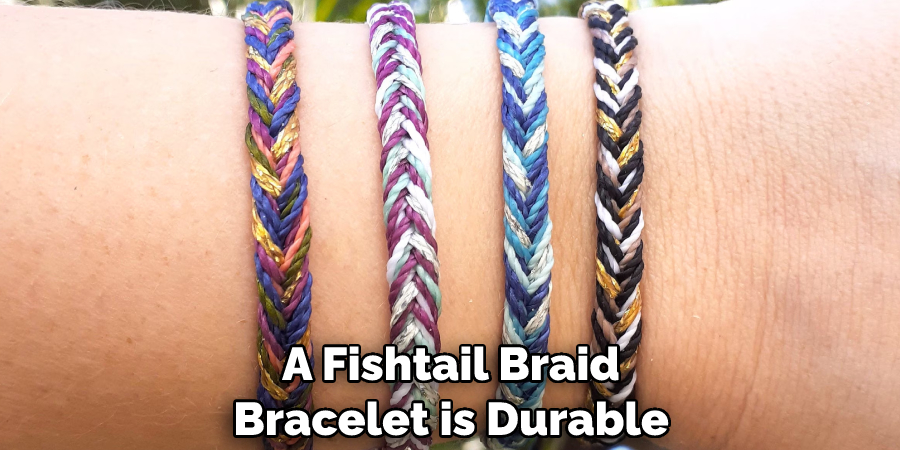
Yes, a Fishtail Braid Bracelet is durable. It should last for years with proper care. The materials used are strong, and the braid technique ensures that it won’t easily come undone. It will be a long-lasting accessory to add to your collection.
Can I Make a Fishtail Braid Bracelet with Different Colors?
Yes, you can use different colors when making a Fishtail Braid Bracelet. This will allow for more creative designs and patterns. You can also add beads or charms to the braid for a unique look. It will be a one-of-a-kind piece that will make for an eye-catching accessory.
Conclusion
Overall, the fishtail braid bracelet is a timeless and classic piece of fashion craft. It’s also something that you can easily create with just a few materials and this guide on how to fishtail braid bracelet. The best part? Whether you have long flowing hair or short locks, anyone can make this beauty.
With practice, you will get even better. So why not pick up a few differently colored strings and give it a try!
You don’t need to be an expert crafter to make this amazing braid bracelet. Unleash your creative side and have some fun with it! No matter what color or combination of colors you choose, your fishtail braid bracelet will undoubtedly draw attention to your wrist – and possibly draw in compliments – wherever you wear it!

