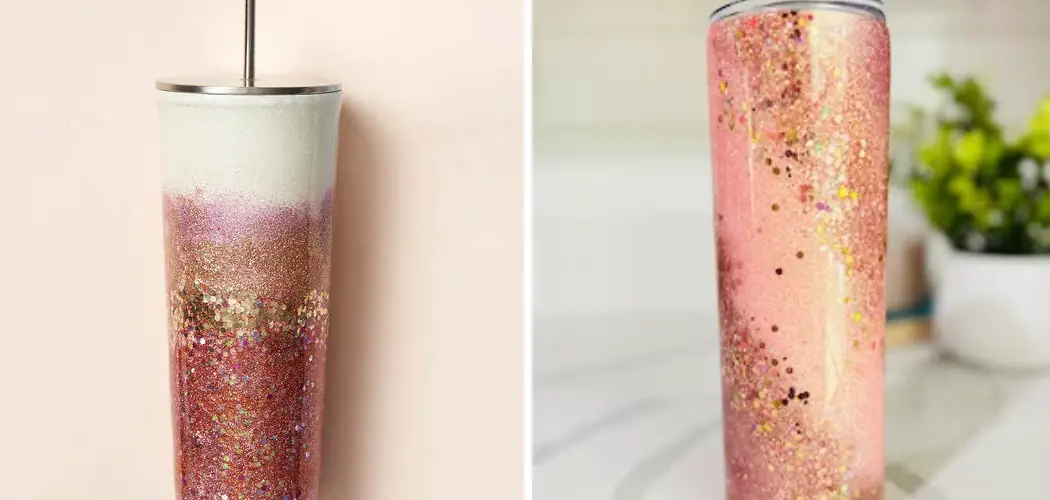
If you’re looking for a way to customize your tumbler and add some extra flair, epoxy can be the perfect finishing touch! Whether you want an intricate design or something abstract with pops of color, there are tons of options available.
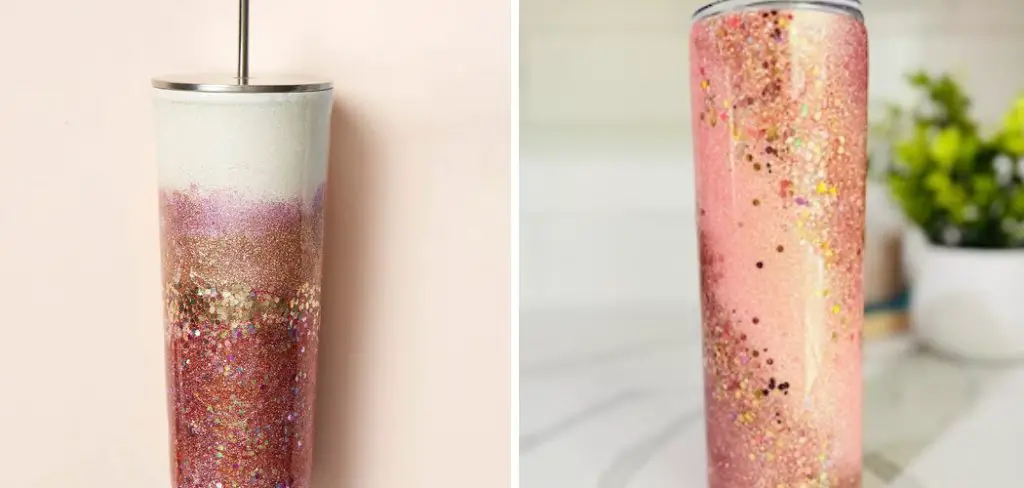
With epoxy’s versatile properties, it allows you to create an array of designs that will help turn your plain glass into a stylish statement. While this method does require patience and skill, we have compiled all the information and steps on how to epoxy tumblers needed in order to make sure that when it comes time for you to apply epoxy onto your tumbler it’s done right!
What is Epoxy?
Epoxy is a type of polymer resin that, when mixed with a hardener, creates a strong and durable adhesive material. It’s commonly used in construction, woodworking, and crafts due to its ability to bond and seal various materials together.
When applied onto tumblers, epoxy can provide a glossy finish that not only makes the design pop but also helps to protect it from scratches and wear.
Materials Needed
- Epoxy Resin and Hardener
- Tumbler
- Gloves
- Stir Sticks
- Measuring Cups/spoons
- Disposable Cups for Mixing
- Foam Brush or Sponge Brush
- Paper Towels or Cloth for Clean-up
12 Step-by-step Guidelines on How to Epoxy Tumblers
Step 1: Prep Your Workspace
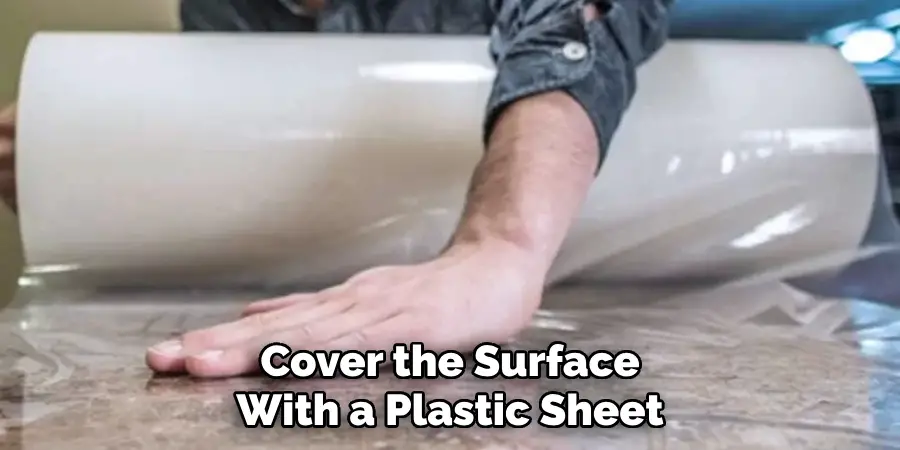
Make sure you have enough space to work and that it is clean. Cover the surface with a plastic sheet or wax paper to avoid any mess. It’s important to work in a well-ventilated area as epoxy can have strong fumes. But, don’t worry, it’s non-toxic once cured. You can also wear a mask if you’re sensitive to fumes.
This will also ensure that you don’t inhale any dust or particles. You also want to ensure your tumbler is clean and dry before you begin the epoxy process.
Step 2: Clean the Tumbler
Before starting, make sure your tumbler is clean and free from any dust or debris. Wipe it down with rubbing alcohol or soap and water, then dry it thoroughly. It’s crucial to have a clean surface for the epoxy to adhere properly. But, be careful not to leave any lint or fibers from the cloth on your tumbler. This can affect the final result. Although it is not necessary, you can also sand the tumbler lightly to help the epoxy bond better.
Step 3: Choose Your Design
Decide on the design you want for your tumbler. You can use vinyl stickers, decals, or paint to create your own design. Make sure the design is ready and in place before applying epoxy. It’s best to let it dry or cure before moving on to the next step.
You can also skip this step and just apply a coat of epoxy for a smooth finish. However, adding a design can make your tumbler look even better! You can even add glitter, gems, or other embellishments for a more unique look.
Step 4: Mix the Epoxy
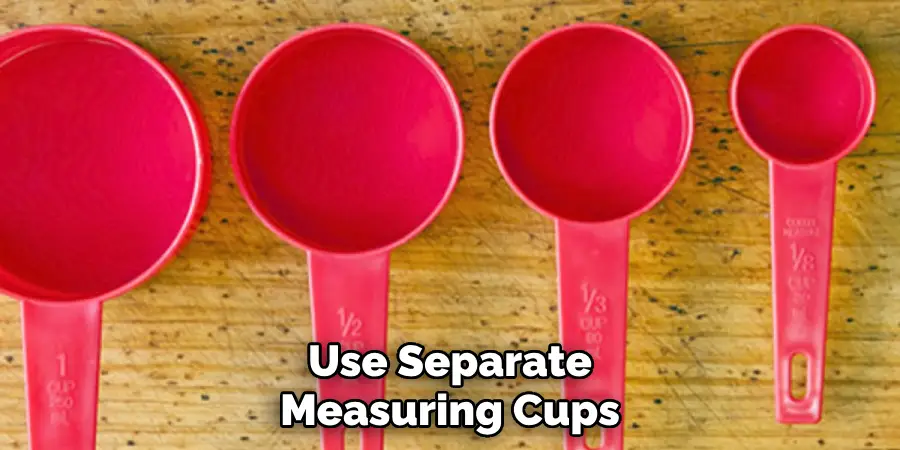
Follow the instructions on the package to mix your epoxy resin and hardener. Make sure to measure accurately, as an incorrect ratio can result in sticky or tacky epoxy. Use separate measuring cups and stir sticks for each component to avoid cross-contamination. It’s important to mix the epoxy thoroughly for about 3-4 minutes until it is completely clear.
You can also add in some acrylic paint or alcohol ink for color, but be mindful not to add too much as it can affect the curing process.
Step 5: Prepare the Tumbler
Place your tumbler on a turntable if you have one. This will make applying epoxy easier and allow it to spread evenly. You can also use a foam brush or sponge brush to cover the tumbler in a thin layer of epoxy, also known as a flood coat. This will help the next layers of epoxy adhere better and prevent any air bubbles. It’s important to work quickly as epoxy can start to cure within 30 minutes.
Step 6: Apply Epoxy
Use your foam brush or sponge brush to apply a thin and even layer of epoxy on your tumbler. Start at the top and work your way down, making sure to cover all areas. It’s important to apply thin layers of epoxy as thick layers can lead to drips and an uneven finish. But, don’t worry if you miss a spot or have some streaks, you can always apply another layer later. It’s better to build up thin layers instead of applying too much at once.
Step 7: Pop Air Bubbles
After applying the first layer, you may notice some air bubbles forming on the tumbler. You can use a heat gun or blow dryer on a low setting to gently pop these bubbles. Be careful not to hold it too close or for too long as it can create uneven heat and cause the epoxy to cure prematurely.
It’s best to let the tumbler sit for a few minutes and then come back to check for any air bubbles. You can also use a toothpick or straw to pop any remaining bubbles.
Step 8: Adding Additional Layers
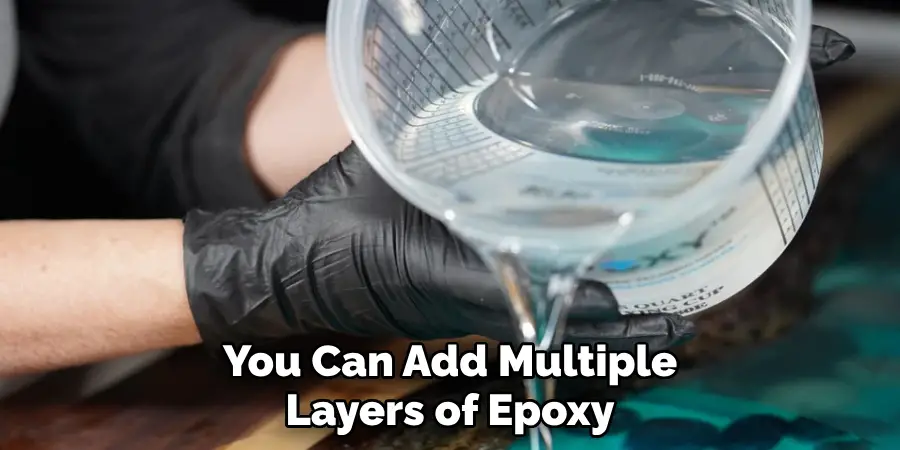
You can add multiple layers of epoxy depending on the desired thickness. It’s recommended to wait about 4-6 hours in between each layer, or until the previous layer is tacky but not fully cured. This will help the layers bond together and prevent any drips or runs. Make sure to pop any air bubbles after each layer. But, remember not to apply too much epoxy at once. Otherwise, it can lead to drips and an uneven finish.
Step 9: Cure Time
Once you’ve achieved your desired thickness and design, let the tumbler cure for at least 24 hours. You can place it in an area with low traffic or on a turntable to ensure even curing. Avoid touching or moving the tumbler during this time as it can cause fingerprints or smudges.
You can also cover the tumbler with a large cup or plastic container to prevent dust from settling on it. However, make sure it’s not touching the tumbler as the epoxy can adhere to it.
Step 10: Check for Imperfections
After 24 hours, you can check your tumbler for any imperfections. If there are any drips or uneven spots, you can use a razor blade or sandpaper to smooth them out. Just be careful not to scratch or damage the design. You can also use a clear coat of epoxy to fix any imperfections. You can add a final layer of epoxy for extra shine and protection. It’s best to wait another 24 hours before using your tumbler.
Step 11: Clean-up
Clean up any mess or spills with a paper towel or cloth and rubbing alcohol. It’s important to clean up any uncured epoxy before it dries as it can be difficult to remove once cured. You can also use hot water and soap for clean-up, but make sure to protect your hands with gloves.
Otherwise, you can dispose of any leftover epoxy and disposable cups properly. You don’t want to pour it down the drain as it can harden and clog your pipes. It’s best to follow the disposal instructions on the package.
Step 12: Enjoy Your Epoxy Tumbler
Congratulations, you’ve completed the process of epoxy tumbling! Now, you can use your tumbler for hot or cold drinks without worrying about damaging the design. But, remember to hand wash it with mild soap and water to keep it in good condition. Avoid putting it in the dishwasher or using abrasive cleaners as it can scratch the epoxy.

Enjoy your unique and personalized tumbler! Always remember to use proper safety precautions when working with epoxy and dispose of materials responsibly. Happy tumbling!
Following these steps on how to epoxy tumblers, you can create a variety of designs and styles for your epoxy tumblers. You can also experiment with different types of glitter or add in some decals or stickers for a more intricate design. Epoxy tumbling is a fun and creative way to personalize your tumblers and make them stand out from the rest.
So, go ahead and try it out for yourself and see the beautiful results! Keep in mind that it may take some practice to perfect your technique, but don’t be discouraged. With each tumbler you make, you’ll learn something new and improve your skills.
Do You Need to Use Professional Equipment?
One of the great things about epoxy tumbling is that you don’t necessarily need professional equipment to get started. Many beginners start with basic, affordable tools like foam brushes and a heat gun or blow dryer.
However, as you continue to create more tumblers, you may find it beneficial to invest in higher-quality tools such as an epoxy dispenser gun or silicone brushes for a smoother finish. Ultimately, the choice is yours and it’s important to use what works best for you.
Safety Precautions
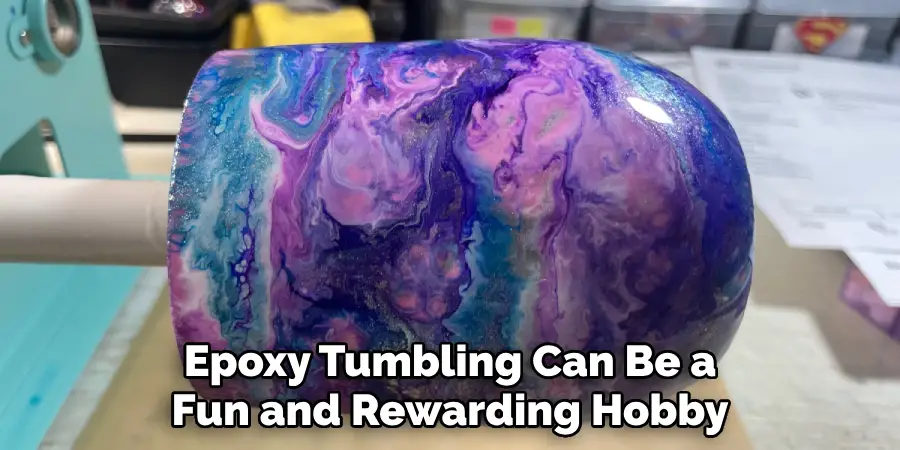
While epoxy tumbling can be a fun and rewarding hobby, it’s important to take certain safety precautions before starting. Make sure to work in a well-ventilated area and wear gloves and protective eyewear when handling epoxy. If you have any sensitivities to chemicals, it’s best to consult with a doctor before beginning. Additionally, keep epoxy and all related materials out of reach of children and pets.
Frequently Asked Questions
Q: How Long Does It Take for Epoxy to Cure on a Tumbler?
A: Epoxy generally takes 24 hours to fully cure on a tumbler. However, it’s recommended to wait at least 72 hours before using the tumbler to ensure the epoxy has fully cured. It’s important to follow the instructions provided by the specific epoxy product you are using for best results.
Q: Can I Use Any Type of Tumbler for Epoxy Tumbling?
A: While many types of tumblers can be used for epoxy tumbling, it’s important to choose one that is made of a material that can withstand high temperatures. Stainless steel or insulated tumblers are recommended as they can handle hot liquids without warping.
Q: Can I Epoxy Tumble Other Items Besides Tumblers?
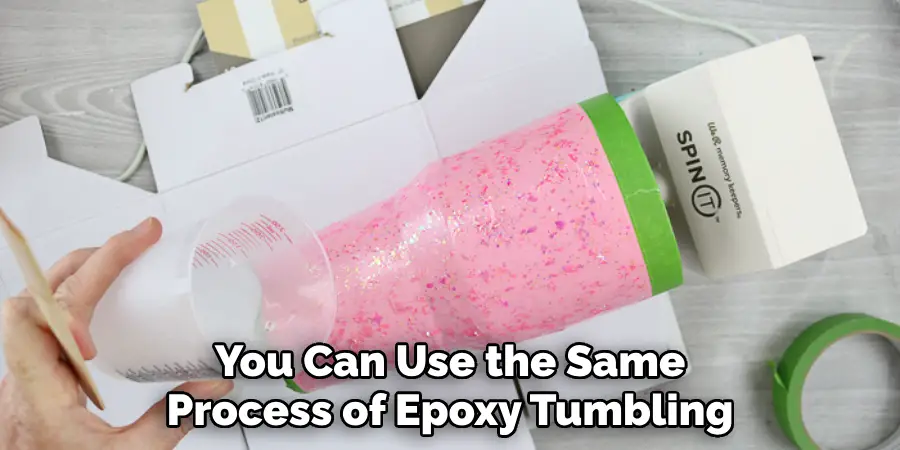
A: Yes, you can use the same process of epoxy tumbling for other items such as phone cases, coasters, or even jewelry. Just make sure to choose an appropriate type of epoxy for the material you are using. You can also experiment with different shapes and sizes of items to create unique designs.
Q: Can I Use Regular Glitter for Epoxy Tumbling?
A: It’s not recommended to use regular craft glitter as it can bleed or fade when mixed with epoxy. Instead, use high-quality glitter specifically made for epoxy tumbling for best results. You can find a. variety of colors and sizes online or at craft stores.
Overall, it’s important to have fun and be creative with your epoxy tumbling projects. With practice and patience, you can create beautiful and unique designs that will make your tumblers stand out. Happy tumbling!
Conclusion
In conclusion, epoxy tumblers make a unique and eye-catching addition to any home. There is no better way to show off your creative skills as you craft personalized items that truly express your style. With the right supplies and techniques, anyone can learn how to epoxy tumblers. Don’t be afraid to experiment with bold colors or glitter for a sparkly end result.
All that’s left to do now is start brainstorming ideas for your first custom tumbler! Jump in with both feet and turn your visions into reality – the possibilities are limitless! So why not try it out today? Get crafting and don’t forget to take a picture when you’re done, so friends and family can take note of your new epoxy tumbler masterpiece!

