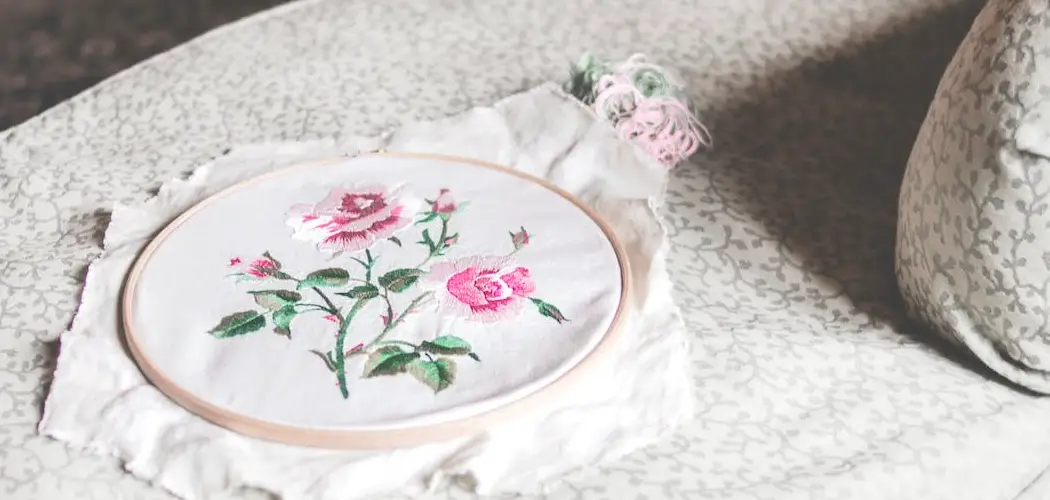
Embroidery is an art form that has been around for centuries. It involves using needle and thread to decorate and enhance fabric in various patterns and designs. One of the most popular designs in embroidery is roses. They are beautiful and timeless and can be embroidered onto any fabric to create a stunning piece of art. In this article, we will show you how to embroider roses onto fabric using just a few basic embroidery stitches.
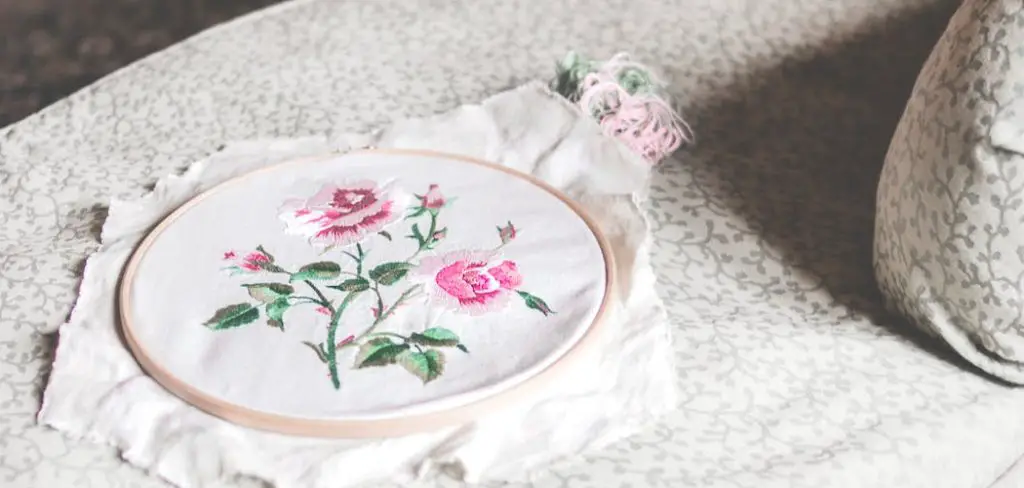
Can You Embroider Roses?
Embroidery has long been a popular pastime, and it’s easy to see why. With just a needle, thread, and a bit of fabric, you can create beautiful works of art that are both functional and aesthetically pleasing. For centuries, one common embroidery motif is the rose, a fixture in art and literature.
Embroidering a rose takes patience, skill, and attention to detail, but the end result is worth the effort. With the right technique and tools, you can bring your embroidery to life and add a touch of elegance and beauty to any project. So, can you embroider roses? The answer is yes, and with some practice, you’ll be amazed at what you can create.
Why Should You Embroider Roses?
Embroidering roses is a timeless craft that has been adored for generations. Not only is it a calming and meditative practice, but it also produces stunning results. The intricate embroidery work required to create a realistic rose is satisfying and rewarding, as the end product is a beautiful piece of art that can be displayed and enjoyed for years to come.
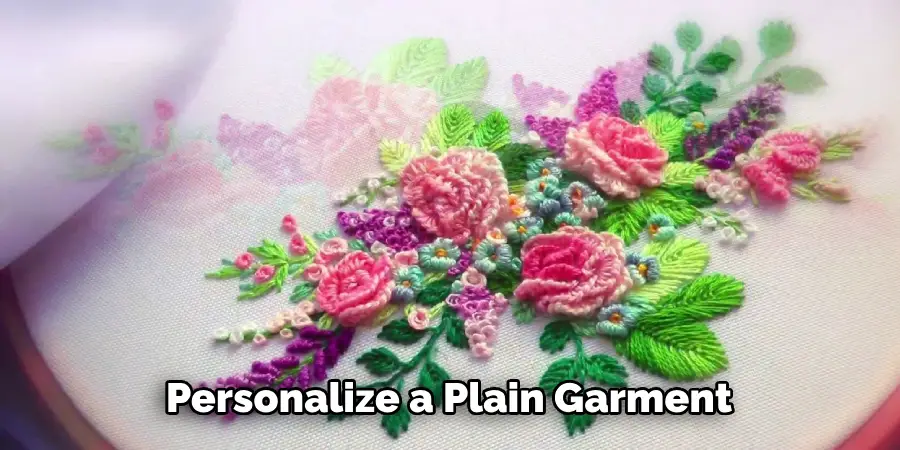
Embroidery is a great way to personalize a plain garment or accessory; roses add an elegant touch to any item. With various colors and styles, it’s easy to create a unique and beautiful rose to suit any taste or occasion. Whether you’re a novice or an experienced embroiderer, stitching roses is a wonderful way to express creativity and produce something truly special.
7 Steps to Follow on How to Embroider Roses
Step 1: Choose Your Fabric and Thread
The first step in embroidering roses is to choose your fabric and thread. You can use any type of fabric, but it’s best to choose one that is. Thread choice is also important, and cotton embroidery floss works best for this project. Choose colors that will complement each other and will look good together.
Step 2: Transfer Design
Next, you need to transfer your rose design onto the fabric. There are a few ways you can do this:
Freehand: You can draw the design freehand onto the fabric using a pencil or water-soluble fabric pen. This is a great option if you are confident in your drawing skills.
Stenciling: You can also use a stencil to draw the design onto the fabric. Trace the design onto the fabric using a chalk pencil.
Iron-On Transfer: This method involves printing the design onto an iron-on transfer paper, which is then ironed onto the fabric.
Step 3: Start Embroidering
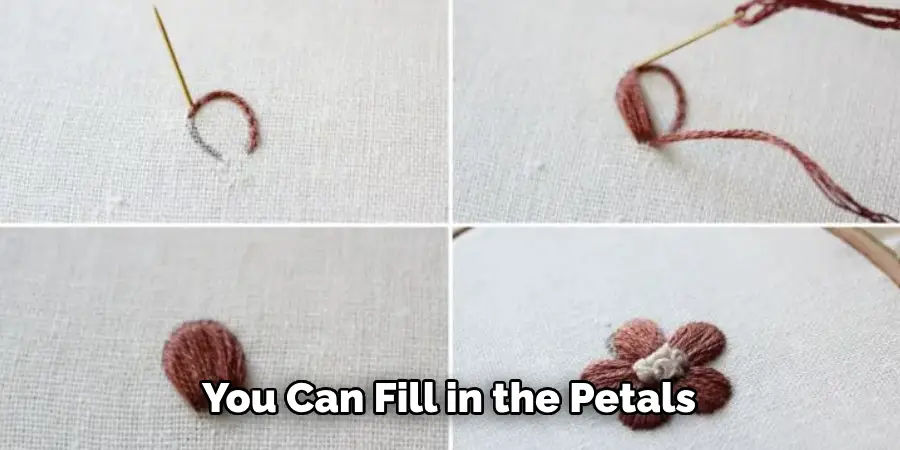
Once you have your design transferred, it’s time to start embroidering. Start with the stem and the leaves of the rose using a backstitch. Then, move on to the petals of the rose. You can fill in the petals using a satin stitch, or you can use the long and short stitch technique for a more realistic effect.
Step 4: Finishing Touches
Once you have embroidered all of the petals of the rose, it’s time to add the finishing touches. Use a French knot to embroider the stamen in the center of the rose, and use a detached chain stitch to embroider the sepals.
Step 5: Frame Your Work
Next, you can frame your beautiful embroidered rose in a frame of your choice. This will protect it from damage and ensure that it stands out on display. Alternatively, you can use your embroidery to decorate clothing or a bag.
Step 6: Add Details
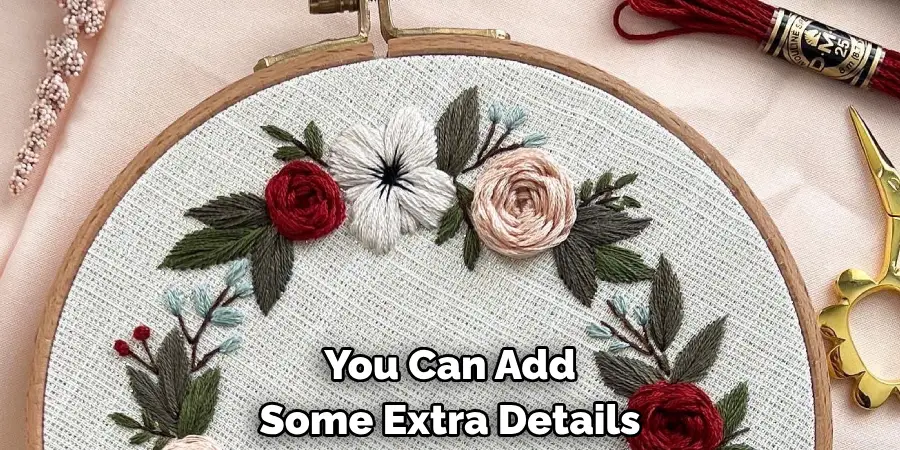
You can add some extra details to make your embroidered rose stand out even more. This could include adding additional flowers or vines around the rose or using different shades of thread to create depth and dimension. Get creative and make it your own!
Step 7: Practice Makes Perfect
Like any skill, embroidery takes practice to perfect. Keep practicing and experimenting with different techniques to create unique and beautiful embroidered roses. With time, you will become more confident in your skills and be able to create stunning embroidery pieces that you can proudly display or gift to others. Remember, the key is to have fun and enjoy the process of embroidering roses. So gather your materials, choose a design, and let your creativity blossom!
5 Considerations Things When You Need to Embroider Roses on Fabric
1. Fabric Type
When embroidering roses on fabric, the type of fabric you use is important. Different fabrics require different thread types and needle sizes. For example, lightweight fabrics such as cotton or linen will require a smaller needle and a thinner thread than heavier fabrics such as wool or velvet. Additionally, some fabrics may need to be stabilized with interfacing to ensure the stitches stay secure.
2. Thread Color
The thread color you use is also important when embroidering roses on fabric. The color should complement the fabric and blend in with the design of the rose. If you use multiple colors, choose colors that work well together and create a cohesive look.
3. Stitch Type
The type of stitch you use when embroidering roses is also important. Satin stitch is often used for larger roses, while stem stitch is often used for outlining the leaves and petals of the rose. Additionally, French knots can add texture and dimension to your design. Experiment with different stitches to find one that works best for your project.
4. Needle Size
The needle size you use when embroidering roses is also important as it will affect how easy it is to sew through the fabric and how visible your stitches are after completion. Generally speaking, smaller needles are better for lighter-weight fabrics, while larger needles are better for heavier-weight fabrics.
5. Embroidery Hoop
Finally, an embroidery hoop can help keep your fabric taut while stitching, which will make it easier to create even stitches and prevent puckering or shifting of your design during the stitching process. Embroidery hoops come in various sizes, so be sure to choose one that fits your project properly for the best results!
5 Benefits of Embroider Roses on Fabric
1. Unique Design
Embroidering roses onto fabric can create a unique and beautiful design that is sure to stand out. Embroidery allows you to customize the design of your roses, giving you the freedom to choose the colors, patterns, and sizes that you want. This means you can create a truly unique piece of art with embroidered roses.
2. Durable
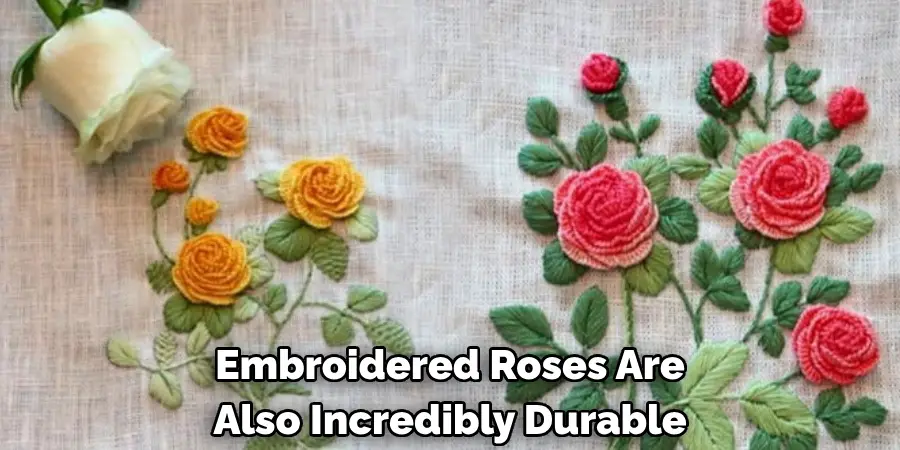
Embroidered roses are also incredibly durable, as the stitching helps to keep them in place for years to come. This makes them ideal for clothing items or other fabric pieces that will be used regularly. Additionally, embroidered roses are less likely to fade over time than those created with other methods, such as screen printing or painting.
3. Cost Effective
Embroidering roses onto fabric is also affordable compared to other decorating methods. As no additional materials are needed beyond thread and fabric, it is often much cheaper than purchasing pre-made designs or using more expensive techniques such as applique or printing. Additionally, since the process does not require any specialized tools or machines, it can easily be done at home without having to invest in expensive equipment.
4. Versatile
Embroidering roses onto fabric is also a very versatile technique that can be used on almost any type of material, including cotton, linen, silk, and even leather! This means you can use this method for projects ranging from clothing items like t-shirts and dresses to home decor pieces like curtains and pillows. Additionally, the same design can be used multiple times in different ways by simply changing up the colors or adding additional details like beads or sequins.
5. Personal Touch
Lastly, embroidering roses onto fabric adds a personal touch that cannot be achieved with pre-made designs or other decoration methods. By taking the time to stitch each rose individually by hand, you create something truly unique that reflects your own style and personality!
3 Common Mistakes People Make When Trying to Embroider Roses on Fabric
1. Not Using the Right Needle
One of the most common mistakes people make when trying to embroider roses on fabric is not using the right needle. It is important to use a needle specifically designed for embroidery, as it will penetrate the fabric more easily and make it easier to create the desired design. Additionally, using the wrong needle can cause damage to the fabric or even break the thread.
2. Not Using Enough Thread
Another mistake people often make when embroidering roses on fabric is not using enough thread. When creating an intricate design such as a rose, it is important to use enough thread to complete your design without running out of thread mid-way through. This means you should always have more than enough thread before starting your project.
3. Not Taking Time To Practice
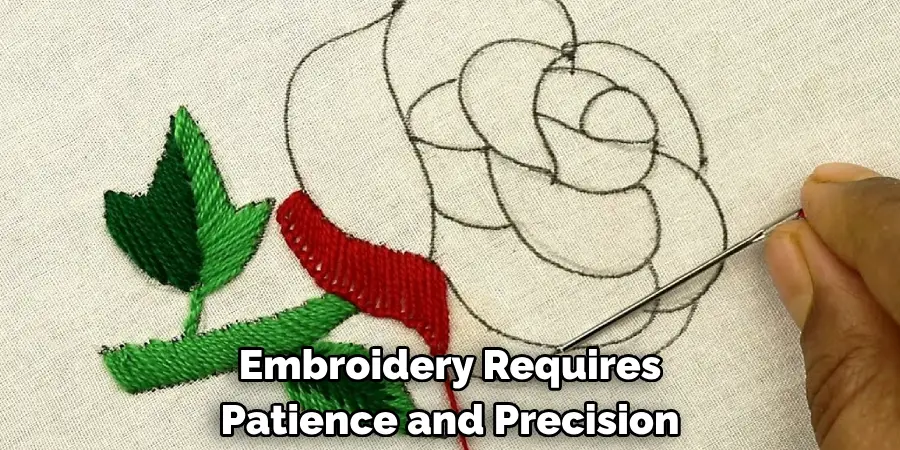
Finally, many people forget to take time to practice before attempting an intricate design like a rose on fabric. Embroidery requires patience and precision, and it takes time to develop these skills. Before attempting a complex design like a rose, it is important to practice basic stitches such as straight stitch and chain stitch until you feel comfortable with them before moving on to more complicated designs.
Conclusion
Embroidering beautiful roses on fabric is not as difficult as it seems, and with a little practice, you can create stunning artwork. Remember to choose your fabric and thread carefully, transfer your design accurately, and focus on the small details of the flower to bring it to life. We hope you find this tutorial helpful and enjoy embroidering roses on all your favorite fabrics! Thanks for reading our post about how to embroider roses.

