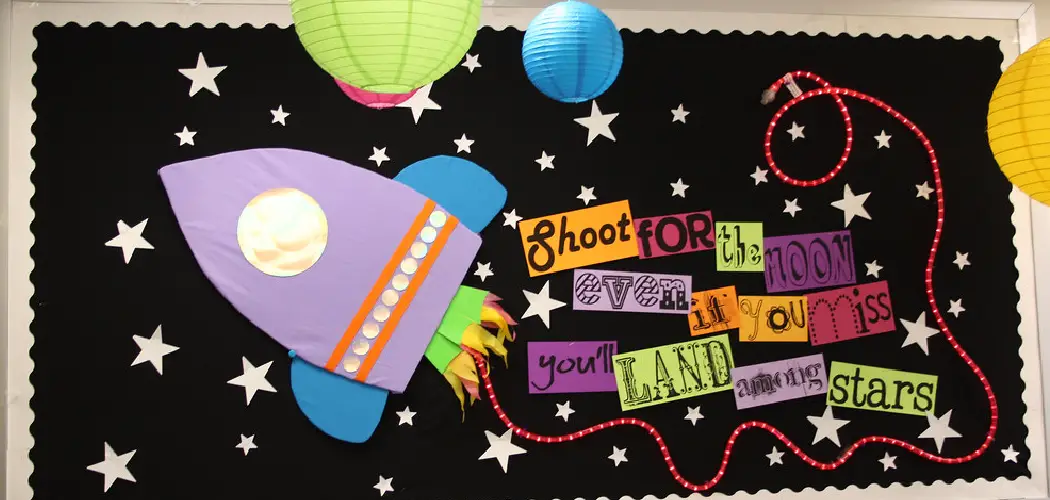
Are you looking for a creative way to make your message stand out? Do you want an impactful way to share information with others? If so, decorating a poster board is the perfect solution! Poster boards have become increasingly popular over the last few years, as people are finding them to be both eye-catching and easy to use.
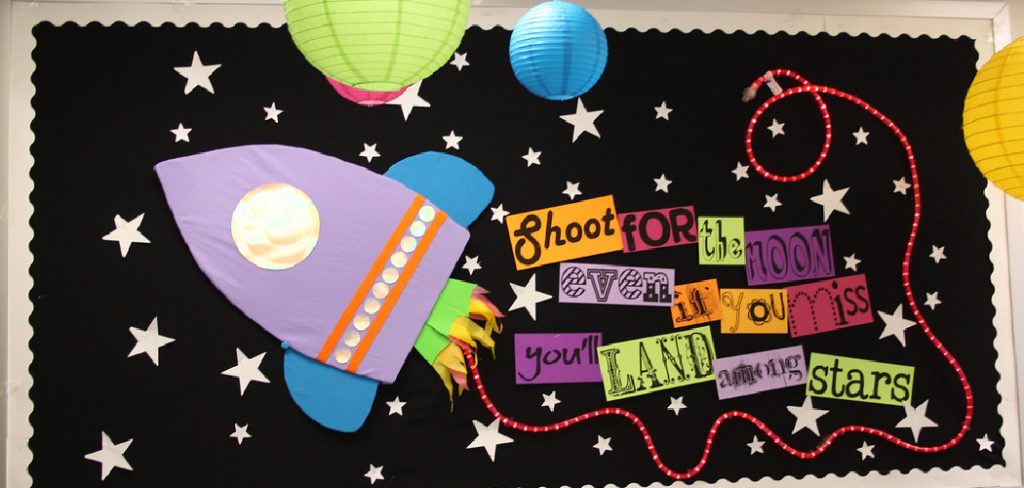
Plus, they are incredibly versatile. You can decorate your poster board however you like – from photographs or drawings to printed text or stickers – making it a great medium for conveying any kind of message. In this blog post on how to decorate a poster board, we’ll show you how easy it is to make a riveting poster board design that will turn heads and leave a lasting impression on those who see it. So grab some colors and creativity and let’s get started!
What is a Poster Board?
Before diving into the decorating process, it is important to understand what exactly a poster board is. A poster board is a large piece of thick paper or cardboard used for creating posters, signs, and displays. They are commonly used in schools, offices, and even at home for various purposes. Their sturdy material makes them suitable for displaying information without worrying about tearing or wrinkling. Poster boards come in various sizes and colors, giving you the freedom to choose one that best suits your needs.
Materials Needed
To create a gorgeous poster board design, here are some materials you’ll need:
Poster Board:
As mentioned earlier, poster boards come in different sizes and colors. Choose one that will work well with your design idea. If you plan on hanging your poster board, make sure it has a pre-punched hole or add one yourself.
Art Supplies:
This includes markers, colored pencils, paints, glitter, and any other supplies you’d like to use for your design. You can also use photographs or printed text if you prefer.
Adhesives:
To stick your decorations onto the poster board, you’ll need some adhesives like glue, double-sided tape or sticky tack.
Scissors:
Cut out shapes and trim excess paper.
Ruler:
To ensure your design is straight and symmetrical, a ruler can come in handy.
10 Simple Step-by-step Guidelines on How to Decorate a Poster Board
Step 1: Plan your Design
Before you start decorating, have a clear idea of what you want your poster board to look like. This will help guide you in choosing materials and layout. You can sketch your design on a separate piece of paper, or if you prefer to freestyle, just have a general idea in mind. But remember – less is more! Don’t overcrowd your poster board, as it can make it difficult to read and take away from the main message. It’s always better to have a simple yet impactful design.
Step 2: Lay Out Your Poster Board
Before decorating, it’s best to lay out your poster board on a flat surface. This will give you a better visual of how everything will fit together and make it easier to arrange your design. It’s also helpful to have a rough idea of where you want each element to go. You can lightly mark your desired placement with a pencil. It doesn’t have to be precise, just a general idea. However, if you prefer to decorate as you go along, that’s perfectly fine too!
Step 3: Start with the Background
Using markers, paints or colored paper, create a background for your poster board. This can be a solid color or multiple colors blended together to create a unique effect. You can also use images or photographs as your background. You can even use different textures like fabric or tissue paper to add depth to your design. But remember, the background should not overpower your main message.
Step 4: Add Text
If you’re including text in your design, now is the time to add it. Whether it’s a catchy phrase or important information, make sure your text stands out and is easy to read. You can use bold colors or fonts to make it more attention-grabbing. You can also print out text if you prefer a neater look. It’s best to place your text in the center or towards the top of the poster board.
Step 5: Use Images
Images are a great way to convey your message without using words. You can either draw your own images, print them out, or use photographs. Make sure the images you choose are relevant to your design and add value to your message. Otherwise, they can be distracting. You can also use images as a border or background for your text. The possibilities are endless with images! If you’re using printed images, make sure to use a high-quality printer for the best results.
Step 6: Get Creative with Borders
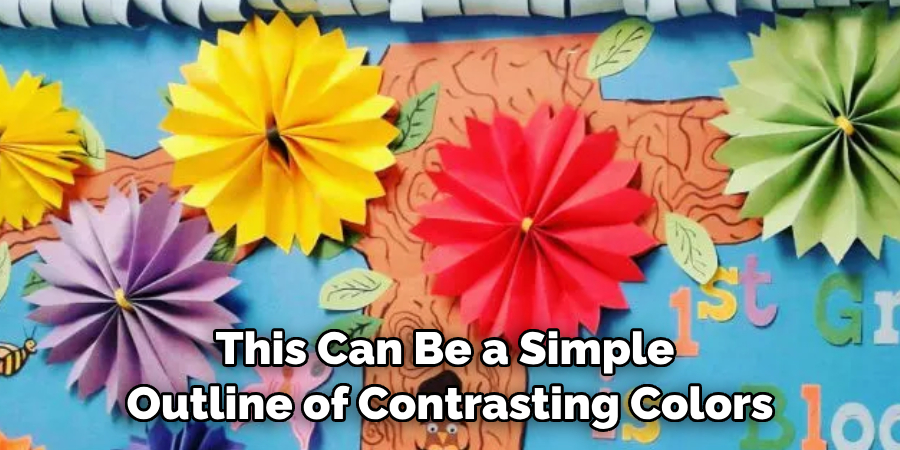
To make your poster board stand out even more, consider adding a border. This can be a simple outline of contrasting colors or a more elaborate design. You can create borders using art supplies, stickers, and other materials you have on hand. But remember not to make your border too distracting, as it should complement your overall design.
Step 7: Add Some Sparkle
Who doesn’t love a little glitter? Adding some sparkle to your poster board will make it pop and add a touch of fun to your design. You can use glitter glue or sprinkle loose glitter onto your poster board and secure it with glue or tape. Just be careful not to go overboard, as a little goes a long way with glitter!
Step 8: Trim Excess Paper
If you have any excess paper hanging off the edges of your poster board, now is the time to trim it. Use scissors and a ruler for straight lines, or you can get creative with different shapes. Just make sure not to cut off any important elements of your design. It’s always best to err on the side of caution and trim less than you think is necessary.
Step 9: Secure Everything in Place
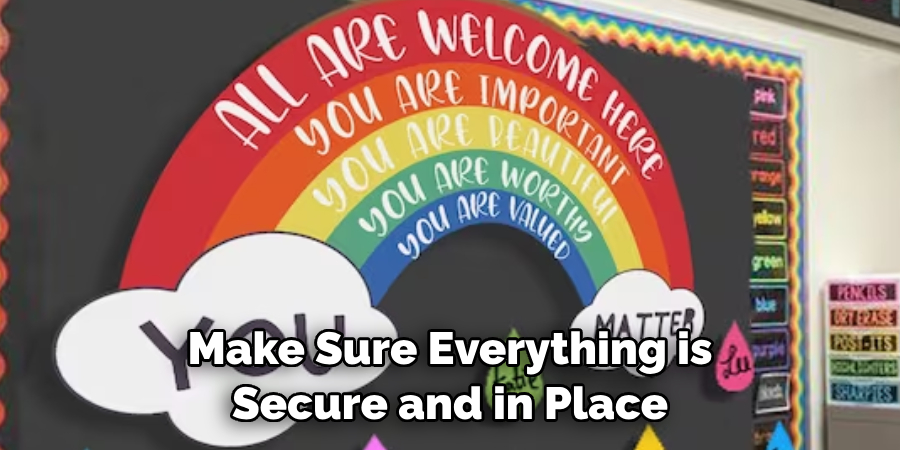
Once you’re happy with your design, use adhesives like glue, double-sided tape or sticky tack to secure everything in place. This will prevent your decorations from falling off or shifting, especially if you plan on hanging your poster board. Make sure to use enough adhesive to keep everything in place but not so much that it becomes visible and takes away from the overall design. Otherwise, it might look messy and unprofessional.
Step 10: Stand Back and Admire Your Work
Congratulations! You’ve successfully decorated a stunning poster board. Now step back and admire your work. Make sure everything is secure and in place, and if there are any last-minute tweaks you’d like to make, go ahead and do them now. Once you’re satisfied with your design, it’s ready to be displayed for all to see! Remember, have fun with the process and let your creativity shine through. Happy decorating!
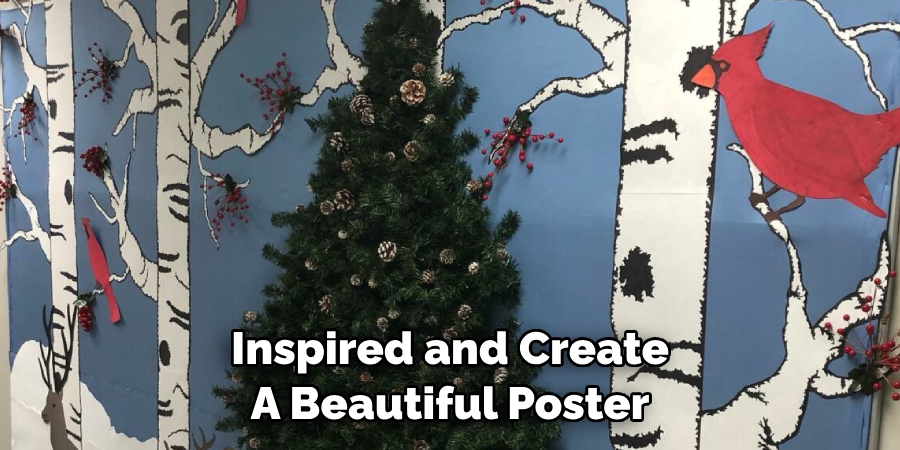
Following your passion is a great way to get inspired and create a beautiful poster board that reflects your personality and message. So take some time to experiment with different art supplies, layouts, and designs until you find what works best for you. Whether it’s for a school project, presentation or event, now you know how to decorate a poster board like a pro!
How Much Could It Cost?
Decorating a poster board doesn’t have to break the bank. You can find most supplies at your local dollar store or use recycled materials from around the house. You can also get creative and make your own art supplies by using household items like sponges, cotton swabs, and even vegetables! Don’t be afraid to think outside the box and have fun with it. Remember, the most important part is expressing your creativity and delivering your message effectively. So don’t stress about how much it will cost, just enjoy the process!
Frequently Asked Questions
Q1: Can I Use Digital Elements for My Poster Board?
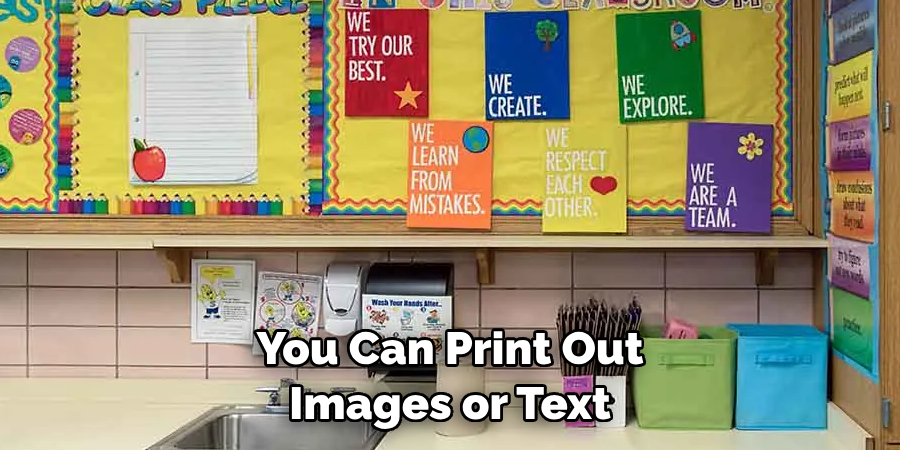
A1: Yes, you can! You can print out images or text, or even use digital drawing software to create your design. Just make sure to print on high-quality paper for the best results.
Q2: How Long Does It Take to Decorate a Poster Board?
A A2: It depends on the complexity of your design and how much time you spend on each step. You can take anywhere from 30 minutes to a couple of hours. Just make sure to plan ahead and give yourself enough time before your deadline.
Q3: What If I Make a Mistake?
A3: Don’t worry, mistakes happen! The great thing about decorating a poster board is that you can easily cover up any errors with other decorations or start over on a fresh piece of paper. Remember, it’s all about the process and having fun! So don’t be afraid to make mistakes and learn from them.
Conclusion
Now that you are armed with the know-how to create and design a show-stopping poster board, be sure to take your time and have fun. Relax, enjoy the creative process, and think outside of the box. Let your creativity soar! And don’t forget to design something that everyone will love–including yourself.
Go ahead and give it a try; you will be pleasantly surprised at what you can create! Take pride in your work, snap a picture of it when you finish, and share the finished product with family and friends so they can admire your handiwork too. After all, they need to see how artistic you are! Thanks for reading this article on how to decorate a poster board.

