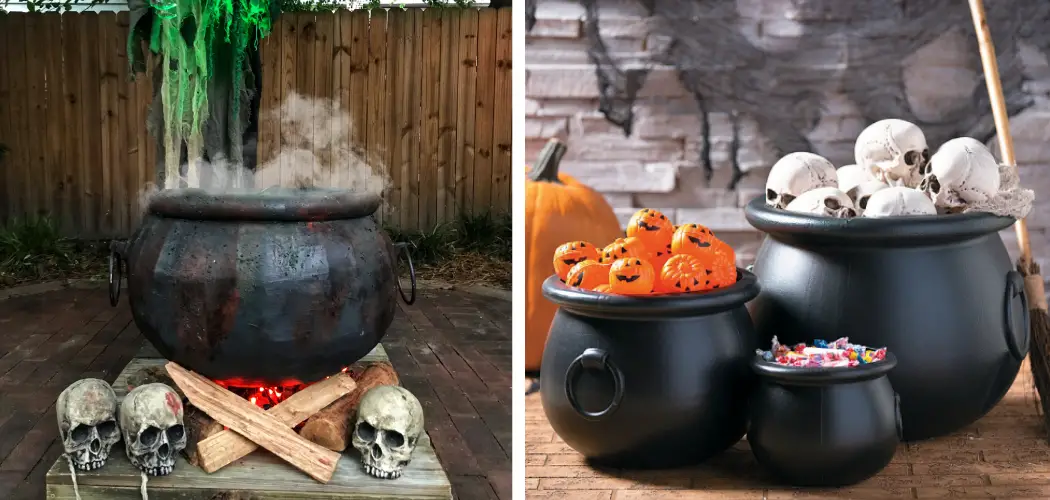
Gather ’round ye wicked souls, for I shall divulge my secrets on decorating your finest cauldron for All Hallow’s Eve! There is no better vessel to embody the season’s spirits than an all-purpose metal pot. With just a few inexpensive tricks and talismans, you can transform your customary cookware into a bewitching brew perfect for holding goblets of ginger ale or collecting sweets from trick-or-treaters.
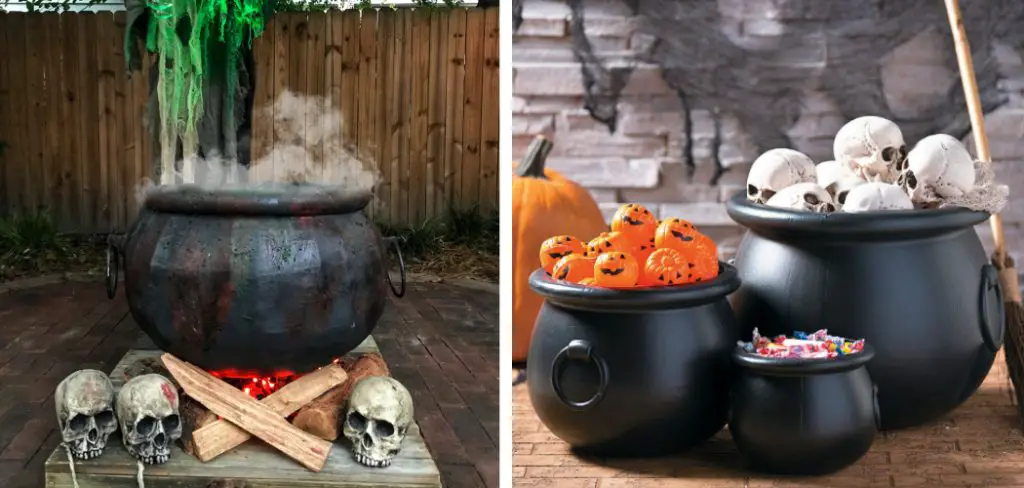
But decorating a cauldron isn’t for the faint of heart – it will take cunning creativity and a flair for the creepy. If you dare to embark on this hauntingly good project, I promise your cauldron will be the talk of the town and the envy of every broom-riding neighbor. Stay tuned as I spell out my simple steps of how to decorate a cauldron for halloween!
What Will You Need?
Before you get started, make a list of spooky supplies to gather from your local potion shop or craft store. Here are a few essentials to consider:
- A plain metal cauldron (preferably black or dark grey for an eerie effect)
- Black spray paint or acrylic paint
- Paintbrushes in various sizes
- Glitter (in orange, black, or purple)
- Assorted spooky stickers or decals
- Hot glue gun and glue sticks
- Decorative ribbon (in Halloween colors or patterns)
- Fake spiders, rats, snakes, and other creepy crawlies
- Battery-operated tea lights
10 Easy Steps on How to Decorate a Cauldron for Halloween
Step 1: Prep Your Cauldron
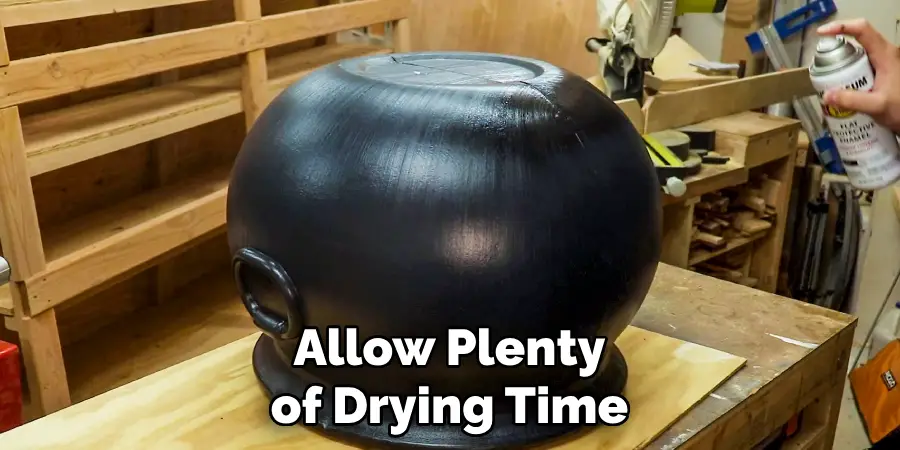
Your cauldron may be brand new or have some wear and tear. Either way, you’ll want to ensure it’s properly cleaned and prepped before decorating. If it’s already black, you’re halfway there! If not, a coat of black spray paint or acrylic paint will provide the spooktacular base you need. Remember to allow plenty of drying time before moving on to the next step.
Step 2: Add Some Sparkle
Once your base coat is dry, it’s time to add some sparkle to your cauldron. Using a paintbrush, apply a thin layer of glue to your preferred pattern or design. Sprinkle your chosen color of glitter over the glue while it’s still wet. You can cover the entire cauldron or add a few sparkling accents – the decision is entirely up to you. Allow the glitter and glue to dry thoroughly before proceeding. Voila! Your Halloween cauldron is ready to shine under the moonlight.
Step 3: Stick or Spook
Now that your cauldron has a bit of bling let’s add some spooky elements. Take your choice of spooky stickers or decals – think bats, ghosts, witches, or even spell symbols – and begin to arrange them around the cauldron. Remember that the objective is to evoke a sense of eerie delight.
Depending on your preference, you can opt for a random arrangement or a structured pattern. Once you’re satisfied with the placement, stick them firmly onto the cauldron. You’re one step closer to mastering how to decorate a cauldron for Halloween.
Step 4: Tie a Spooky Ribbon
After your stickers or decals are in place, it’s time to add an aesthetic touch with a decorative ribbon. Choose a Halloween-themed ribbon — think black and orange stripes or purple with silver spider webs. Measure the circumference of your cauldron and cut a length of ribbon to fit, allowing a little extra overlap.
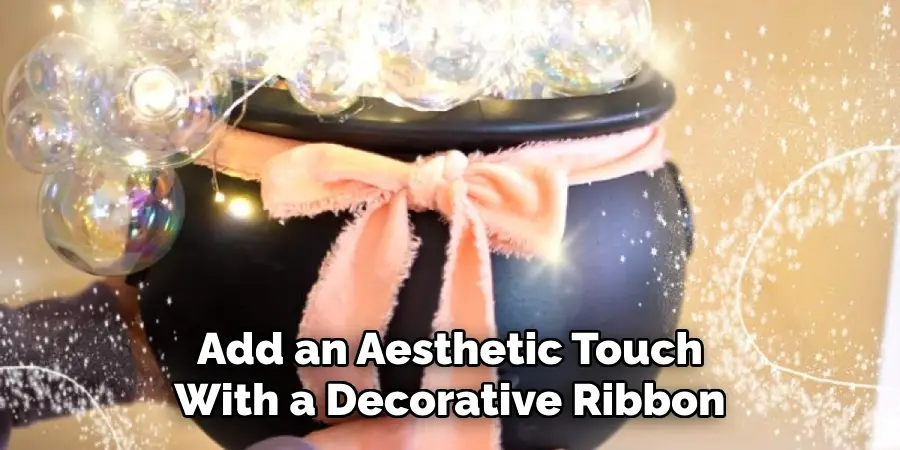
Use your hot glue gun to secure the ribbon around the cauldron’s rim, creating a charming border that enhances the spooky appeal. Ensure the glue is completely dry before moving to the next step in your Halloween cauldron decorating journey.
Step 5: Creepy Crawlies Galore
The next step in decorating your Halloween cauldron is to add some creepy crawlies. Use your hot glue gun to attach fake spiders, rats, snakes, or any other eerie creatures on hand to the outside of your cauldron.
You could even have a few peeking over the rim or crawling out of the pot for an extra touch of Halloween horror. Remember, the aim is to create a cauldron that both delights and frightens your guests, so don’t be afraid to get creative with your creature placements!
Step 6: Create a Ghoulish Glow
Arguably, one of the most exciting steps of decorating a cauldron for Halloween is adding the element of light. For this, we’ll use battery-operated tea lights. Simply place them inside your pot. If your boiler is deep, you might need a few to create a noticeable glow.
The effect is both eerie and enchanting, casting an ominous glow that will surely add an extra layer of spookiness to your Halloween decor. Be sure to turn off the lights when not in use to preserve their battery life.
Step 7: Final Touches
Now that your cauldron is nearly complete, it’s time to add some final touches. If you have any leftover stickers or decals, consider adding them to the inside rim of the cauldron for an extra surprise when guests peer inside. You could also drape some faux cobwebs over the side for a truly eerie effect.
Lastly, if your cauldron will be used to hold candy for trick-or-treaters, add a scoop or a pair of tongs for easy, sanitary access. And there you have it – your Halloween cauldron is now ready to bewitch anyone who dares to venture near!
Step 8: Display Your Cauldron
Now, it’s time to show off your spooky masterpiece. Find a prominent spot to display your decorated cauldron. This could be on your front porch to greet trick-or-treaters, as a table centerpiece at your Halloween party, or even as a unique candy dish for your home.
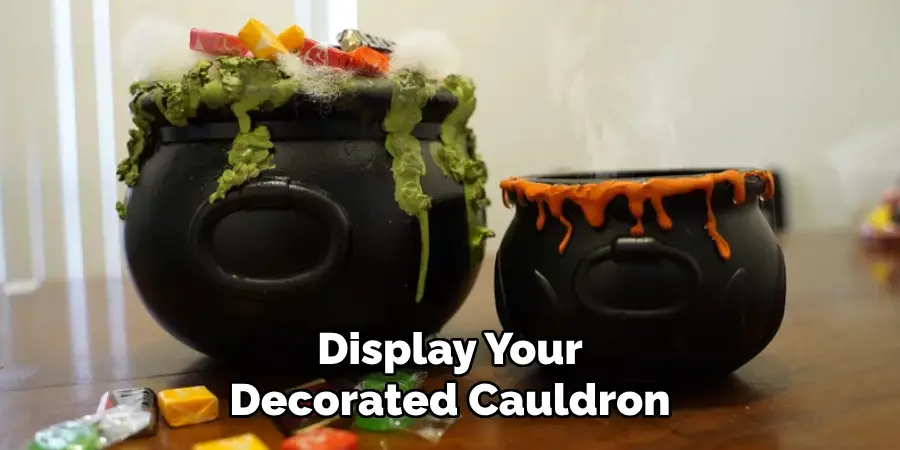
If you plan to use it outdoors, ensure it’s secure and protected against the elements to preserve your hard work. Illuminate the tea lights and watch as your cauldron casts an eerie glow, captivating all those who dare to approach.
Following these ten steps, you can transform a plain metal pot into a wickedly delightful Halloween cauldron.
5 Additional Tips and Tricks
- Use Glow Sticks: Enhance the eerie effect of your cauldron by cracking open some glow sticks and placing them inside. The mysterious glowing illumination adds extra spookiness to your Halloween setup.
- Add Faux Spider Webs: Decorate the cauldron by draping faux spider webs. This gives an aged, abandoned look that fits the Halloween theme perfectly.
- Incorporate Creepy Crawlies: Up the scare factor by scattering plastic bugs, worms, or spiders around the cauldron for a creepy-crawly effect.
- Use Dry Ice: If safety permits, consider using dry ice for a smoking cauldron effect. Just ensure that it’s kept out of reach of children and pets.
- Create a Potion Label: Craft a homemade “Witch’s Brew” or “Potion” label to attach to your cauldron. This adds a fun and personal touch to your Halloween decor.
With these additional tips and tricks, your cauldron will highlight your Halloween decorations.
5 Things You Should Avoid
- Avoid Real Fire: While a natural, bubbling cauldron may be appealing, using real fire can be a safety hazard, especially if you have children or pets.
- Avoid Sharp Objects: If you’re using props to decorate your cauldron, make sure they’re not sharp or harmful. You don’t want someone injured while reaching in for a trick or treat.
- Avoid Edible Decorations: Using real food as decoration may be tempting, but remember that your cauldron may sit out for a while. Stick to synthetic props to avoid attracting pests.
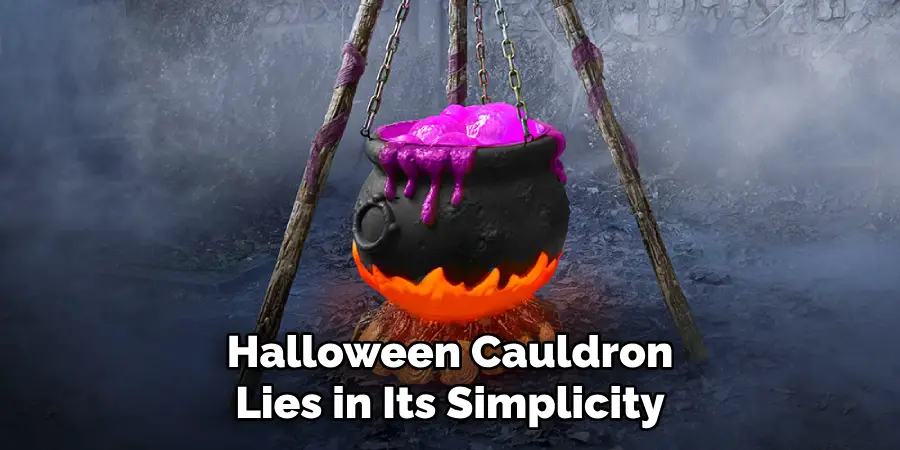
- Avoid Overcomplicating: Remember, the charm of a Halloween cauldron lies in its simplicity. Overloading with decorations might detract from the overall creepy effect.
- Avoid Limiting Accessibility: If you’re using the cauldron as a candy dish, ensure it’s easily accessible and not just an eye-catcher. Place it at a reasonable height or in a hard-to-reach area.
By following these tips, you’ll have a safe and spooky cauldron for your Halloween celebrations.
How Do You Make a Cauldron Look Like It’s Bubbling?
You can create a simple DIY effect using dry ice to make your cauldron look like it’s bubbling. First, fill the bottom of your pot with hot water. Then, carefully add small pieces of dry ice to the water. The heat from the water will cause the dry ice to sublimate and create an eerie fog that looks like bubbling liquid inside the cauldron.
Just be sure to handle dry ice cautiously, and always wear gloves when handling it. Alternatively, you can use a fog machine or purchase fake bubbling cauldron props for a similar effect.
Overall, decorating a cauldron for Halloween is a fun and creative way to add spookiness to your home. With these tips and tricks, you can quickly transform a simple pot into a wickedly delightful centerpiece or decoration that will impress all who see it.
Conclusion
In conclusion, there are countless ways to transform a regular cauldron into a spooky centerpiece for your Halloween decor. The possibilities are endless, from glitter and paint to fake spider webs and potions. Feel free to get creative and think outside the box when decorating your cauldron.
Remember, it’s all about creating an eerie atmosphere that will leave your guests feeling enchanted and spooked simultaneously. So try some of these ideas, or come up with your unique ways to decorate a cauldron.
Hopefully, this guide on how to decorate a cauldron for halloween, has provided you with the inspiration and know-how to create a vat that will be the talk of the neighborhood on Halloween night.
Don’t forget to share your creations with us on social media! We can’t wait to see what you come up with. And as always, have a charming Halloween filled with magic and fun!

