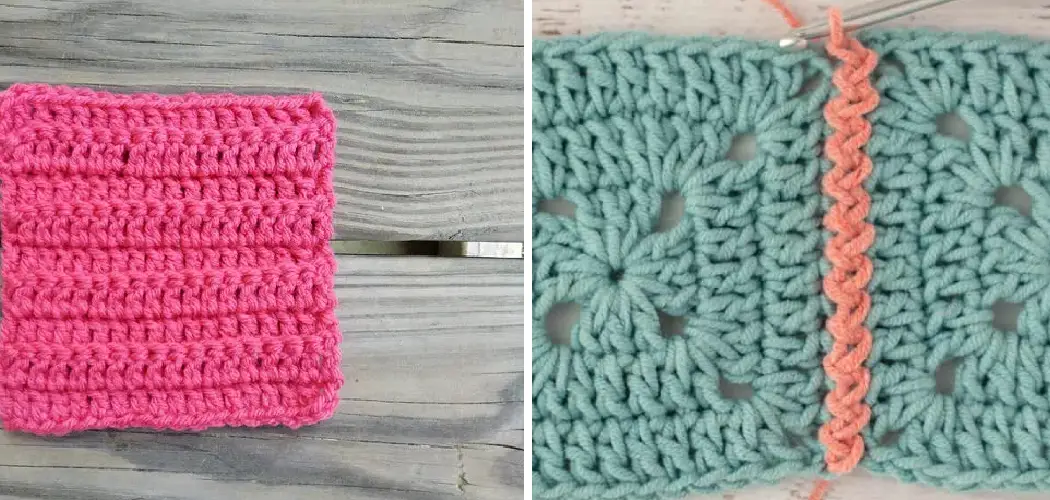
Crocheting squares and joining them together is a fun and creative way to make beautiful blankets, scarves, or even clothing items. Crocheting is a popular and versatile craft that allows you to create stunning pieces of fabric by looping yarn with a crochet hook.
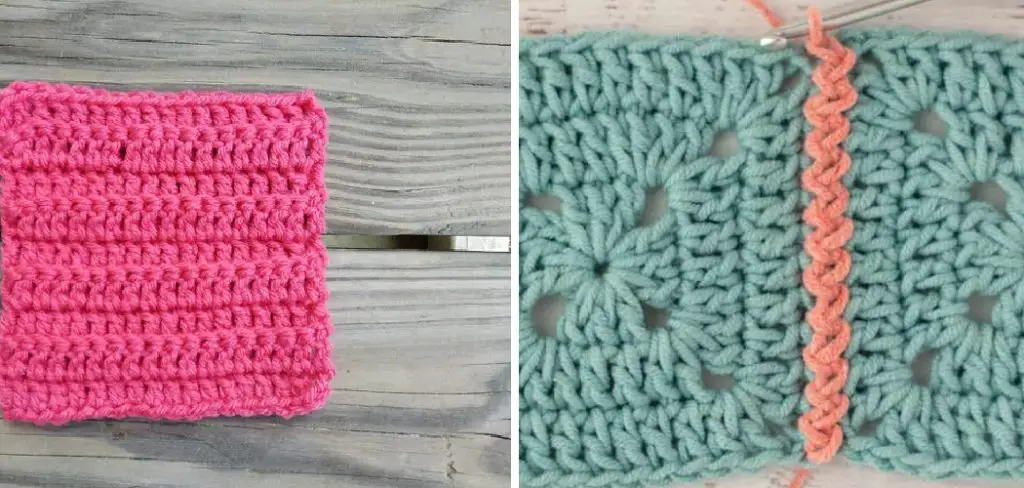
One of the many things you can make through crocheting are squares, which can be used to create various items such as blankets, scarves, and clothing. This technique allows you to customize your project using different colored yarns and stitch patterns. In this tutorial, we will teach you how to crochet together squares using an easy and simple technique.
Materials
Before we begin, make sure you have the following materials:
- Yarn in your desired color(s)
- Crochet hook (size depends on the weight of your yarn)
- Scissors
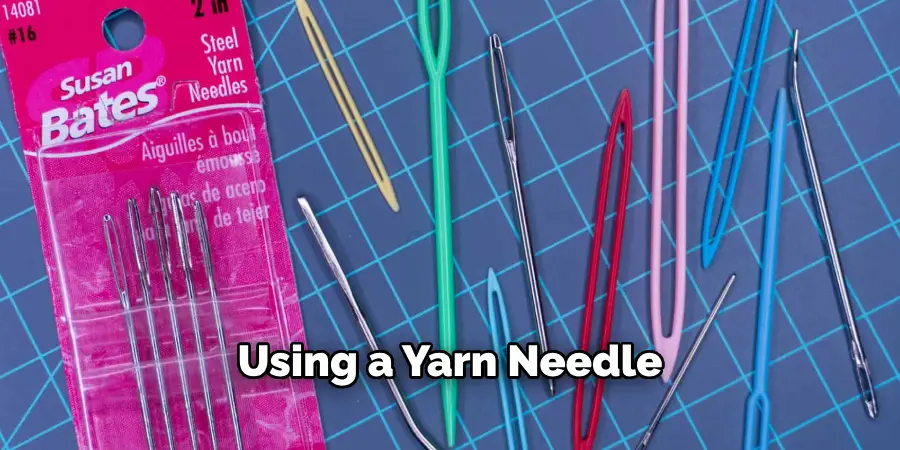
- Yarn needle
What is Crochet Squares?
Crochet squares are simply individual crochet pieces that can be joined together to create a larger fabric. These squares can range in size and stitch pattern, allowing you to create endless possibilities. Common crochet squares include granny squares, solid squares, and textured squares. Start by crocheting as many squares as you need for your project.
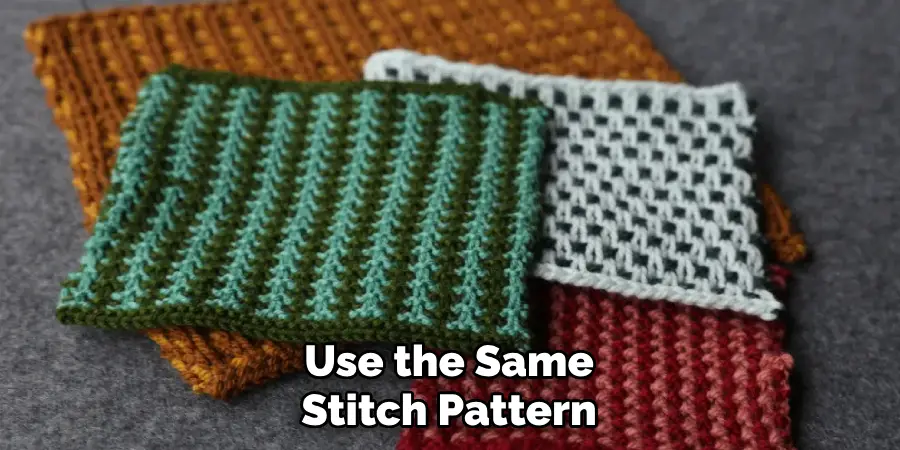
You can use the same stitch pattern and yarn color for each square or mix it to create a more dynamic look. If you are new to crocheting, there are plenty of tutorials available online that can guide you through different crochet stitches.
Lay out your completed squares in the desired pattern for your project. This will give you an idea of how your project will look once it’s finished. You can also experiment with different arrangements to find the one you like best.
8 Things to Know Before You Start
Before we jump into the crocheting process, here are some essential things to keep in mind:
1) Gauge Matters
Gauge refers to the number of stitches and rows per inch in your crochet project. It is crucial to check your gauge before starting, as it can affect the size and overall look of your finished piece. Different yarn and hook combinations can produce different gauges, so always follow the gauge suggested in your pattern.
2) Use Stitch Markers
Stitch markers are essential tools for marking specific stitches in your work. They come in various forms, such as plastic rings or even safety pins. These markers will help you keep track of where you need to make increases, decreases, or change stitches.
3) Weave in Your Ends
When you finish a square, make sure to weave in any loose ends. This will give your piece a neater and more polished look. And it also ensures that the ends won’t unravel over time.
4) Check Your Tension
Tension refers to how tightly or loosely you crochet your stitches. It is important to maintain consistent tension throughout your project, as uneven pressure can result in an unbalanced and distorted piece.
5) Take Breaks
Crocheting can be a time-consuming activity, and it’s essential to take breaks occasionally. This will not only give your hands a rest but also prevent you from becoming too frustrated or tired. While taking breaks, you can stretch your hands and fingers to avoid any stiffness.
6) Practice Makes Perfect
Crocheting takes practice, so keep going even if your first few squares turn out perfectly. With time and patience, you’ll improve your skills and produce more beautiful pieces. But remember perfection is not the goal – enjoy the process and have fun!
7) Experiment with Different Stitches
While this tutorial focuses on crocheting together squares using a simple technique, feel free to experiment with different stitches and patterns. Crocheting offers endless possibilities, so let your creativity run wild.
8) Be Creative with Color Combos
One of the most exciting parts of crocheting is choosing colors for your project. Feel free to mix and match different shades and hues to create unique and eye-catching color combinations. Have fun, and let your personal style shine through!
Crocheting together squares can be a fun and rewarding experience. With suitable materials, knowledge, and practice, you can create beautiful and functional items for yourself or to give as gifts. Remember to keep practicing and exploring new techniques to improve your skills. Happy crocheting! So go ahead and get started on your next crocheting project!
10 Steps on How to Crochet Together Squares
Step 1: Crocheting the Squares
To start, you need to crochet your squares using any pattern of your choice. You can utilize a simple single crochet stitch or try out more intricate designs like granny squares. Make sure that all your squares are the same size and have an equal number of stitches on each side. This will make it easier to join them together.
Step 2: Lay Out Your Squares
Once you complete all your squares, lay them out in the desired pattern or design. This step is essential as it helps you plan and visualize how your finished piece will look like. You can also rearrange the squares until you are happy with the layout.
Step 3: Joining the Squares with a Whip Stitch
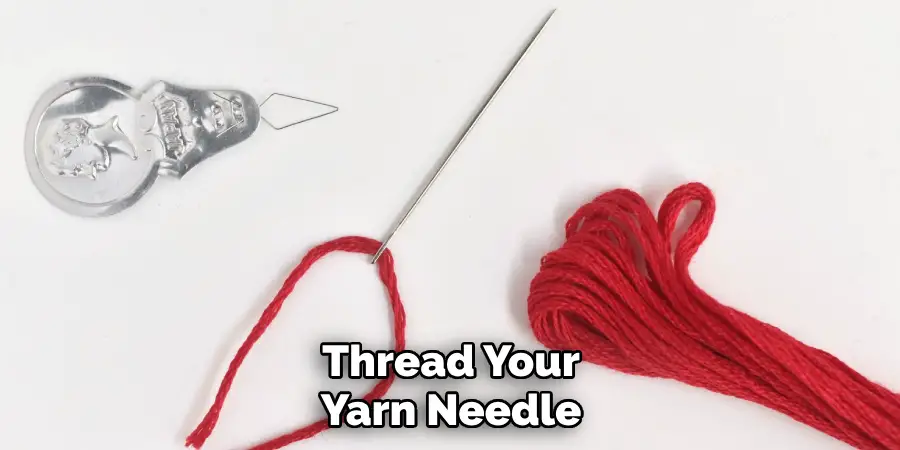
To begin, thread your yarn needle with a piece of yarn in your desired color. Starting at one corner of your first square, insert your hand through the back loop only and pull through to create a knot. Then, insert your needle through the back loops of the next square, pulling tightly to join the two squares together. Repeat this process until all your squares are joined.
Step 4: Joining the Squares with a Single Crochet Stitch
You can also join your squares using a single crochet stitch. To do this, start by creating a slip knot on your hook and insert it into the back loop of one yard. Then, yarn over and pull through the loop on your hook. Next, insert your hook into the back loop of the next square and repeat the process, pulling tightly to join the squares. Continue this method until all your squares are joined.
Step 5: Add a Border
Adding a border can give your piece a more finished look while hiding any imperfections in joining the squares. You can use any stitch or pattern to create your wall, but make sure it is consistent throughout the piece.
Step 6: Weave in Any Loose Ends
Securely weave in any loose ends using a yarn needle. This ensures that your finished piece looks neat. Other than joining the squares, you can also weave in the ends as you crochet to avoid a big pile of loose ends at the end.
Step 7: Block Your Piece
Blocking is wetting your crocheted piece and shaping it to its final shape. This step helps smooth out any bumps or wrinkles and gives your work a more polished look. To block your piece, immerse it in water or spray it with water until it is thoroughly wet. Then, gently squeeze out any excess water and lay the piece flat on a towel to dry.
Step 8: Add Embellishments
You can add embellishments like buttons, beads, or tassels to your finished piece for a unique touch. Get creative and experiment with different ideas to make your work stand out.
Step 9: Care for Your Crocheted Piece
To ensure that your crocheted piece lasts, it is essential to care for it properly. Hand wash it using mild detergent and lay it flat to dry. Avoid twisting or wringing the fabric, as this can damage the stitches.
Step 10: Practice and Have Fun!
As mentioned earlier, crocheting takes practice. So don’t be afraid to make mistakes and learn from them. With each project, your skills will improve, and you’ll gain more confidence in your abilities.
Most importantly, have fun and enjoy the process of creating something beautiful with your own two hands. Keep practicing and experimenting with different techniques and patterns to continue improving your skills.
8 Things to Avoid While Crocheting Together Squares
1) Not Using the Right Materials
Using the right materials, such as high-quality yarn and a suitable crochet hook, can significantly impact the outcome of your project. Make sure to choose materials that are appropriate for your project and follow any recommendations or guidelines from the pattern.
2) Skipping Gauge Swatches
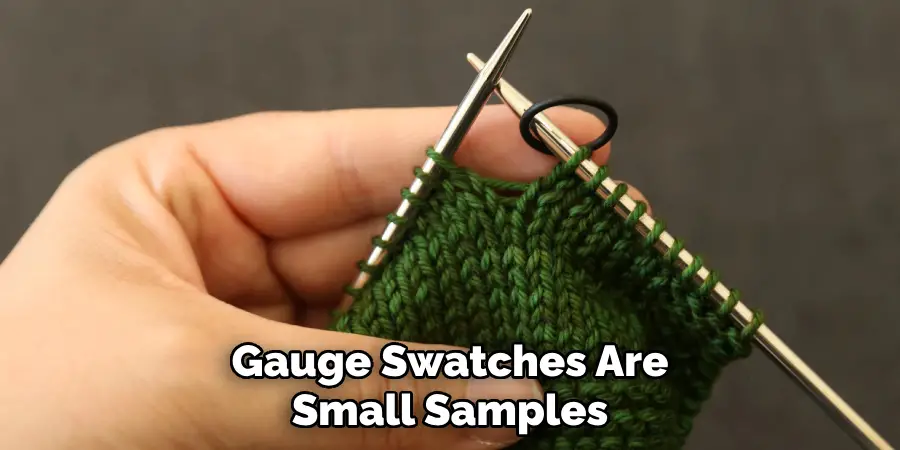
Gauge swatches are small samples that you crochet before starting your project to determine if you have the correct tension and stitch count. Skipping this step can lead to squares or pieces that are different sizes, resulting in difficulties when joining them together.
3) Not Blocking Your Piece
As mentioned earlier, blocking is essential to give your piece a professional finish. Skipping this step can result in a lumpy or uneven final product. More importantly, blocking helps your report keep its shape and prevent it from becoming misshapen over time.
4) Not Planning Your Layout
Laying out your squares before joining them together can help you avoid mistakes and ensure that the final design is to your liking. Skipping this step may result in a less visually appealing finished product.
5) Joining with the Wrong Stitch
Using the wrong stitch to join your squares can make it challenging to achieve a consistent and neat appearance. Make sure to choose a joining method that works best for your project, such as whip stitch or single crochet.
6) Rushing Through Joining
Joining squares together may seem like a tedious task, but rushing through it can lead to mistakes and uneven joins. Take your time and ensure each square is properly joined for a polished final product.
7) Not Weaving in Ends Properly
Leaving loose ends can make your finished piece look messy and unprofessional. Make sure to weave in any loose ends as you go or secure them neatly at the end of your project. Further, avoid cutting off any excess yarn too close to your stitches, as this can cause unraveling.
8) Not Trying New Techniques
Crocheting is a never-ending learning process, so be bold and try out new techniques or patterns. By experimenting and stepping out of your comfort zone, you can discover new ways to join squares together and create unique designs.
Keep these tips on how to crochet together squares in mind the next time you are joining squares to ensure a successful and enjoyable crocheting experience. Happy crafting! Remember, there’s always room for improvement and new ideas, so don’t be afraid to keep learning and exploring. Have fun with your projects, and enjoy creating something beautiful with your own two hands.
8 Additional Tips for Crocheting Squares Together
1) Use a Stitch Marker
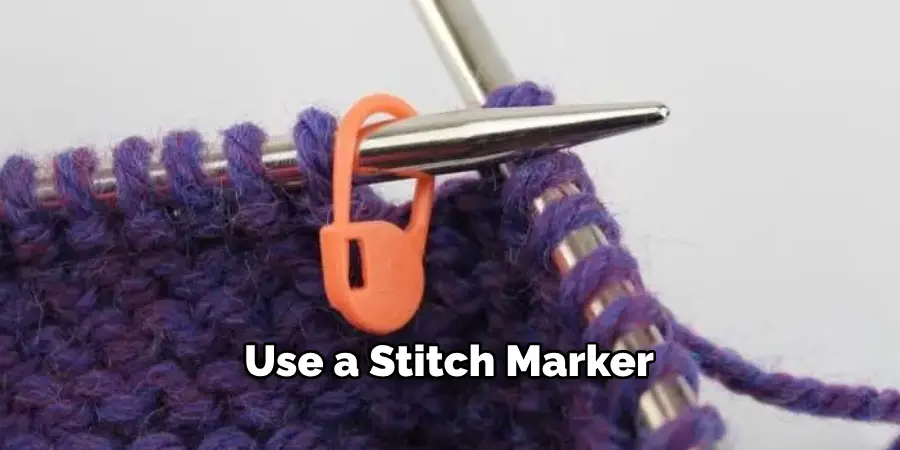
Use a stitch marker can help you keep track of where your joining stitches begin and end, ensuring consistency throughout your project. And if you make a mistake, it’s easier to unravel and fix with a stitch marker in place.
2) Sew or Crochet in the Same Direction
When joining squares, make sure to sew or crochet in the same direction for a neat and consistent appearance. This means stitching from right to left or left to right consistently throughout your project.
3) Be Mindful of Tension
Maintaining consistent tension throughout your project is critical to achieving a polished finish. Make sure not to pull too tightly or too loosely as this can affect the overall appearance and size of your squares.
4) Use Appropriate Joining Techniques for Different Projects
Different projects may require different joining techniques, so make sure to choose one that suits your project best. For example, a single crochet join may be better suited for joining squares with different stitch counts, while a slip stitch join may work better for squares with the same stitch count.
5) Be Patient and Take Breaks
Joining squares can be time-consuming and repetitive, so make sure to take breaks and give yourself time to rest your hands and eyes. This can also help prevent mistakes from being made due to fatigue or frustration.
6) Experiment with Different Yarn Colors
Using different yarn colors for joining squares can create beautiful and unique effects. Don’t be afraid to experiment and try out different color combinations for a truly one-of-a-kind project.
7) Use a Tapestry Needle for Sewing Joins
If you are sewing your squares together, using a tapestry needle can make the process much easier and neater. These needles have more enormous eyes that can accommodate thicker yarn and blunt tips to prevent splitting the yarn.
8) Don’t be Afraid to Ask for Help
If you need help with a specific joining technique or pattern, feel free to ask for help from fellow crocheters or online communities. Learning from others and getting tips and advice can significantly improve your skills and make the process more enjoyable. Keep practicing and experimenting with different techniques and patterns to continue improving your skills and creating beautiful projects.
Joining squares is an essential part of many crochet projects, and there are various techniques and tips to keep in mind for a successful outcome. By using suitable materials, taking your time, and being open to trying new techniques, you can create visually appealing and high-quality pieces that will bring joy for years to come. Keep crocheting, and never stop learning!
Frequently Asked Questions
What is the Best Way to Join Crochet Squares?
The best way to join crochet squares will depend on the project and personal preference. Some popular joining techniques include single crochet, slip stitch, and whip stitch. Experiment with different methods to find one that works best for you.
How do I Avoid Mistakes When Joining Crochet Squares?
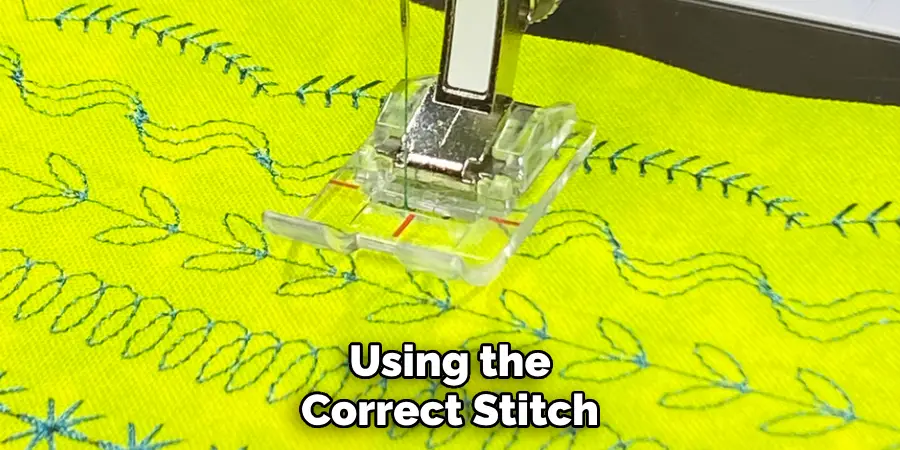
Planning your layout, using the correct stitch, taking your time, and being mindful of tension can help avoid mistakes when joining crochet squares. Using a stitch marker and seeking advice from experienced crocheters can also be helpful.
Is There a Right and Wrong Way to Join Crochet Squares?
There is no right or wrong way to join crochet squares as long as the end result is neat and consistent. Experiment with different techniques and find what works best for your project. Remember to sew or crochet in the same direction and maintain tension for a polished finish.
How Do I Join Squares in Crochet Without Sewing?
If you prefer to keep your squares separate, several no-sew joining techniques exist, such as the flat braid join or the diagonal slip stitch join. These techniques involve crocheting courts together without using a sewing needle. Research and practice to find the best method for you.
Can I Join Crochet Squares with Different Stitch Counts?
Yes, you can join crochet squares with different stitch counts by adjusting your joining technique or using a border around each yard to make them all the same size before joining. Experiment with other approaches to see what works best for your specific project.
Can I Use Different Yarn for Joining Squares?
Yes, you can use different yarn colors and types for joining squares. This can create unique effects and add visual interest to your project. Just make sure to choose a yarn that is similar in weight and texture to the squares you are joining for a cohesive overall appearance.
Keeping these tips in mind can help ensure your crocheted squares join together seamlessly, resulting in a beautiful finished product. With patience, practice, and an open mind to trying new techniques, you’ll be able to create stunning projects with joined squares.
Conclusion
In conclusion, joining crochet squares is an essential skill for any crocheter. By avoiding common mistakes and keeping these tips on how to crochet together squares in mind, you can achieve a polished and professional finish to your projects. Remember to be patient, take breaks when needed, and don’t be afraid to try new techniques.
Keep on creating and learning with each project you make. With practice and experience, joining squares will become second nature, and you’ll be able to create beautiful and unique projects confidently. Happy crocheting! So, keep these tips in mind and continue improving your skills and techniques to create stunning crocheted pieces.

