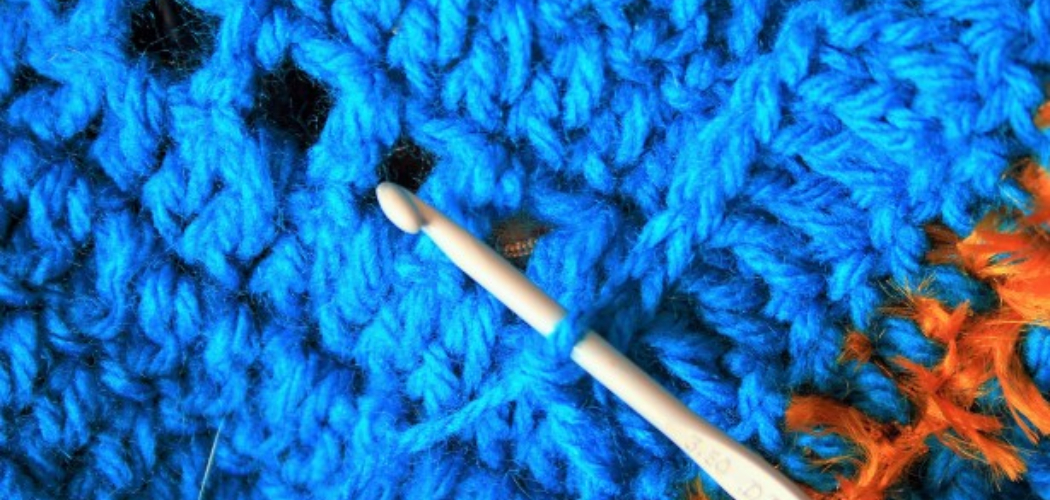
Are you a crochet enthusiast looking to learn a new stitch? If you are a crochet enthusiast, then the Trinity stitch is an ideal project to learn for creating beautiful textured fabric. The trinity stitch is one of the most complex and beautiful stitches out there.
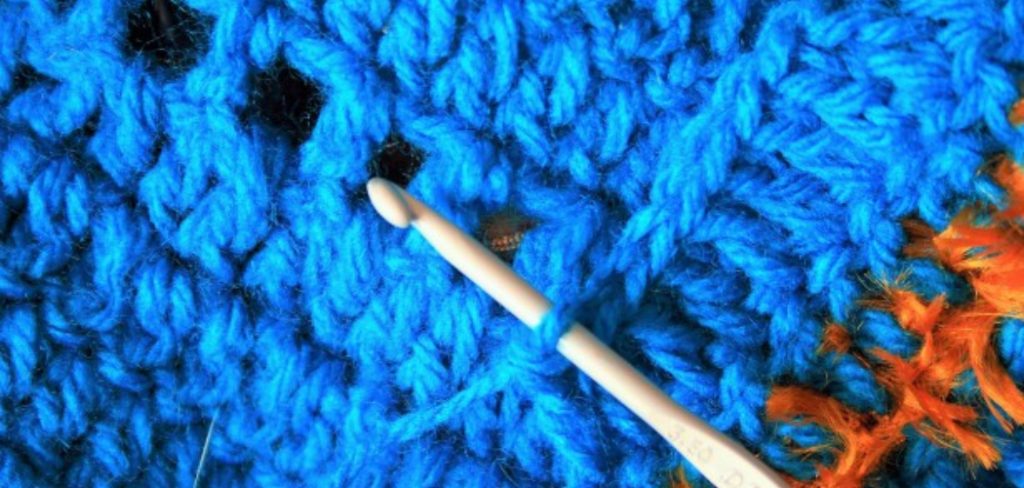
Learning how to craft this special three-dimensional embroidery stitch will add a unique effect to all your future projects. By mastering the techniques of how to crochet the trinity stitch, you can create beautiful fabrics with plenty of texture and aesthetic appeal.
With its intricate web-like formation, it’s sure to add pizzazz and texture to any project while still being an easy guide for beginners who are just starting their journey into the wonderful world of crocheting! Keep reading if you’re eager to delve into this dynamic pattern and gain some valuable skills that will take your crafting goals from idea to accomplishment. Read on as we show you the basics of crocheting the trinity lace stitch so that you, too, can discover its beauty.
What is Trinity Stitch?
The trinity stitch, also known as the triple or treble crochet lace stitch, is a beautiful and unique stitch that can be used to make intricate textured designs. This three-dimensional pattern utilizes basic stitches in an advanced way to create loops of fabric with amazing texture and visual interest. The distinct look of this pattern mimics the intricacy of webs or braids, making it the perfect choice for creating beautiful garments or home décor items.
What You Need to Get Started
To begin crocheting the trinity stitch, you will need some basic supplies:
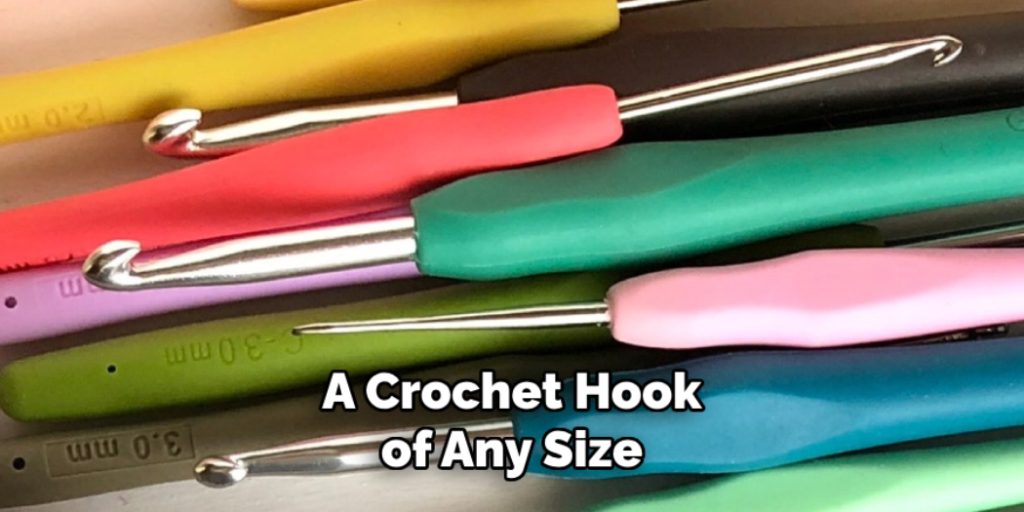
- A crochet hook of any size (depending on your project)
- Yarn of any weight, color, and material (depending on your project)
- Scissors
- A yarn needle for weaving in the ends
Once you have all the necessary supplies, you’re ready to get started!
10 Steps on How to Crochet the Trinity Stitch
Step 1: Chain an Even Number Stitches
Begin by chaining an even number of stitches. If you don’t know how to do this, simply make a slip knot and chain the desired number of stitches. Keep in mind that the trinity stitch only works with an even number of stitches.
Step 2: Make a Turning Chain
After making your chains, make a turning chain. To do this, simply yarn over and draw through one loop on your hook to create a turning chain. Turning the chain counts as a stitch.
Step 3: Make the First Stitch of the Trinity Stitch
Now it’s time to create your first trinity stitch! To start, yarn over twice and draw through two loops on your hook. You should now have three loops on your hook.
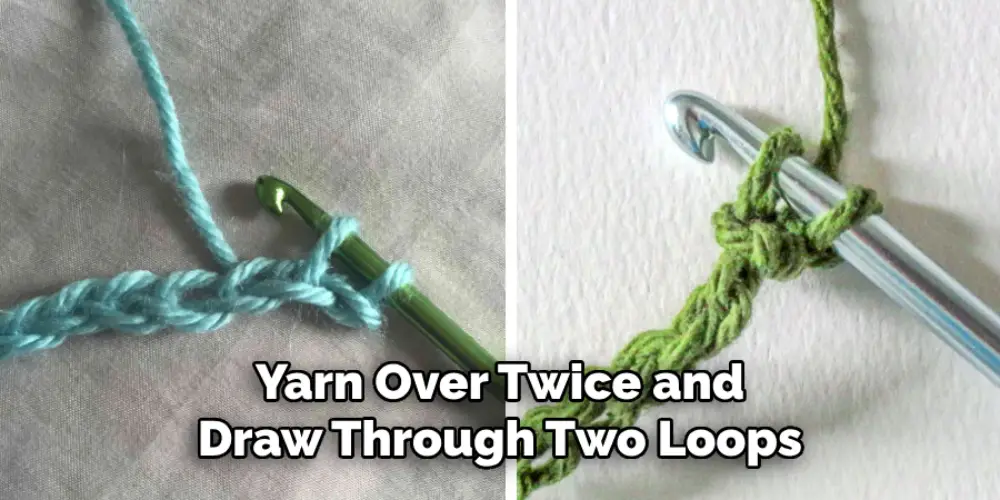
Step 4: Make the Second Stitch of the Trinity Stitch
Yarn over twice again and draw through two loops on your hook. You should now have four loops on your hook. While yarning over twice, make sure to go over the legs of your previous trinity stitch.
Step 5: Make the Third Stitch of the Trinity Stitch
Now it’s time to create your final trinity stitch! Yarn over twice and draw through all four loops on your hook. You should now have one loop remaining. Keep in mind that each trinity stitch consists of three double crochets made in the same stitch.
Step 6: Make the Turning Chain
Now, it’s time to make a turning chain. To do this, simply yarn over and draw through one loop on your hook. Turning the chain counts as a stitch. The turning chain also serves as the first stitch of your next row.
Step 7: Make a Stitch Into the Next Stitch
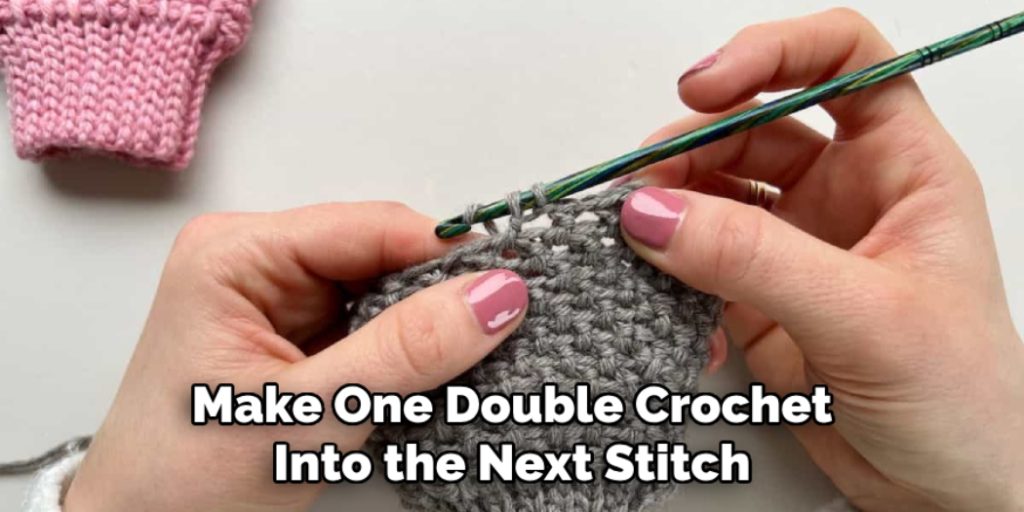
Make one double crochet into the next stitch. To do this, yarn over and draw through two loops on your hook. Double crochet counts as a stitch.
Step 8: Make Another Stitch
Make one double crochet into the next stitch. To do this, yarn over and draw through two loops on your hook. Double crochet counts as a stitch. While making this double crochet, make sure to go over the legs of your previous trinity stitch.
Step 9: Repeat Steps 2-8
Repeat steps two through eight until you reach the end of the row. Keep in mind that each trinity stitch consists of three double crochets made into the same stitch and a turning chain after each set of stitches.
Step 10: Finish the Row
Once you reach the end of the row, make one double crochet into the last stitch. To do this, yarn over and draw through two loops on your hook. Double crochet counts as a stitch. This completes your trinity stitch row!
When you finish your project, don’t forget to weave in the ends and block your work. Blocking will help to set the stitches in place and ensure that your fabric drapes nicely. With these finishing touches, you can now admire your Trinity stitch masterpiece!
8 Common Mistakes to Avoid
The trinity stitch is a beautiful, intricate crochet pattern that can be used to create stunning garments and accessories. However, the stitch can be tricky for beginners because it involves multiple yarn overs and stitches combined in one row. That’s why we’ve outlined some of the most common mistakes people make when crocheting the trinity stitch so you can avoid them!
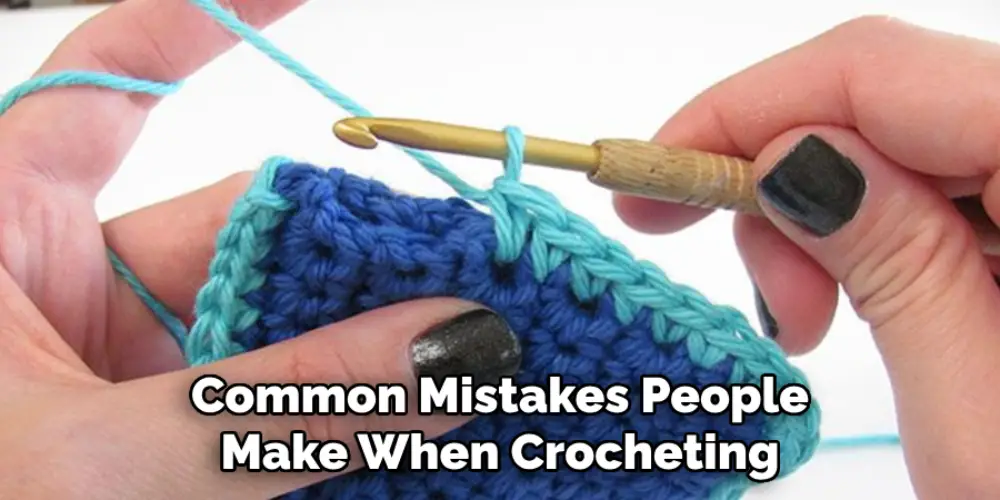
- Not paying attention to the stitch count is a common mistake. The trinity stitch is worked over an odd number of stitches, and you need to make sure that your stitch counts stay consistent throughout the pattern. If they don’t, it may result in uneven edges or a finished item that doesn’t look quite right.
- Not yarn over enough times. The trinity stitch involves a yarn over each of the stitches, and if you don’t do this, it can be easily spotted in the finished product. Make sure to keep track of how many times you’ve yarned over so that your stitch looks perfect when finished!
- Not spacing out the stitches correctly. The trinity stitch requires evenly spaced stitches throughout the entire pattern. If you don’t space them out correctly, it can result in an uneven and messy-looking finished piece.
- Not using the correct hook size. You want to make sure that you use a hook size that is appropriate for your yarn weight when crocheting the trinity stitch. Using a hook that’s too small will make it difficult to work the stitches while using a hook that’s too large will make it difficult to maintain the stitch count.
- Not counting your stitches regularly. This is especially important when working with multiple yarnovers and stitches in one row. Make sure you count your stitches after each row so that you don’t end up with an uneven or incorrect finished product.
- Not securing the yarn ends. It’s important to make sure you tightly secure any loose ends when crocheting the trinity stitch so that your finished piece doesn’t unravel.
- Not checking your tension. When working with multiple stitches, it’s essential to check your tension regularly, as it can have an effect on the overall look of the finished item. Make sure your tension is consistent throughout the pattern so that the stitches look neat and even.
- Not ensuring that each stitch is tight enough. The trinity stitch requires tight stitches in order to work, and if they’re not tight enough, it can be difficult to work with them and make your finished piece look sloppy. Make sure you pull each stitch tight before moving on to the next one!
By avoiding these common mistakes, you can ensure that your Trinity stitch projects turn out looking beautiful and professional.
How to Be the Best at Crocheting the Trinity Stitch?
The trinity stitch is a complex pattern and requires some practice to perfect. With that said, here are some tips to help you become an expert crocheter of the trinity stitch:
- Take your time when working with a complicated pattern like the trinity stitch; it’s important to take your time and focus on one step at a time.
- Read and understand the pattern before you start, paying close attention to stitch counts and any specific techniques that are used.
- Use a smaller hook than the one recommended for your yarn weight – this will help you make tight stitches that don’t unravel easily.
Conclusion
Now that you have scraped away the basics of how to crochet the trinity stitch, it’s time to explore the many ways it can be incorporated into your projects. Whether you’re making a scarf, hat, or blanket, this timeless stitch will provide you with an eye-catching element and give your project texture and charm. From playful rainbow rows to minimalist black and white yarns, there are limitless combinations to choose from when adding the trinity stitch to your crocheting projects.
Soon, working with a crochet hook will become second nature, allowing you to create unique pieces of art for yourself or as gifts for friends and family. Plus, not only will you develop a practical skill that adds depth to your craftsmanship repertoire but also unlock a tranquil mindfulness practice too. So grab your hooks and yarn to get started – let’s make something special!

