

This fall, why not up your fashion game with one of the trendiest accessories around – a crochet pumpkin hat? This fun autumnal accessory is easy to make and sure to be a show-stopper. Plus, it’s perfect for Halloween parties or themed family photo shoots!
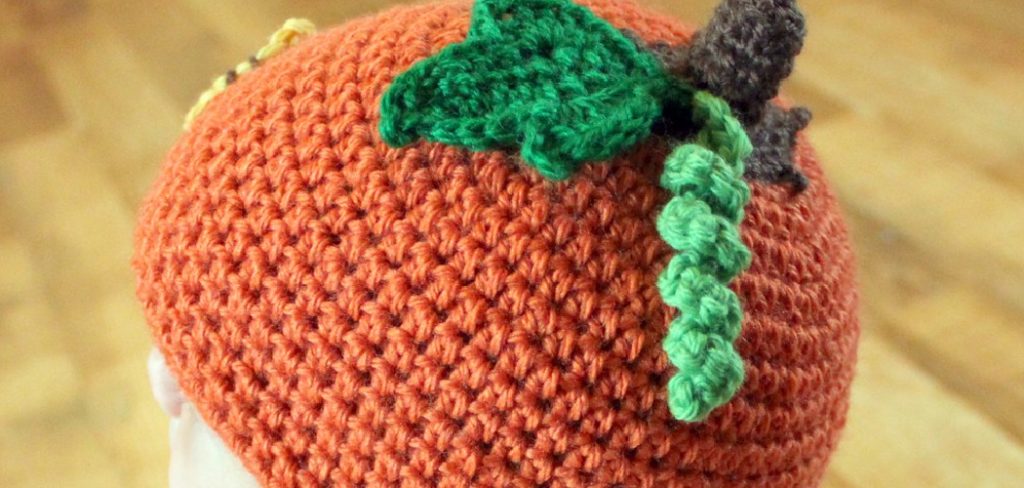
In this blog post, we’ll give you all the information you need to know about how to crochet a pumpkin hat. From picking the right yarns, adjusting sizes if needed, and choosing embellishments from buttons and felt leaves – this DIY project has everything you need for some serious crafty fun! So grab those hooks and get ready – let’s learn how to crochet a cozy pumpkin hat!
Are Crochet Hats in Style?
Yes, crochet hats are definitely in style! In the last few years, crochet has made a huge comeback and there is no doubt that many stylish people are wearing crocheted hats.
Crochet-style hats look great with any outfit and can be found in all sorts of colors, textures, and styles. Whether it’s a wide-brimmed sun hat to help protect you from the summer rays or an adorable pumpkin-shaped beanie for fall, crochet hats will instantly upgrade your wardrobe.
And since they are incredibly easy to make yourself, you can customize them to fit your personal tastes while saving money at the same time! Additionally, crocheted hats make great gifts for friends and family. No matter what the occasion, a handmade crochet hat is sure to bring a smile! So go out there and get your crochet on!
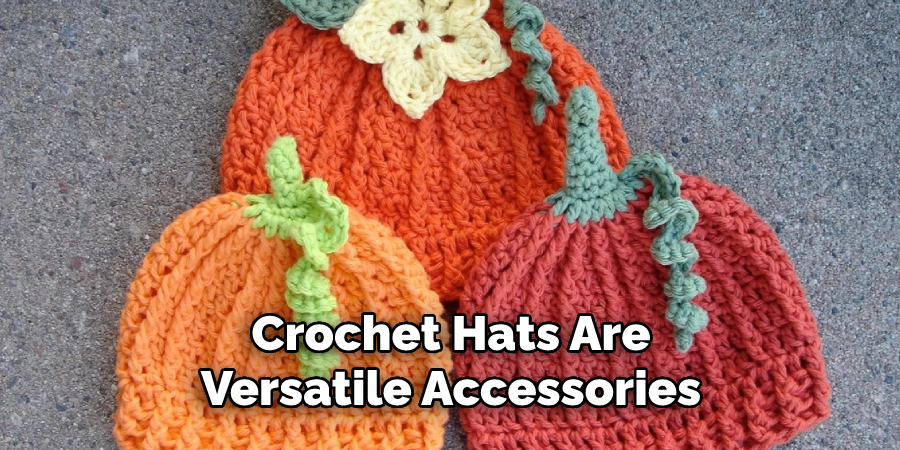
Crochet hats are versatile accessories that can easily be dressed up or down, so you’re sure to find one that fits your style. Whether it’s an elegant lacy beanie or an oversized beach hat, the possibilities are endless when it comes to crochet hats.
With many patterns available online, you can create whatever type of hat you envision. And with just some basic knowledge of how to crochet (which you will learn by following our Pumpkin Hat tutorial!), making them yourself is simpler than ever before! Get creative and let your imagination run wild!
You never know what kind of unique crochet hat you’ll come up with. So get ready to fall in love with this classic craft! It’s time to make some seriously stylish crochet hats. Happy crocheting!
It can be difficult to find the perfect hat for every occasion, but thanks to the versatility of crochet, you can easily create your own. As long as you know the basic stitches, you can quickly learn how to make any type of crochet hat imaginable.
With its timeless style and endless possibilities, it’s no wonder why so many people are turning towards crochet for their fashion needs. So don’t wait – start crocheting now and show off your creative hats!
9 Methods How to Crochet a Pumpkin Hat
1. Choose the Right Type of Yarn
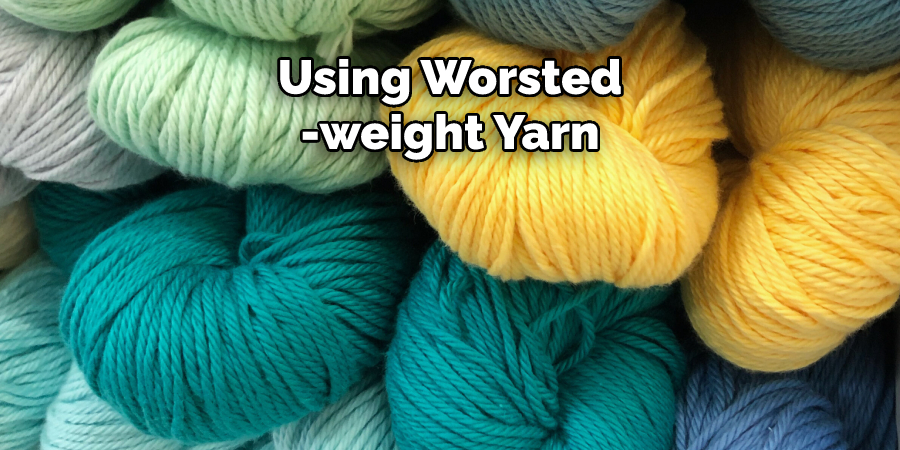
The best type of yarn to use for a crochet pumpkin hat is the worsted weight yarn. This type of yarn is not too thick or too thin, which makes it perfect for crocheting a hat. You will also want to make sure that the yarn you choose is orange, as this is the traditional color for a pumpkin.
If you prefer a different color, you can always use it instead. If you are using multiple colors of yarn, make sure to buy the same type and weight for all of them. To make sure that the colors will look good together, you can purchase a yarn bundle.
2. Choose the Right Size Hook
The size of the hook you use will depend on the type of yarn you are using. If you are using worsted-weight yarn, then you will want to use a size H (5 mm) hook. If you are using a thinner yarn, such as DK or sport weight, then you will want to use a size G (4 mm) hook.
To ensure that your pumpkin hat fits comfortably, it’s a good idea to also purchase an adjustable measuring tape. Though it’s not necessary, having one will make it easier to adjust the size of your hat if needed.
3. Start by Crocheting a Magic Ring
To do this, start by wrapping the yarn around your finger to form a loop. Then, insert your hook into the loop and pull up a loop of yarn. You should now have two loops on your hook. Yarn over and draw through the first loop on your hook to complete the Magic Ring.
If you have trouble with this, there are many helpful videos online. To make the Pumpkin Hat, you will need to chain four stitches and then slip the stitch into the Magic Ring. Try to keep your stitches evenly spaced and tight.
4. Crochet 12 Single Crochet Stitches into the Ring
Once you have made the magic ring, you will need to crochet 12 single crochet stitches into it. To do this, insert your hook into the ring, then yarn over and pull up a loop. You should now have two loops on your hook. Yarn over and pull through both loops to complete the stitch. Repeat this 11 more times until you have 12 stitches in total.
When you are done, pull the starting tail of the magic ring to close it. While you are crocheting, keep track of the number of stitches to make sure that you have 12. To help you keep track, you can count the stitches or make a small stitch marker to mark the first stitch of each round. Try to keep your stitches neat and even as you go.
5. Join to the First Stitch with a Slip Stitch
Once you have crocheted all 12 stitches, you will need to join to the first stitch with a slip stitch. To do this, insert your hook into the first stitch, then yarn over and pull through both loops on your hook. You should now have a complete round of stitches.
If you are finding it difficult to keep your stitches even and the round is becoming distorted, you can count the number of stitches in each row to make sure you have 12. To do this, insert the hook into each stitch and count as you go. Make sure to count the starting stitch as one.
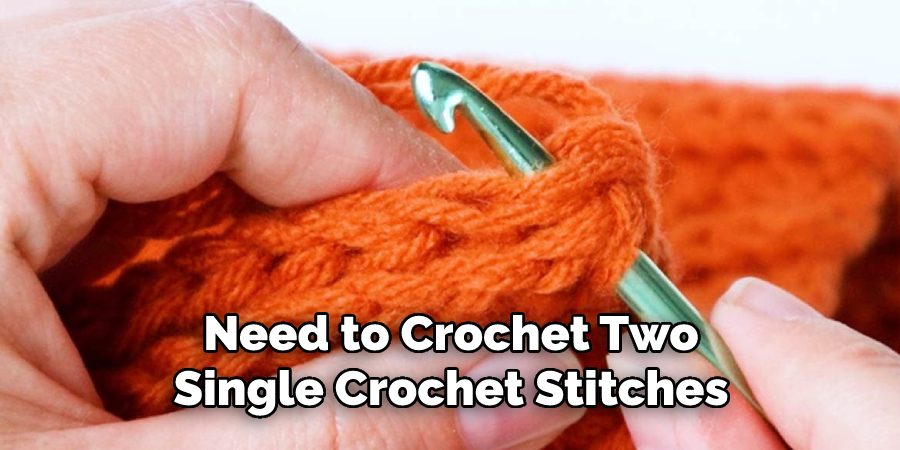
6. Crochet 2 Single Crochet Stitches into Each Stitch around
Now that you have joined to the first stitch, you will need to crochet two single crochet stitches into each stitch around. To do this, insert your hook into the next stitch, then yarn over and pull up a loop. You should now have three loops on your hook.
Yarn over and pull through all three loops to complete one single crochet stitch. Repeat this process into each stitch around until you reach the beginning of your row. While crocheting, be sure to count your stitches so you can keep track of how many you have completed.
7. Keep Increasing Until the Hat Reaches Your Desired Length
Continue crocheting 2 single crochet stitches into each stitch around until the hat reaches the desired length of your pumpkin hat. The number of rounds you will need to work will depend on how tall you want the hat to be.
You may also choose to add rounds to make the brim of the hat even wider. If you want to make a slouchy, longer hat, work more rounds.
8. Slip Stitch to Join and Fasten off
Once the hat has reached your desired length, you will need to slip stitch to join the last stitch to the first, creating a circle and closing up the hat. Then fasten off by cutting your yarn with scissors and weaving in any loose ends.
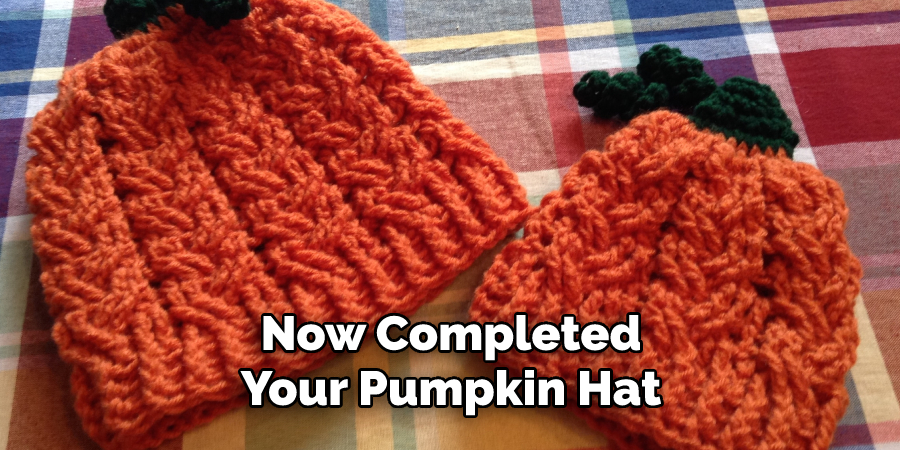
Now you have a completed pumpkin hat! While this pattern is designed for an adult, it can easily be adjusted to fit children as well. Have fun crocheting, and enjoy the compliments you will receive on your beautiful homemade pumpkin hat! While the pictured hat was made in traditional fall colors, play around with different color combinations to create a unique look that you will love.
9. Wear and Enjoy
And that’s it – you have now completed your pumpkin hat! Put it on and show off your hard work. You can also use this adorable hat to top off any costume or to just give a unique touch to your everyday outfits. Before you know it, the compliments will start pouring in. It’s amazing how something so simple can make such a big impression!
Conclusion
Crocheting your own pumpkin hat can be an enjoyable and rewarding experience. Following the instructions you find in this blog post, you should be able to make your own spooky yet cozy creation.
The time spent creating this unique accessory will make wearing it even more special. So take a break from shopping and head over to your crafting corner—it’s time to get creative! Make sure to show us your final piece when you’re finished — We can’t wait to see your How to Crochet a Pumpkin Hat masterpiece!