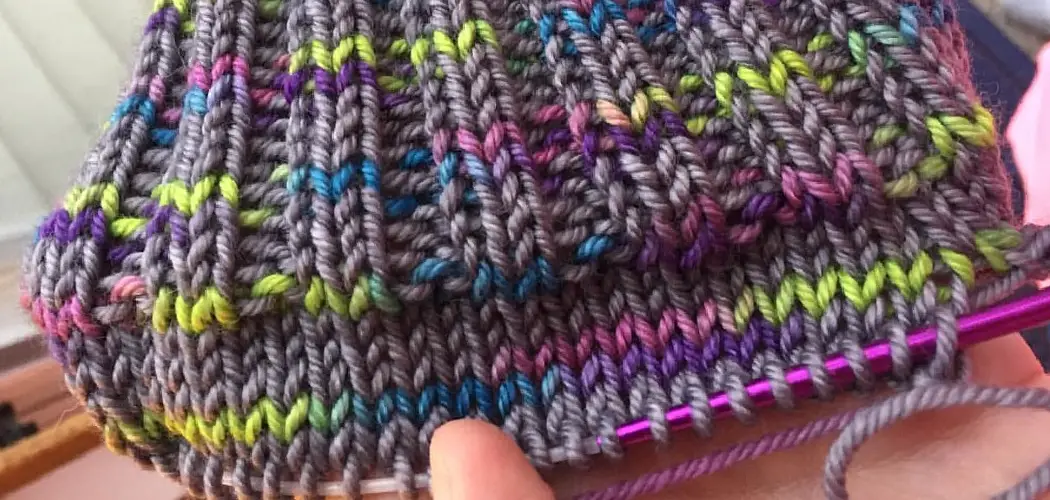
Ribbing is a popular crochet technique that can add texture and style to any project.
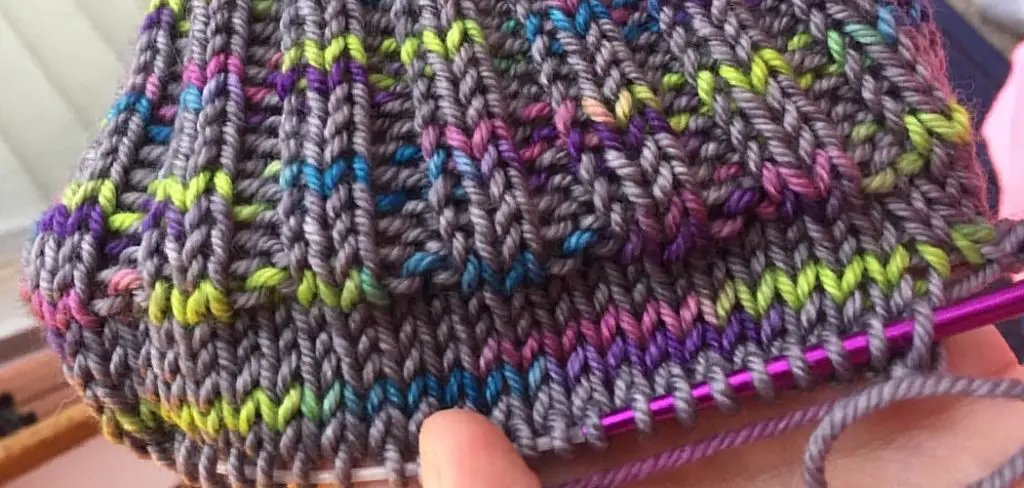
By learning to crochet ribbing, you will be able to create unique garments, accessories, blankets, and more! Ribbing is a versatile stitch pattern that adds an extra design dimension to any item. Whether you are looking for a classic look or want to create something more modern, ribbing is a great way to achieve your desired style.
Crochet ribbing is a great way to add texture and visual interest to your projects. It’s also an easy technique that can be used with just about any stitch pattern, from basic single crochet to more complicated stitches.
By alternating rows of single crochet and double crochet, it creates a ribbed fabric that looks very similar to knitted ribbing. It’s a great way to add texture, structure, and visual interest to garments, accessories, or any other project you may be working on. You can find step-by-step instructions on how to crochet ribbing in this blog article.
Step by Step Processes for How to Crochet Ribbing
Step 1: Inspect Your Yarn
Before you start crocheting your ribbing, it’s important to make sure you have the right type of yarn. Check the label on your yarn for any special instructions or care needs. Make sure you have a crochet hook that matches the size and gauge listed on your yarn’s label. Additionally, you’ll need a pair of scissors and a tapestry needle.
Step 2: Chain Stitches
Begin by stringing a multiple of four stitches along the length of your yarn. How many stitches you’ll need depends on how wide you want your ribbing to be, so it’s best to measure the width of your work area first. After chaining your desired number of stitches, turn your work and start the process again in the opposite direction.
Step 3: Single Crochet Ribbing
To create a single crochet ribbing, make one single crochet stitch into each chain stitch. Once you reach the end of your row, turn and repeat this step until you achieve your desired length. After completing the last stitch, you should end with the loop closest to your hook on the top of your work.
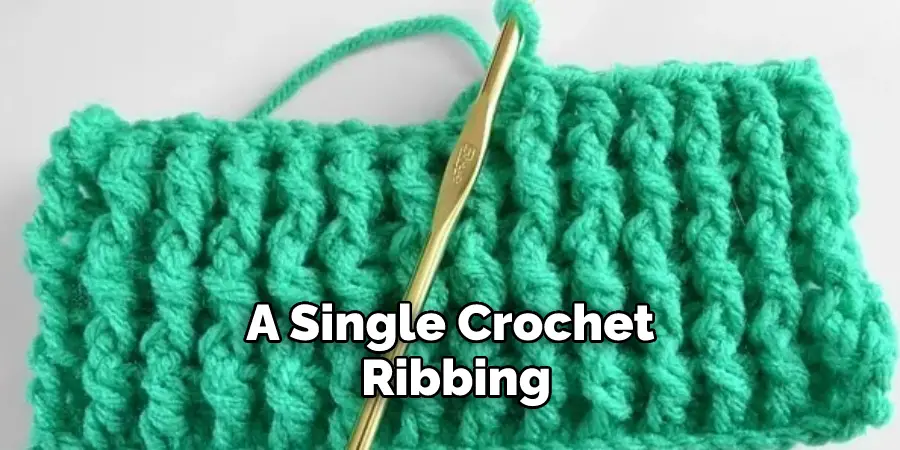
Step 4: Double Crochet Ribbing
For a double crochet ribbing pattern, begin by making one chain stitch and skip two stitches. Next, make one double crochet stitch into each of the next two stitches. Continue this pattern until you reach the end of your row. Turn and repeat until you achieve your desired length.
Step 5: Finishing Your Ribbing
Once you have achieved the desired length for your ribbing, it’s important to secure your work with a slip stitch. Start by inserting your hook into the first chain space and then pulling the yarn through. Tighten the loop and then repeat this step until you reach the end of your row. After that, cut off any excess yarn and weave in the ends with a tapestry needle.
You Can Check It Out To Crochet Wings
Tips for How to Crochet Ribbing
- Always use sharp, high-quality crochet tools to avoid accidents.
- Avoid injury by wearing protective eyewear and gloves when crocheting ribbing.
- Before starting a project, make sure you understand the directions thoroughly to prevent mistakes.
- Secure your stitches as you go along to ensure that the edges stay neat and even.
- Make sure to use a hook that is the appropriate size for the type of yarn or thread you use to create ribbing.
- Take occasional breaks while crocheting ribbing to allow your hands and wrists time to rest.
- Practice tension control when crocheting ribbing, as this will help to create even stitches.
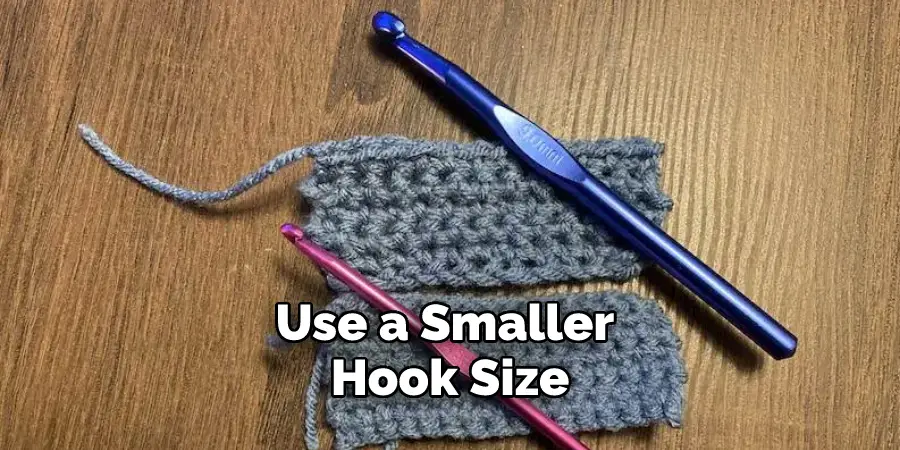
- When making ribbing, use a smaller hook size than you would for other types of crocheting to make the ribbing tighter and more sturdy.
How Do You Join Different Panels of Crocheted Ribbing Together?
- Start by lining up the edges of your crocheted ribbing panels together.
- Then, insert your crochet hook into the edge loops at each end of the ribbing. The loop should be facing outward.
- Pull a loop through the first two loops from both ends with your crochet hook and create a single loop.
- Yarn over, and pull the yarn back through both loops on your hook to make a tight slip stitch.
- Continue this pattern until all of the crocheted ribbing edges are joined together into one piece.
- Once all of the panels have been joined, you can firmly pull the yarn to tighten it and give the ribbing a neat finish.
- Finally, weave in any loose ends with your crochet hook.
How Do You Add Decorative Edging to Your Crocheted Ribbing?
Once you have mastered the technique of how to crochet ribbing, you can add decorative edging to your project for a fun and unique look; decorative edgings are an ideal way to dress up the edges of any crocheted item and make it stand out from the rest. Here is a simple guide to creating interesting edgings for your crocheted ribbing.
- Chain Stitch Edging: This decorative edging is created by simply chaining a series of stitches along the edge of the ribbed fabric. You can also add in other simple crochet stitches such as single and double crochets to create a unique look.
- Picot Edging: This type of edging is created by making a series of small chain loops along the edge of the ribbed fabric. It has a decorative, lacy look and feel to it that can be used to add texture to any project.
- Popcorn Stitch Edging: This edging technique uses popcorn stitches to create a scalloped edge along the ribbing. It is a great way to add texture and interest to simple crocheted fabric.
- Reverse Single Crochet Edging: This edging technique is created by working single crochet stitches in reverse or from right to left instead of left to right. The resulting effect gives the ribbing a neat and tidy finish.
- Bullion Stitch Edging: This type of edging is created by making multiple wrapped stitches along the edge of the ribbed fabric. The result is a lovely, decorative look that adds texture to any project.
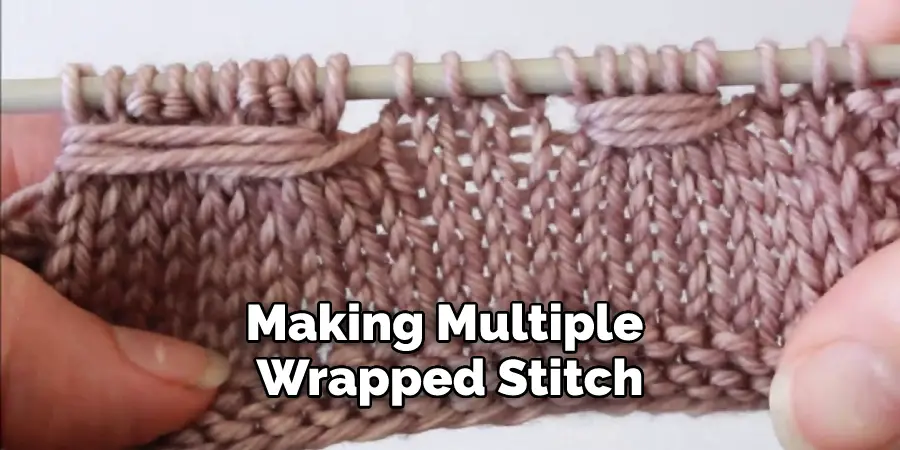
No matter what type of edging you choose to add to your crocheted ribbing, it is important to keep in mind that the edging should complement and enhance the look of your ribbed fabric.
How Do You Switch Colors When Creating Crocheted Ribbing?
Switching colors when creating crocheted ribbing is relatively simple. You can begin by attaching the new yarn to a stitch in the same row and then crochet with it for the duration of that row.
To ensure that your stitches are even, you should pull up a loop in each stitch and then work off both loops from the old and new colors. When you reach the end of the row, simply tie off the old yarn and begin with a slip stitch in the new color. If you want to change colors between rows, start with a slip stitch in each of the two colors before switching from one to the other.
Once complete, cut off any excess yarn and weave it into the back of the ribbing. This will prevent any loose ends from unraveling or interfering with the pattern. Your crocheted ribbing should show a distinct two-color pattern when you are done.
How Do You Avoid Making Mistakes When Crocheting Ribbing?
- Before you begin crocheting ribbing, read the pattern thoroughly and make sure you understand the instructions.
- Measure your gauge as recommended in the pattern to ensure that your stitches are consistent throughout your project.
- Count each row or a round of stitches after completing it so that you can easily spot and correct it if you make a mistake.
- When crocheting ribbing in the round, use a stitch marker to mark where each round begins and ends so that you don’t accidentally skip or repeat a row.
- Take your time when crocheting and relax. Don’t rush through the pattern because this increases the chances of making a mistake.
- If you do make a mistake, don’t panic. Simply find where the error is and fix it by either frogging (undoing) your stitches or reworking them with a crochet hook.
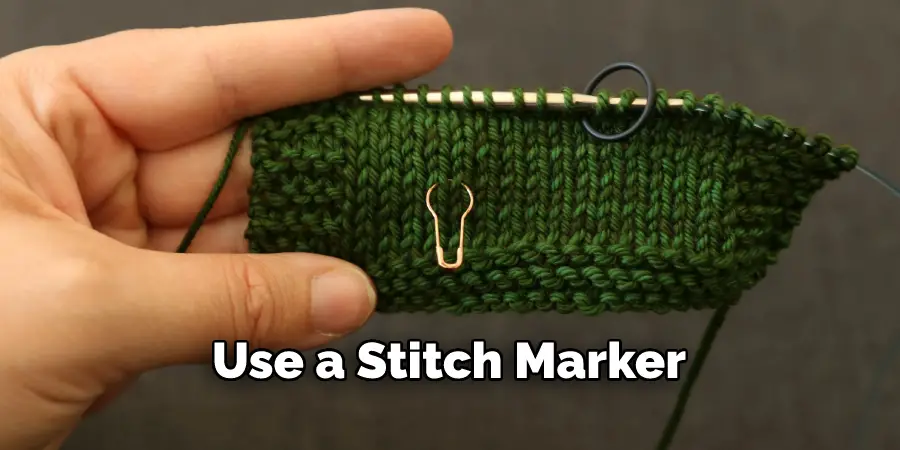
By following these simple tips, you can enjoy crocheting ribbing without worrying about making mistakes.
Conclusion
In conclusion, crocheting ribbing is a great way to add texture, shape, and structure to any project. It’s easy to learn and can be used for beginner or experienced crafters alike. With the right supplies and some practice, you’ll have your own crocheted ribbing masterpiece in no time.
And don’t forget that you can customize your ribbing any way you like, so get creative and have fun. With a bit of effort, you’ll be able to add ribbing to your own crocheted projects and make them look amazing. I hope reading this post has helped you learn how to crochet ribbing. Make sure the safety precautions are carried out in the order listed.
You Can Check It Out to Knit a Bow

