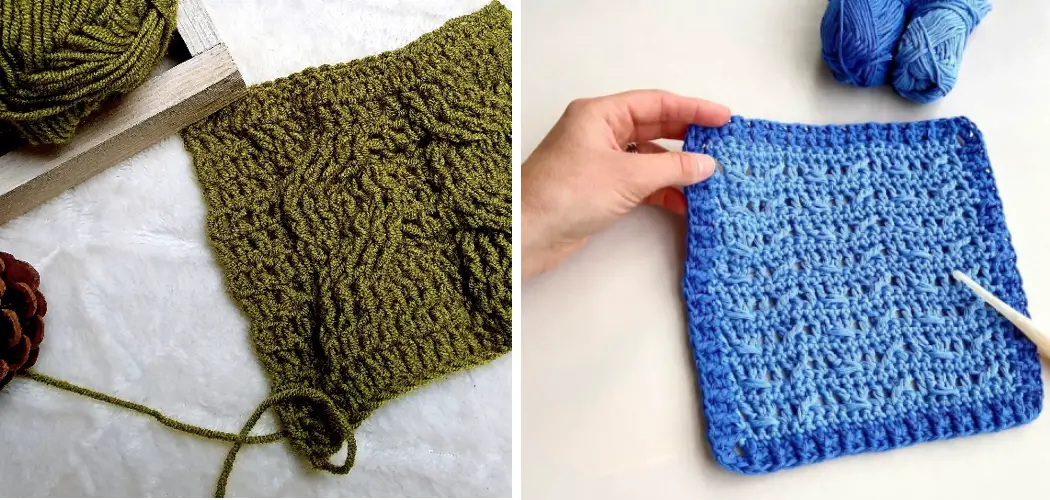
Are you looking to expand your crocheting skills? Cable stitches are an interesting, intricate way to add texture and style to any knitted piece. One of the most popular cable knitting techniques is the crochet cable stitch. It’s a fun challenge that will take your skills up a notch!
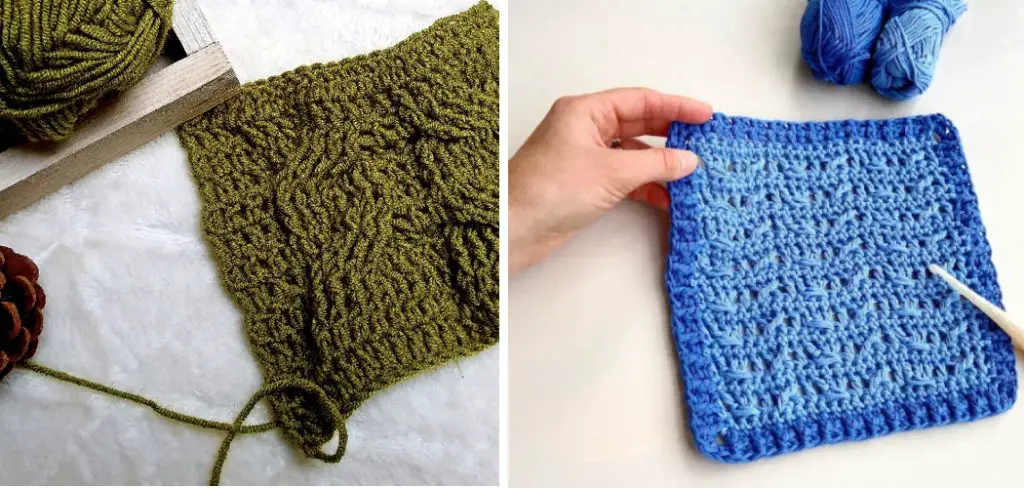
If you’re not an experienced crocheter, fear not! Follow the steps below, and you’ll quickly croche beautiful cables.
In this blog post, we will break down everything you need to know about how to crochet cable stitch – from choosing which materials and tools work best for these complicated stitches to practice tips to help build your confidence as you master this technique. Get ready, it’s time for us to learn how to crochet cables!
What Will You Need?
Before we dive into the tutorial, let’s talk about what materials and tools you’ll need for crochet cable stitches. You’ll want to make sure you have all of your supplies ready before you begin:
- The Crochet hook size that matches your yarn weight should be at least one size larger than the suggested hook size listed on your yarn label.
- Cable needle or small hook for making cables (optional)
- Yarn – most any type of yarn can be used to crochet cable stitches, but worsted weight is a good choice if you’re just starting out
- Scissors
- Tapestry needle for weaving in ends
Once you’ve gathered all your supplies, it’s time to get started. Here are the steps you need to take in order to crochet a cable stitch:
10 Easy Steps on How to Crochet Cable Stitch
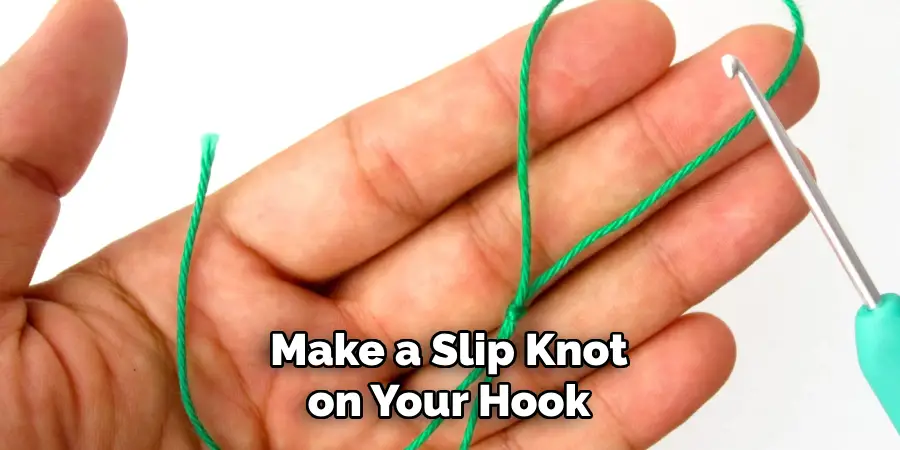
Step 1: Make Slip Knot
The first step is to make a slip knot on your hook. To do this, wrap the yarn around two fingers and insert the hook through the center of the loop. As you pull the loop off your fingers, gently tug the yarn to tighten up the knot.
Step 2: Begin with the Foundation Chain
The foundation chain is the base of your crochet cable stitch. To create this, yarn over (yo) and pull through to make a loop. Repeat this process until you have a chain of your desired length. Remember, the number of chains should be a multiple of 4 plus 2 extra. For instance, if you’re making a swatch of 10 cables, you’d chain 42 (10×4 + 2 = 42).
Step 3: Establish the Pattern Row
Now, it’s time to establish the pattern row. In the second chain from the hook, make a single crochet (sc). Continue making SC along the entire length of the chain. Once you’ve finished, you should have one less sc than the number of chains you started with.
For example, if you chained 42, you would now have 41 sc. Turn your work to prepare for the next row. This foundation of SC creates a stable base for your cable stitches.
Step 4: Begin the First Cable Row
To begin your first cable row, you’ll want to chain 3. This will count as your first double crochet (dc). After this, skip the first SC stitch and dc into the next two SCs. Now, you’re ready to create your first cable stitch. Yarn over (yo), insert your hook into the skipped stitch (going in front of the 2 dc you just made), yo again, and draw through a loop.
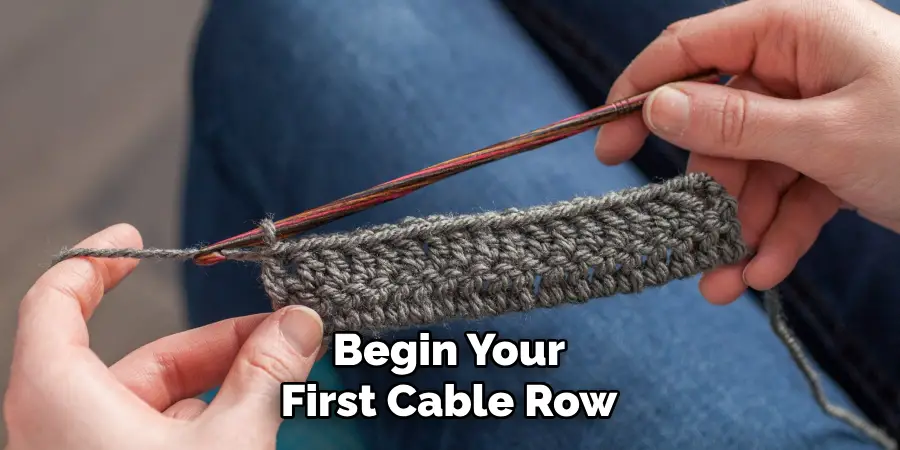
You now have three loops on your hook. Yo, draw through the first two loops, then yo, and draw through the last two loops. This completes your first cable stitch! Continue this pattern along the row, ending with a dc in the last sc. Turn your work to prepare for the next row. Now, you’ve successfully established the pattern for your crochet cable stitch!
Step 5: Continue the Pattern
The next step is to maintain the cable stitch pattern. This involves working a row of single crochet (sc) stitches across the back of your work. Start by chaining 1, then working a sc in each stitch across the row. Remember to work your last sc into the top of the turning chain from the previous row. This row of sc stitches will add stability to your cable design.
Turn your work once again to prepare for the next row. As you continue, you’ll alternate between a row of cable stitches and a row of sc stitches, creating a richly textured fabric. Don’t worry if your work curls a bit at first; as you add more rows, your crochet piece will start to flatten out. Patience is key as you learn how to crochet cable stitch!
Step 6: Continue Working the Cable Pattern
Repeat steps 4 and 5 until your cable piece reaches the desired length. As you work, pay attention to the pattern and count each row to avoid accidentally missing a stitch or two. Once finished, bind off by cutting yarn and drawing through the last loop with a tapestry needle. Now, it’s time to weave in any remaining loose ends.
Step 7: Weave in Ends
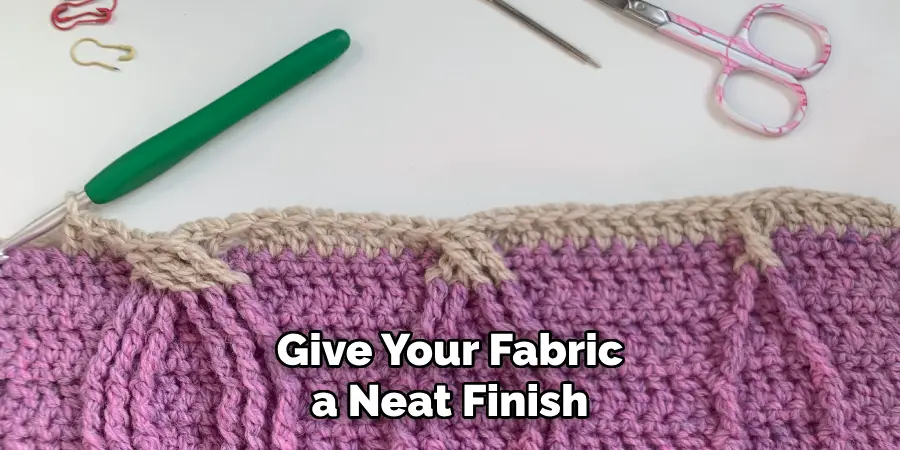
To secure your stitches and give your fabric a neat finish, you’ll need to weave in the ends. To do this, start by threading the end of the yarn onto a tapestry needle. Then, carefully weave it through several stitches along the back loops of the work. When you’ve gone far enough, snip off any excess yarn and complete your piece!
Step 8: Adding a Fringe
Adding a fringe to your crochet piece can give it a stylish final touch. To do this, cut several lengths of yarn approximately 6 inches long. Holding the strands together, insert your hook up through the edge stitch and draw back through the loops. Repeat around all edges of the fabric and trim to an even length for a polished look.
Step 9: Block Your Crochet Work
Once you’ve finished your crochet cable piece, it’s important to block it. Blocking helps even out and secure the stitches, resulting in a professional-looking fabric. You can do this with either damp blocking or steam blocking. To learn more about the different blocking methods of crochet work, check out our guide on the topic.
Step 10: Practice & Enjoy Your Crochet Cable Stitches
Now, you have the knowledge and skills to crochet cable stitches! As with any new technique, practice makes perfect. The more you work on this stitch pattern, the better you’ll become at it. So, go forth and enjoy your newfound crafty superpower!
By following these simple steps, you’ll have it mastered in no time. Crocheting cable stitches is a great way to add texture and interest to your crochet projects. Plus, the results are simply stunning! So, what are you waiting for? Get hooking and show off your fabulous crochet cables!
5 Additional Tips and Tricks
- Use Quality Yarn: The first tip when learning crochet cable stitches is to use quality yarn. High-quality yarn allows for better grip and control as you crochet, making each stitch easier to see and navigate. The texture and color of your yarn can also greatly affect the final appearance of your crochet cable work, so choose wisely!
- Keep Track of Your Rows: It’s crucial to record your rows when crocheting cable stitches. This is because losing track of your rows can mess up the pattern and disrupt the overall look of your work. You can use stitch markers or a row counter to help keep track.
- Practice Regularly: Frequent practice is the key to mastering any craft, and crochet is no exception. Be patient with yourself, and remember that it’s okay to make mistakes. They’re a part of the learning process!
- Take Breaks: Working on intricate stitch patterns like the crochet cable stitch can be tiresome for both your hands and eyes. Remember to take regular breaks to rest and stretch. This can help prevent strain and will also keep your crocheting experience enjoyable.
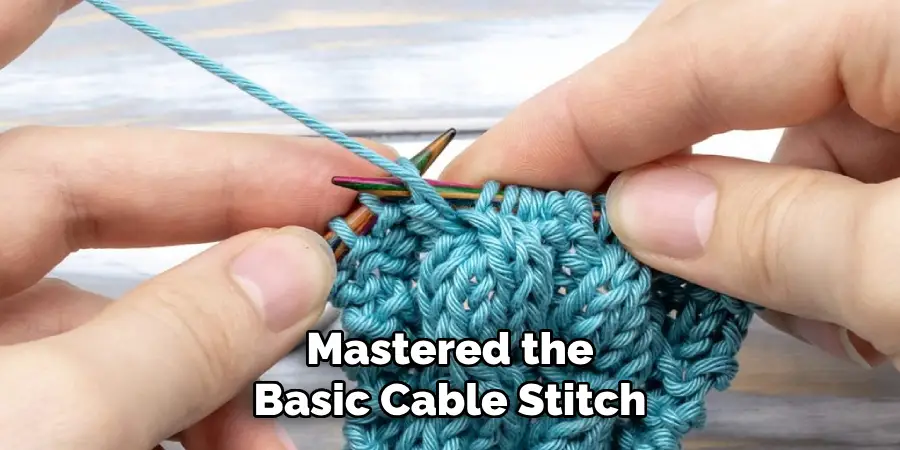
- Experiment with Different Patterns: Once you’ve mastered the basic cable stitch, don’t be afraid to experiment with different patterns and techniques. Crochet is vast and rich with possibilities, and trying out new things can only help you grow as a crafter.
With these tips and tricks in mind, you’re now ready to begin your crochet cable stitch journey! We wish you all the best of luck and hope you’ll enjoy every moment.
5 Things You Should Avoid
- Avoid Rushing: Crocheting requires patience, especially when working on complex patterns like the cable stitch. Avoid the temptation to rush through your stitches. Instead, take your time to ensure that each one is completed correctly. This will improve the quality of your work and enhance your learning experience.
- Don’t Use Dark Colored Yarns for Beginners: When you first learn to crochet cable stitches, it can be helpful to use lighter-colored yarns. Dark colors can make it difficult to see your stitches, leading to mistakes and frustration.
- Avoid Tight Stitches: Try to keep your stitches relaxed. Tight stitches can make it difficult to insert your hook and affect your work’s overall look and feel.
- Don’t Neglect Maintenance of Your Tools: Regularly check and clean your crochet hooks to keep them in the best condition. A smooth, clean hook can make your crocheting experience much more enjoyable.
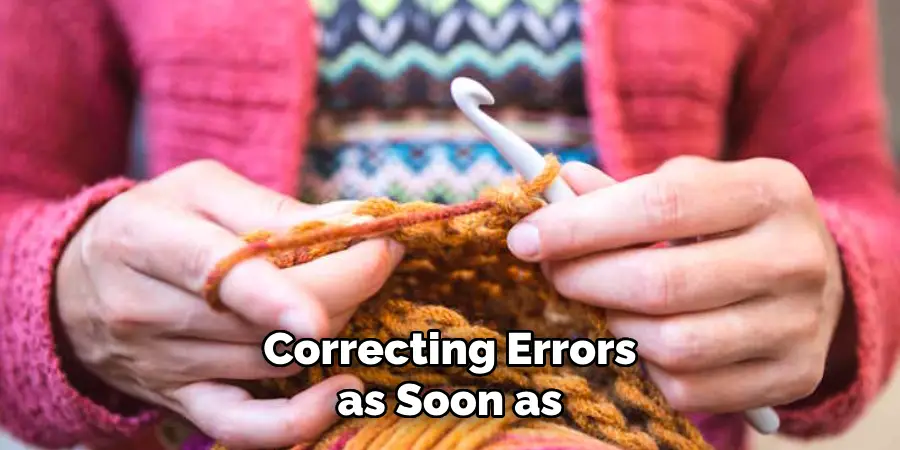
- Avoid Ignoring Mistakes: If you notice a mistake, don’t ignore it. Correcting errors as soon as you spot them is important, as they can affect the rest of your pattern. While it may seem frustrating, fixing mistakes is an important learning process.
Avoiding these five common mistakes can help you become a better crocheter and ensure that your crochet project turns out beautifully. With these tips in mind, you should now feel confident to tackle the crochet cable stitch easily.
6 Different Design Ideas
- Crochet Cable Scarf: A crochet cable scarf is a great way to use your new stitch skills. Try adding some fringe, tassels, or pom-poms for an extra touch of style.
- Throw Blanket: Make a cozy throw blanket with intricate cable stitches and bright colors. Not only will this be a beautiful piece of decor in your home, but it’ll also keep you warm during chilly nights.
- Cabled Bag: A cabled bag is a fun and creative way to show off your cable stitch skills. Put together an exciting combination of colors and textures for a unique accessory.
- Cable Hat: Knit up a stylish and chic cable hat with just the right amount of texture. Adding a pom-pom or some tassels for a fun finishing touch can make it even more special.
- Cable Pillow: Create a beautiful cable pillow cover for your couch or bed with these simple steps! Choose from an array of colors and textures to make this classic piece truly unique.
- Cable Sweater: Add an extra layer of warmth with a cabled sweater. Choose from a variety of stitch patterns and colors to make this a truly one-of-a-kind piece you’ll love wearing.

With these five ideas, you can start to incorporate cable stitches into all your projects. The possibilities are endless when it comes to this beautiful stitch pattern! Have fun and be creative with the different designs you create.
Conclusion
Crafting is a great way to relax and let out your creative juices. The cable stitch is a wonderful variation of the basic craft of crocheting that allows for endless possibilities. With the proper tools, practice, and this tutorial, you’ll be on your way to becoming a master at the cable stitch.
Whether you’re crafting for yourself, custom making something for someone special, or creating gift ideas, learning the cable stitch is essential to unlocking a true variety of design elements when crocheting. Put in the practice and effort today so you can make amazing pieces tomorrow!
Hopefully, the article on “How to Crochet Cable Stitch” has inspired you to get hooking and show off your fabulous crochet cables! With a little bit of practice, dedication, and these tips in mind, you can easily become a pro at the cable stitch. So grab your supplies and start making some stunning projects today!
Happy crafting!

