
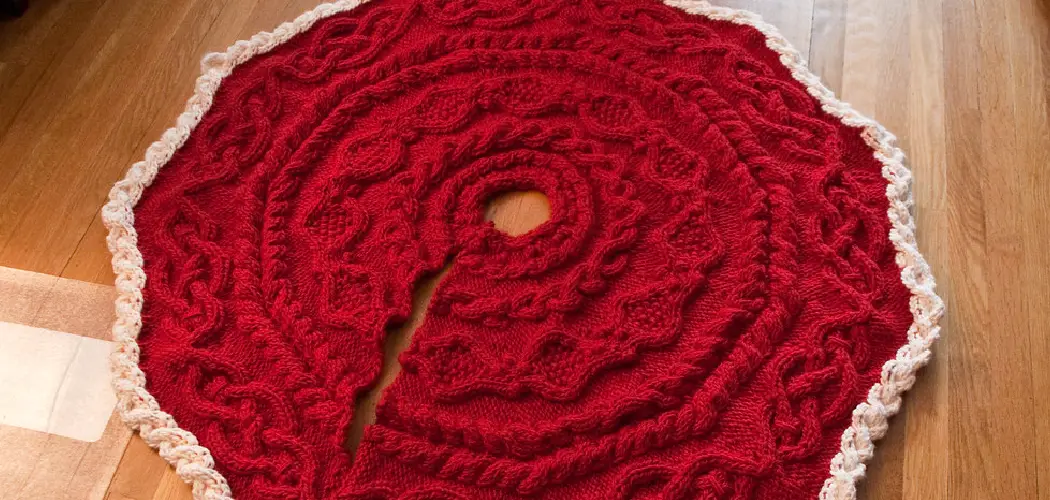
Are you looking to add a touch of homemade charm to your Christmas decorations? If so, crocheting a tree skirt is one of the best ways to do it! Not only will it provide an extra layer of festive cheer and warmth around your tree this holiday season, but you’ll also have the satisfaction of knowing that you crafted something beautiful with your own two hands.

In this blog post, we’ll walk you through all the steps of how to crochet a tree skirt – from getting organized and selecting yarn colors to learning stitches and weaving in ends.
How Much Yarn Is Needed for a Tree Skirt?
When crocheting a tree skirt, it is important to have enough yarn to complete the project. Typically, a crochet tree skirt pattern will recommend how much yarn is needed for the size of the tree skirt you are making.
Depending on the size and style of your tree skirt, you may need anywhere from 4–7 skeins of yarn. Additionally, if you want to add tassels or other design elements to the edge of your tree skirt, you might need extra strands or colors of yarn. It’s best to check the pattern instructions before purchasing your materials so that you know exactly how much yarn is required for your project.
Furthermore, take into consideration any modifications or adaptations that you plan on making to the pattern. For example, if you plan on crocheting a larger tree skirt or use thicker yarn than what is recommended in the instructions, you may need to purchase more yarn than the design calls for.
When choosing your yarn, make sure that it’s suitable for the type of project that you are making. Selecting a lightweight and soft textured yarn will give your tree skirt a cozy and inviting feel, while heavier and thicker yarn can provide structure and durability.
Finally, if you want to be sure that the colors of your tree skirt match perfectly with your holiday decorations, consider buying all of your materials at once so that you have an exact match when it comes time to crochet. With just a bit of preparation and some careful planning, you can easily determine how much yarn is needed to create a beautiful and unique tree skirt for the holiday season.
10 Methods How to Crochet a Tree Skirt
1. Choose the Right Yarn.
The first step in crocheting a tree skirt is to choose the right yarn. You’ll want to use a soft, sturdy yarn that won’t pill or shed. Acrylic, wool, and cotton are all good choices. Consider the size of your tree and how much yarn you’ll need for the project.

You may want to buy more than you think you need, just to be safe. If you plan to crochet a large tree skirt, it might be easier to work with two or more colors of yarn.
While there are no hard-and-fast rules when it comes to choosing colors, a good rule of thumb is to pick one main color for the body of the skirt and then a few contrasting colors for the trim.
2. Choose the Right Hook.
The second step is to choose the right hook. You’ll want to use a hook that is the same size as the yarn you’re using. A smaller hook will result in a tighter stitch, while a larger hook will result in a looser stitch. Choose the hook size that will give you a look and feel you’re going for.
If you don’t have the right hook size, look for a conversion chart online to find one that works. While it is possible to use a hook that is bigger than the yarn, this will result in a very loose stitch. To avoid this, it is best to match the hook size with the yarn.
3. Make a Slip Knot.
To begin crocheting, you’ll need to make a slip knot. This is simply a loop of yarn that is pulled through itself to create a small loop. To make a slip knot, hold the end of your yarn in one hand and use your other hand to wrap the yarn around itself a few times.
Then, pull the end of the yarn through the loops to tighten and create your slip knot. To finish, pull the loop of yarn to tighten it. However, make sure it’s not too tight! This slip knot will become the first stitch on your crochet tree skirt.
4. Insert the Hook into the Loop.
Once you have made your slip knot, insert the hook into the loop and pull it through to create a new loop on the hook. Then, pull the yarn end and slip knot to tighten it. While holding onto the new loop with your left hand, use your right hand to wrap the yarn around the hook once before pulling it through the loop.

This is the first chain stitch. To create more chain stitches, wrap the yarn around the hook and pull it through the loop again. Keep repeating this process until you have a long chain of stitches. For this project, you will need to create 70 chains.
5. Yarn over and Pull through both Loops on the Hook.
To complete your first stitch, you’ll need to yarn over and pull through both loops on the hook. This will leave one loop on the hook – this is your first stitch! Now, you’ll want to repeat this process over and over again until you have a chain that’s long enough to cover the circumference of your tree.
If you’re not sure how long your chain should be, measure the circumference of the base of your tree and add a few inches for extra room. While you’re crocheting your chain, use a stitch marker to mark the beginning of each row. This will help you keep track of where you are when you come back to work on the tree skirt.
6. Check for Desired Length.
Once you have completed your first stitch, simply repeat steps 4-5 until you have reached your desired length. Remember to count your stitches as you go so that you can keep track of your progress! Once you’ve reached your desired length, tie off and cut the yarn. While it is important to keep your stitches even and tight, it’s also just as important to take a few moments for yourself during the process. Crocheting can be a fun and relaxing activity, so don’t forget to enjoy it!
7. To Change Colors, Cut the Yarn and Join a New Color with a Slip Stitch.
If you want to change colors, simply cut the old color of yarn and join a new color with a slip stitch. To do this, insert the hook into the next stitch, yarn over and pull through both loops on the hook, then yarn over with the new color of yarn and pull through both loops on the hook again. You should now have two loops on your hook – one of each color!

8. To Make Stripes, Work in Rows of Different Colors.
Another way to add interest to your tree skirt is to work in rows of different colors – this will create stripes! To do this, simply work in one color for as many rows as desired, then cut the yarn and join a new color with a slip stitch (as described in step 7). Continue working in this manner until you have reached your desired width.
9. To Create a Different Texture, Use Different Stitches.
Another way to add interest to your tree skirt is to use different crochet stitchess. A combination of single crochet, double crochet, and half double crochet will create a unique texture. Gently alternate between the stitches to keep the pattern consistent and attractive.
You can also add clusters or shells to make a more complex design. Keep in mind that varying your stitches will affect the size of your tree skirt since different types of stitches create different sized loops.
10. Fasten off and Weave in Ends.
Once you have reached your desired length, fasten off the yarn by cutting it and pulling the loop through the last stitch. Weave in any extra ends so that they are not visible on the tree skirt. Your tree skirt is now complete!

Conclusion
After learning how to crochet a tree skirt from this blog post, you can now share it just in time for the holiday season. Gifting someone a handmade item is always a special gesture and will make sure that no two tree skirts are ever alike! Show off your hard work by proudly displaying your crocheted tree skirt around the base of your carefully decorated Christmas tree. Not only can you personalize it with colors and patterns to give it that unique, homemade touch, but the added texture and color it gives the setting will create an inviting atmosphere.